Transform your coffee corner into a cozy haven with this charming DIY project! Creating a rustic wood sign with built-in storage is a fantastic way to add both character and practicality to your coffee house, whether it's a dedicated space in your home or a small independent business. Imagine the warm, inviting atmosphere of a rustic cafe, enhanced by a handcrafted sign that showcases your love of coffee and provides convenient storage for coffee beans, mugs, or even sugar packets. This project combines simple carpentry with a touch of rustic charm, resulting in a unique piece that’s both aesthetically pleasing and functional.
This DIY project is surprisingly easy to tackle, even for beginners. We'll guide you through each step, from selecting the right wood to adding the finishing touches, ensuring you create a beautiful and functional coffee house addition. Ready to brew up some rustic charm? Let's dive into the step-by-step instructions and create your personalized rustic wood sign with storage!
Preparation and Safety Guidelines
- Unfinished wood boards
- Sharpie
- Milwaukee miter saw
- Wise Owl paint (Snow Owl and Chocolate)
- Wire basket
- Bolt cutters
- Krylon spray paint (black)
- Elmer's wood glue
- Small clamps
- Wise Owl Goldenrod paint
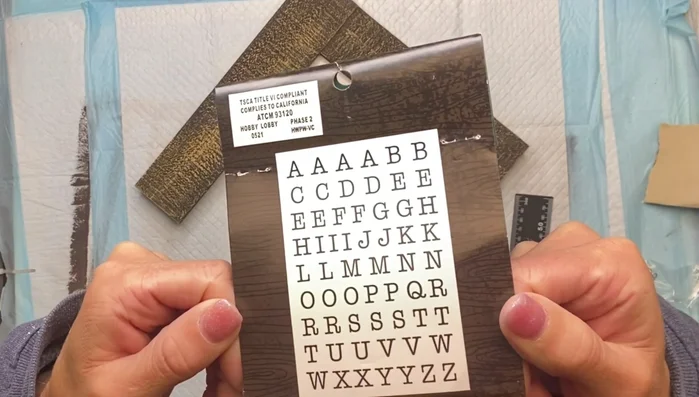
- Laser-cut wood letters (typewriter font)
- Straight edge
- Small art brush
- Screw eye hooks
- Screwdriver
- Sandpaper
- Pliers
- Always wear safety glasses when using power tools like saws or drills. Wood dust can also irritate eyes.
- Ensure proper ventilation when staining or painting to avoid inhaling harmful fumes. Work in a well-ventilated area or wear a respirator.
- Use caution when handling sharp objects like chisels or knives. Always cut away from yourself and keep your fingers clear of the blade.
Step-by-Step Instructions
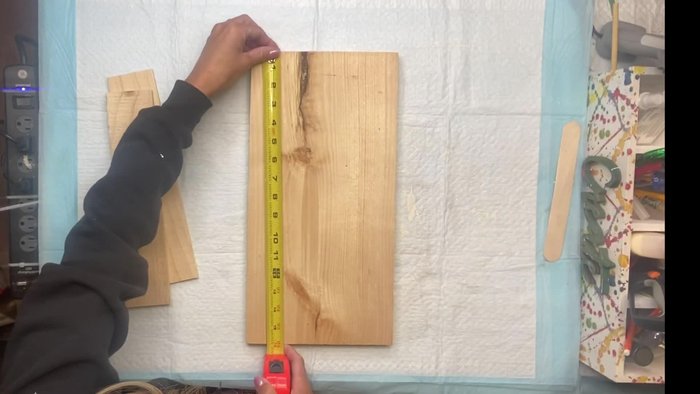
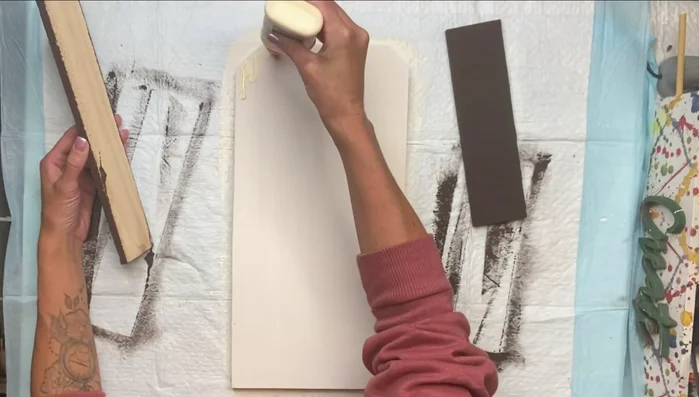
Prepare Materials
- Cut and paint the main board (16x8 inches) and two smaller pieces (11.5x2.5 inches).

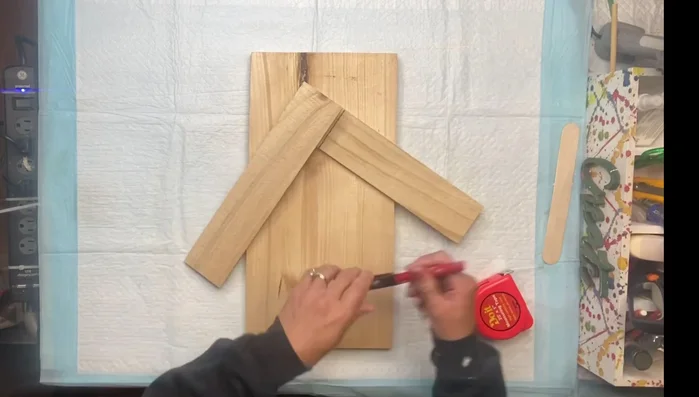
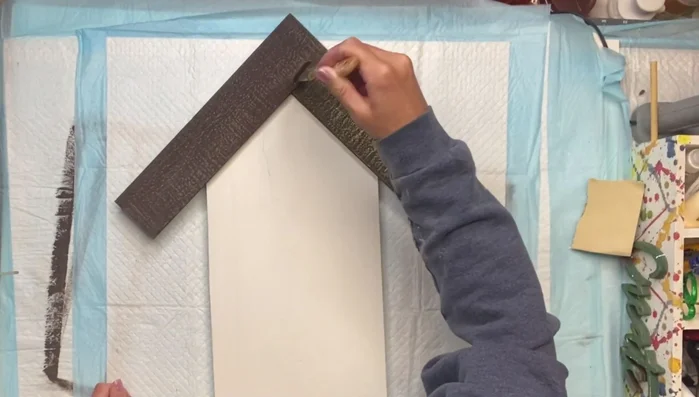
Prepare Materials Create Top Peak
- Mark and cut the smaller pieces to create the top peak.
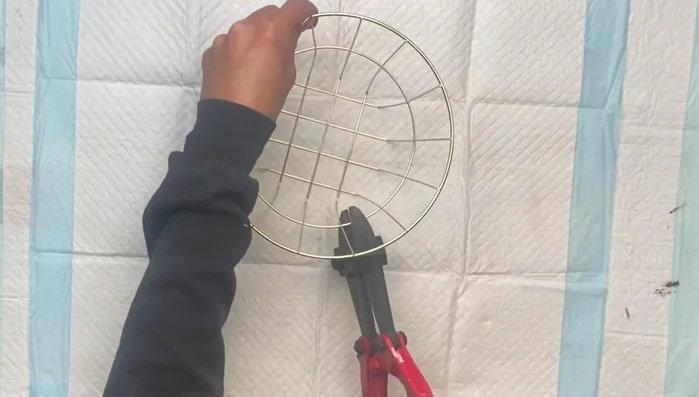
Create Top Peak Prepare the Basket
- Cut the back of the basket using bolt cutters to create a flat surface.
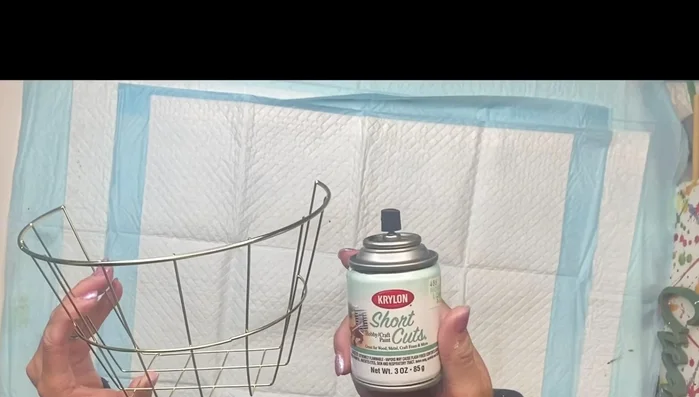
- Paint the basket black with Krylon spray paint and let it dry.
Prepare the Basket Assemble the Wood Sign
- Glue and clamp the painted wood pieces together, ensuring a strong bond with Elmer's wood glue.
Assemble the Wood Sign Add Rustic Finish
- Dry brush Wise Owl Goldenrod paint over the chocolate paint for a rustic look.
Add Rustic Finish Attach the Letters
- Glue the laser-cut wood letters, spelling "Coffee House", using Elmer's wood glue and a small art brush for precise application.
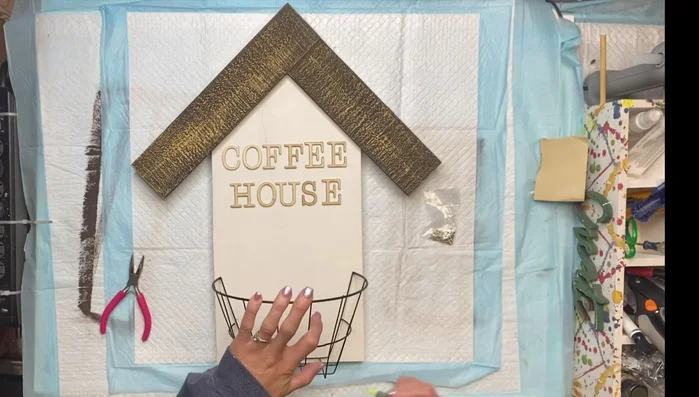
Attach the Letters Attach the Basket
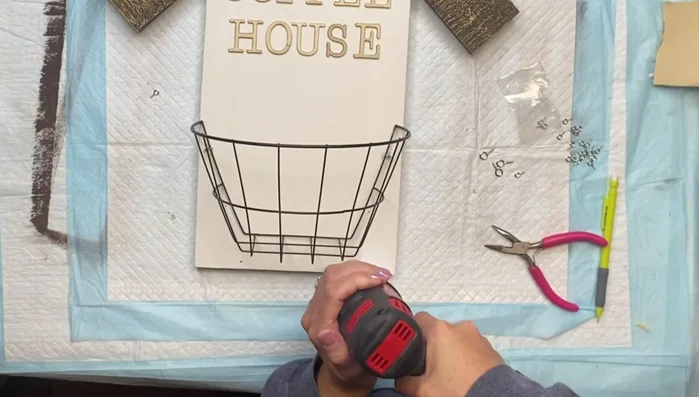
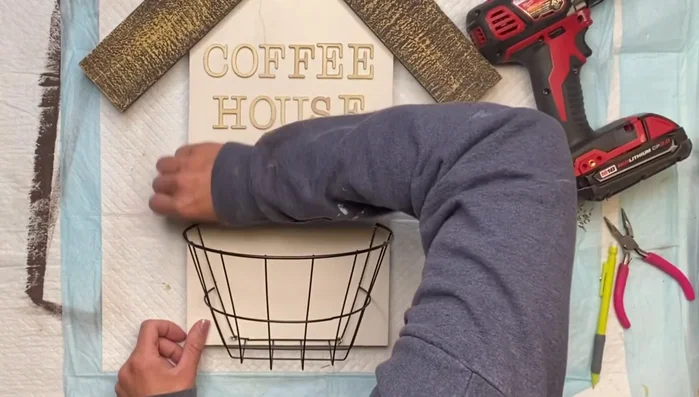
- Mark the basket's position on the board and screw in screw eye hooks at the top and bottom.
- Attach the wire basket to the screw eye hooks.
Attach the Basket Final Touches
- Lightly sand any imperfections and your coffee house decor is complete!
Final Touches
Read more: Fix KitchenAid Espresso Machine Water Leak: The Steam Cap Solution
Tips
- Lowe's can cut your wood for you if you prefer.
- Use any paint colors that match your home decor.
- Pre-drilling helps when screwing in the screw eye hooks.
- Use a small amount of glue to avoid seepage under the letters.