Tired of cluttered countertops and a chaotic search for your morning coffee pods? Imagine a sleek, organized coffee pod station effortlessly integrated into your kitchen, freeing up valuable space and streamlining your routine. No more digging through drawers or precarious stacks – a perfectly organized collection of your favorite coffee pods is just a reach away. This simple yet stylish solution improves both the aesthetics and functionality of your kitchen, enhancing your daily coffee ritual. We're talking about under-cabinet coffee pod organizers, and installing them is easier than you think!
This guide provides a straightforward, step-by-step approach to installing your under-cabinet coffee pod organizer, ensuring a perfect fit and a frustration-free experience. From selecting the right location and making necessary measurements to securing the organizer and admiring your newly streamlined coffee station, we'll walk you through the entire process, transforming your kitchen into a haven of caffeine-fueled efficiency. Let's get started!
Preparation and Safety Guidelines
- Cordless screwdriver (Phillips head P2 bit)
- Small screwdriver (P1 bit)
- Coffee pod organizer
- Push pins
- Metal plate with adhesive tape
- Wood screws
- Bumpers
- Ensure the area under your cabinets is clean and dry before installation. Moisture can damage the organizer and affect adhesion.
- Carefully measure your cabinet space before purchasing an organizer to ensure a proper fit. Improper sizing may lead to instability or damage.
- Always follow the manufacturer's instructions included with your specific coffee pod organizer. Installation methods can vary.
Step-by-Step Instructions
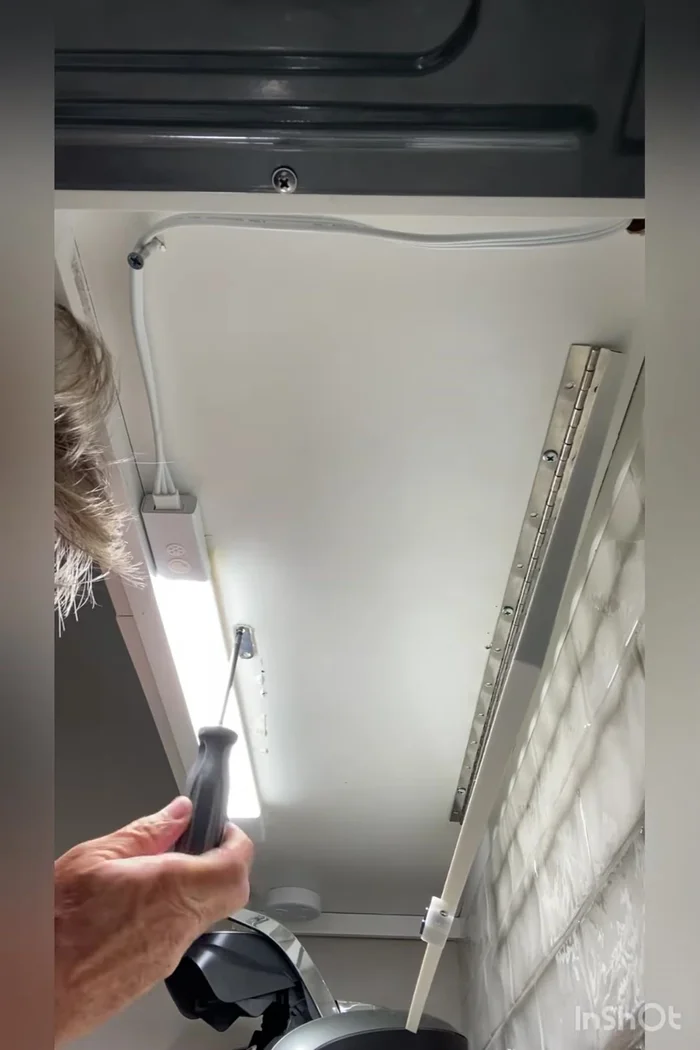
Secure the Organizer
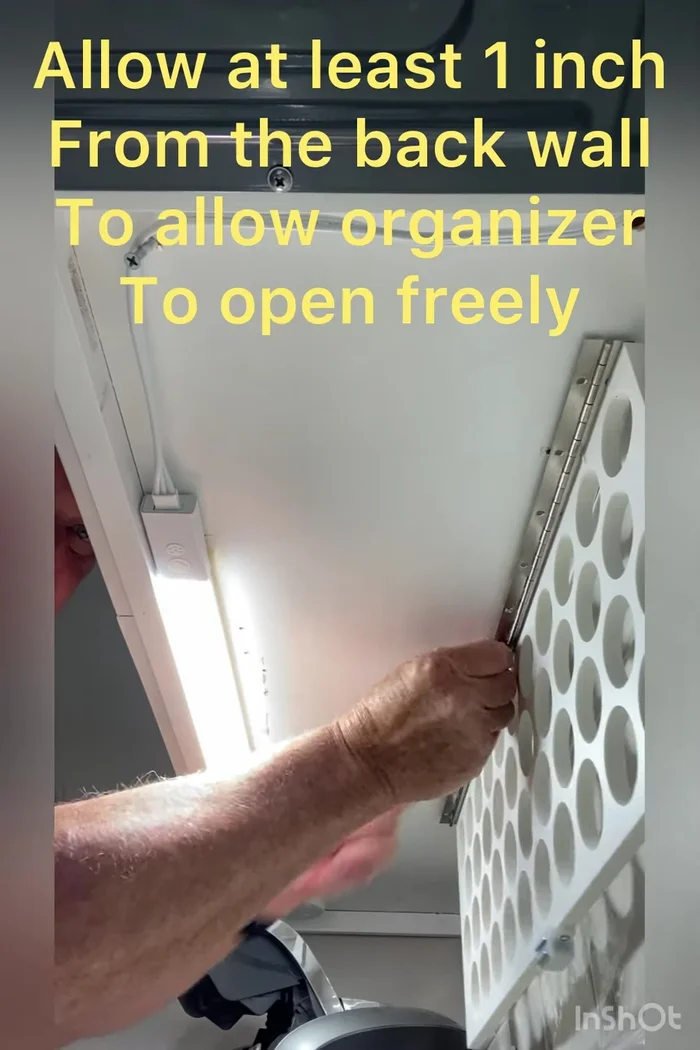
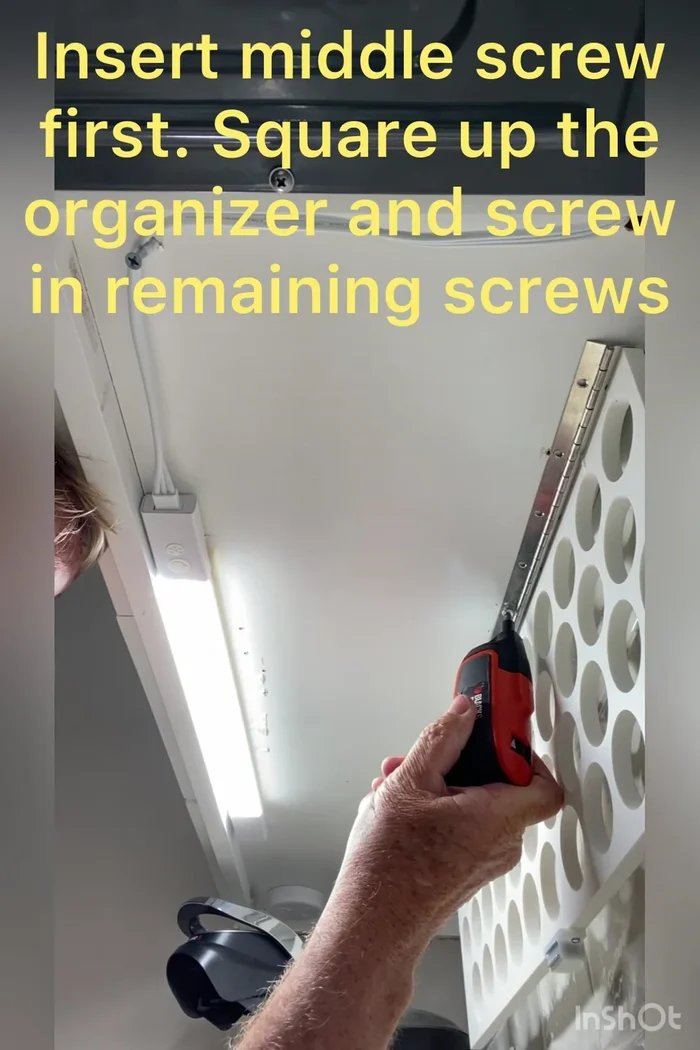
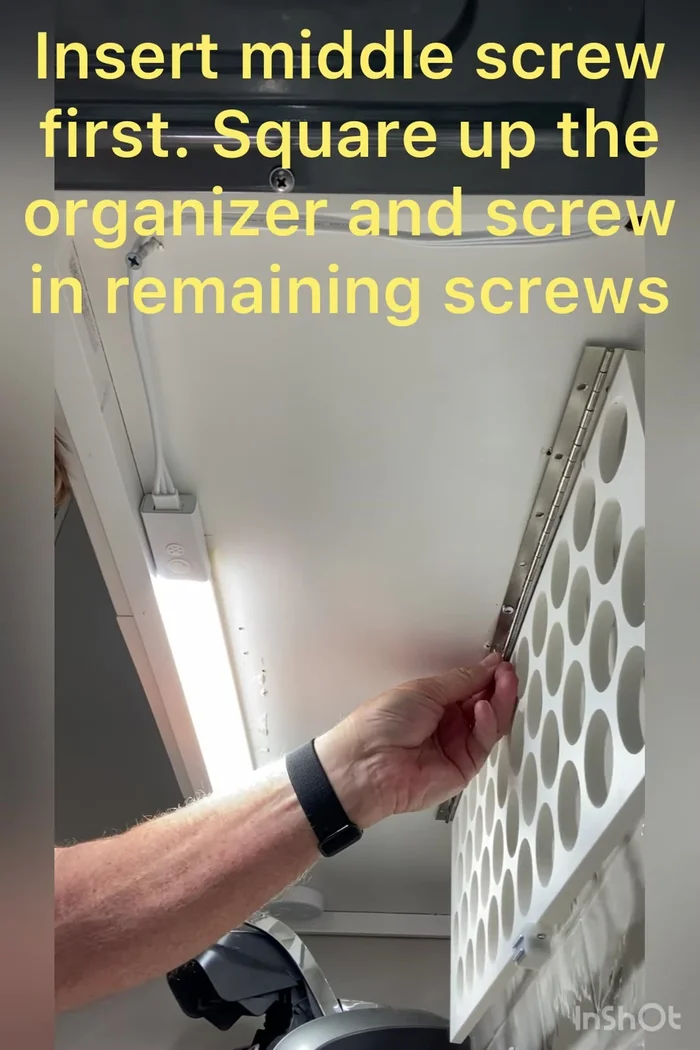
- Position the pod organizer under the cabinet using push pins to hold it in place, about an inch from the back wall.
- Screw in more permanent screws to secure the organizer to the cabinet.
- Remove push pins.

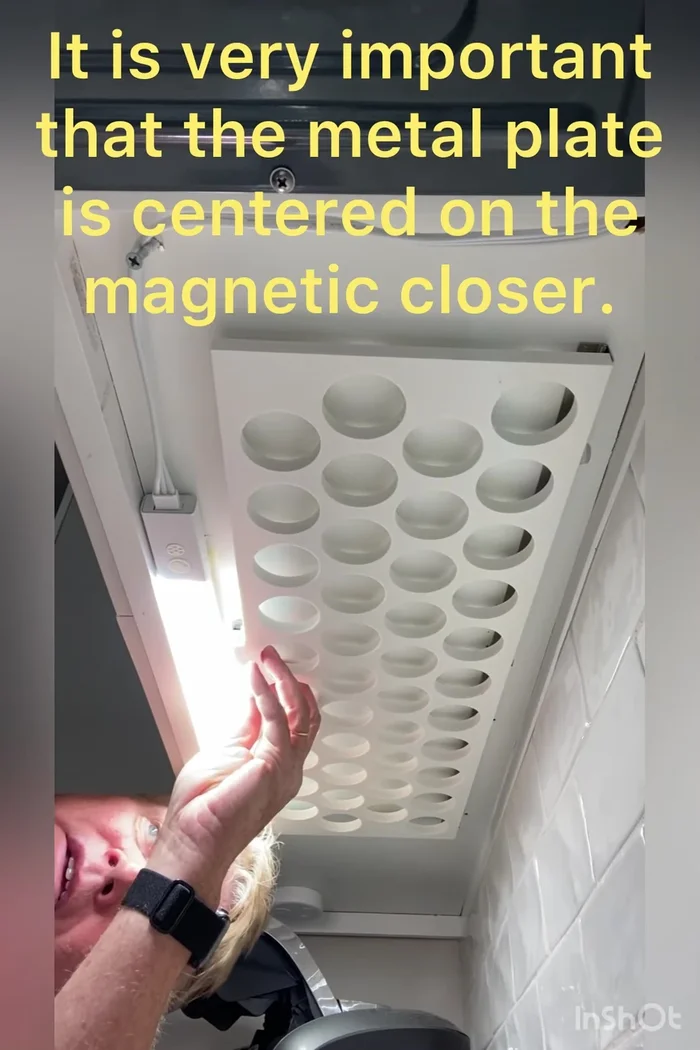
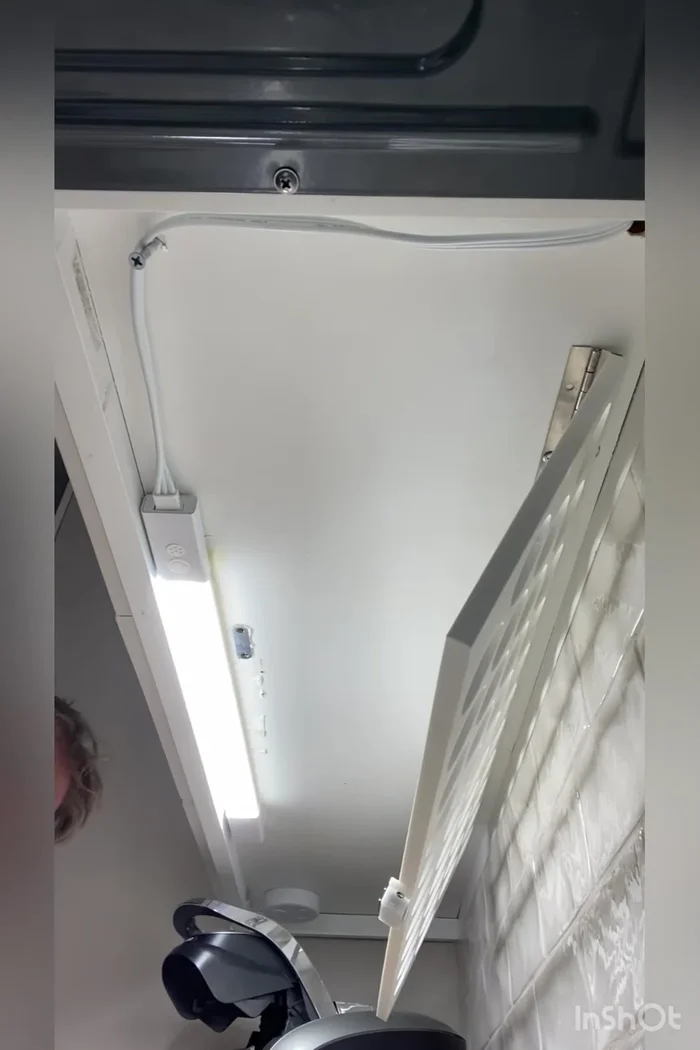
Secure the Organizer Attach the Magnetic Plate
- Peel off the double-faced tape from the metal plate and adhere it to the cabinet, ensuring proper alignment and clearance.
- Insert and tighten the small wood screws to secure the metal plate to the cabinet, ensuring flush insertion for maximum magnet contact.
Attach the Magnetic Plate Install Bumpers
- Attach the clear bumpers to the back of the piano hinge to maintain the desired angle when opened.
Install Bumpers Load Coffee Pods
- Insert coffee pods into the organizer.
Load Coffee Pods

Read more: Fix KitchenAid Espresso Machine Water Leak: The Steam Cap Solution
Tips
- Use a cordless screwdriver with a P2 bit and a small screwdriver with a P1 bit for the various screw sizes.
- Ensure proper alignment of the metal plate to ensure the magnet works effectively.
- The bumpers keep the organizer at a nice angle for easy access.