Are you a connoisseur of espresso, overwhelmed by a chaotic collection of pods? Do you dream of a sleek, organized system to showcase your precious caffeine cargo? Then look no further! This detailed guide will walk you through the process of designing and creating your own custom CNC espresso pod organizer. Forget flimsy, mass-produced solutions; this project empowers you to build a personalized storage solution perfectly tailored to your needs and aesthetic preferences, from material selection to final assembly.
This guide provides a comprehensive, step-by-step approach to crafting a stunning and functional espresso pod organizer using a CNC machine. We'll cover everything from initial design considerations and software choices to the crucial machining process and finishing touches, ensuring a polished and professional result. Let's dive in and begin crafting your perfect espresso pod haven!
Preparation and Safety Guidelines
- CNC Router
- 8in down cut bit
- Vacuum table
- Multi-tool with tiny blade
- 1/8in bit
- 1/4in bit
- 1/16in roundover bit
- Quin radius four flute roundover bit
- Mini bits with ball bearing
- Micro jig grip block
- Table saw
- Rubber mallet
- Plastic straw
- TI Bond 2 wood glue
- Black India ink
- Steel bristle brush
- French cleats
- Countersink tool
- Always ensure the CNC machine is properly secured and powered off before any cleaning, maintenance, or adjustments. Improper handling can lead to injury.
- Wear appropriate safety gear, including eye protection and hearing protection, when operating the CNC machine. Dust and noise levels can be significant.
- Use only materials appropriate for CNC machining. Improper materials can damage the cutting tools, produce hazardous fumes, or result in unexpected results.
Step-by-Step Instructions
Design and Preparation
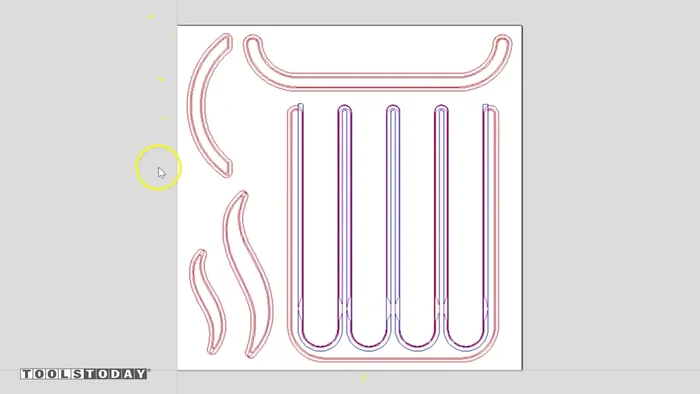
- Design and plan the inlay design for espresso virtuo cups. (Available on the website)

Design and Preparation Cut and Prepare Inlay Pieces
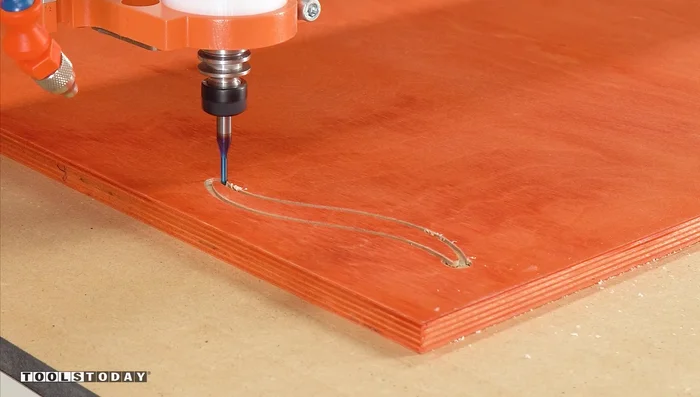
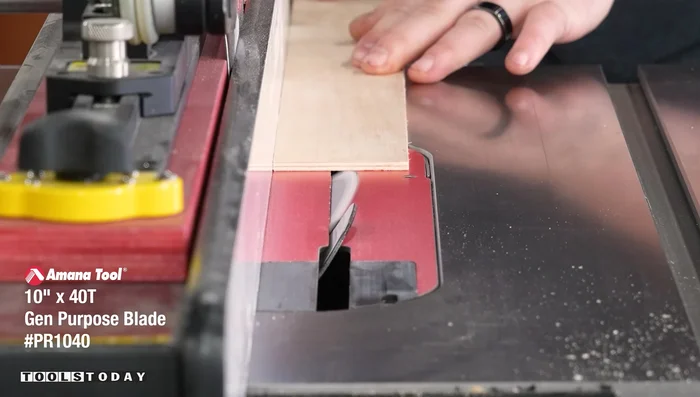
- Cut inlay pieces using an 8in down cut bit with a vacuum table and tabs to secure small parts.
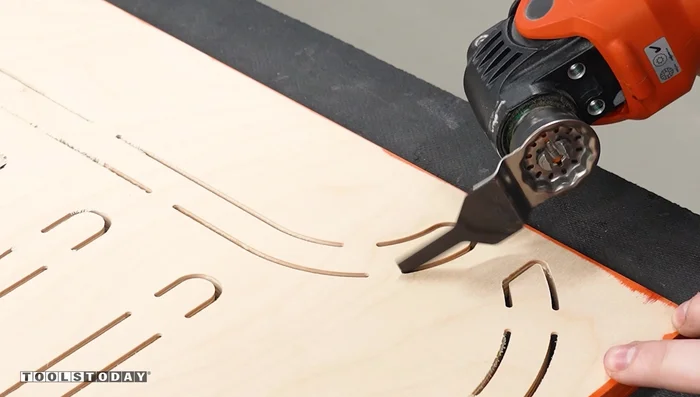
- Trim tabs using a multi-tool with a tiny blade.
- Remove remaining tabs from inlay pieces using mini bits with a ball bearing.
- Round over the edges of the inlay pieces using a mini roundover bit.
Cut and Prepare Inlay Pieces Prepare Backer Board
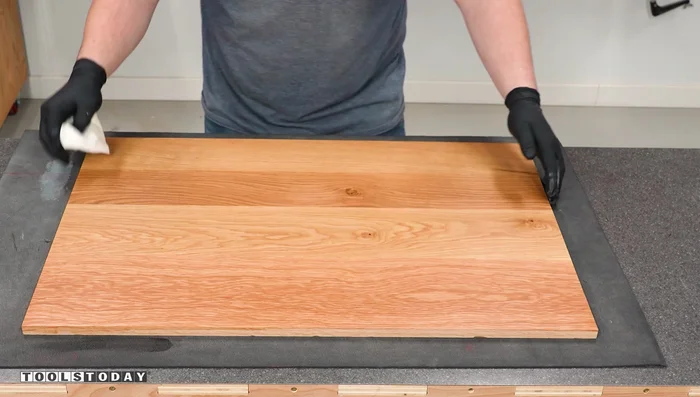
- Pre-finish the backer board (oak plywood).
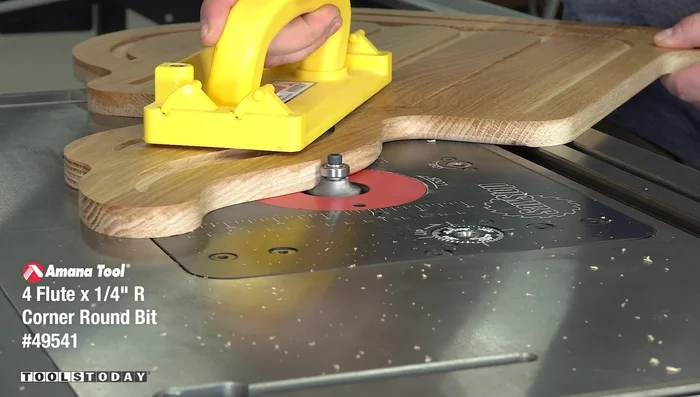
- Round over the edges of the backer board using a Quin radius four flute roundover bit (adjust router RPM or feed rate accordingly).
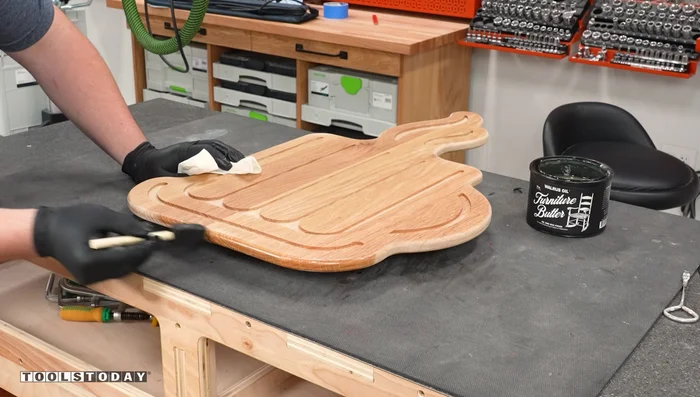
- Touch up the edges of the backer board to prevent finish from entering the pockets.
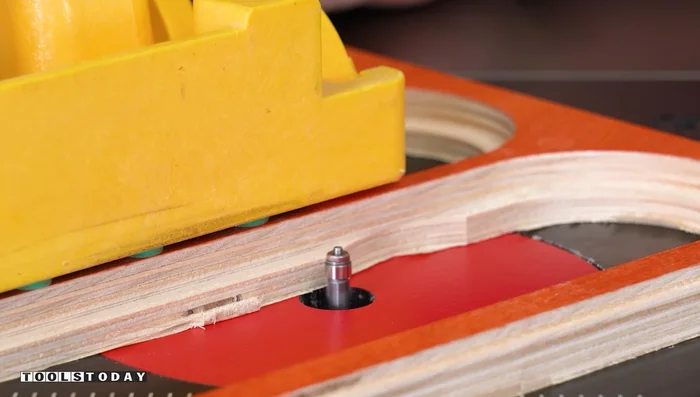
Prepare Backer Board CNC Pocket Cutting
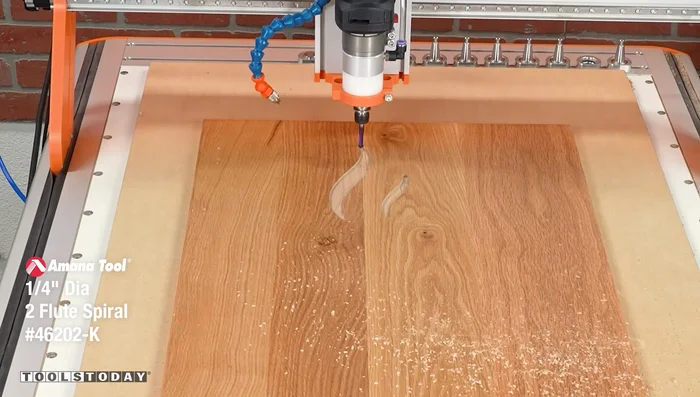
- Cut pockets in the backer board using a CNC router with a 1/4in down cut bit for initial material removal, followed by a 1/8in bit for finer details. Use a compression bit for clean top and bottom surfaces.
CNC Pocket Cutting Finishing Inlay Pieces
- Stain inlay pieces using black India ink.
- Address raised grain on the stained inlay pieces with a steel bristle brush.
Finishing Inlay Pieces Wall Mounting Preparation
- Create French cleats for wall mounting.
- Install French cleats on the backer board.
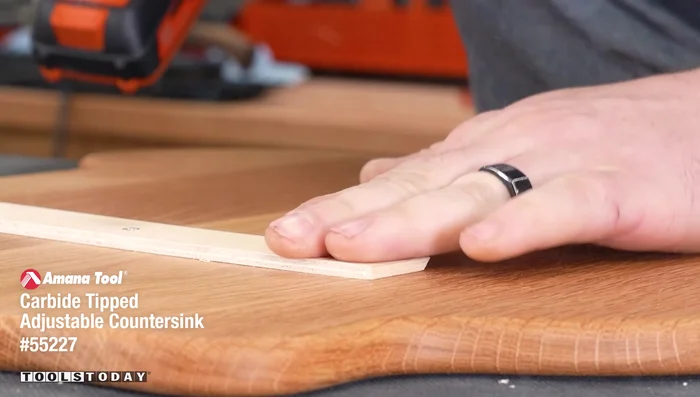
- Use a countersink tool for precise depth installation.
Wall Mounting Preparation Assembly and Installation
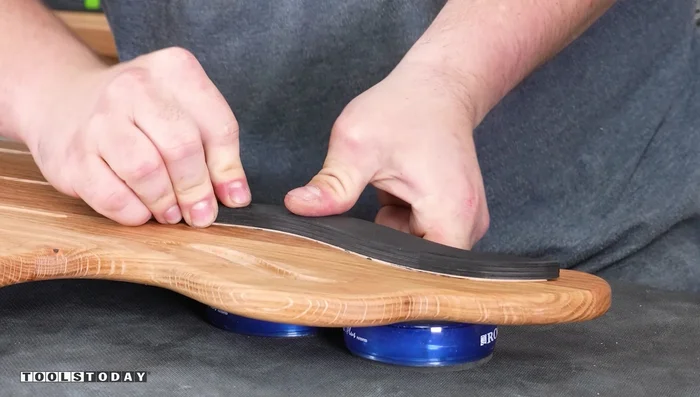
- Install inlay pieces using TI Bond 2 wood glue.
- Clean up excess glue.
- Mount the organizer on the wall.
Assembly and Installation Final Touches
- Add espresso pods.
Final Touches


Read more: Fix KitchenAid Espresso Machine Water Leak: The Steam Cap Solution
Tips
- Use tabs on small inlay pieces to prevent them from moving during CNC cutting.
- A compression bit provides clean top and bottom surfaces when cutting pockets.
- Mini bits with ball bearings are useful for accessing tight spaces.
- Adjust router RPM or feed rate for optimal results when using multiple-flute bits.
- Use a countersink tool for clean and precise installation without surface marring.