Are you tired of your coffee pods scattered across your countertop, creating a chaotic mess each morning? Do you dream of a sleek, organized coffee station that reflects your personal style? Then look no further! This comprehensive guide will walk you through the process of crafting your very own six-sided coffee pod holder, a stylish and efficient solution to your coffee pod storage woes. Forget overpriced, mass-produced organizers; we'll show you how to build a custom holder that fits perfectly into your kitchen's aesthetic and holds a generous supply of your favorite blends.
This project is surprisingly simple, requiring only readily available materials and basic crafting skills. From choosing the right wood to assembling the final product, we'll provide clear instructions and helpful tips to ensure a successful build. Ready to transform your coffee corner from cluttered to captivating? Let's dive into the step-by-step instructions to create your stunning DIY six-sided coffee pod holder.
Preparation and Safety Guidelines
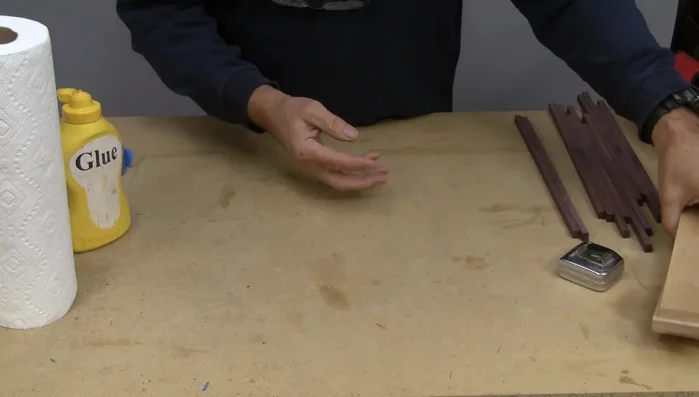
- Wood (Purple Heart and others)
- Glue
- Tape
- Clamps (optional)
- Drill
- Whole saws (drill bit)
- Scrap wood for jig
- Screws
- Sliding miter saw
- Angle finder
- Sandpaper
- Finishing oil (e.g., Osmo)
- Band saw
- Dust collector
- Always use appropriate safety glasses when using tools like saws or drills. Flying debris can cause serious eye injuries.
- Ensure the wood you are using is properly sanded and free of splinters to avoid injury during handling and use of the finished product.
- If using stain or varnish, ensure adequate ventilation and follow the manufacturer's safety instructions carefully. These products can be flammable and contain harmful chemicals.
Step-by-Step Instructions
Prepare the Wood Pieces
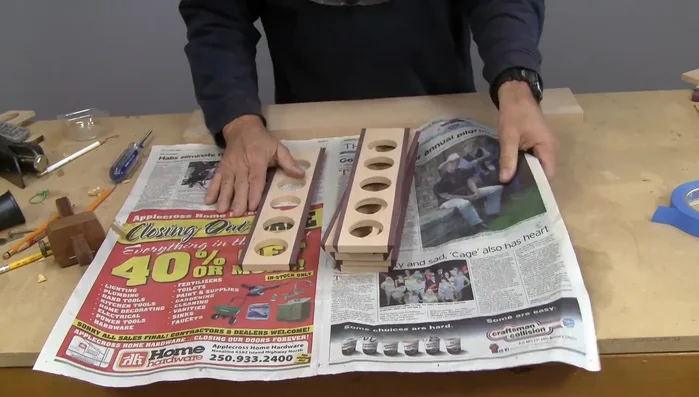
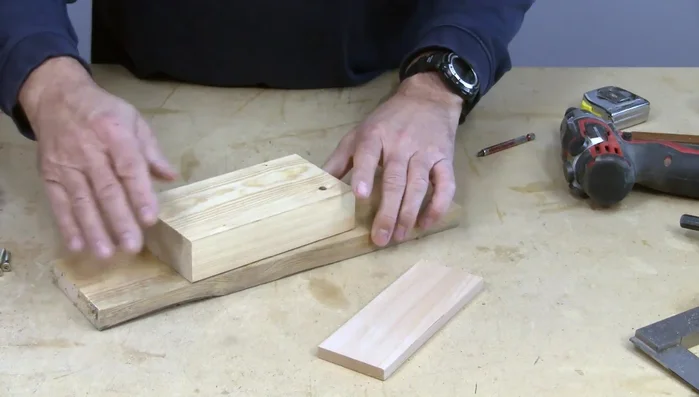
- Cut the inner and side pieces. Dimensions are not critical; adapt to your available wood.
- Cut angles on the sides to create a hexagon using an angle finder and table saw.

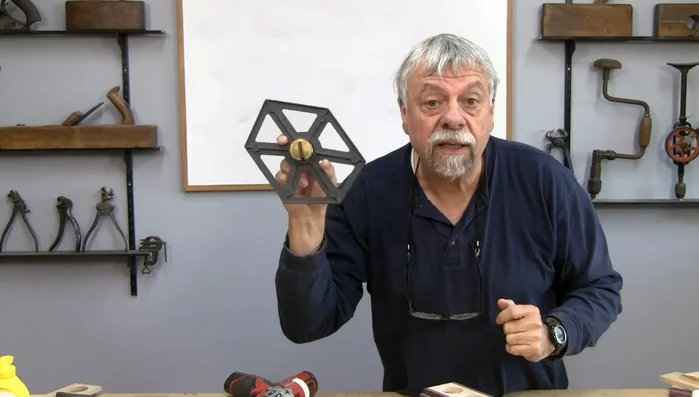
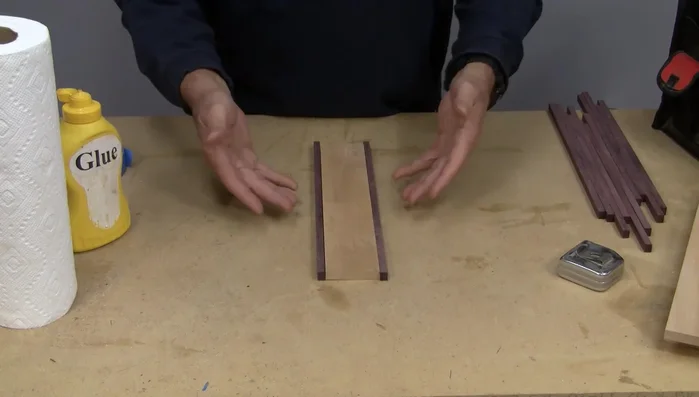
Prepare the Wood Pieces Assemble the Hexagonal Body
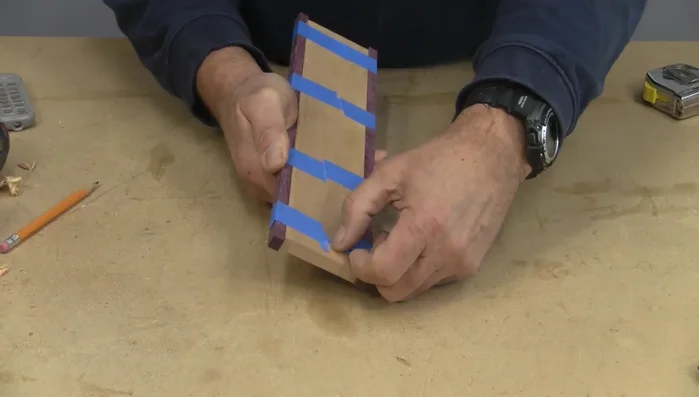
- Glue the side pieces to the inner pieces. Use tape instead of clamps for easier application.
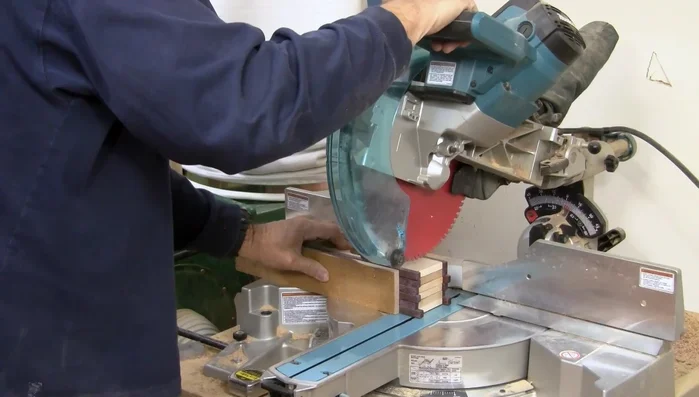
- Trim the ends of the glued pieces using a sliding miter saw.
- Glue the sides together. A cool trick involves using tape to keep the pieces aligned and create a tight gluing surface.
Assemble the Hexagonal Body Create the Coffee Pod Holes
- Create a simple jig for precise drilling. This will prevent the drill bit from catching and spinning.
- Drill holes using the jig and whole saws. Remove the plugs after each hole.
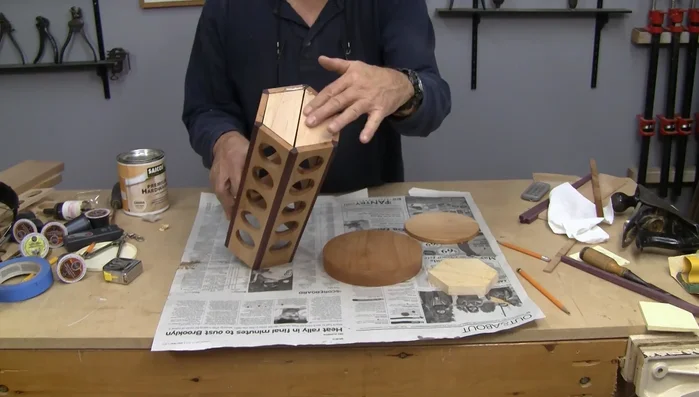
Create the Coffee Pod Holes Create and Attach the Base
- Create a base insert by drawing and cutting a circle on the band saw and sanding it.
- Assemble the base and insert.
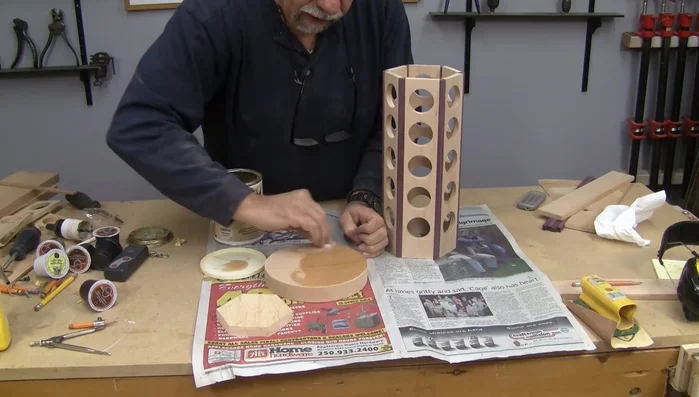
Create and Attach the Base Finish the Holder
- Apply three coats of finishing oil.
Finish the Holder

Read more: Fix KitchenAid Espresso Machine Water Leak: The Steam Cap Solution
Tips
- When gluing, only a light pressure is needed. Don't over-tighten clamps.
- Use a pinky finger to apply glue, freeing your other hand.
- For easier plug removal, use the little slots provided by the manufacturer and tap them out.
- Use tape to align the sides for gluing, creating a tight and efficient bond.