Baking a cake is a labor of love, but the process doesn't always end with a perfectly frosted masterpiece. Crumbly cakes, sliding frosting, and hours spent meticulously smoothing – these are common frustrations for even experienced bakers. But what if there was a simple trick to transform your cake-frosting experience, saving you both time and stress, resulting in a flawlessly finished dessert every time? The secret lies in a surprisingly simple technique: freezing your cakes before frosting.
Freezing your baked cake layers creates a firmer, less crumbly base, making frosting a breeze. This prevents those pesky crumbs from migrating into your delicate frosting, leaving you with a smooth, professional finish. This technique significantly reduces the time spent on frosting, allowing you to focus on the creative aspects of decorating. Ready to learn how to achieve picture-perfect frosting with minimal effort? Let's dive into the step-by-step guide below.
Preparation and Safety Guidelines
- Cling film/Saran wrap
- Cake comb
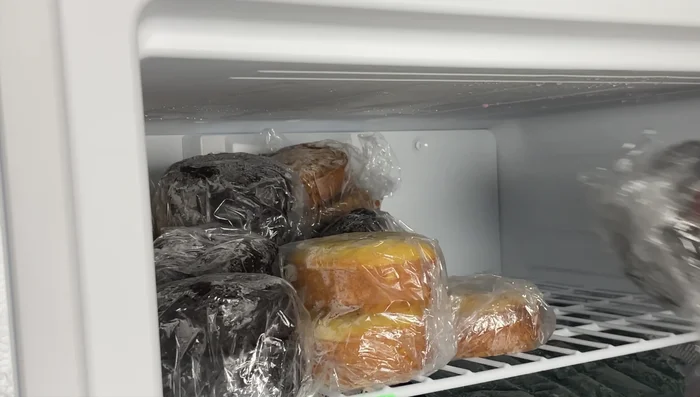
- Ensure cakes are completely cool before freezing to prevent condensation and soggy layers. Wrap tightly to avoid freezer burn.
- Freeze cakes in airtight containers or heavy-duty freezer wrap. This helps maintain freshness and prevents flavor absorption from other foods.
- Thaw cakes completely in the refrigerator before frosting. This allows for easier handling and prevents the frosting from melting too quickly.
Step-by-Step Instructions
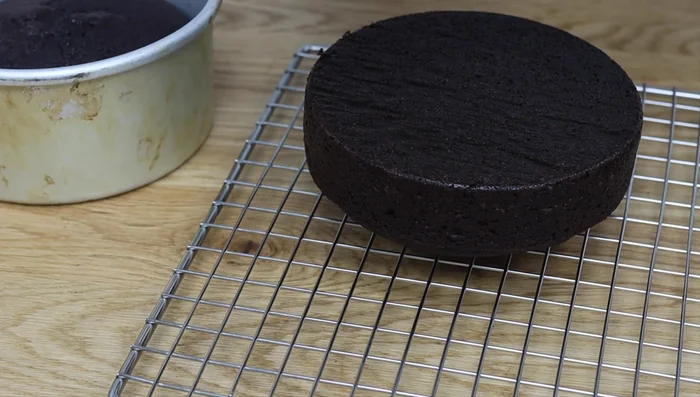
Prepare Cake Layers
- Bake and completely cool your cakes. Level, divide, and drizzle with simple syrup if desired (while still at room temperature).

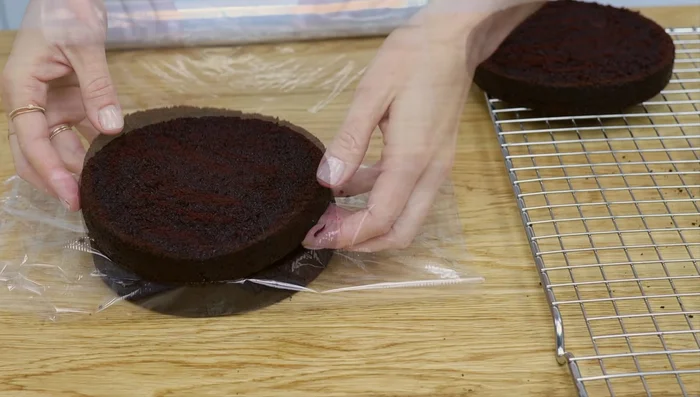
Prepare Cake Layers Wrap and Freeze Cake Layers
- Wrap cake layers tightly in cling film or saran wrap, ensuring no gaps for moisture. Wrap individually or stack with plastic wrap between layers (max 2 layers at a time).
- Freeze the wrapped layers. The night before use, move them to the refrigerator to thaw overnight.
Wrap and Freeze Cake Layers Assemble and Crumb Coat (Frozen Layers)
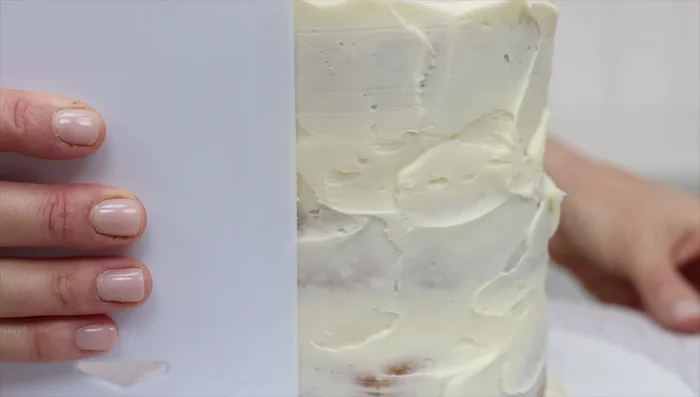
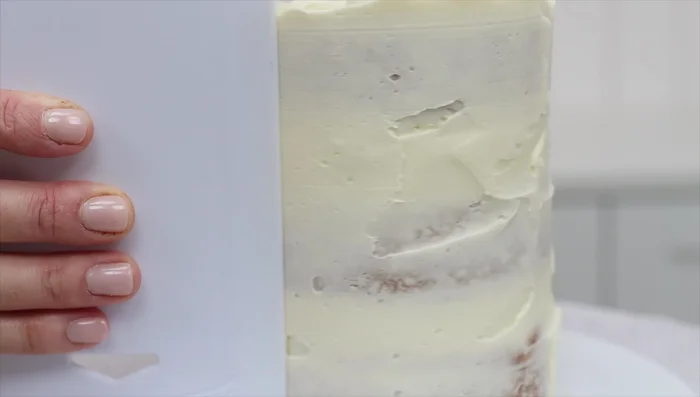
- Assemble the cake using still-frozen layers. This prevents crumbliness and makes frosting easier.
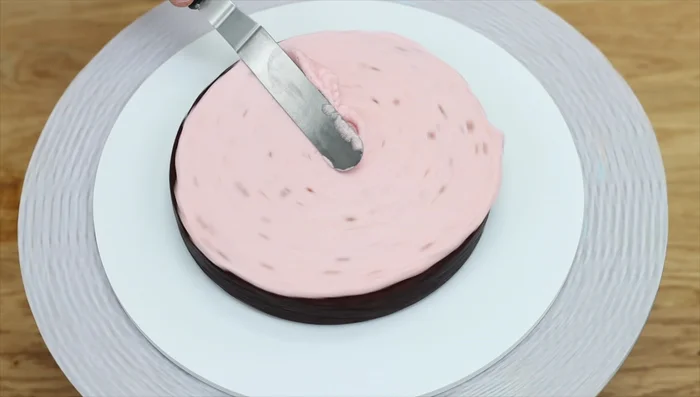
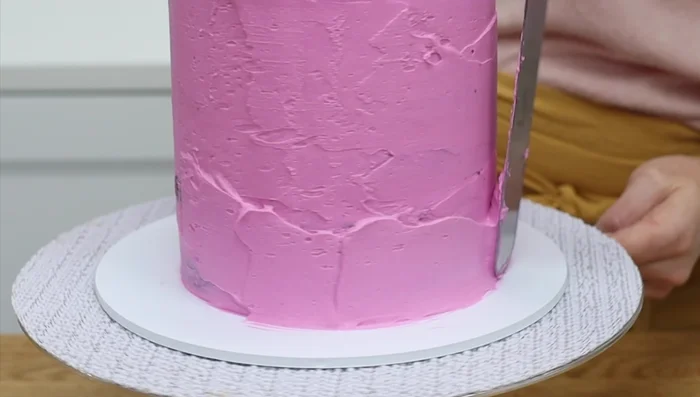
- Apply the crumb coat while the cake is still frozen. The frosting will glide on smoothly.
Assemble and Crumb Coat (Frozen Layers) Thaw and Apply Final Frosting
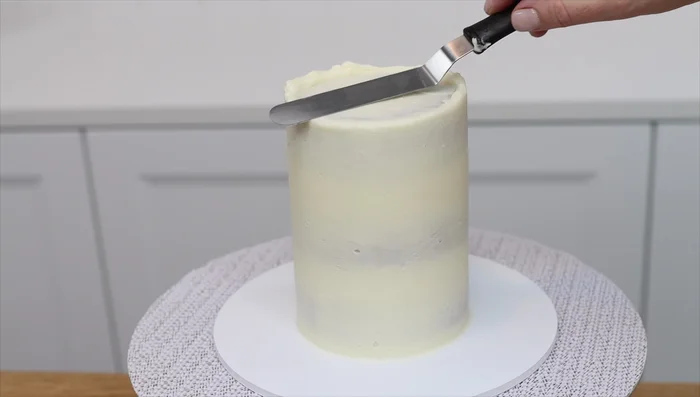
- Let the crumb-coated cake thaw at room temperature for 30 minutes or in the fridge for 1-2 hours before applying the final frosting.
- Apply the final layer of frosting after the cake has thawed slightly. This allows for smoother and more precise frosting.
Thaw and Apply Final Frosting Freeze Entire Crumb-Coated Cake
- Freeze the crumb-coated cake, thaw overnight in the refrigerator, and frost/decorate before serving.
Freeze Entire Crumb-Coated Cake Freeze Fully Frosted and Decorated Cake
- Chill for one hour after decorating. Wrap tightly in multiple layers of plastic wrap to seal completely. Freeze for up to two months. Thaw overnight in the refrigerator before serving.
Freeze Fully Frosted and Decorated Cake
Read more: DIY Wooden Bread Box: Simple Plywood Project
Tips
- Freezing cake layers allows you to bake ahead, minimizing baking time on the day of your event.
- Frozen cake layers are firm and stable, making them less crumbly and easier to handle and frost.
- Freezing a crumb-coated cake saves time on the day of your event; you can skip straight to frosting and decorating.
- Freezing a completely frosted and decorated cake allows for advance preparation, ideal for busy schedules.
- Proper wrapping is crucial to prevent freezer burn and maintain cake quality. Multiple layers are key for a good seal.