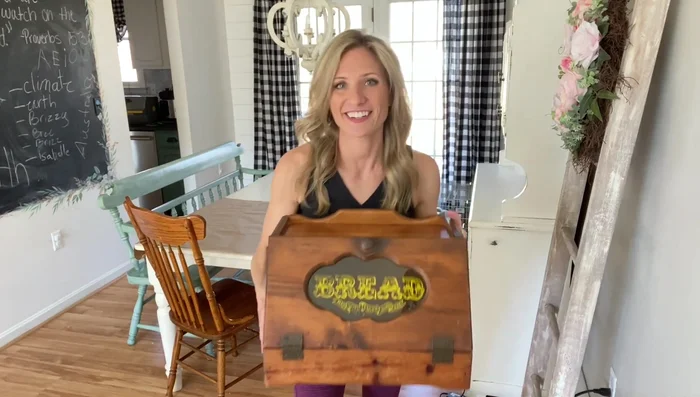
Tired of tangled charging cords cluttering your kitchen counters? Wish you could add a touch of rustic charm to your tech setup? Then get ready to transform an old, forgotten bread box into a stunning and functional farmhouse-style charging station! This delightful DIY project breathes new life into a vintage find, turning a potentially discarded item into a stylish and organized solution for all your electronic devices. We’ll be repurposing the charming character of a weathered bread box to create a unique charging hub, perfectly blending practicality with that coveted farmhouse aesthetic.
This upcycled bread box charging station is surprisingly easy to make, even for beginner DIY enthusiasts. Imagine the satisfaction of crafting a beautiful and useful item from something that was destined for the trash. Prepare to be amazed by how simple it is to turn a forgotten relic into a centerpiece! Ready to get started? Let's dive into the step-by-step instructions below.
Preparation and Safety Guidelines
- Bread box
- Dremel
- Chalk paint (white & other colors)
- Chicken wire
- Staple gun
- Silhouette machine (optional)
- Always unplug the power supply before handling any internal wiring or components. Electricity is dangerous.
- Ensure adequate ventilation around the charging station to prevent overheating. Do not obstruct any air vents.
- Use only appropriately sized and rated power cords and outlets for your devices and the power supply. Avoid overloading the circuit.
Step-by-Step Instructions
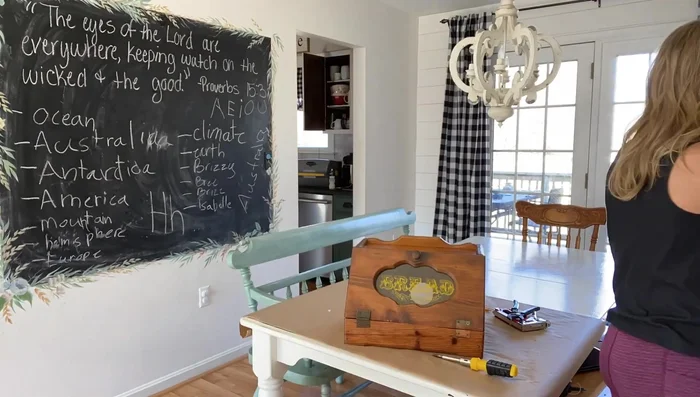
Source the Bread Box
- Find a bread box at a thrift store.

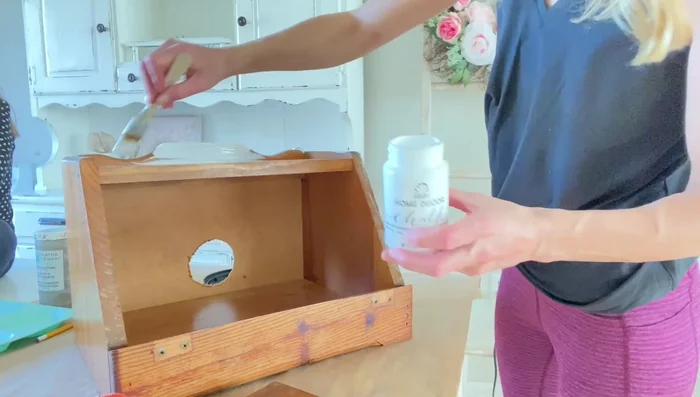
Source the Bread Box Prepare the Bread Box
- Clean the bread box thoroughly to remove grease and oil. This prevents paint cracking.
- Remove all hardware and glass from the bread box.
Prepare the Bread Box Create Wire Access
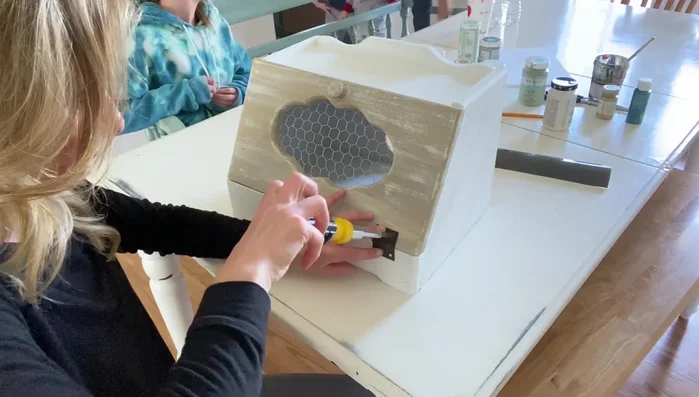
- Trace and cut a circle in the back of the bread box for wire access using a Dremel.
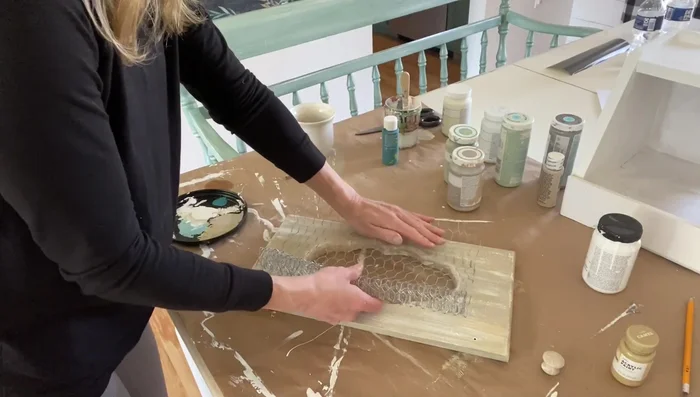
Paint the Bread Box
- Paint the bread box with three coats of white chalk paint.
- If paint cracks, embrace it! Use additional paint colors to create a faux wood finish.
Paint the Bread Box Install Wire Management
- Cut and attach chicken wire to the inside of the bread box using a staple gun. Trim and curl sharp edges.
Install Wire Management Reassemble and Decorate
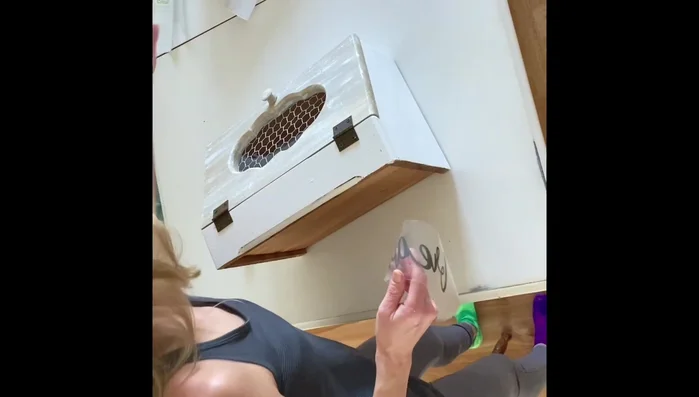
- Reassemble the bread box.
- Cut out a word (e.g., "Bread") using a Silhouette machine and attach it to the bottom.
Reassemble and Decorate
Read more: DIY Wooden Bread Box: Simple Plywood Project
Tips
- Thoroughly clean the bread box before painting to prevent paint cracking.
- Embrace imperfections in the paint job; they can add character.