Keeping your bread fresh and delicious is easier than you think! This simple DIY project will guide you through the creation of a charming and functional wooden bread box, crafted entirely from readily available plywood. Forget flimsy plastic containers and embrace the warmth and rustic appeal of a handmade bread box, perfectly tailored to your kitchen's style. This project is ideal for beginners, requiring only basic woodworking tools and a touch of patience. You’ll be surprised how easily you can transform a few sheets of plywood into a beautiful and practical addition to your home.
This project requires minimal tools and materials, making it accessible even to those with limited woodworking experience. The design is straightforward yet elegant, ensuring a satisfying outcome even for first-timers. We'll walk you through every step of the process, from cutting and assembling the plywood pieces to adding a final protective finish. Ready to get started? Let's dive into the step-by-step instructions.
Preparation and Safety Guidelines
- Plywood (3/4 inch)
- Table saw (or miter saw)
- Glue
- Nail gun (with 2-inch and shorter nails)
- Spackle
- Sandpaper
- White paint
- Stencil (or method for creating design)
- Black paint
- Makeup sponges
- Sealant
- Drill
- Handles
- Always use appropriate safety glasses when using power tools like saws and drills. Wood dust and flying debris can cause serious eye injuries.
- Ensure proper ventilation when working with wood, especially if using finishes or stains. Wood dust can be a respiratory irritant.
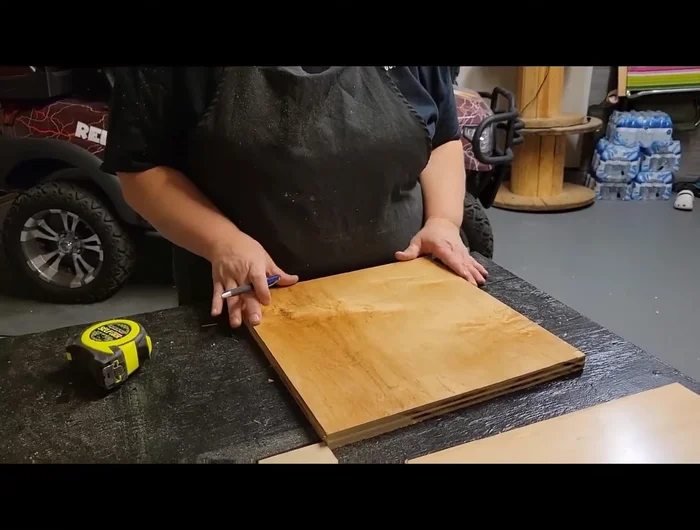
- Take your time and measure twice, cut once. Accuracy in cutting is crucial for a well-fitting and functional bread box.
Step-by-Step Instructions
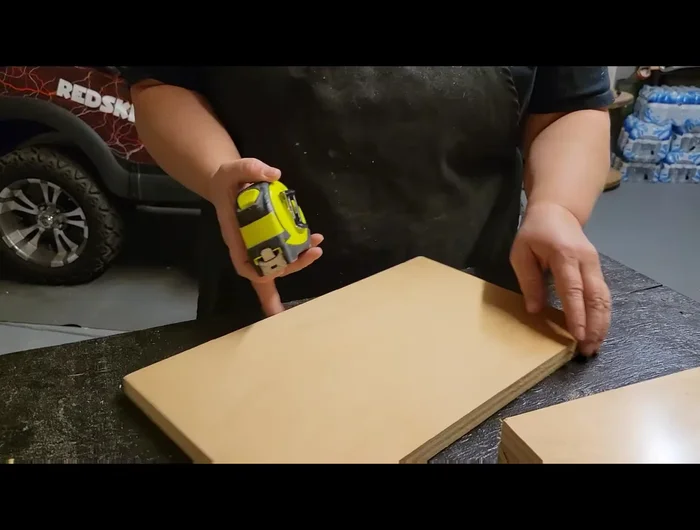
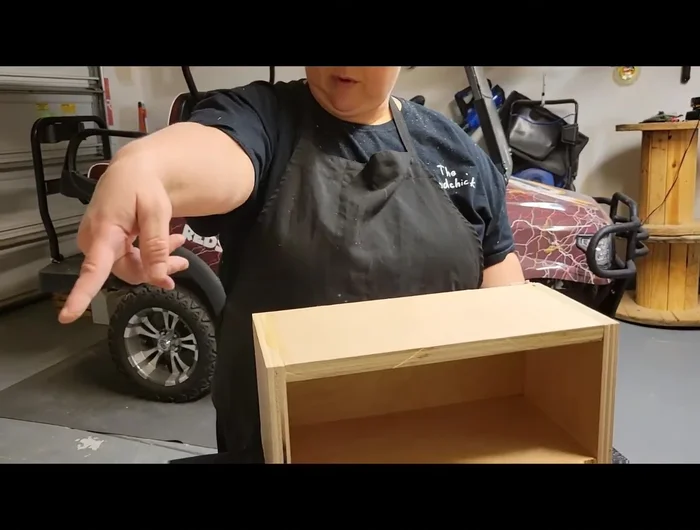
Cut Plywood Pieces
- Two 14-inch wide by 7-inch high pieces for the sides.
- Cut two additional 7-inch by 14-inch pieces for the sides.

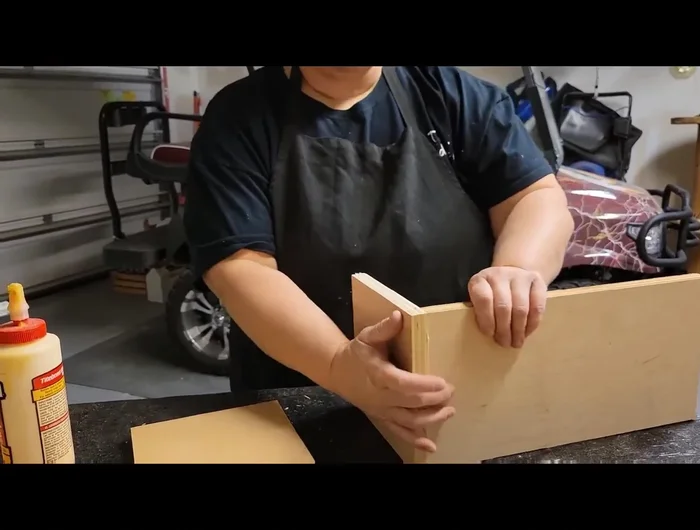
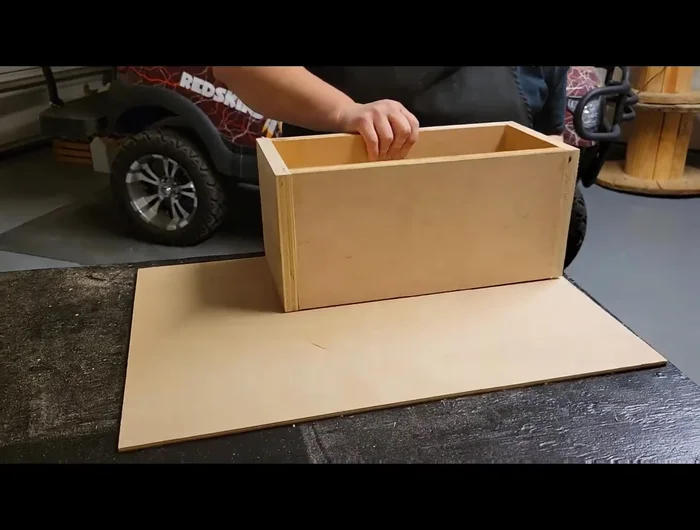
Cut Plywood Pieces Assemble the Box
- Assemble the box sides using glue and a nail gun.
- Cut and attach the bottom piece of plywood.
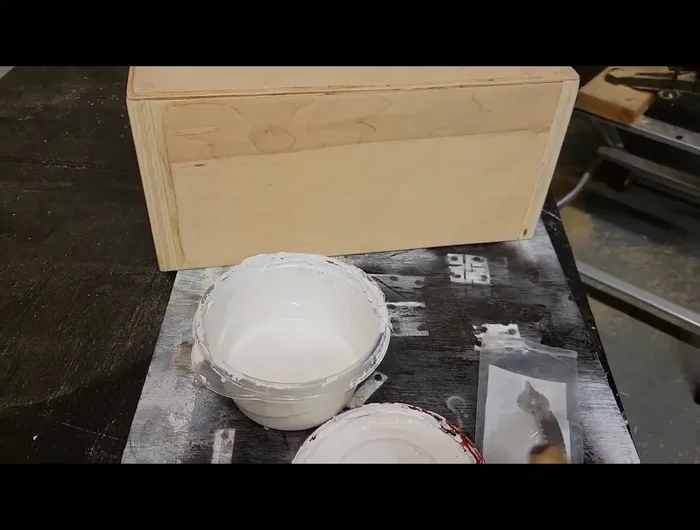
Assemble the Box Fill and Smooth
- Apply spackle to fill nail holes and seams.
- Sand the box to smooth the surfaces.
Fill and Smooth Paint the Box
- Paint the box white.
Paint the Box Add Design
- Apply stencil and paint design (using contact paper for the stencil is suggested).
Add Design Attach Handles
- Drill holes for handles and attach the handles to the lid.
Attach Handles Seal and Finish
- Apply a sealant to protect the paint.
Seal and Finish


Tips
- Using a miter saw is an alternative to a table saw for cutting.
- Shorter nails (1.5 inches) may suffice instead of 2-inch nails.
- Don't skip spackling; it improves the finished look.
- Use contact paper instead of vinyl for stencils to save money.
- Use makeup sponges for even paint application.