Transform ordinary wood into a charming farmhouse centerpiece with this DIY rustic wood tray project! We'll guide you through creating a beautiful, functional tray perfect for showcasing your favorite crockery or displaying seasonal décor. This project is perfect for adding a touch of rustic elegance to your home, whether you're a seasoned crafter or just starting out. The satisfying process of repurposing and customizing will leave you with a piece that reflects your personal style and adds warmth to any space. The aged wood coupled with the unique character of hand-stamped crockery creates a truly one-of-a-kind piece.
Forget expensive store-bought trays – unleash your inner artisan and create something truly special! This step-by-step guide will walk you through each stage of the process, from selecting the right wood and preparing it for stamping, to applying the unique designs and finishing touches. Get ready to roll up your sleeves and experience the joy of crafting your own farmhouse-style treasure – a stunning rustic wood tray, perfectly complemented by charming hand-stamped crockery.
Preparation and Safety Guidelines
- Wood
- Planer
- Saw
- Grinder with sanding bit
- Nail gun
- Cutting board oil
- Spray gun
- White chalk paint
- Rustoleum clear coat
- Sandpaper
- Painter's paint pen
- Transfer paper
- Wood glue
- Finishing nails
- Crockery stamps
- Waverly chalk paint
- Waverly white wax
- Chip brush
- Always wear safety glasses when using hammers, chisels, or other tools that could cause flying debris.
- Use caution when working with wood stains and paints. Ensure adequate ventilation and wear appropriate protective gloves and masks to avoid inhalation or skin contact.
- When using a stamping tool, apply firm, even pressure to avoid damaging the wood or crockery. Use a protective surface underneath to prevent scratching your work area.
Step-by-Step Instructions
Tray Construction
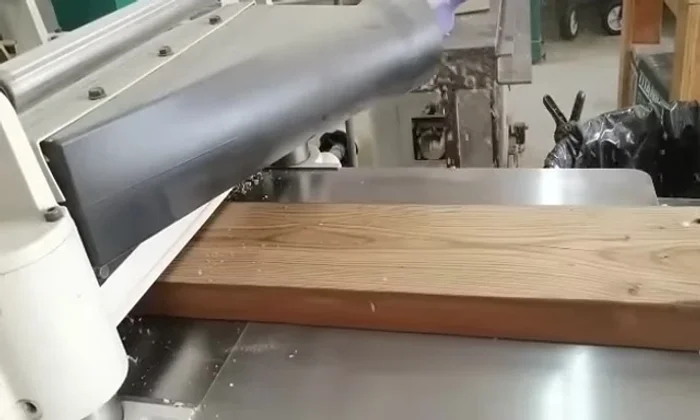
- Planing to remove the top layer, cutting to desired length (11 inches x 20 inches recommended), cutting edges at a 45-degree angle for rounded corners.
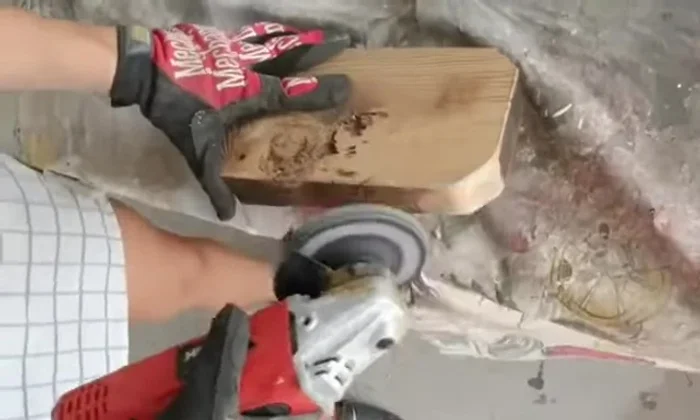
- Using a grinder with a sanding bit to create a hand-carved look and soften the edges.
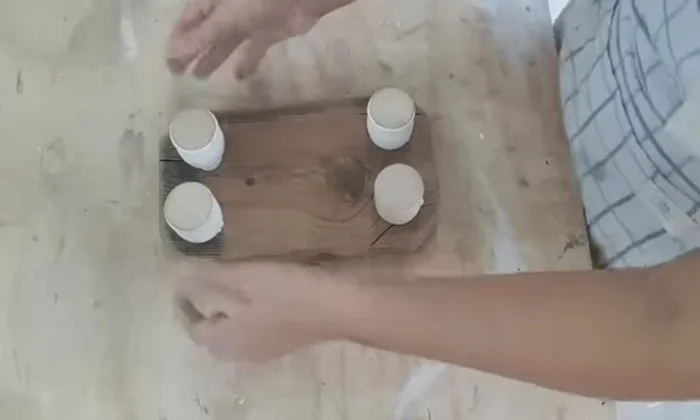
- Attaching cut-down crib spindles as feet using wood glue and a nail gun.
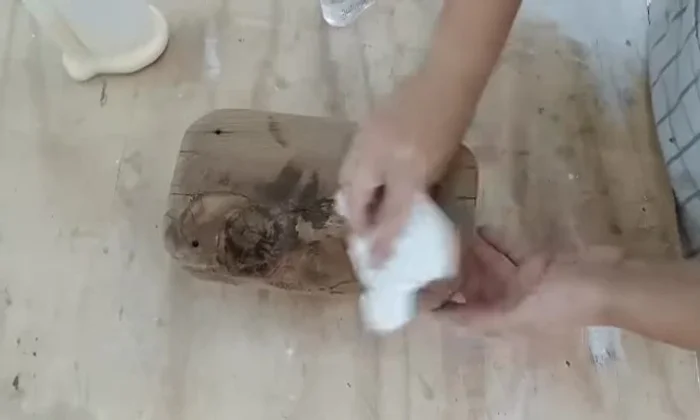
- Applying cutting board oil using a piece of fabric to seal and enhance the wood's appearance.

Tray Construction Breadbox Preparation and Painting
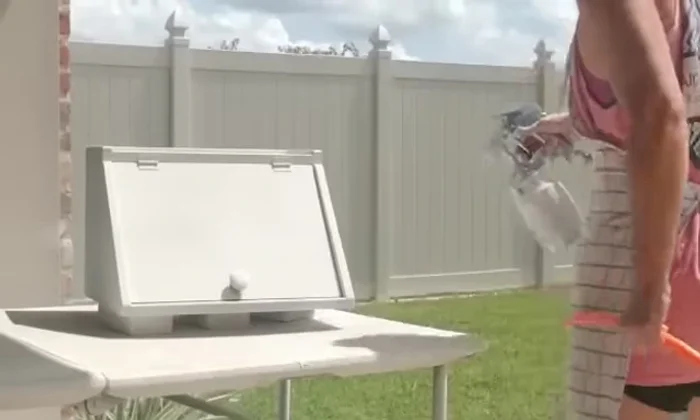
- Sanding down to remove paint brush strokes and create a smooth surface.
- Spraying with white chalk paint using a spray gun for even coverage. Addressing bleed-through with a clear coat and additional paint layers.
- Using an orbital sander to stress the edges and create a vintage look.
Breadbox Preparation and Painting Breadbox Detailing
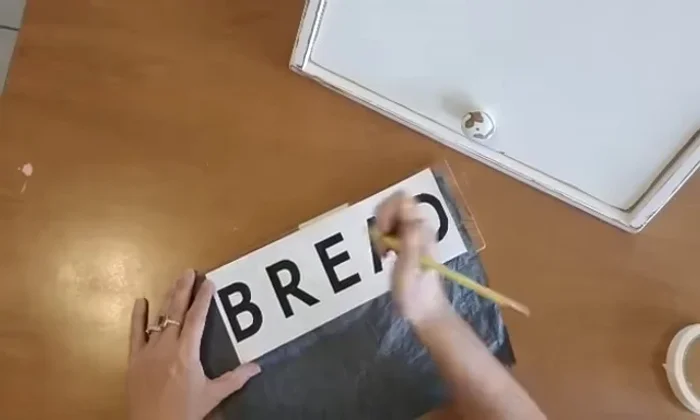
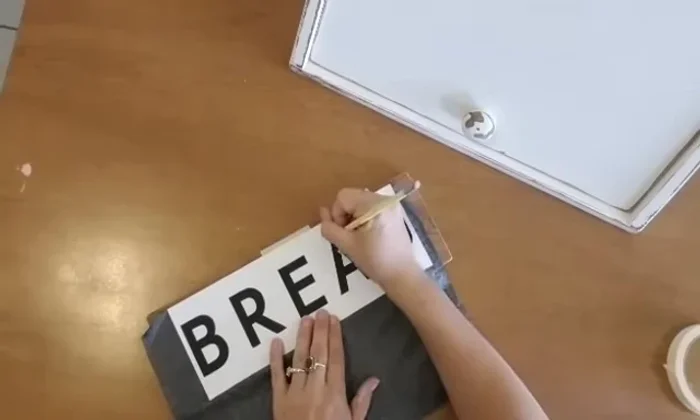
- Printing the word "Bread" on transfer paper and applying it to the breadbox. Outlining and filling in letters using a painter's paint pen.
- Gluing and nailing on a braid label to the breadbox.
Breadbox Detailing Cup Preparation and Painting
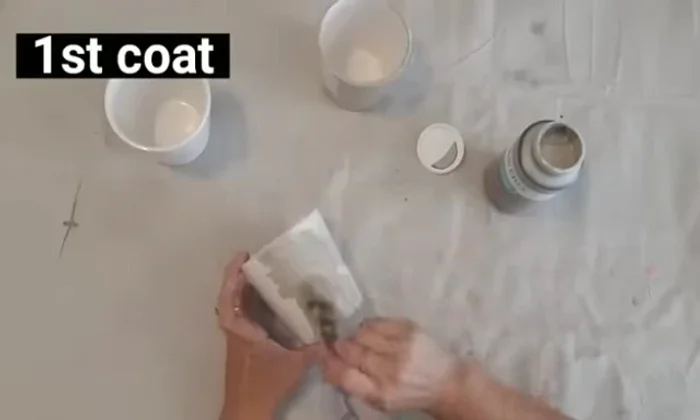
- Sanding cups to remove any residue and improve paint adhesion.
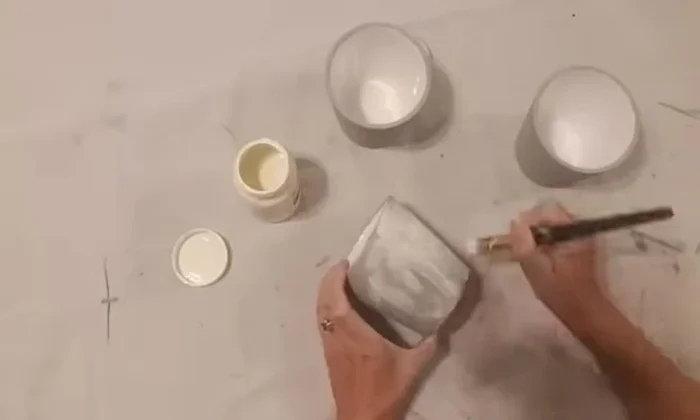
- Applying Waverly chalk paint in Mineral gray color and adding texture using a chip brush.
- Applying Waverly white wax and wiping it off with a dry cloth to create a textured, cement-like look.
Cup Preparation and Painting Stamping and Sealing
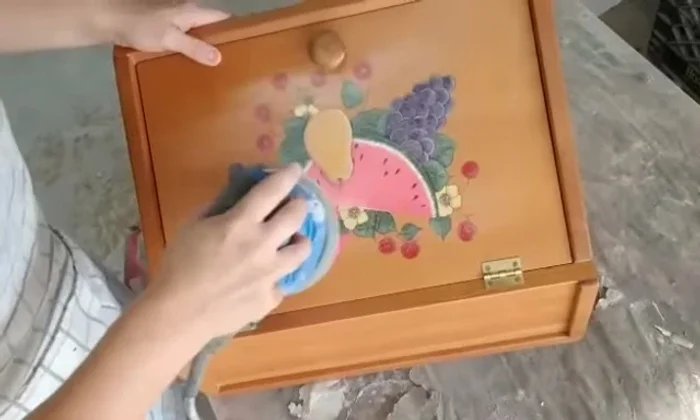
- Applying crockery stamps using ink or chalk paint. Positioning the stamp in a corner for better grip and control; pushing down firmly and holding still.
- Applying Rustoleum clear coat to seal the stamped design.
Stamping and Sealing


Read more: DIY Wooden Bread Box: Simple Plywood Project
Tips
- For a hand-carved look on wood trays, use a grinder with a sanding bit to soften the edges.
- When painting slick surfaces, apply multiple thin coats to ensure proper adhesion and prevent bleed-through.
- To create a textured cement look, apply white wax and then wipe off the excess with a dry cloth, leaving the wax in the crevices for added texture.
- For better control when using crockery stamps, position the stamp in a corner for better grip and ensure firm pressure.
- Chalk paint may work better than ink for crockery stamping.