Tired of unsightly bread bags cluttering your countertop? Yearning for a touch of rustic charm in your kitchen? Then build your own roll-top breadbox! This detailed woodworking tutorial will guide you through creating a beautiful and functional bread storage solution that will be the envy of all your baking-loving friends. Forget flimsy plastic containers – we'll be crafting a sturdy, handcrafted breadbox that adds a touch of personality to your kitchen and keeps your bread fresher for longer. The satisfying process of building this piece combines the enjoyment of woodworking with the practical need for stylish storage.
This project is perfect for woodworkers of all skill levels, from beginners eager to hone their skills to experienced craftspeople seeking a rewarding project. We'll cover everything from selecting the right materials and tools to mastering essential joinery techniques, ensuring a flawless finish. Ready to transform a few simple boards into a stunning kitchen staple? Let's dive into the step-by-step process!
Preparation and Safety Guidelines
- 1x12 Pine Lumber
- Trim Router
- Jig (for trim router)
- Saw
- Sander
- Clamps
- Brad Nails
- Screws
- Knob
- Canvas Cloth
- Iron
- Wood Glue
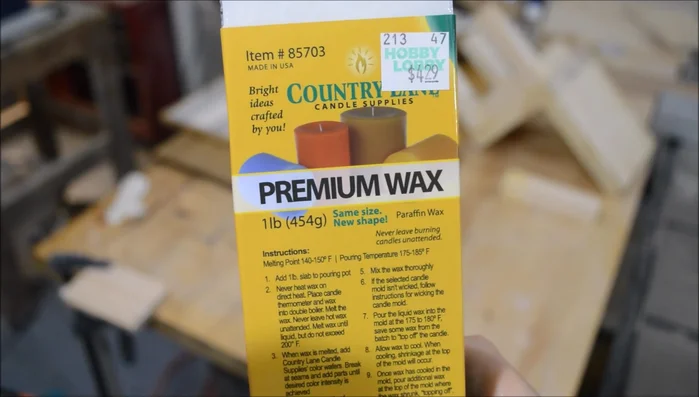
- Paraffin Wax
- Always wear safety glasses when using power tools. Wood dust and flying debris can cause serious eye injuries.
- Use clamps to secure your workpiece whenever possible, especially when using tools like routers or planers. This prevents kickback and ensures accurate cuts.
- Ensure proper ventilation when working with wood, especially when sanding or using finishes. Wood dust can be a respiratory irritant.
Step-by-Step Instructions
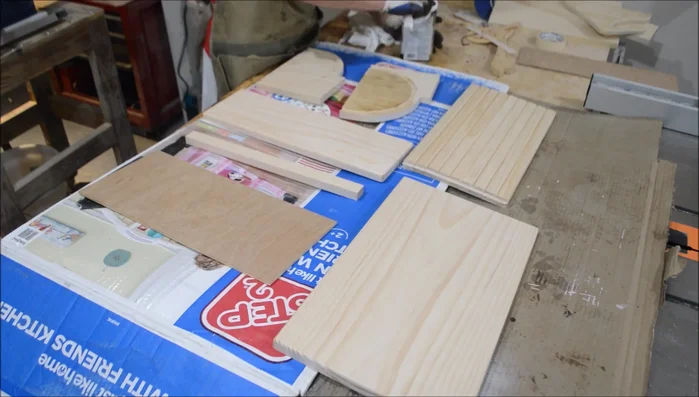
Prepare the Lumber
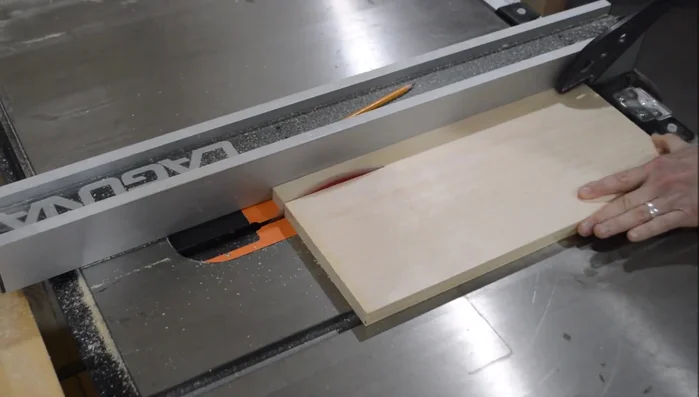
- Cut lumber to size. Use 1x12 or 1x10 pine boards.

Prepare the Lumber Create Tambour Grooves
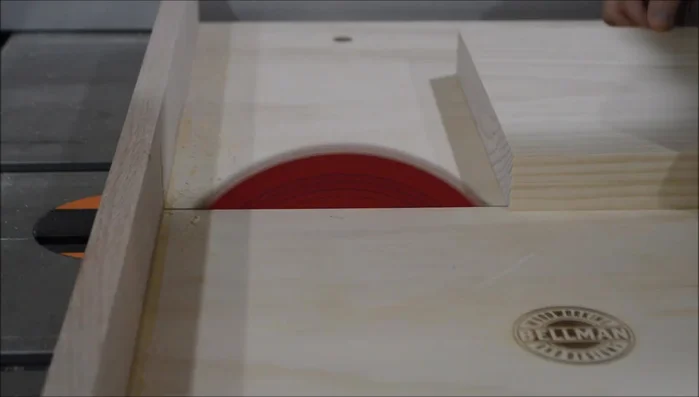
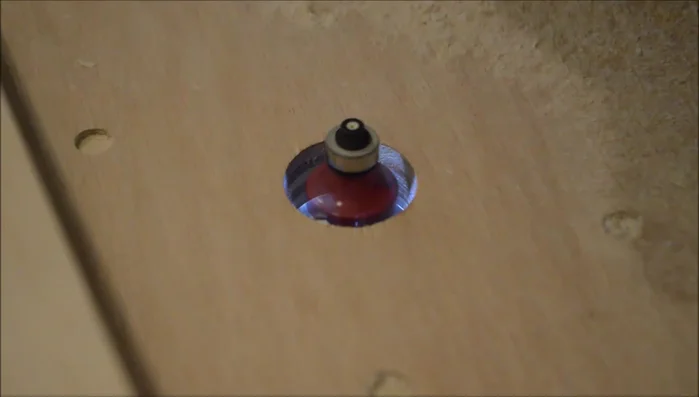
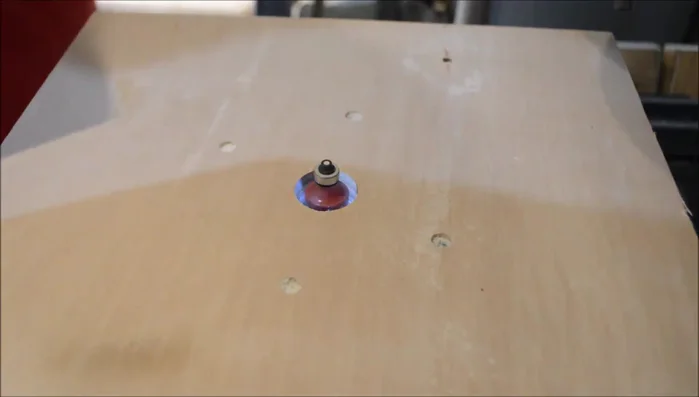
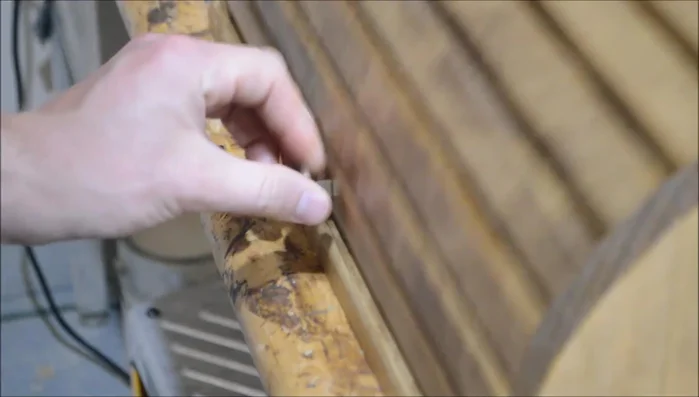
- Create a jig for your trim router to cut the grooves for the tambour (roll-top).
- Cut the grooves for the tambour on both sides of the breadbox.
Create Tambour Grooves Make the Tambour
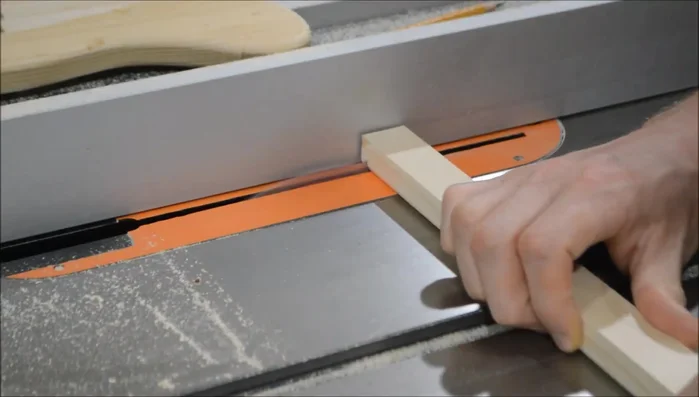
- Cut the pieces for the tambour (approximately 1 inch wide, accounting for groove width).
- Round over the front edges of each tambour piece.
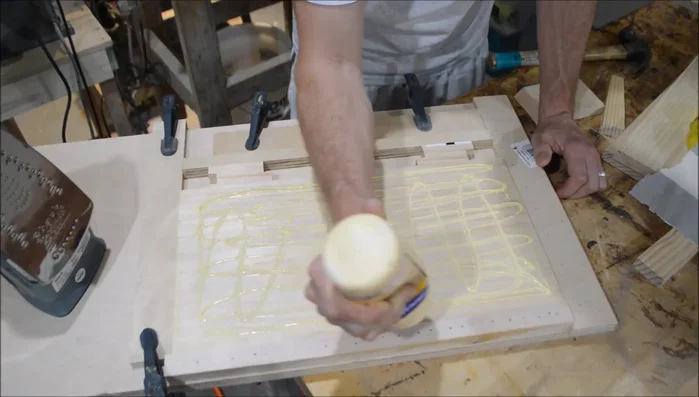
- Apply canvas cloth to the back of the assembled tambour pieces using glue, smoothing out air bubbles and using an iron to set the glue.
- Assemble the tambour using a clamping jig (link provided in the video).
Make the Tambour Shape the Breadbox Body
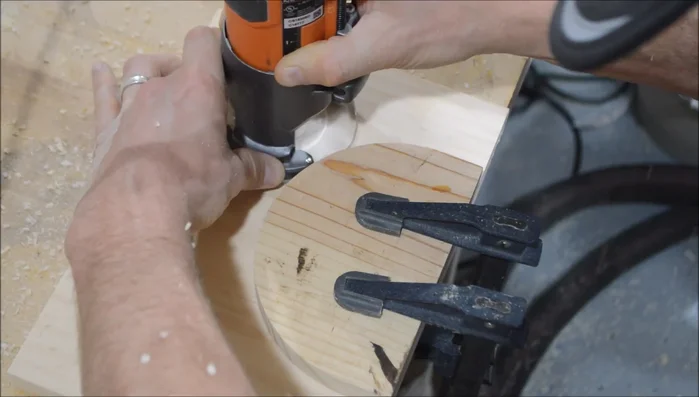
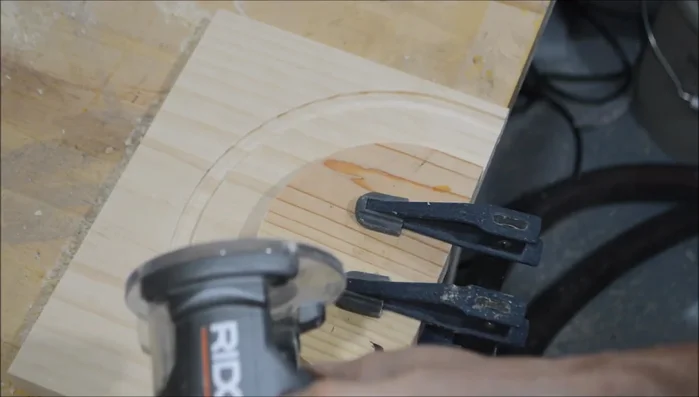
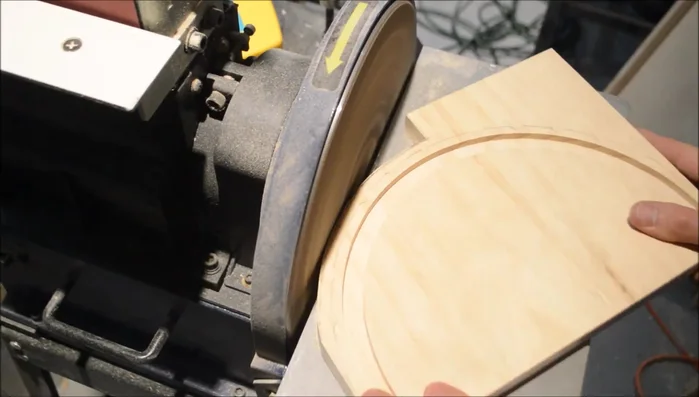
- Cut and shape the sides of the breadbox.
- Cut the top and bottom pieces to size, rounding over the top edges.
Shape the Breadbox Body Refine the Tambour
- Round over the ends of the tambour to improve sliding.
- Apply paraffin wax to the edges of the tambour for smoother sliding.
Refine the Tambour Assemble the Breadbox
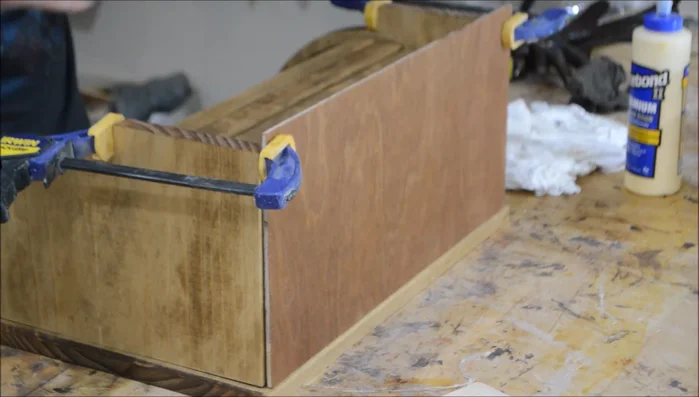
- Attach the back piece (plywood) to the breadbox using glue and brad nails.
- Assemble the breadbox, using a tight fit with glue and brad nails to secure the sides and the top.
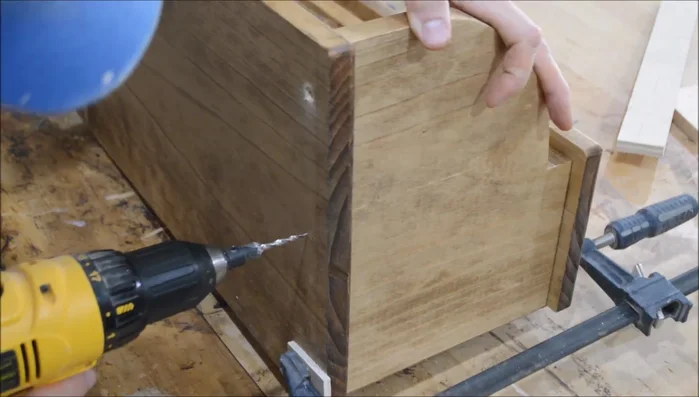
- Countersink holes for screws on the bottom and attach with screws.
- Attach the knob.
Assemble the Breadbox
Read more: DIY Wooden Bread Box: Simple Plywood Project
Tips
- Use a jig for your trim router if you don't have the correct bushings.
- Leave extra width on the tambour pieces to account for the groove.
- Use two layers of canvas cloth for better aesthetics and protection.
- Use a clamping jig for assembling the tambour.
- Apply paraffin wax to the tambour edges to lubricate.