Are you a K-Cup coffee aficionado with a countertop cluttered by overflowing pods? Do you dream of a sleek, organized coffee station that doesn't sacrifice precious counter space? Then this simple DIY cedar woodcraft project is perfect for you! This guide will walk you through creating a beautiful and functional K-Cup organizer using readily available materials and basic woodworking skills. No need for expensive pre-made solutions – you can craft a custom organizer tailored to your needs and style, all while enjoying the satisfying aroma of cedarwood.
Forget the plastic bins and messy piles! This project offers a stylish and sustainable alternative. The natural beauty of cedar wood adds a touch of elegance to your kitchen, while its inherent properties help keep your coffee pods fresh. Ready to transform your coffee corner into a haven of organization and style? Let's dive into the step-by-step instructions to build your very own DIY K-Cup organizer.
Preparation and Safety Guidelines
- Cedar fence picket
- Carpenter's square
- Miter saw
- Handheld drill
- Forstner bit
- Wood glue
- Tape measure
- Stop block
- Sandpaper
- Clear coat lacquer
- Router with circle cutting jig
- Combination square
- Angle finder
- Table saw
- Nails
- Felt discs
- Always use appropriate safety glasses when using power tools like saws or drills. Wood dust can also irritate eyes.
- Ensure adequate ventilation when working with wood, especially cedar, as the sawdust can be irritating to the lungs. Consider using a dust mask.
- Take your time and measure carefully before cutting. Precise measurements are crucial for a well-fitting and functional K-Cup organizer.
Step-by-Step Instructions
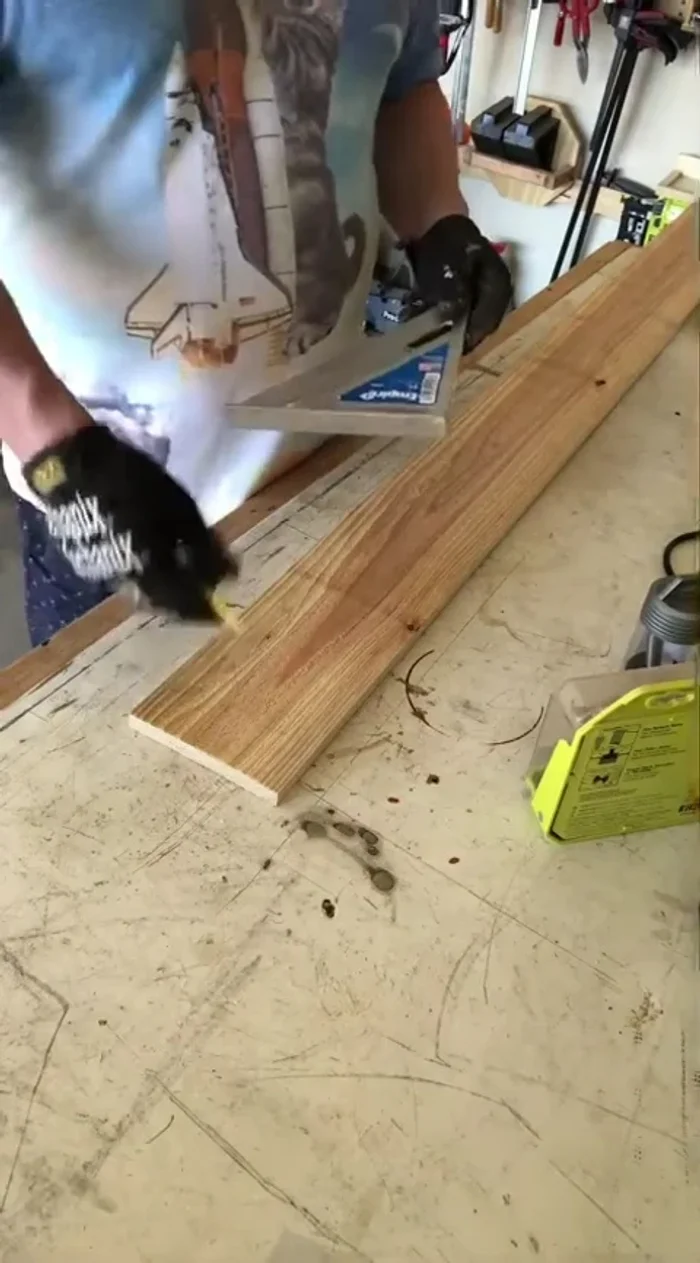
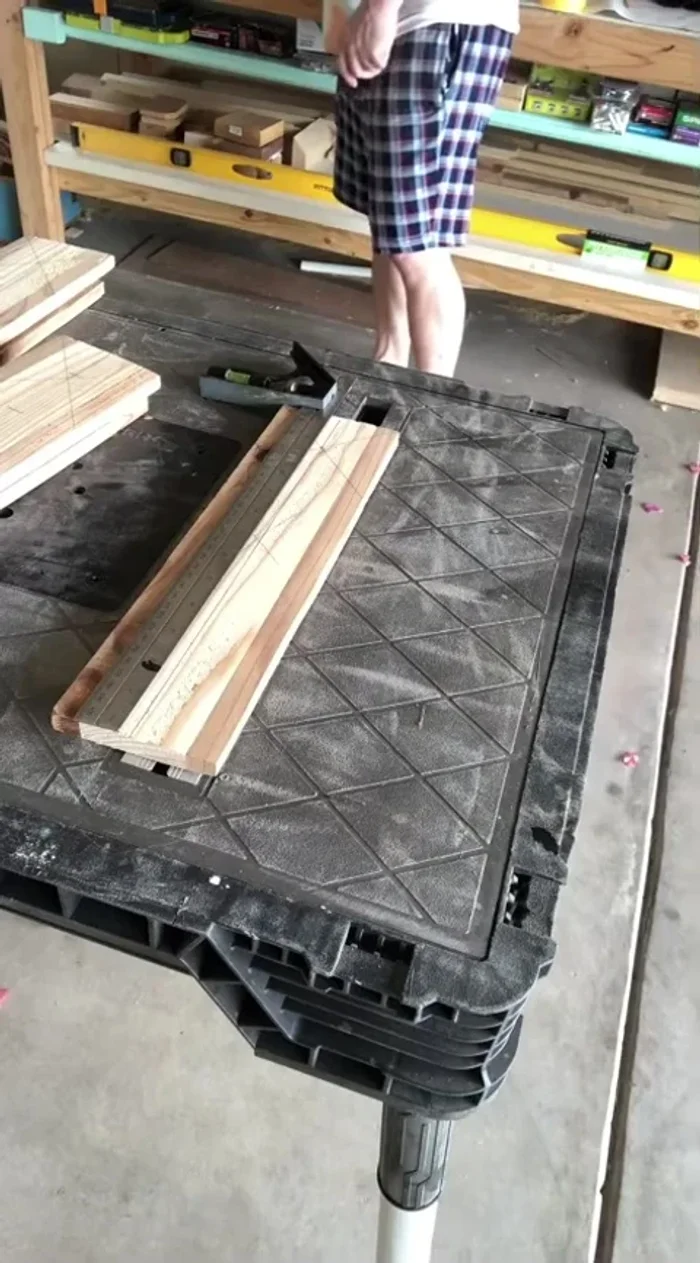
Prepare the Main Boards
- Find the center point of the board using a carpenter's square.
- Rip the board down the middle to get six 2.5-inch wide strips.
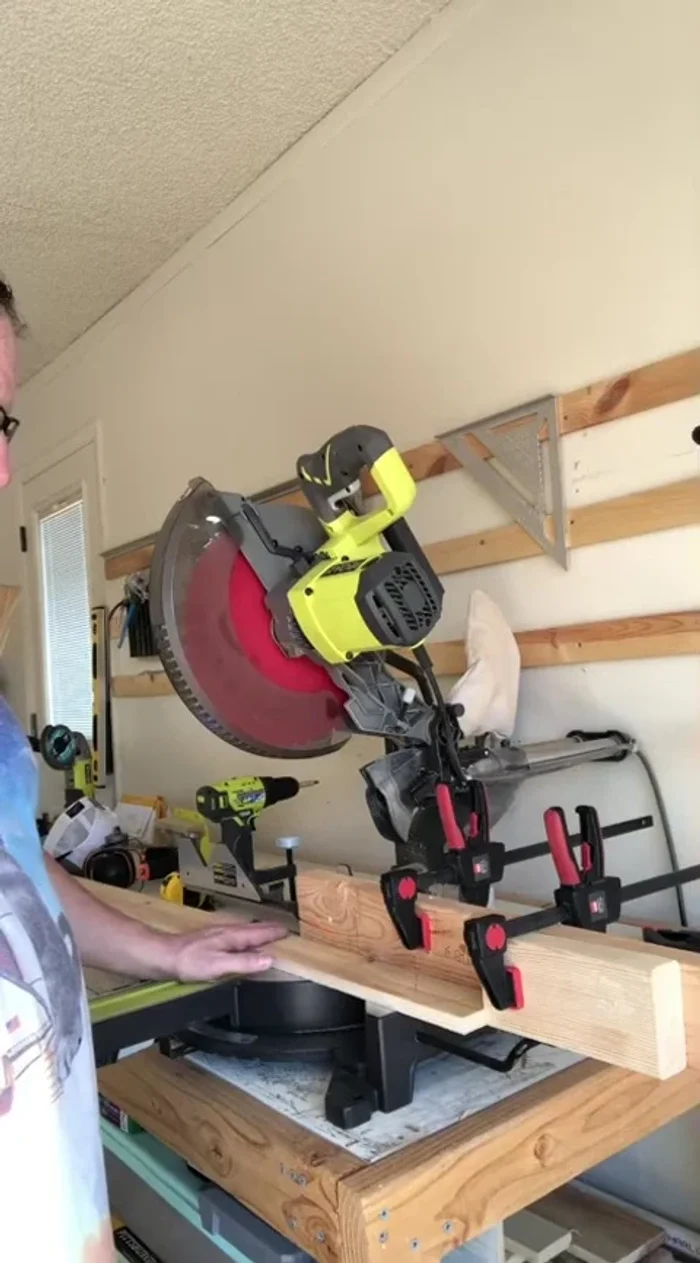
- Cut six pieces at 1 foot 2 inches using a stop block for consistent size.

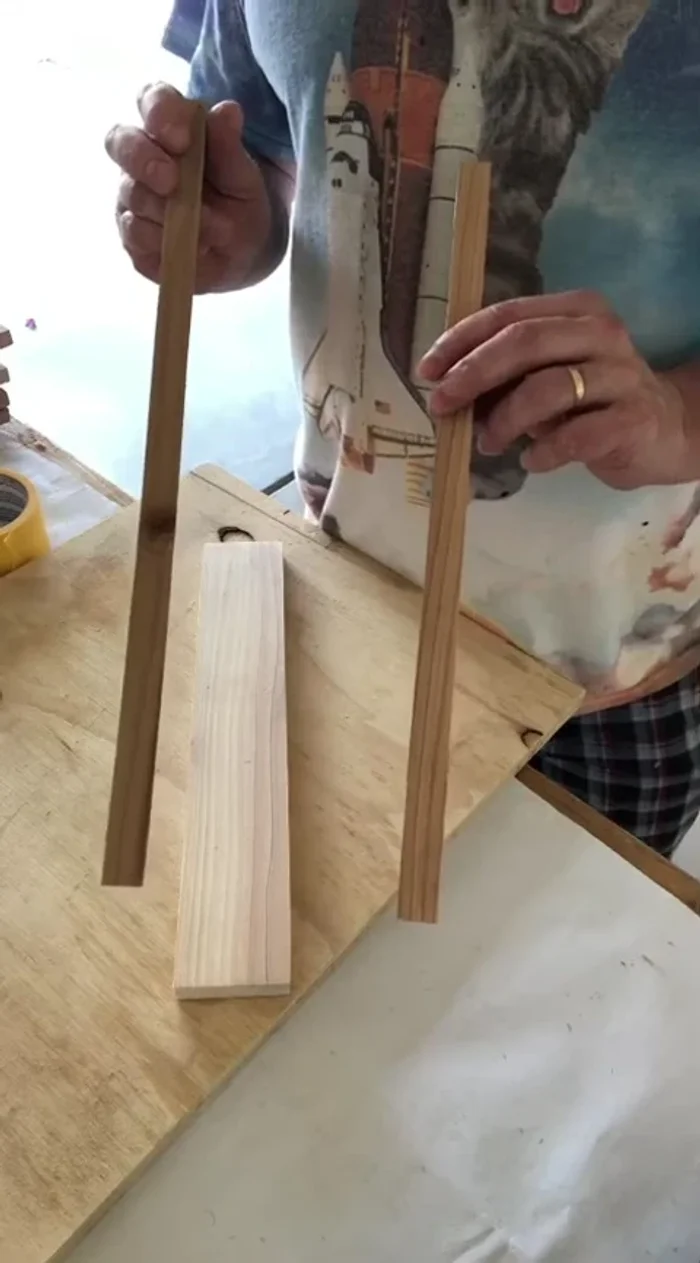
Prepare the Main Boards Prepare the Frame
- Cut and sand twelve 0.5-inch strips by 1 foot 3 inches for the frame.
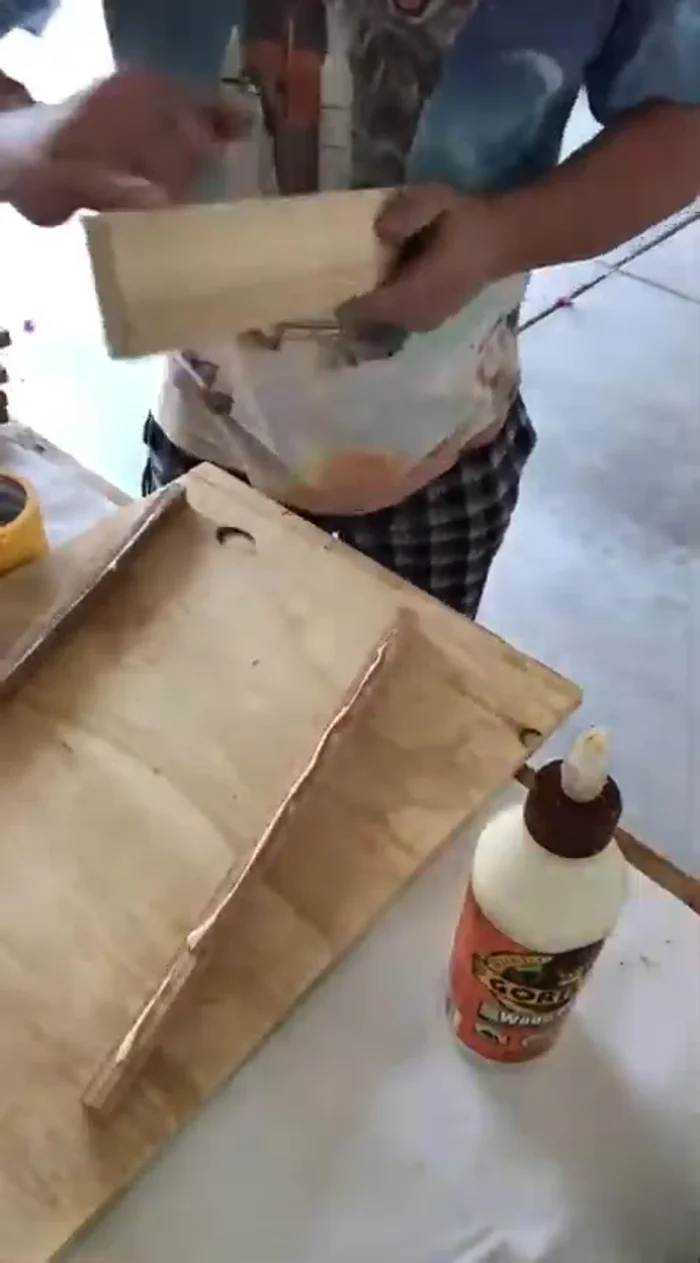
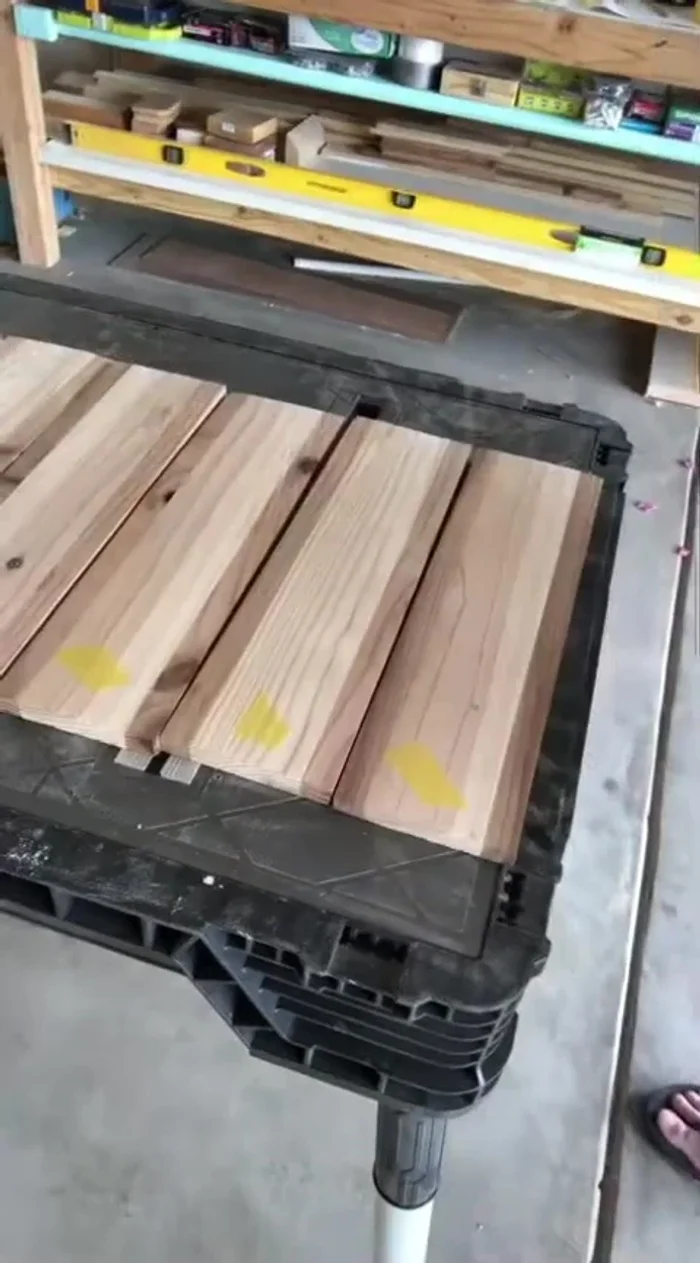
Prepare the Frame Assemble the Frame
- Glue the 0.5-inch strips onto the sides of the main boards, using tape to hold them in place while the glue dries.
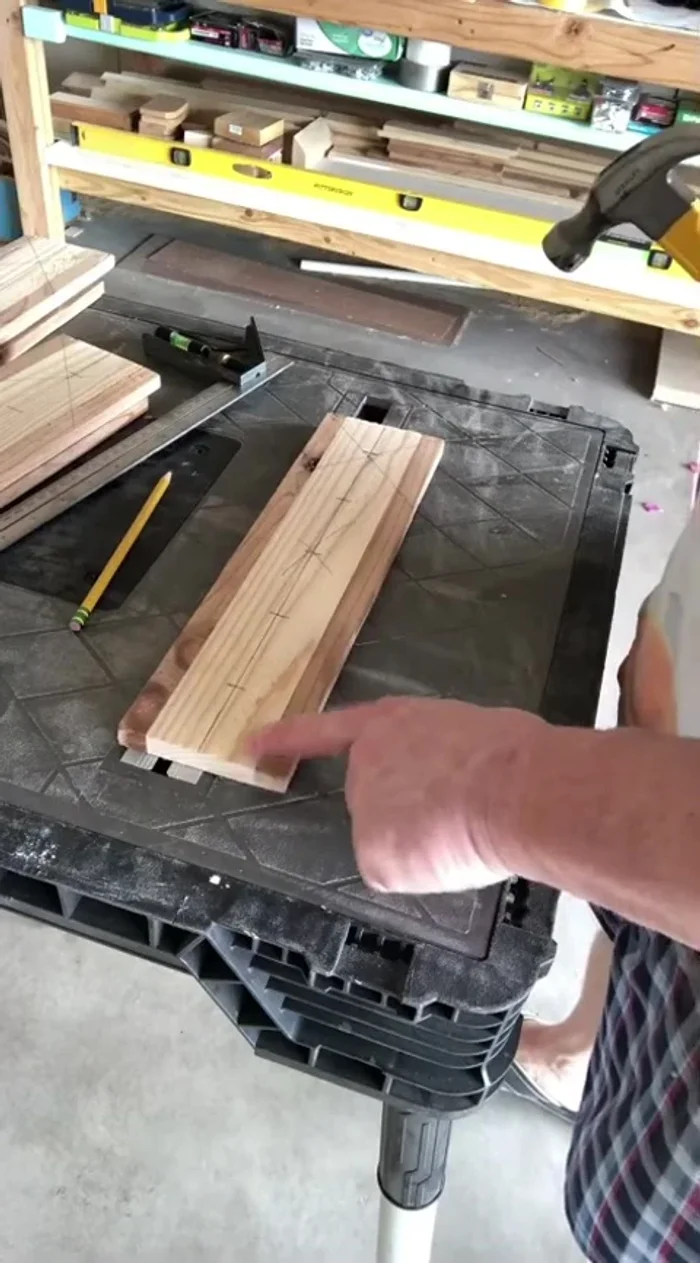
Assemble the Frame Mark K-Cup Holes
- Measure and mark the locations for the K-cup holes (5 on each side).
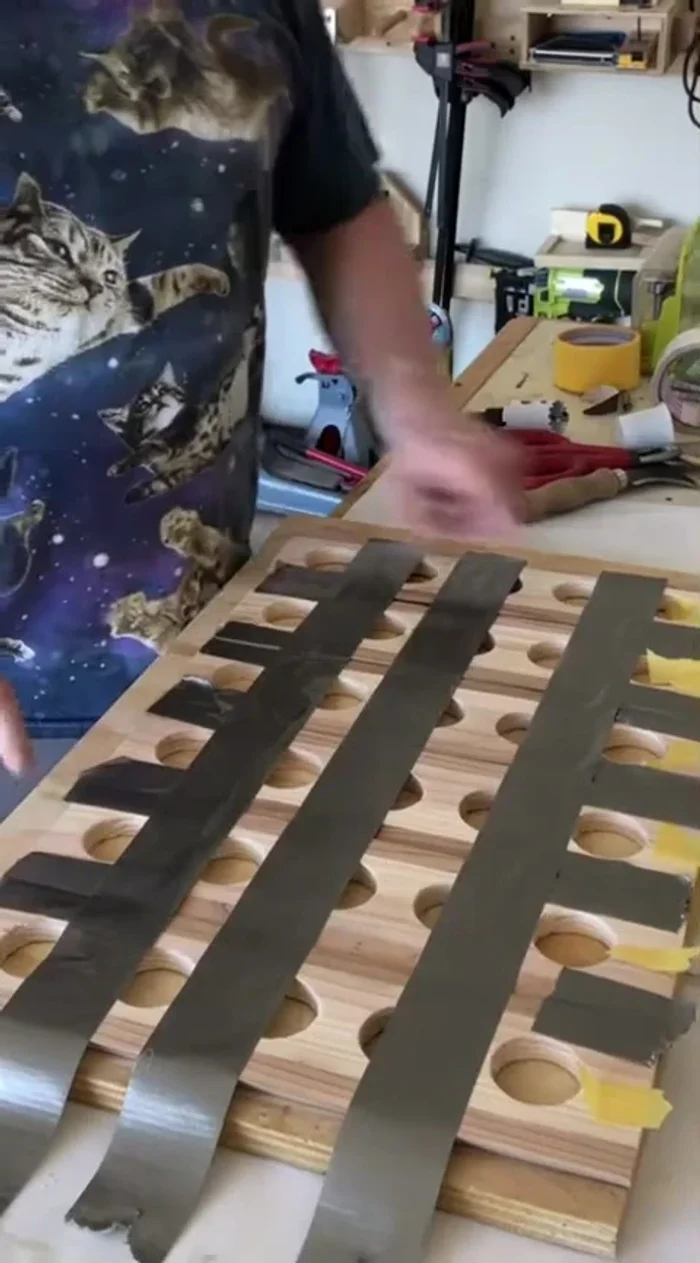
Mark K-Cup Holes Drill K-Cup Holes
- Pre-drill holes using a nail to create a starting point for the drill bit and prevent the drill from slipping.
- Drill the K-cup holes using a Forstner bit.
- Sand the holes using a hole saw bit with sandpaper taped to it.
Drill K-Cup Holes Prepare Hexagon Sides
- Rip the strips to create 60-degree angles for the hexagon sides (using angle finder and table saw to achieve a 120-degree angle).
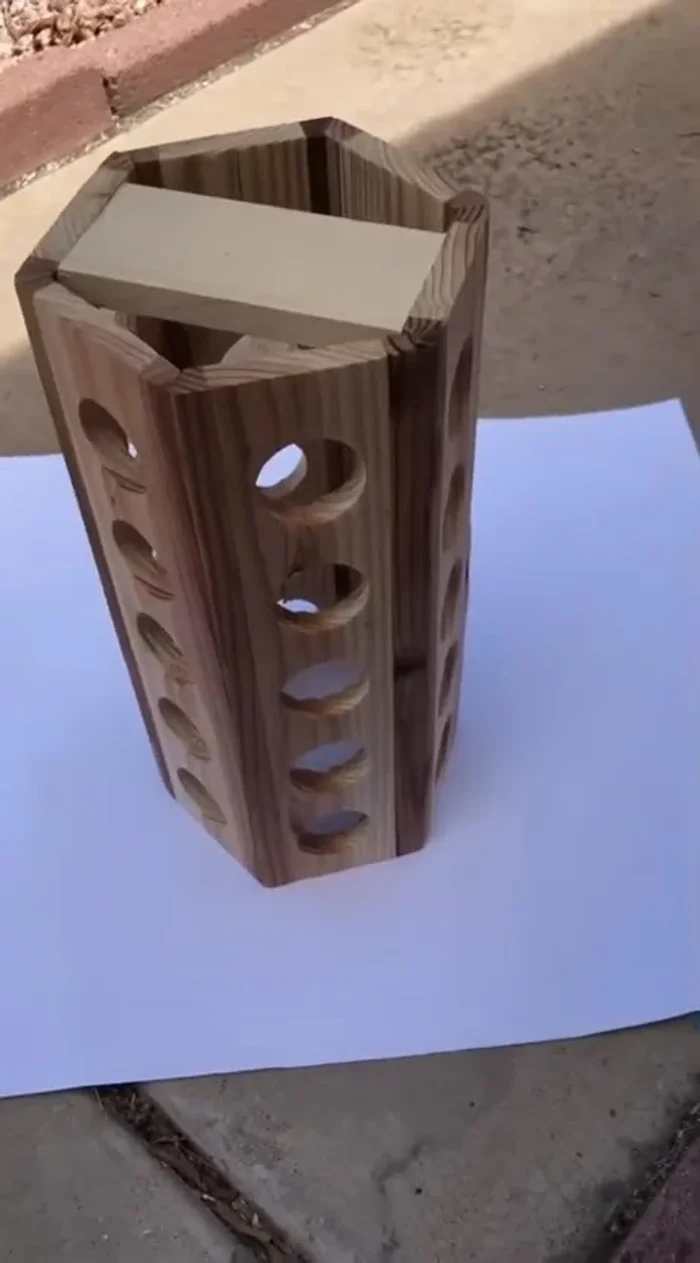
Assemble the Hexagon
- Glue the hexagon sides together, using tape to secure the seams.
Assemble the Hexagon Create Base and Top
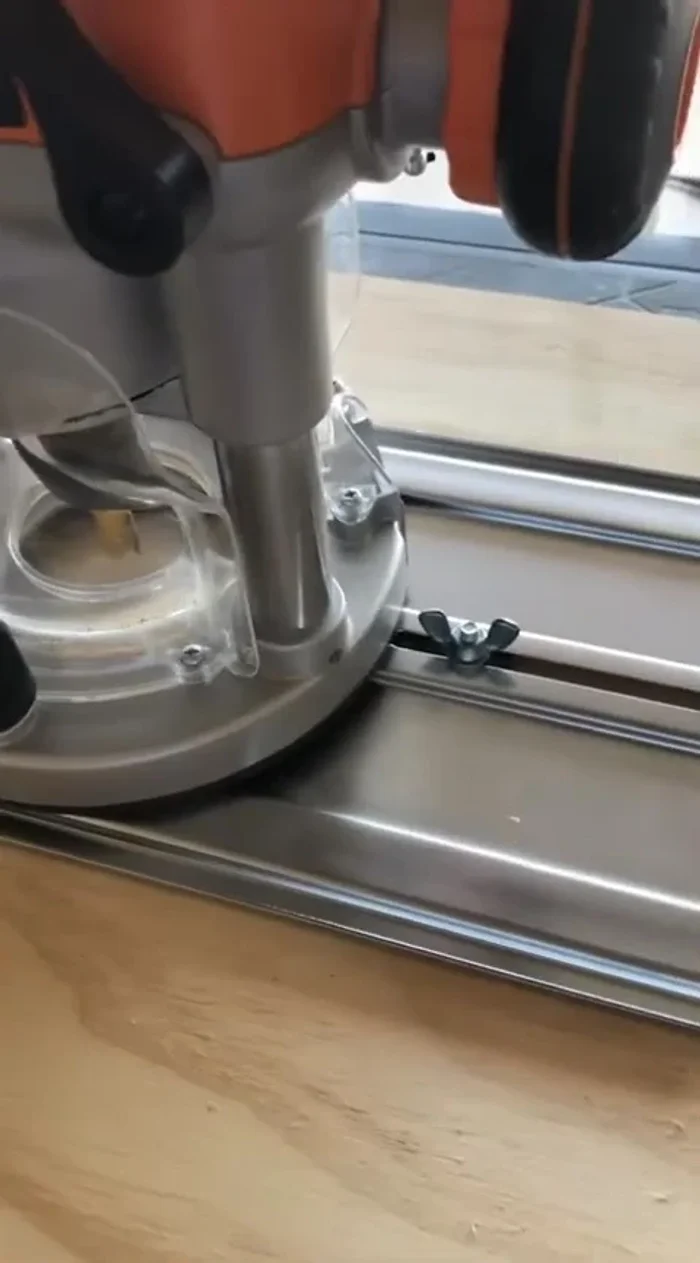
- Cut the circular bases and top using a router with a circle-cutting jig.
Create Base and Top Attach Base and Top
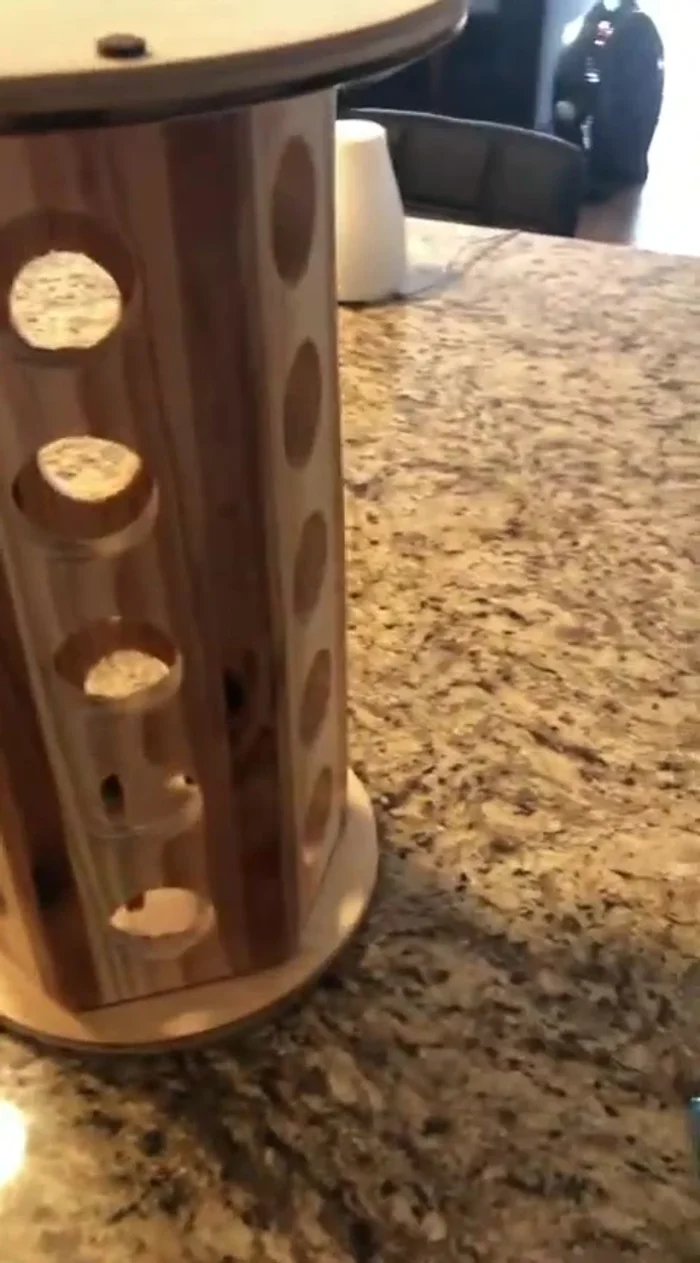
- Glue the base and top to the hexagon, using scrap wood to manage glue squeeze-out.
Attach Base and Top Finishing Touches
- Add felt discs to the bottom for protection and easy spinning.
Finishing Touches

Read more: Fix KitchenAid Espresso Machine Water Leak: The Steam Cap Solution
Tips
- Use a carpenter's square to accurately find the center of a board.
- Use a stop block when cutting multiple pieces to ensure consistent size.
- Use tape to clamp multiple pieces together simultaneously.
- Pre-drill holes with a nail to prevent the drill bit from slipping.
- Mark both sides of the board to indicate the top to prevent mistakes.