The aroma of freshly baked bread is a comforting experience, but keeping that bread fresh can be a challenge. Store-bought bread boxes are often expensive and lack the personal touch. Why not build your own? Creating a custom bread box is a rewarding DIY project that combines practicality with personalized style, allowing you to perfectly tailor the size, design, and materials to your kitchen aesthetic. From rustic farmhouse charm to sleek modern minimalism, the possibilities are endless. You’ll be surprised how easy it is to construct a functional and beautiful bread box that will protect your loaves and enhance your kitchen's character.
This guide provides a comprehensive, step-by-step process, guiding you through each stage of construction from selecting materials to the final finishing touches. Whether you’re a seasoned DIY enthusiast or a complete beginner, this project is accessible to all skill levels. Let's get started on building your own beautiful and functional bread box!
Preparation and Safety Guidelines
- Design software
- Poplar wood
- Miter saw
- Wood glue
- Clamps
- Tape measure
- Safety glasses
- Mask
- Always unplug power tools before making adjustments or changing bits. Failure to do so can result in serious injury.
- Wear safety glasses or a face shield to protect your eyes from flying debris when cutting or sanding wood.
- Use caution when working with sharp tools like chisels and knives. Keep fingers clear of the blade's path.
Step-by-Step Instructions
Design and Planning
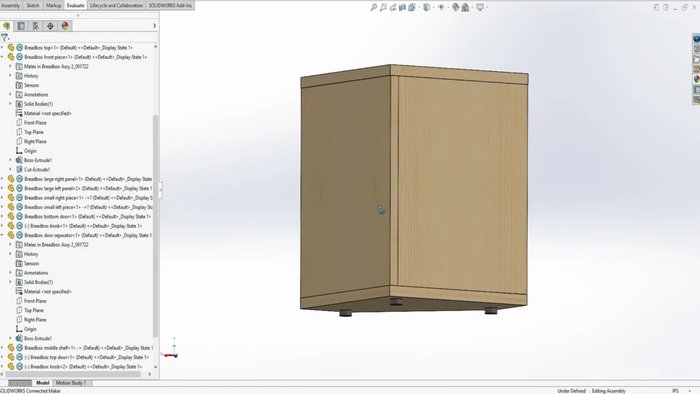
- Design the bread box using design software to visualize and agree on the design with your sister.

Design and Planning Material Acquisition
- Purchase poplar wood from a hardware store.
Wood Preparation
- Select the best sides of the wood boards for the exterior.
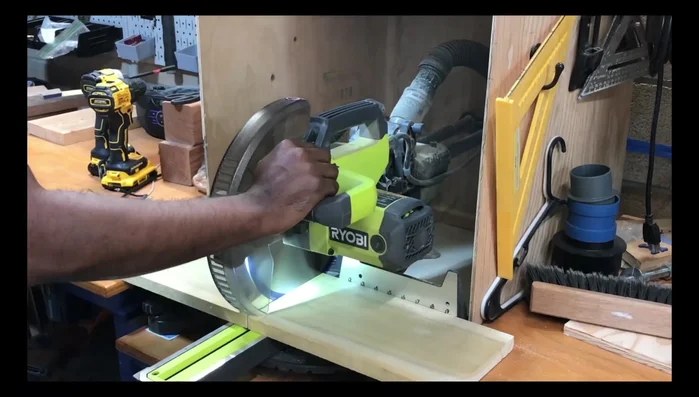
Cutting the Main Panels
- Measure and cut the pieces for the top, middle, and bottom using a miter saw. Remember to wear safety glasses and a mask.
- Label each piece with tape to avoid confusion during assembly.
Cutting the Main Panels Assembling the Main Panels
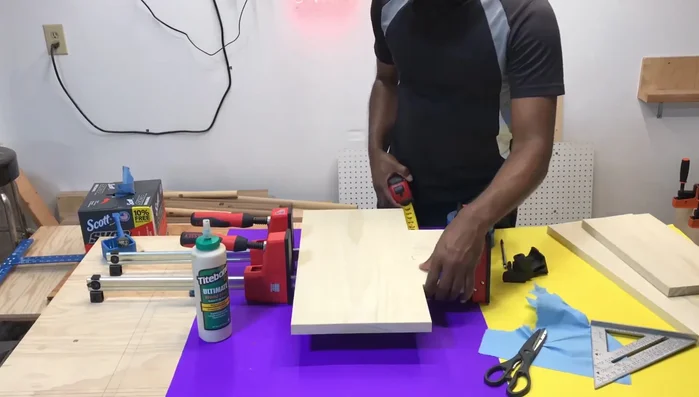
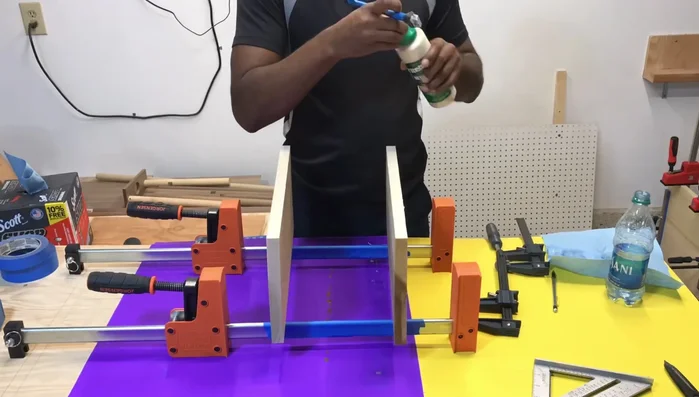
- Apply wood glue and assemble the top, middle, and bottom panels, using clamps and tape to protect the clamps from glue.
- Remove excess glue with a damp cloth.
Assembling the Main Panels Glue Drying and Clamping
- Let the glued panels sit in clamps for at least 24 hours (or up to 6 hours, depending on drying time).
Removing from Clamps
- Remove the panels from the clamps once dry.
Removing from Clamps Cutting the Side Panels
- Cut the pieces for the sides using the miter saw.
Cutting the Side Panels

Read more: DIY Wooden Bread Box: Simple Plywood Project
Tips
- Use design software for accurate visualization before starting the build.
- Choose affordable wood like poplar to save costs.
- Always wear safety glasses and a mask when using power tools.
- Use tape to label pieces and protect clamps from glue.
- Remove excess glue immediately to avoid sanding later.