Tired of chicken going bad before you can use it all? The frustration of food waste is real, especially when it comes to perishable proteins like chicken. Many of us struggle to utilize an entire package before the dreaded "use by" date looms. But what if there was a way to significantly extend the shelf life of your chicken, ensuring less waste and more delicious meals? The answer lies in the power of vacuum sealing. This simple yet effective technique can dramatically increase the time your chicken remains fresh and flavorful.
Vacuum sealing removes air, the primary culprit in the rapid spoilage of chicken. By creating an airtight environment, you prevent the growth of bacteria and slow down oxidation, preserving both the texture and taste. Ready to learn how to maximize the freshness and lifespan of your poultry? Let's dive into our step-by-step guide to mastering the art of vacuum sealing your chicken, ensuring you enjoy every delicious bite.
Preparation and Safety Guidelines
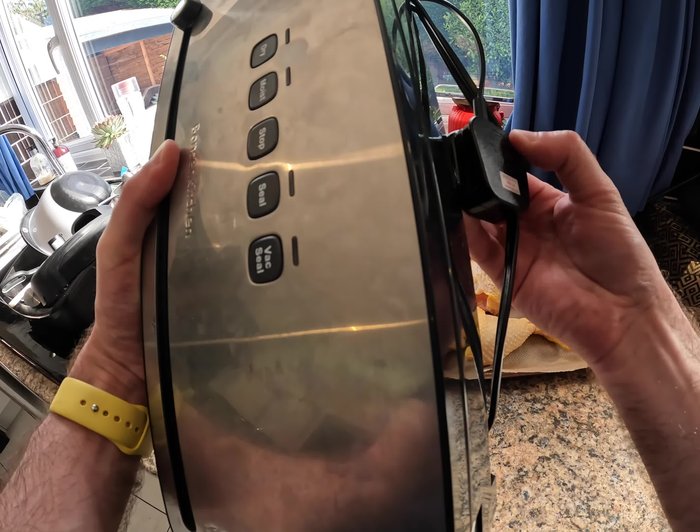
- Bonsan Kitchen Vacuum Sealer
- Vacuum Sealer Bags
- Always ensure chicken is thoroughly cooled before vacuum sealing. Warm chicken can promote bacterial growth, even in a vacuum-sealed bag.
- Check for punctures or leaks in the vacuum-sealed bag before freezing. A compromised seal reduces the effectiveness of the preservation and increases the risk of spoilage.
- Even with vacuum sealing, chicken has a limited shelf life. Freeze it within 2 days of purchase and consume within 2-3 months for best quality. Always check for freezer burn or discoloration before consuming.
Step-by-Step Instructions
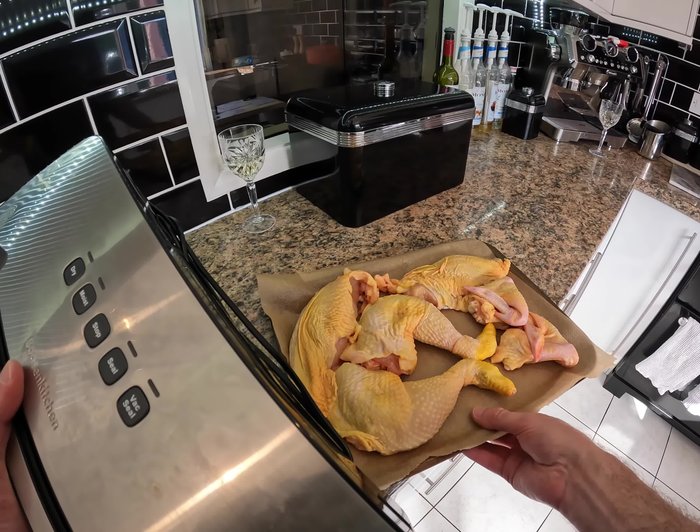
Prepare Chicken
- Prepare your chicken. Pre-cut the chicken into portions (as shown in a previous video).

Prepare Chicken Prepare Vacuum Seal Bag
- Prepare the vacuum sealer bag. Pull out a bag to the desired length, ensuring enough space between the food and the edge for a proper seal.
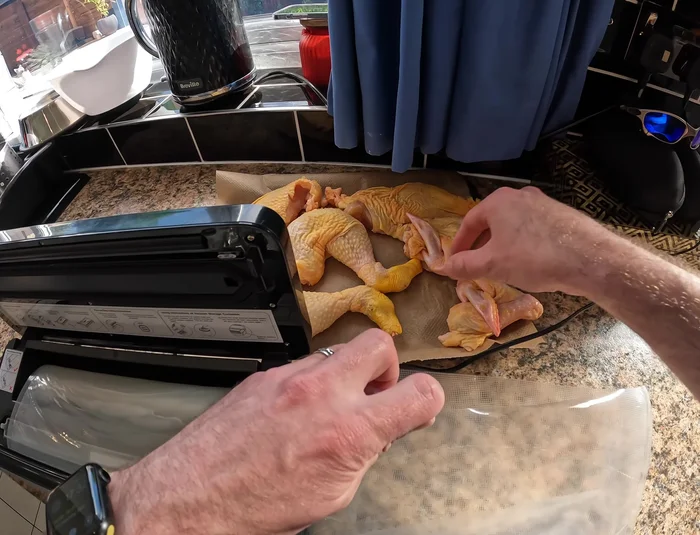
Prepare Vacuum Seal Bag Place Chicken in Bag
- Place chicken portions into the bag, leaving adequate space between the food and the edges of the bag.
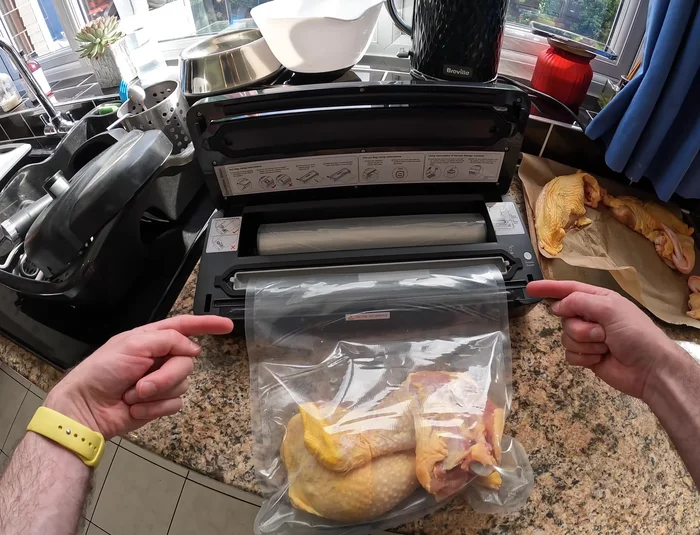
Place Chicken in Bag Load Vacuum Sealer
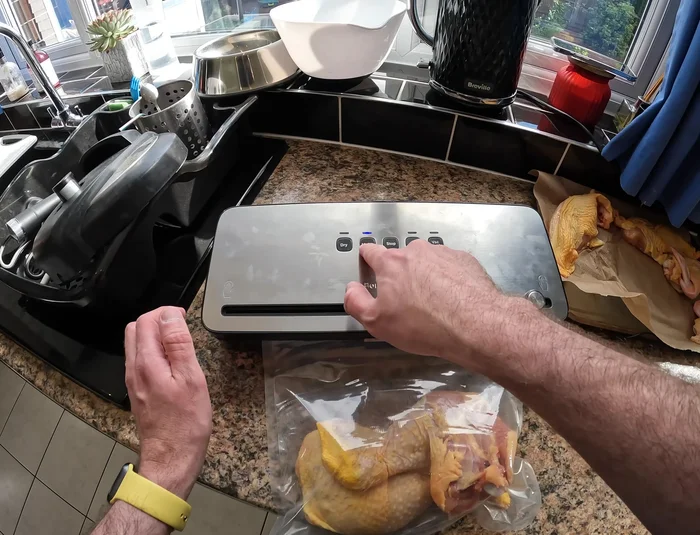
- Place the bag into the vacuum sealer machine, ensuring the open end is facing the vacuum port.
Load Vacuum Sealer Seal the Bag
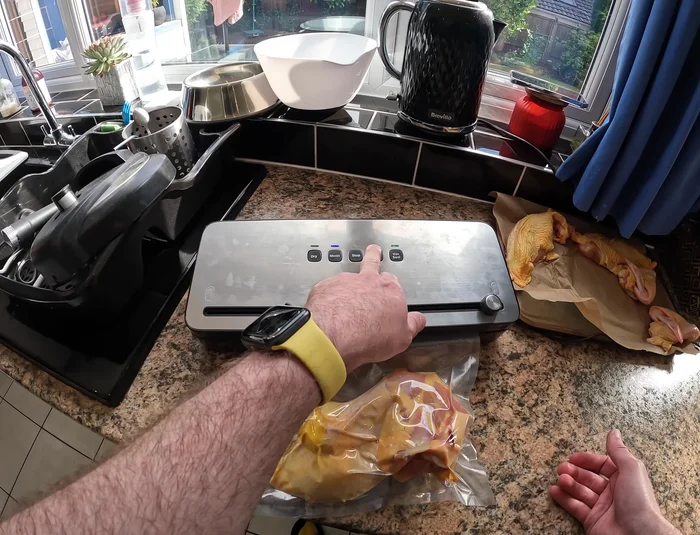
- Close and seal the machine. Select the appropriate setting (moist for chicken).
- Wait for the sealing process to complete. The red light on the machine will indicate completion.
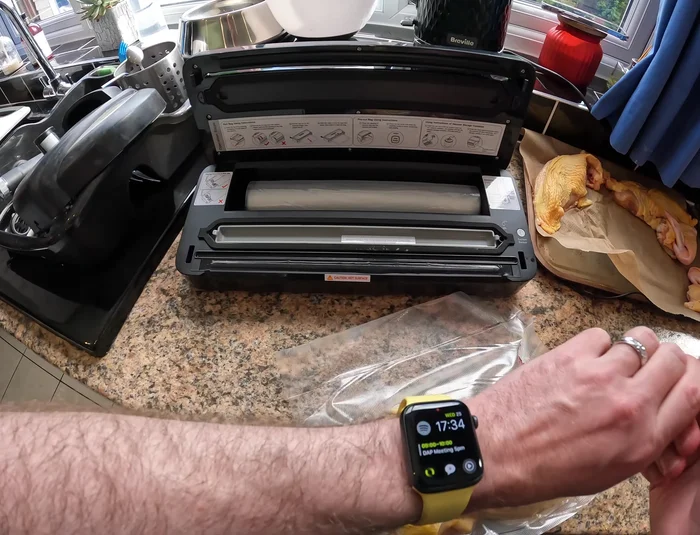
Seal the Bag Remove Sealed Bag
- Once sealed, open the machine and remove the vacuum-sealed bag.
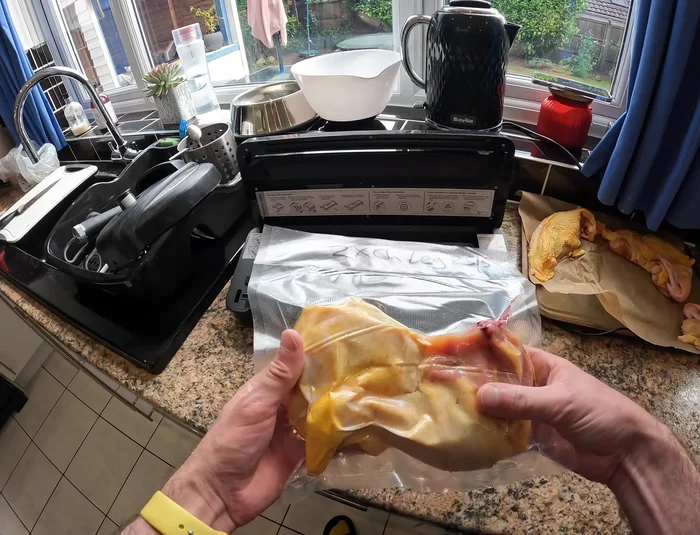
Remove Sealed Bag Label and Identify
- Label the bag with the contents and date for easy identification and organization.
Label and Identify Freeze Chicken
- Store the vacuum-sealed chicken in the freezer.
Freeze Chicken

Read more: Double Seal Vacuum Sealing Technique for Liquids
Tips
- Don't skimp on the quality of vacuum sealer bags. Higher quality bags ensure a better seal and prevent freezer burn.
- Leave enough space between the food and the edge of the bag to allow for proper sealing.
- Vacuum sealing removes air, which is a major contributor to food spoilage. This significantly extends the shelf life of your chicken in the freezer.