Dried beans are a pantry staple, offering affordability, nutritional value, and culinary versatility. However, improper storage can lead to spoilage, insect infestation, or a loss of flavor and texture, rendering your carefully-sourced legumes inedible. While various methods exist for preserving dried beans, maximizing their shelf life and maintaining their quality often comes down to proper air and moisture control. One highly effective technique leverages the power of vacuum sealing, offering superior protection against the elements and ensuring your beans remain fresh and ready for use for extended periods.
This article explores the best method for preserving dried beans: utilizing a Food Saver vacuum sealing system. We’ll guide you through a step-by-step process, ensuring your beans stay in peak condition, ready to be transformed into delicious soups, stews, salads, or any other culinary creation you desire. Let's dive into the details of this effective and efficient preservation method.
Preparation and Safety Guidelines
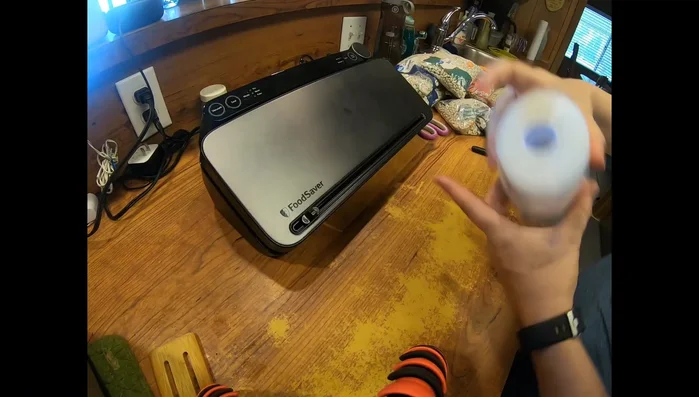
- Food Saver
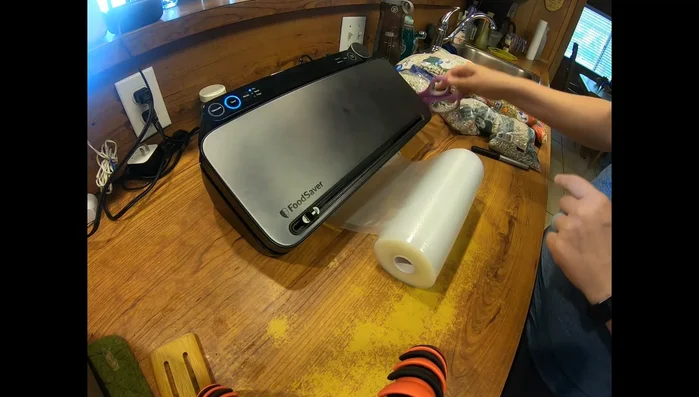
- Wet/Vac bags (available on Amazon)
- Scissors
- Ensure beans are completely dry before sealing. Even slightly damp beans can mold, ruining the entire batch.
- Inspect beans before sealing and discard any that show signs of damage, discoloration, or insect infestation.
- Always store sealed bags in a cool, dark, and dry place. Fluctuations in temperature and humidity can affect the quality and longevity of the beans.
Step-by-Step Instructions
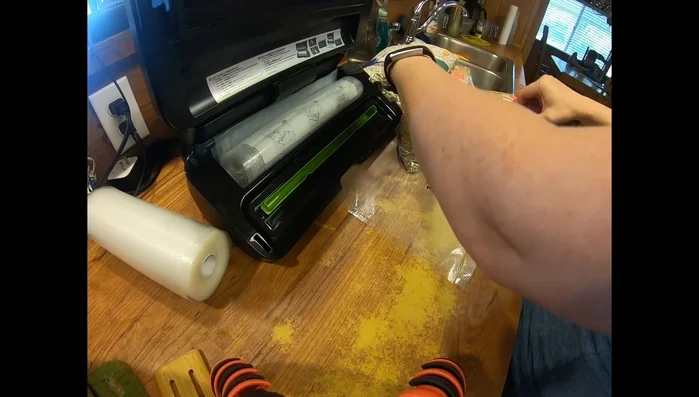
Prepare Materials
- Prepare the Food Saver and Wet/Vac bag.

Prepare Materials Seal and Size the Bag
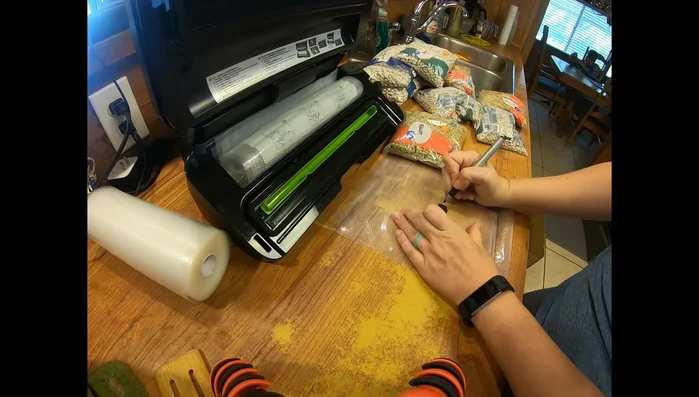
- Create a seal on the Wet/Vac bag using the Food Saver.
- Cut the bag to the desired size.
Seal and Size the Bag Label the Bag
- Write the date on the bag.
Label the Bag Prepare for Vacuum Sealing
- Make a small slit in the top of the bag to allow air to escape.
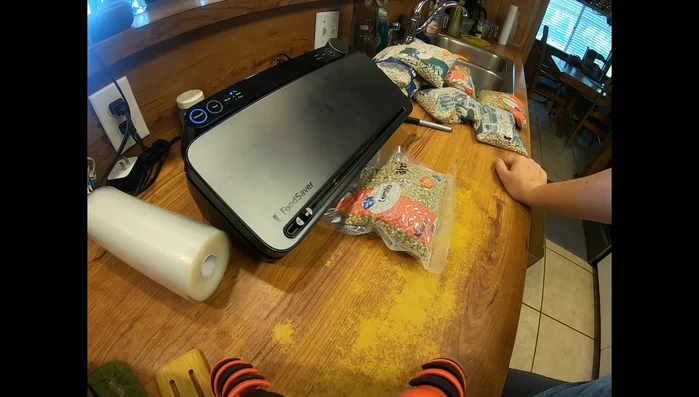
Prepare for Vacuum Sealing Fill and Seal
- Place the beans into the bag.
- Seal the bag using the Food Saver to remove air.
Fill and Seal
Read more: Double Seal Vacuum Sealing Technique for Liquids
Tips
- This method works for beans, grits, and rice, but not flour (which can go rancid).
- Store the sealed bags in a cool, dry place like a closet or dresser.
- Using this method, beans can last for years.