The preservation of liquids, particularly those sensitive to oxidation or microbial contamination, presents a significant challenge across various industries, from food processing to pharmaceuticals. Traditional methods often fall short, leading to reduced shelf life and compromised quality. Double seal vacuum sealing, however, offers a superior solution, significantly extending the lifespan of liquid products while maintaining their integrity and preventing spoilage. This advanced technique utilizes a two-stage sealing process to create an airtight barrier, effectively eliminating oxygen and preventing contamination.
This superior method, combining the power of vacuum and redundant sealing, results in a much more robust and reliable system compared to single-seal methods. In the following steps, we'll detail the precise procedure for implementing this double seal vacuum sealing technique for liquids, ensuring your products remain fresh and safe for extended periods.
Preparation and Safety Guidelines
- Vacuum sealer
- Tray with drip channel
- Paper towel
- Always use bags specifically designed for liquids and double-seal them to prevent leaks. Standard vacuum bags are not suitable for liquids and may burst.
- Never vacuum seal anything that is hot or contains gases under pressure. This can cause the bag to burst or the contents to explode.
- Inspect the sealed bag for any leaks before storing. If you find a leak, discard the contents immediately. Do not attempt to reseal.
Step-by-Step Instructions
Prepare for Sealing
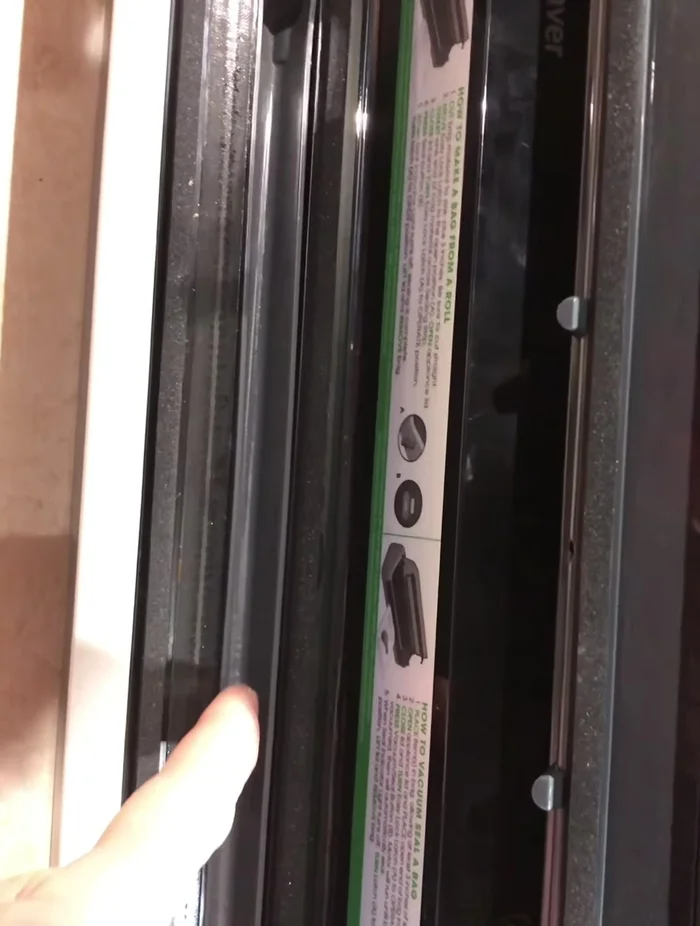
- Place the bag with liquid on the edge of the tray, ensuring it's aligned with the drip channel.

Prepare for Sealing First Seal
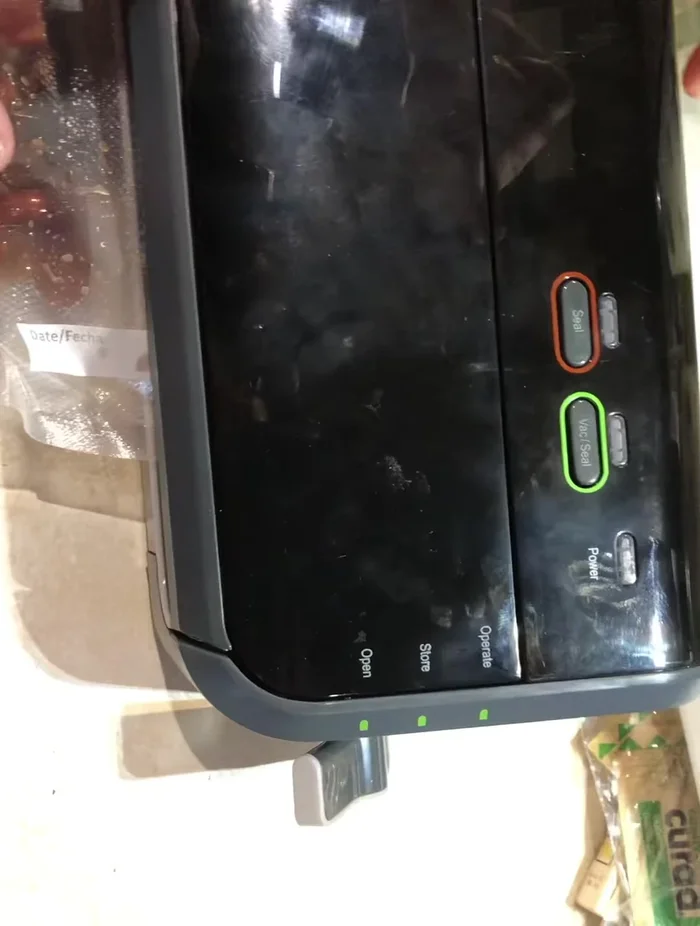
- Initiate the vacuum sealing process. The liquid will be drawn into the tray.
First Seal Clean and Reposition
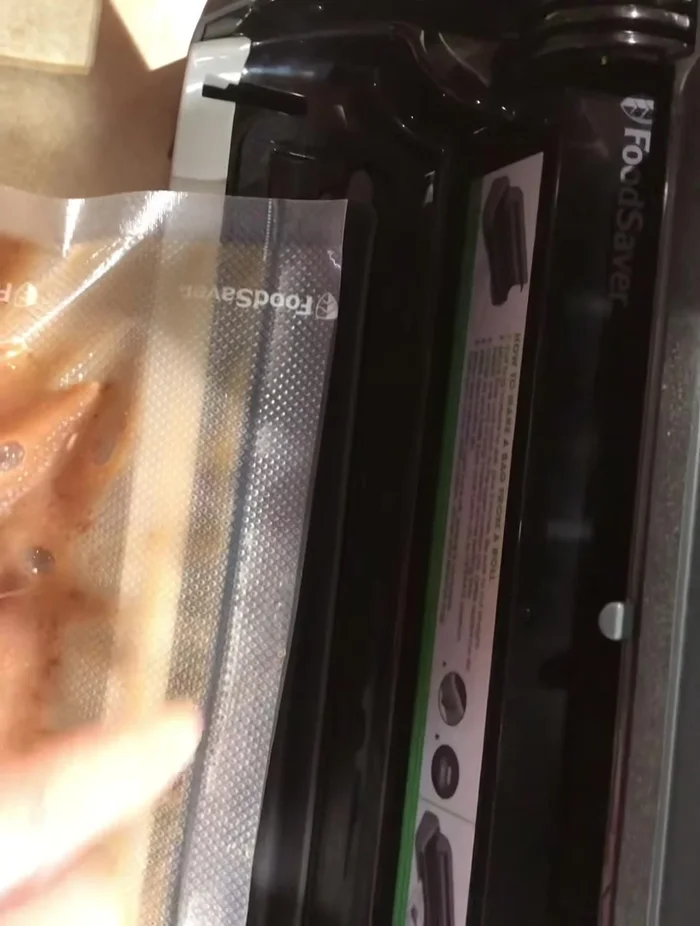
- Once the first seal is complete, use a paper towel to clean any residue from the bag.
Clean and Reposition Double Seal
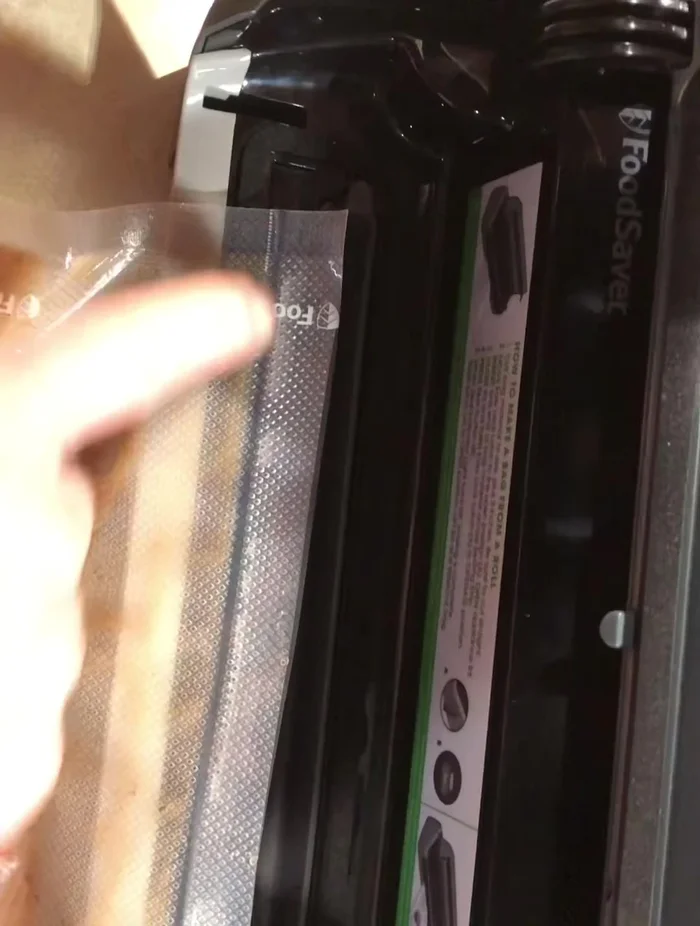
- Slide the bag slightly back to position and reseal to create a double seal.
Double Seal
Read more: The Best Way to Preserve Dried Beans: Food Saver Method
Tips
- Double sealing prevents leaks and ensures a secure seal, especially with liquids.
- Wait until the red light clears before releasing the seal.
- A small air pocket might remain in the bag with soups or similar liquids, but the majority of the air will be removed.
- Do not push the green button prematurely; it can be dangerous.