Freezing food is a cornerstone of efficient meal prepping and minimizing food waste, but battling freezer burn is a common frustration. The unsightly ice crystals and compromised texture that accompany freezer burn not only detract from the appeal of your frozen meals but also diminish their quality and taste. This often leads to discarding perfectly good food, a wasteful and disheartening experience. Fortunately, there's a simple yet remarkably effective solution: using a vacuum sealer.
By removing air from around your food before freezing, a vacuum sealer dramatically reduces the likelihood of freezer burn, preserving the freshness, flavor, and texture of your favorite dishes for longer. Beyond preventing freezer burn, vacuum sealing offers a superior method for portioning food, allowing for easy and convenient meal preparation in the future. This ultimate guide will provide a step-by-step process for freezing liquids using a vacuum sealer, transforming your freezer organization and preserving the quality of your frozen food.
Preparation and Safety Guidelines
- Vacuum sealer
- Muffin pan
- Square container
- Baking sheet
- Always leave some headspace in your vacuum-sealed bags. Completely removing all air can cause the bag to burst during freezing, especially with liquids that expand upon freezing.
- Use freezer-safe bags and containers designed for vacuum sealing. Standard plastic bags may crack or leak in the freezer.
- Ensure the liquid is completely cooled before vacuum sealing to prevent condensation build-up which can lead to freezer burn.
Step-by-Step Instructions
Prepare for Freezing
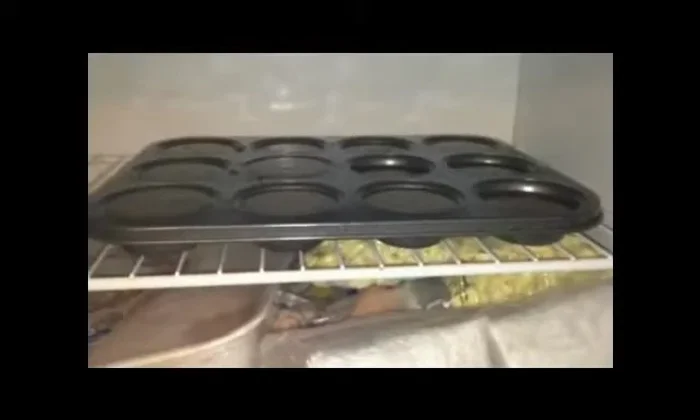
- Fill a muffin pan with the liquid you want to freeze (gravy in this example).

Prepare for Freezing Initial Freeze
- Freeze the muffin pan for 24 hours (or until fully frozen).
Initial Freeze Remove from Mold
- Once frozen, carefully remove the frozen liquid portions from the muffin pan. If they are stuck, briefly submerge the pan in lukewarm water to loosen them.
Remove from Mold Stage for Vacuum Sealing
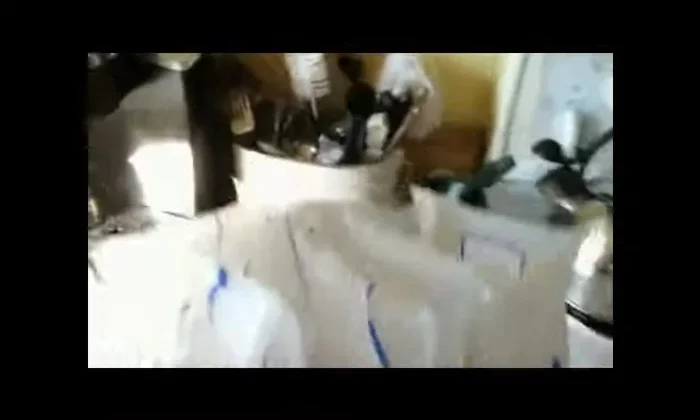
- Place the frozen liquid portions into a square container or onto an upside-down baking sheet to maintain an upright position.
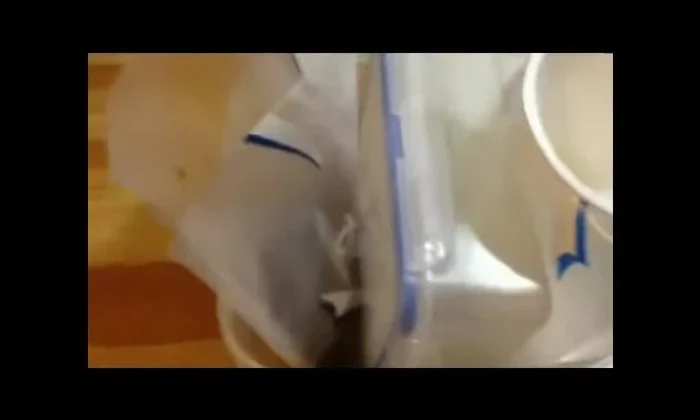
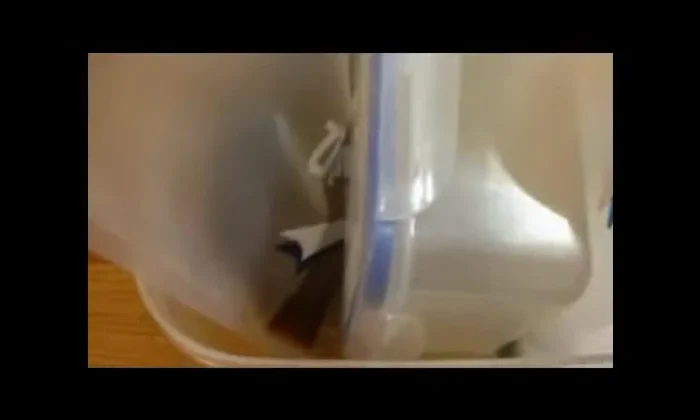
Stage for Vacuum Sealing Vacuum Seal
- Place the container with frozen portions into vacuum seal bags. Aim for portions around 6 inches in size to prevent them being too large.
- Vacuum seal the bags. If liquid rushes up and prevents proper sealing, freeze the bags for 30-45 minutes before resealing.
Vacuum Seal


Read more: Double Seal Vacuum Sealing Technique for Liquids
Tips
- Using silicone liners in your muffin tin makes it easier to remove the frozen portions.
- Freezing for 15 hours is sufficient, as long as the liquid is frozen solid.
- Start with larger portions and adjust the size as needed to find the optimal size for your vacuum sealer.
- Freezer burn is unlikely within 24 hours.