Restaurant bread, with its crusty perfection and often unique flavors, is a culinary highlight many wish to enjoy beyond the initial dining experience. However, the rapid staling of bread presents a significant challenge for those seeking to savor these treats at home. The soft interior and crisp exterior quickly lose their appeal, leaving even the most delicious loaf a disappointment. But what if you could recapture that fresh-baked taste days, even weeks later?
This article explores a simple yet highly effective method for preserving your favorite restaurant bread: vacuum sealing. This technique removes air, the primary culprit behind bread's rapid deterioration, significantly extending its shelf life and maintaining its quality. To learn the step-by-step process of vacuum sealing your restaurant bread for long-lasting freshness, read on!
Preparation and Safety Guidelines
- Handy Vac Vacuum Sealer
- Gallon Ziploc Bags
- Freezer
- Ensure bread is completely cool before vacuum sealing to prevent moisture build-up and mold growth.
- Use high-quality vacuum sealer bags designed for food storage. Avoid using flimsy bags that might tear.
- Check the sealed bread regularly for any signs of mold or spoilage. Even with vacuum sealing, bread will eventually expire.
Step-by-Step Instructions
Freezing the Bread
- Freeze the bread loaves individually in the plastic bags they came in.

Freezing the Bread Preparing for Vacuum Sealing
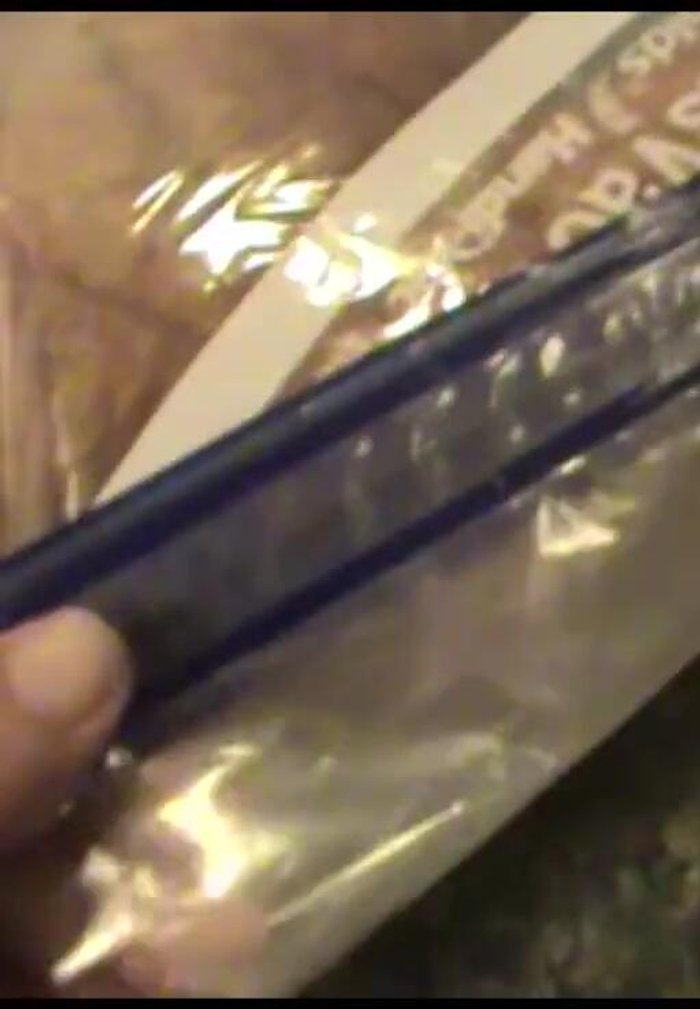
- Place two frozen bread loaves into a gallon-sized Ziploc bag.
- Seal the Ziploc bag tightly using a Ziploc sealer.
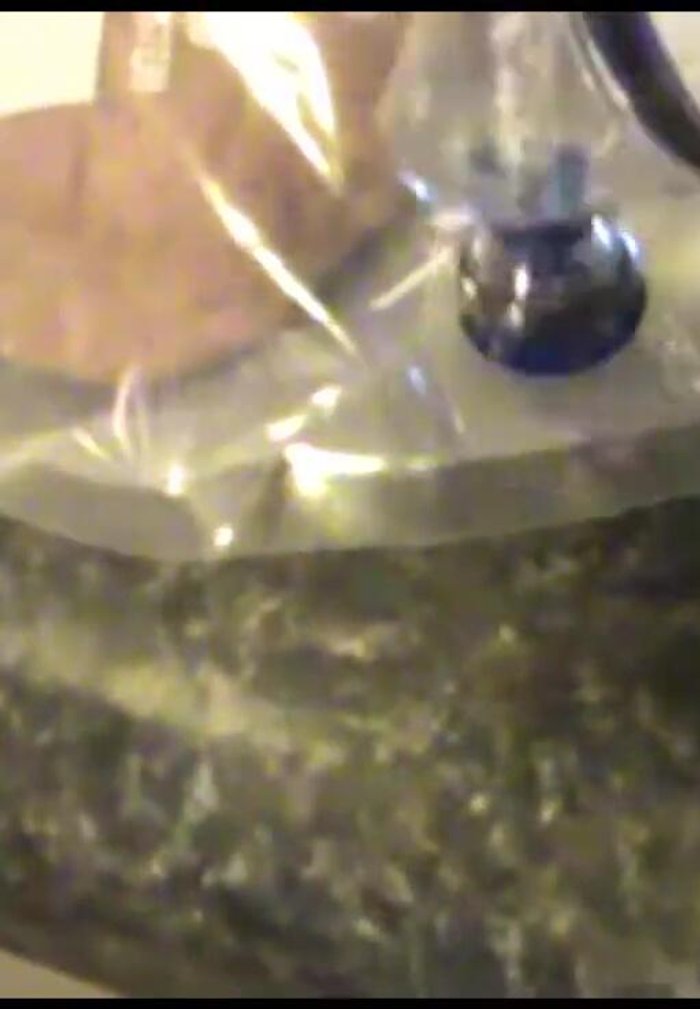
Preparing for Vacuum Sealing Vacuum Sealing the Bread
- Vacuum seal the bag using your vacuum sealer, holding it over the vacuum port.
- Continue vacuum sealing until no further progress is seen (approximately 15-20 seconds).
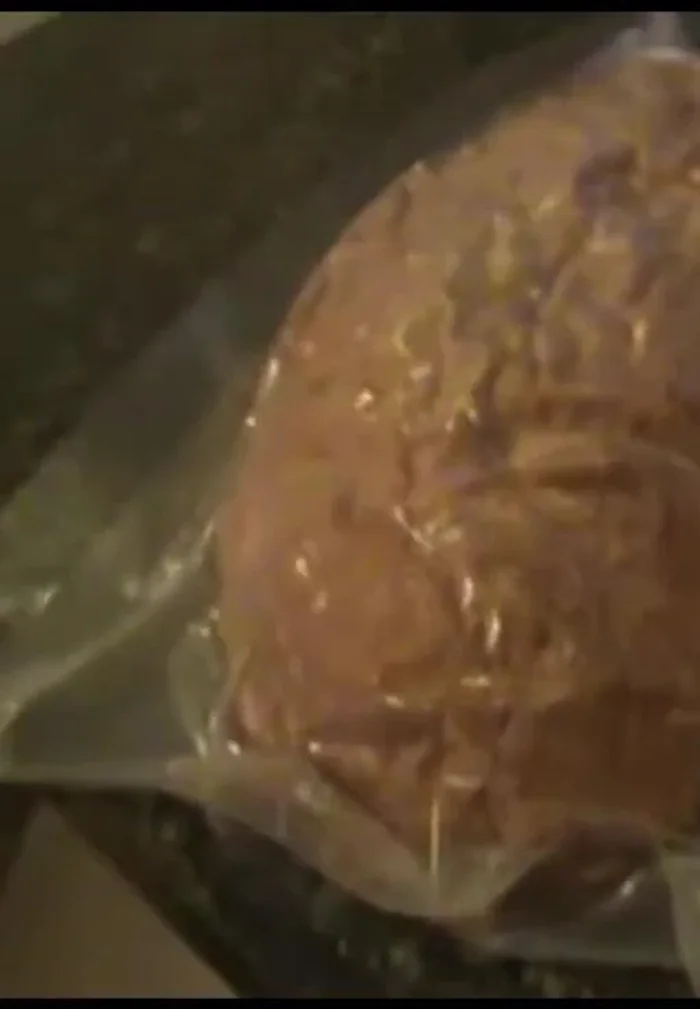
Vacuum Sealing the Bread Freezing the Vacuum-Sealed Bread
- Store the vacuum-sealed bread in the freezer for later use.
Freezing the Vacuum-Sealed Bread


Read more: Double Seal Vacuum Sealing Technique for Liquids
Tips
- Freezing the bread before vacuum sealing prevents it from being crushed by the vacuum.
- This method significantly extends the bread's shelf life compared to simply freezing it in its original packaging.