Are you tired of baking ingredients losing their freshness and potency long before you get a chance to use them? From precious spices to delicate flours, the struggle to maintain the quality of your baking supplies is a common frustration for home bakers. The solution, however, might be simpler than you think. Vacuum sealing offers a powerful method to significantly extend the shelf life of your baking essentials, protecting them from moisture, pests, and oxygen degradation, resulting in tastier and more successful baked goods. This translates to less waste, cost savings, and more consistent baking results.
This comprehensive guide delves into the world of vacuum sealing your baking supplies, covering everything from choosing the right equipment to mastering the sealing technique for various ingredients. We'll explore the best practices for preparing your ingredients before sealing, and uncover the secrets to maximizing the longevity of your precious baking treasures. Ready to learn how to perfectly preserve your baking ingredients? Let's dive into the step-by-step process now.
Preparation and Safety Guidelines
- FoodSaver vacuum sealer
- Half-gallon canning jars
- Wide-mouth jar lids and rings
- Pint canning jars
- Coffee filters (or paper towels)
- Paper towels (damp and dry)
- Always ensure your food is completely cooled before vacuum sealing. Hot food will create steam inside the bag, potentially causing it to burst or compromise the seal.
- Inspect bags for any punctures or damage before sealing and using. Damaged bags can leak air and reduce the effectiveness of vacuum sealing.
- Understand the limitations of vacuum sealing. While it extends shelf life significantly, it does not eliminate the need for proper food safety practices. Check for spoilage before consuming, regardless of the sealed date.
Step-by-Step Instructions
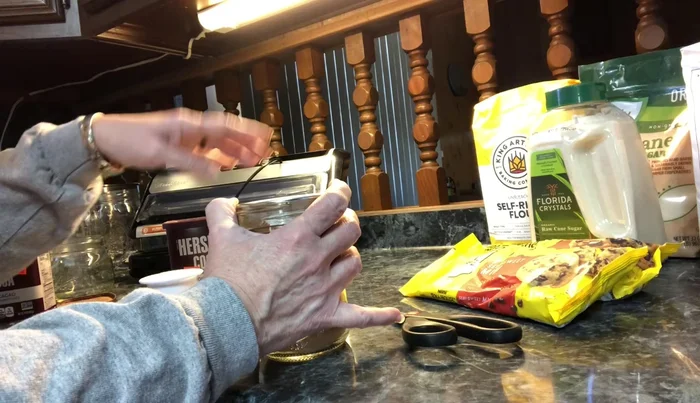
Prepare Jars and Ingredients
- Choose your desired size canning jar (half-gallon, quart, or pint). Ensure the jars are clean and dry.
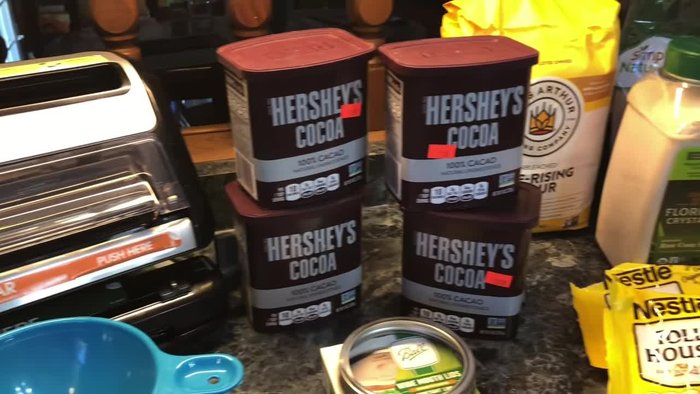
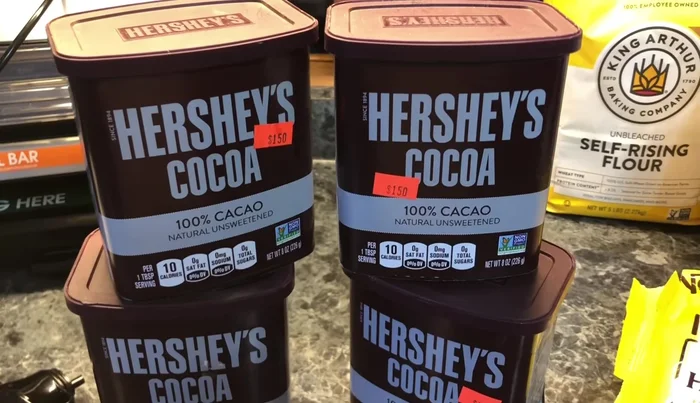
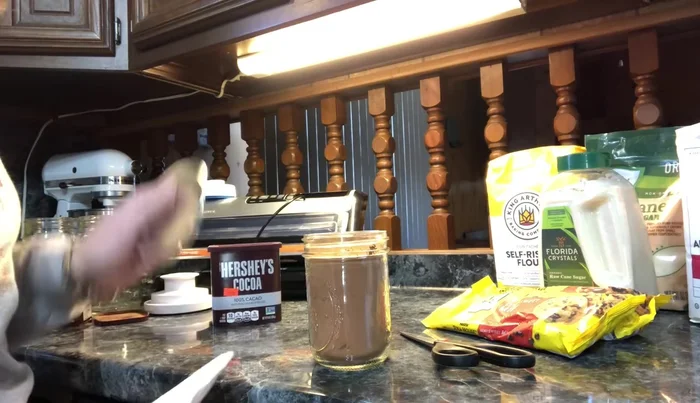
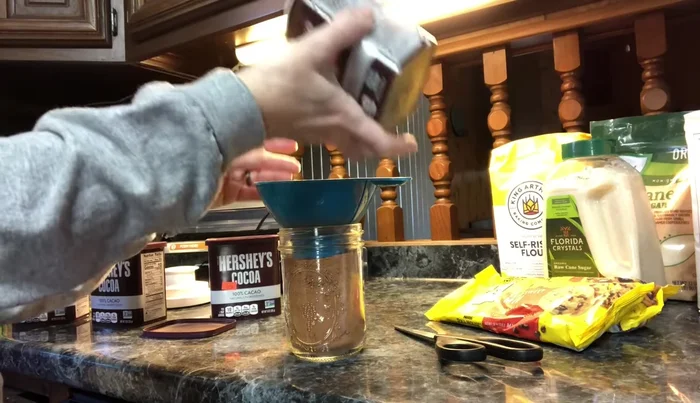
- Fill the jar with your chosen baking supply (cocoa, flour, sugar, coconut, chocolate chips, etc.). For powders, a paper towel filter can prevent clogging the vacuum sealer.
- If using fine powders, create a circle from a paper towel and place it inside the jar, under the lid, to prevent clogging the vacuum sealer.

Prepare Jars and Ingredients Compact and Prepare for Sealing
- Gently tap or shake the jar to settle the contents and make room for more. For powders, use a damp paper towel to wipe the jar rim to prevent powder from interfering with the seal.
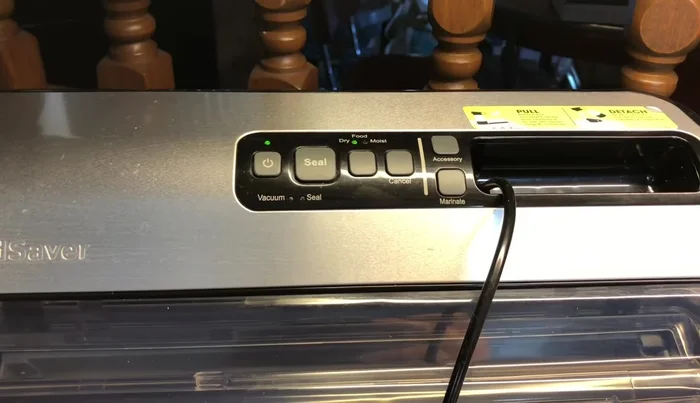
Compact and Prepare for Sealing Seal the Jar
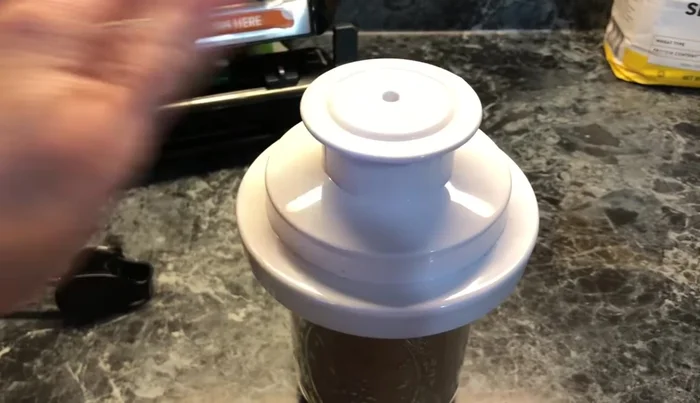
- Securely place the lid on the jar. Attach the FoodSaver vacuum sealer attachment designed for wide-mouth jars (or regular mouth if needed).
- Turn on the vacuum sealer to remove air from the jar. The machine will shut off automatically once the seal is complete.
Seal the Jar Finalize and Store
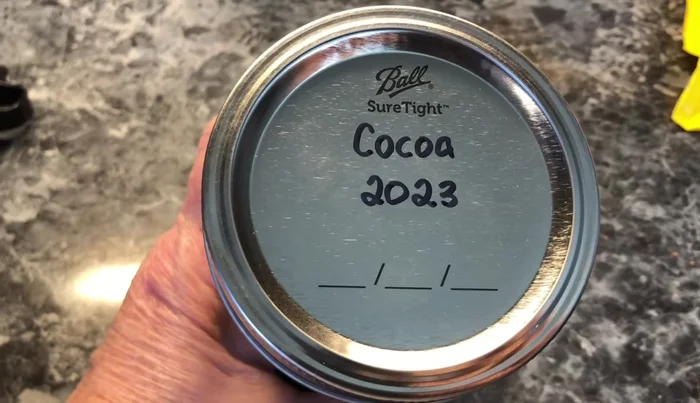
- Once the machine shuts off, carefully remove the attachment. Add a ring to the jar for secure storage.
- Clearly label the jar with the contents and date to ensure proper organization and freshness.
Finalize and Store
Read more: Double Seal Vacuum Sealing Technique for Liquids
Tips
- Buy canning jars in advance, especially during the off-season.
- Stock up on sale items and vacuum seal them to extend their shelf life.
- Use wide-mouth jars for vacuum sealing and regular mouth jars for canning to save money on lids.
- Use coffee filters or paper towels as filters for fine powders to prevent clogging the vacuum sealer.
- Always wipe the jar rim with a damp paper towel before sealing to ensure a good seal, especially with powders.