Are you looking for a charming and eco-friendly way to add a touch of whimsy to your kitchen? This DIY project transforms ordinary, discarded items into adorable, personalized cookie jars, proving that upcycling can be both fun and rewarding. Forget expensive, mass-produced storage solutions; with a little creativity and a few readily available materials, you can craft unique cookie jars that perfectly reflect your style and add a splash of personality to your home. We're talking about repurposing old jars, cans, or even interesting containers you might already have lying around – the possibilities are as limitless as your imagination!
This delightful craft project is perfect for beginners and experienced crafters alike, requiring minimal tools and easily accessible supplies. From choosing the perfect vessel to adding the final decorative flourishes, we’ll guide you through each step of the process, ensuring you create a stunning, one-of-a-kind cookie jar. Let’s dive into the step-by-step guide and unlock your inner artisan!
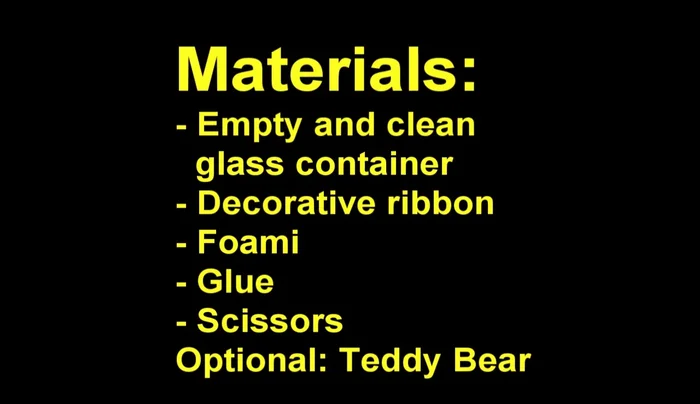
Preparation and Safety Guidelines
- Empty and clean glass container
- Decorative ribbon
- Foamy sheets
- Glue (super glue recommended)
- Scissors
- Optional: Teddy bear
- Always supervise children when using sharp objects like scissors or craft knives.
- Ensure the cookie jar is thoroughly cleaned and dried before starting the craft project to prevent mold or mildew.
- Use non-toxic paints, adhesives, and sealants if the finished jar will come into contact with food or will be handled by young children.
Step-by-Step Instructions
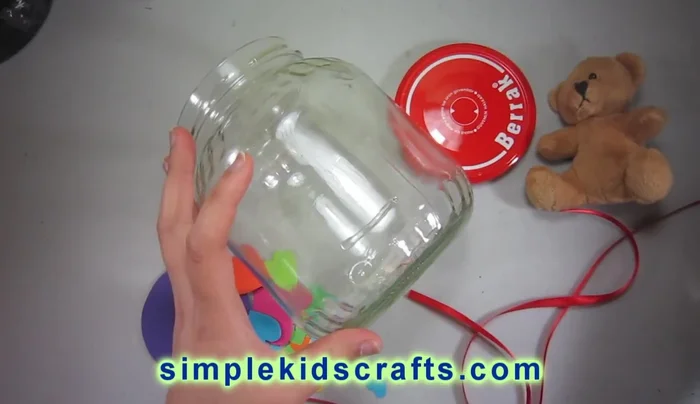
Prepare the Jar
- Clean the jar thoroughly.

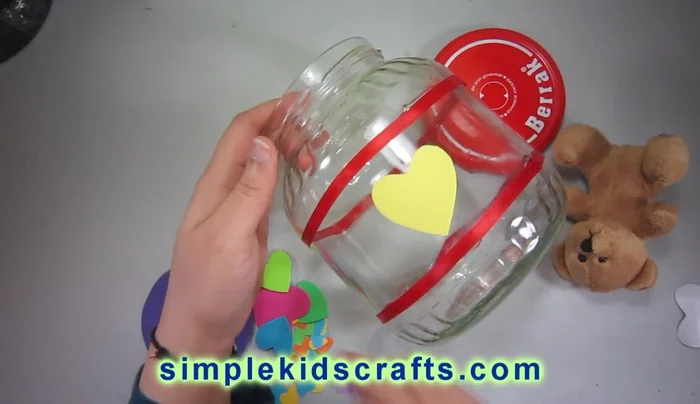
Prepare the Jar Attach the Ribbon
- Use glue (super glue recommended) to secure a decorative ribbon around the jar.
Attach the Ribbon Decorate with Foamy Shapes
- Attach pre-made foamy shapes (hearts in this example) to the jar using glue. Consider using various colors.
Decorate with Foamy Shapes Cover the Lid
- If the lid has branding, cover it with a pre-cut circular piece of foam.
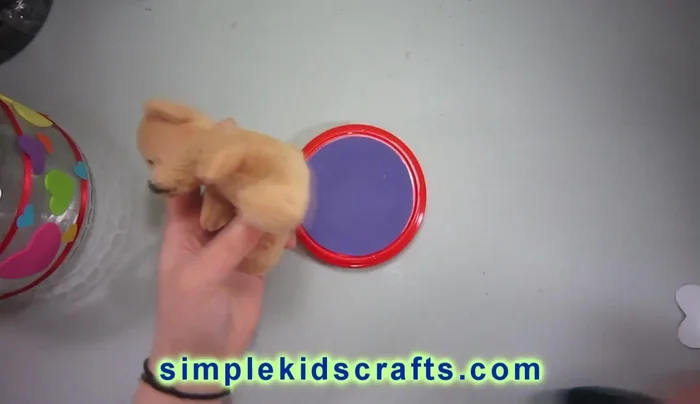
Cover the Lid Add Embellishments
- Attach a small teddy bear or other decorative element to the center of the lid using glue.
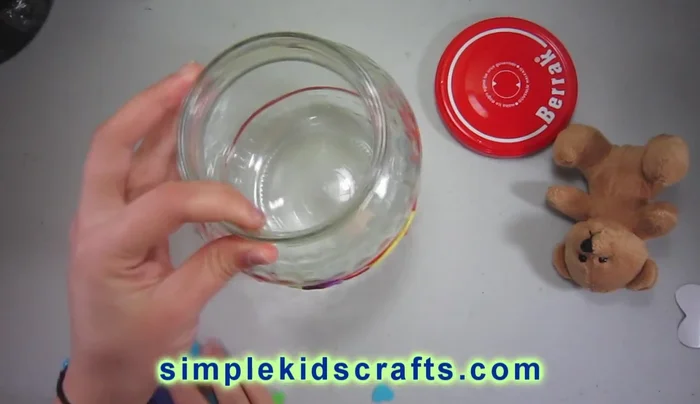
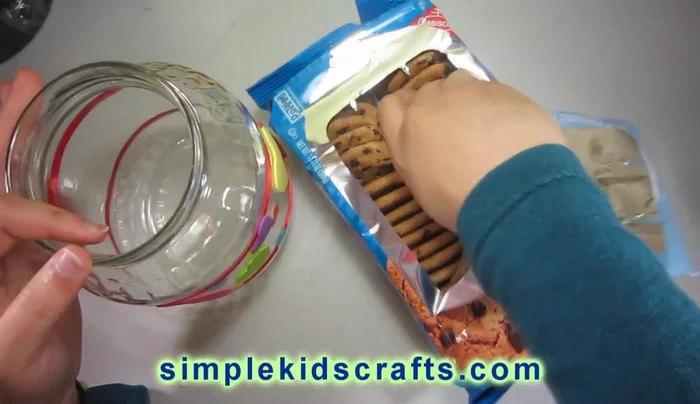
Add Embellishments Fill and Close
- Fill the decorated jar with cookies or candies.
Fill and Close
Read more: DIY Mason Jar Cookie Mix Party Favors: Easy Chocolate Chip Recipe
Tips
- Super glue is recommended for a strong bond when attaching the ribbon and decorations.
- Pre-cut foamy shapes will save time and make the decorating process easier.
- Choose colors that complement each other for a visually appealing result.