The holiday season, birthdays, or any special occasion calls for thoughtful gifts, and what's more thoughtful than a gift made with love from your own kitchen? Skip the generic store-bought presents and embrace the charm of a DIY cookie mix in a jar – a delightful and personalized treat that’s sure to impress. This unique gift combines the joy of baking with the convenience of a ready-to-go present, allowing the recipient to enjoy the process of creating delicious cookies from scratch, using your lovingly assembled ingredients. The possibilities are endless, from classic chocolate chip to festive gingerbread; tailoring the mix to the recipient's preferences adds an extra layer of personal touch.
This delightful project is surprisingly easy, requiring only a few simple ingredients and some charming jars. Forget spending hours in the kitchen; this method focuses on creating a beautifully packaged gift that minimizes your prep time. To guide you through the process of crafting these delectable gifts, follow the step-by-step instructions provided below, ensuring perfectly packaged deliciousness for everyone on your list.
Preparation and Safety Guidelines
- Mason Jars
- Food Processor (optional)
- Ensure all jars are thoroughly clean and dry before adding ingredients to prevent spoilage.
- Clearly label each jar with the contents, baking instructions, and any potential allergens.
- Store jars in a cool, dark, and dry place to maintain freshness and prevent the ingredients from degrading.
Step-by-Step Instructions
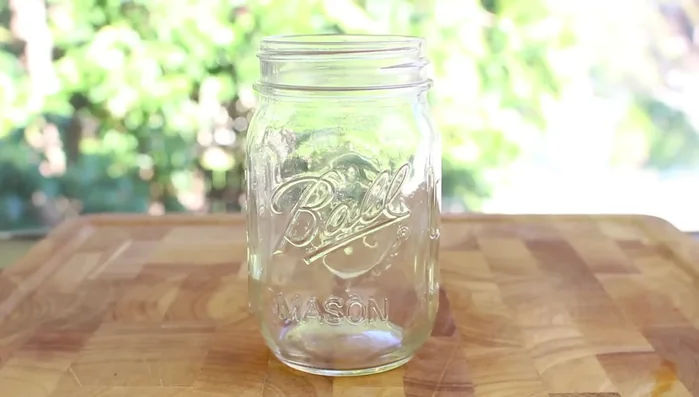
Prepare the Jar
- Start with a mason jar. Choose a size appropriate for your ingredient quantity.

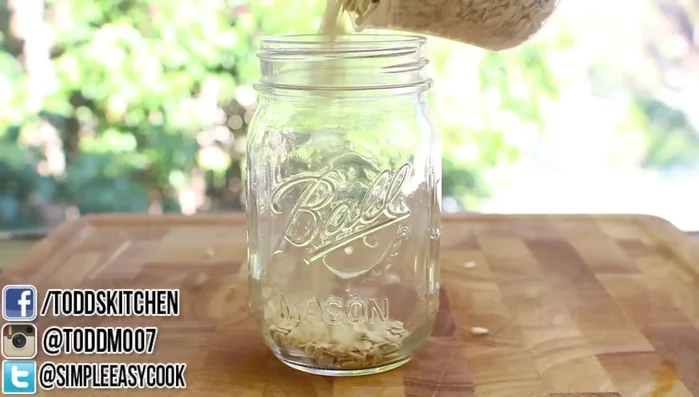
Prepare the Jar Layer Dry Ingredients
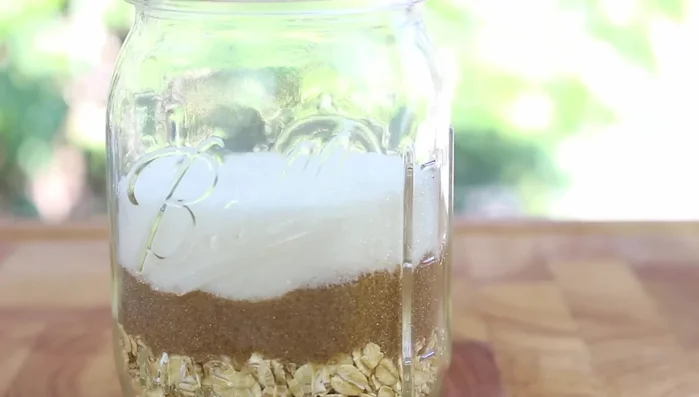
- Add 1 cup of rolled oats (can be processed for finer texture).
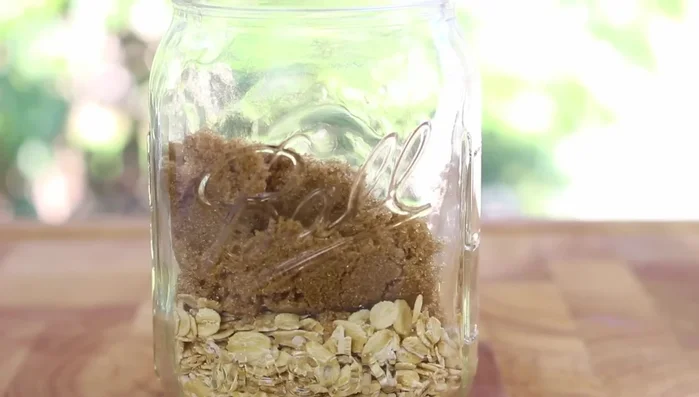
- Add ½ cup packed brown sugar.
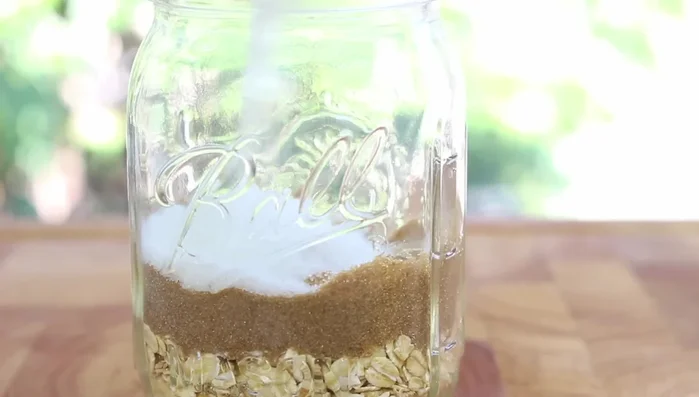
- Add ½ cup white sugar.
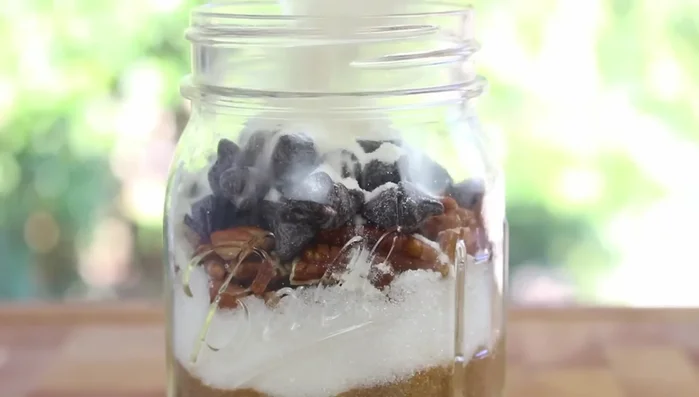
- Add ⅓ cup pecan nuts.
Layer Dry Ingredients - Add chocolate chips.
- Add 1 ½ cups of all-purpose flour (or self-rising flour if available, otherwise add a tablespoon of baking powder).
- Add 1 teaspoon of baking soda.
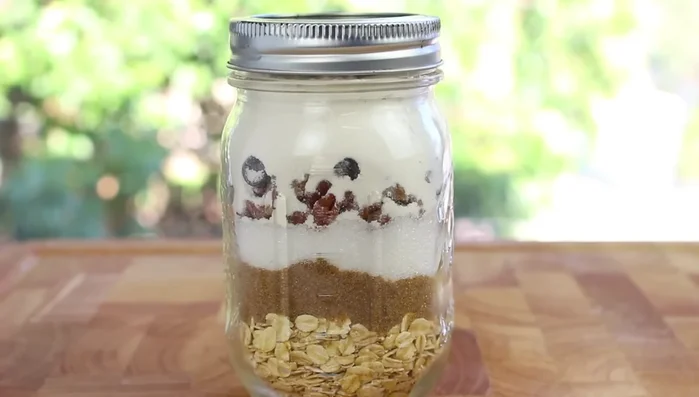
Layer Dry Ingredients Seal and Label
- Close the jar and add a label instructing the recipient to add ½ cup melted butter, 1 egg, and 1 teaspoon of vanilla extract. Mix well and bake at 180°C (350°F) for 10-12 minutes.
Seal and Label


Read more: DIY Mason Jar Cookie Mix Party Favors: Easy Chocolate Chip Recipe
Tips
- Use different colored sugars to make the jar visually appealing.
- This recipe is adaptable; use any cookie recipe you prefer, layering the dry ingredients in the jar.