The holiday season is a time for spreading joy, and what better way to do so than with thoughtful, handmade gifts? This year, ditch the generic store-bought presents and embrace the charm of adorable mini cookie jars! These delightful little containers, perfect for holding festive treats or small trinkets, are surprisingly simple to create, even for beginners. Imagine the delighted smiles on your loved ones' faces as they receive these sweet and personalized gifts, each one brimming with your care and creativity. They're the perfect size for stocking stuffers, teacher gifts, or small party favors, adding a touch of homemade warmth to any celebration.
Forget expensive, mass-produced items; these mini cookie jars offer a unique and personal touch that truly captures the spirit of the season. They’re also wonderfully customizable, allowing you to match them to different themes or individual preferences. Ready to embark on this fun and rewarding DIY adventure? Let's dive into the step-by-step guide to crafting your own set of adorable mini cookie jar gifts.
Preparation and Safety Guidelines
- Small ball jars
- Tissue paper
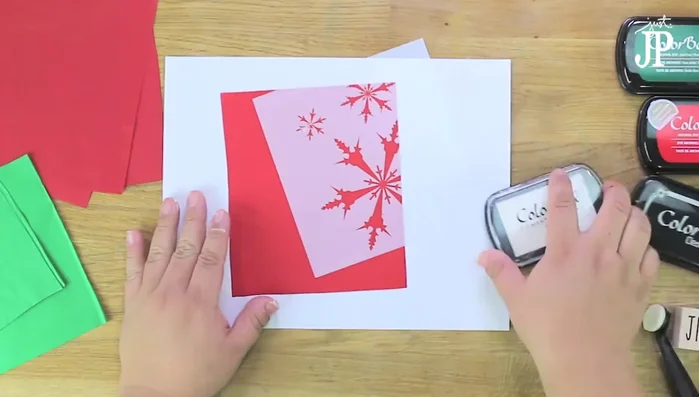
- Stencil
- Stylus
- Clear snap foam applicator
- White pigment ink
- Heat gun
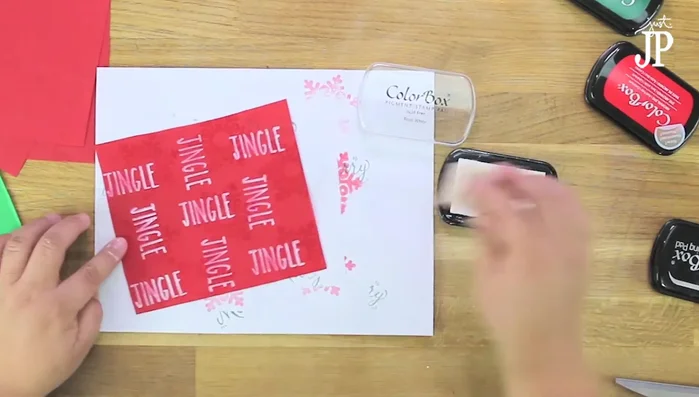
- Dye ink
- Stamps
- Color box cleaning pad
- Paper towels
- Baker's twine
- Cookie Jar
- Always supervise children during the crafting process, especially when handling small parts like jar lids or decorative elements.
- Ensure the jars are thoroughly cleaned and dried before filling them with cookies to prevent spoilage. Use food-safe materials for decoration.
- If using oven-bake clay or paint, follow manufacturer instructions carefully regarding baking temperatures and drying times to prevent burns or damage.
Step-by-Step Instructions
Prepare Tissue Paper Decorations
- Cut tissue paper into squarish shapes.
- Decorate tissue paper using stencils and pigment ink. Apply ink lightly and use a heat gun to dry.
- Use dye ink and stamps to create patterns on plain tissue paper. Dye ink dries instantly, so no heat gun needed.
- Clean stamps on a color box cleaning pad after each use.

Prepare Tissue Paper Decorations Arrange and Test Tissue Paper Placement
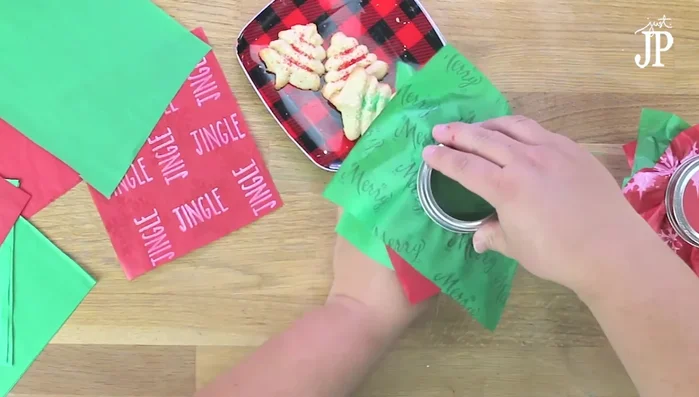
- Arrange plain and decorated tissue paper on the jar lid to test the arrangement.
Arrange and Test Tissue Paper Placement Fill and Decorate the Jar
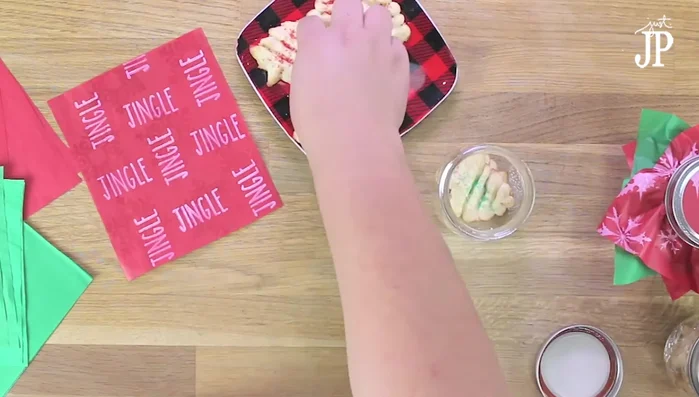
- Fill jars with cookies or candies.
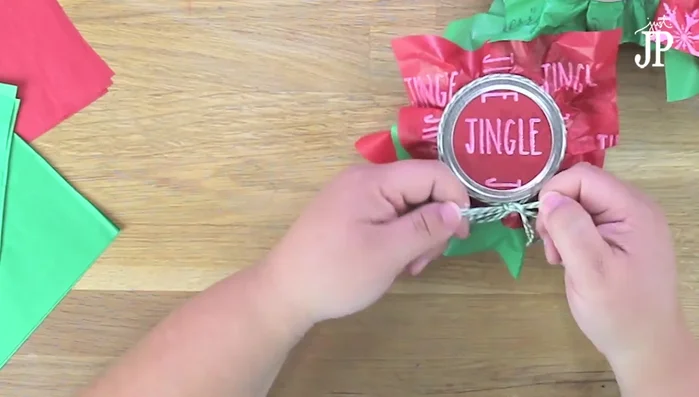
- Secure the lid and add layers of tissue paper.
- Tie Baker's twine around the middle for added cuteness.
Fill and Decorate the Jar


Read more: DIY Mason Jar Cookie Mix Party Favors: Easy Chocolate Chip Recipe
Tips
- Use plain tissue paper for versatility; it can be used throughout the year.
- You can use inexpensive stamps from dollar stores to create your own patterns.
- Use pigment ink sparingly to prevent overly dark designs.