Who says you need a fortune to have fabulous kitchenware? Forget expensive boutique jars; we're diving headfirst into the world of DIY blinged-out cookie jars, and the best part? All the glam comes courtesy of your friendly neighborhood dollar store! Transform ordinary, inexpensive jars into dazzling statement pieces that will elevate your kitchen's aesthetic without emptying your wallet. We're talking seriously sparkly, eye-catching containers that are perfect for storing your favorite treats or even displaying whimsical collections.
Get ready to unleash your inner artist and discover how easy it is to create unique, personalized cookie jars with just a few inexpensive materials and a touch of creativity. This step-by-step guide will walk you through the entire process, from choosing the perfect base jar to adding the final, dazzling touches. Prepare to be amazed by how much impact a little glitter and ingenuity can have!
Preparation and Safety Guidelines
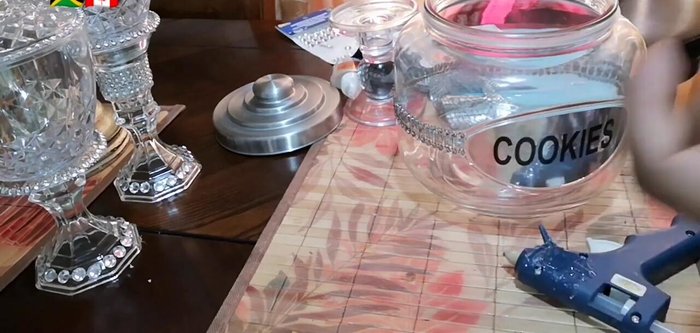
- Dollar Tree candle holders
- Dollar Tree cookie container
- Thrift store containers (optional)
- Gorilla glue or E6000
- Rhinestone mesh (two types)
- Rhinestone bling stickers
- Hot glue gun
- Glue sticks
- Scissors
- Always supervise children if they are assisting with the project, especially when using glue and small decorative items. Avoid choking hazards.
- Ensure all surfaces are clean and dry before applying adhesive. This will help ensure the bling adheres properly.
- Use a non-toxic, craft-safe adhesive suitable for both glass/ceramic and the materials you are using to decorate (e.g., rhinestones, glitter). Allow adequate drying time before using the cookie jar.
Step-by-Step Instructions
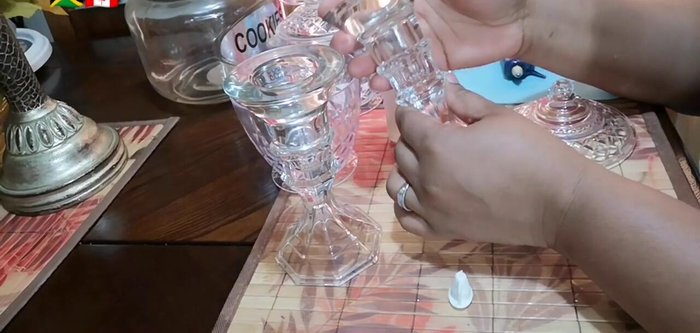
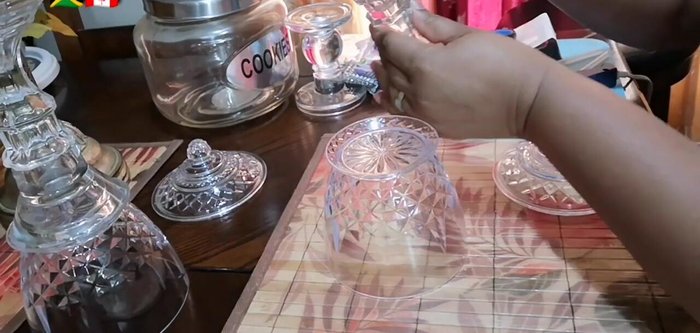
Prepare the Base
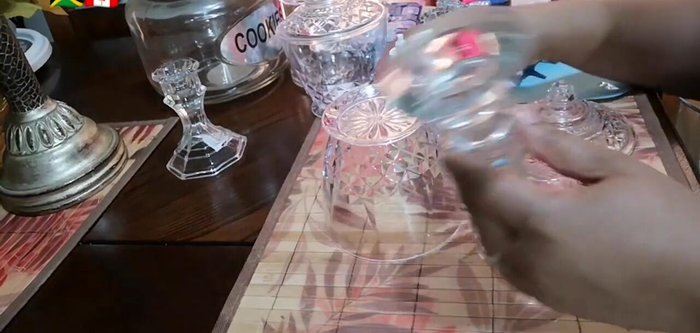
- Glue the smaller Dollar Tree candle holders to the bottom of the large cookie container using strong adhesive.
- Glue a smaller container upside down onto the base of the larger jar.

Prepare the Base Decorate Small Containers
- Decorate the smaller containers with rhinestone mesh and bling stickers.
- Add individual rhinestones for extra sparkle.
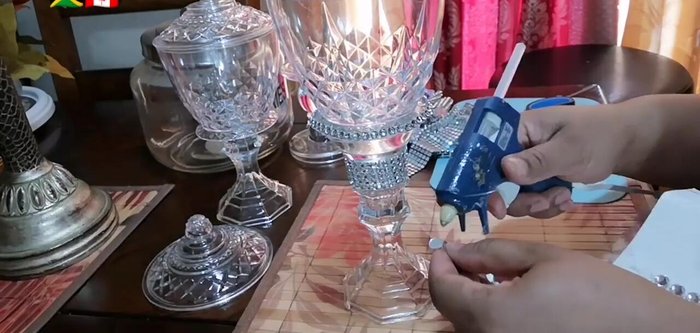
Decorate Small Containers Decorate Large Jar
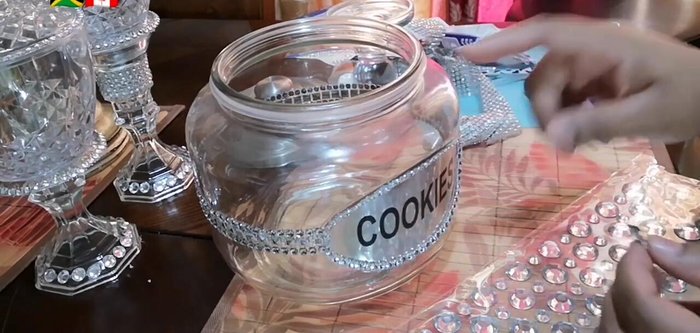
- Decorate the large cookie jar. Apply one roll of rhinestone mesh around the body of the jar.
- Add individual rhinestones around the top rim of the jar.
Decorate Large Jar Assemble and Add Optional Decorations
- Use gorilla glue to attach the decorated smaller containers to the lid of the large jar (optional).
- Add an additional roll of rhinestone mesh around the top edge of the lid (optional).
Assemble and Add Optional Decorations

Read more: DIY Mason Jar Cookie Mix Party Favors: Easy Chocolate Chip Recipe
Tips
- Remove stickers from the bottom of containers before decorating.
- Close the lid when attaching gems to ensure proper placement.
- You can use additional Dollar Tree stones to add more bling to the top.
- These jars can be used for various storage purposes besides desserts, such as makeup or jewelry.