Are you tired of wrestling with overflowing pantry shelves, searching endlessly for that elusive can of tomatoes? Do your canned goods seem to multiply overnight, creating a chaotic jumble that makes even the simplest meal prep a frustrating task? If so, you're not alone! Many of us struggle with efficient pantry organization, particularly when it comes to storing canned food. The solution, however, might be simpler than you think: a DIY canned food dispenser! This ingenious creation maximizes your vertical space, dramatically improves pantry accessibility, and adds a touch of stylish organization to your kitchen.
This article will guide you through a straightforward, step-by-step process to build your own custom canned food dispenser, transforming your pantry from a cluttered nightmare into a well-organized and efficient haven. Prepare to say goodbye to messy stacks and hello to a sleek, functional system that will save you time, space, and the occasional frustrating can avalanche! Let's get started!
Preparation and Safety Guidelines
- 3/4 inch Pine wood
- Saw
- Sandpaper
- Screws
- Wood glue
- Always ensure the dispenser is thoroughly clean and dry before use to prevent bacterial growth and food spoilage.
- Inspect cans for dents or damage before placing them in the dispenser. Damaged cans can compromise the seal and lead to spoilage.
- Properly seal and store the dispenser to protect canned goods from moisture, pests, and extreme temperatures.
Step-by-Step Instructions
Planning and Measurement
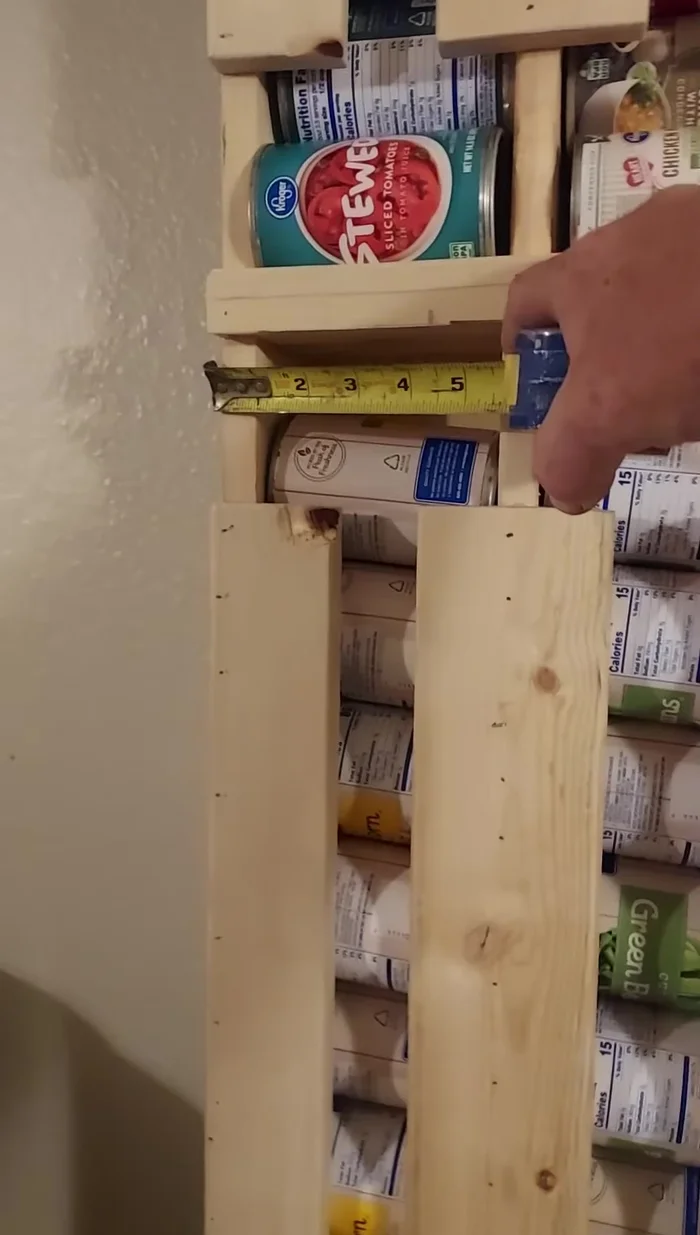
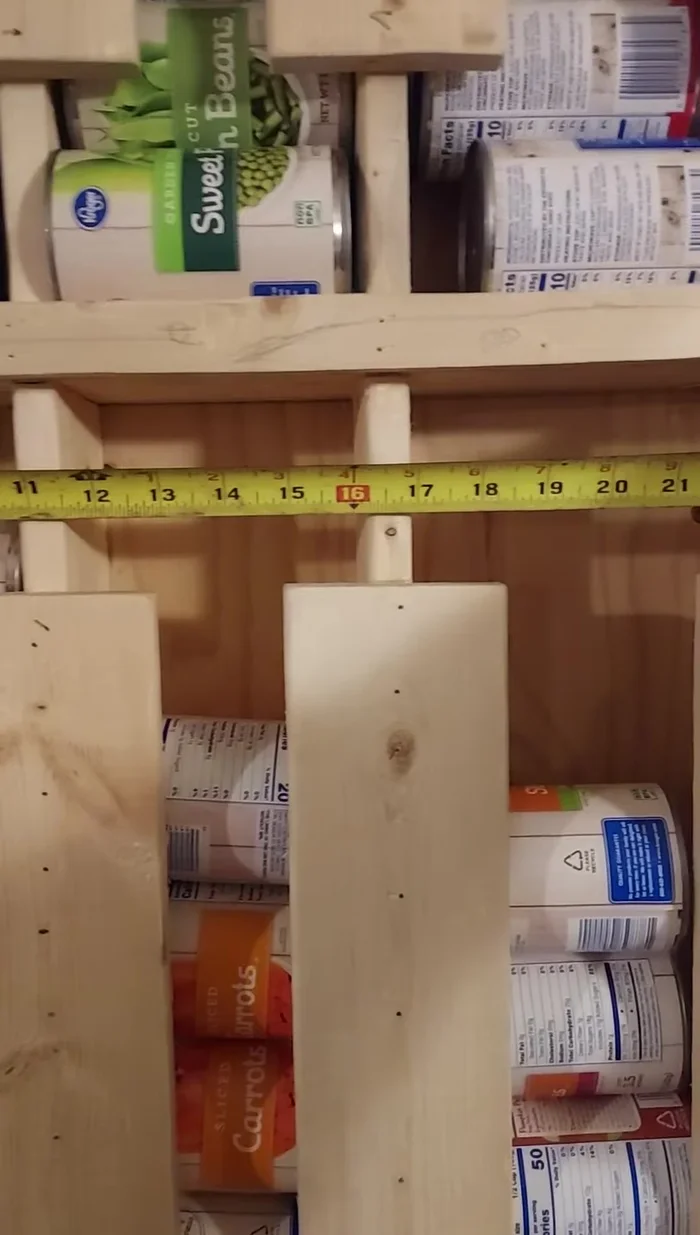
- Aim for 22 inches wide and 30 inches tall per section. Adjust height based on your available space. The main can dispenser should be 3.5 inches deep.

Planning and Measurement Cutting the Wood
- Cut the pine wood according to your chosen dimensions. You'll need to cut pieces for the front, back, and sides of each section. Remember to account for the depth needed for various can sizes (3.5 inches for regular cans, 4.5 inches for larger cans).
Cutting the Wood Assembling the Sections
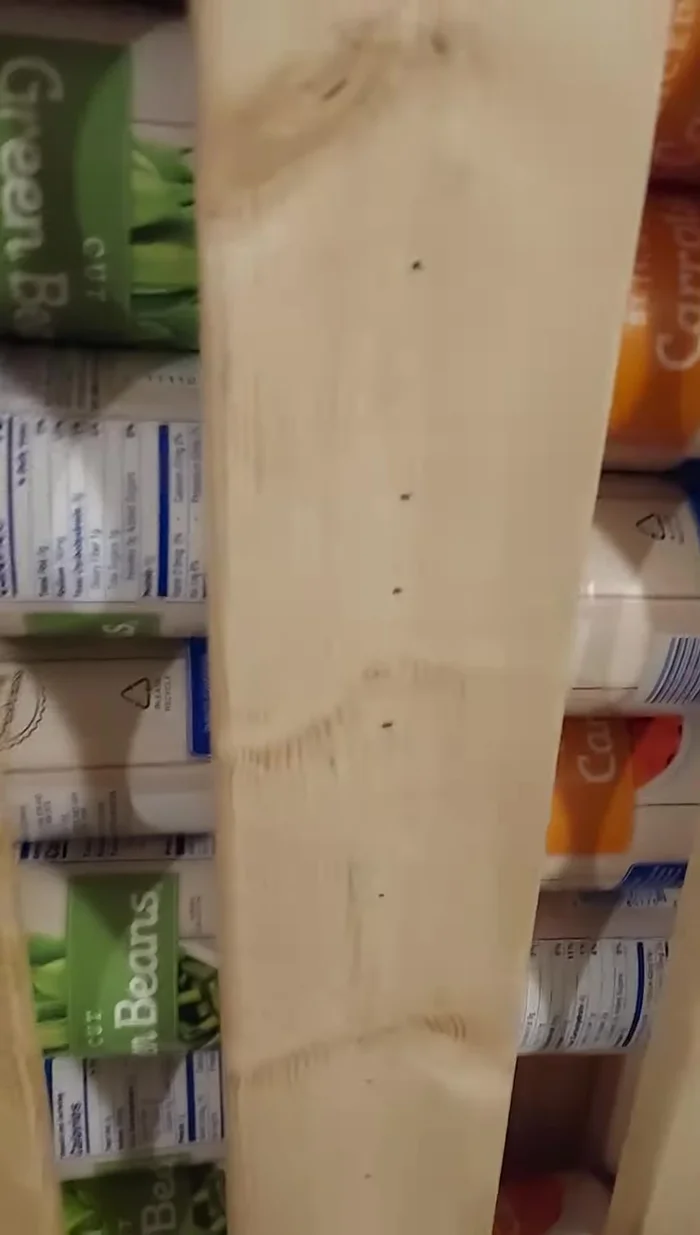
- Assemble each section using wood glue and screws. Ensure the sections are square and stable.
Assembling the Sections Adding Functional Details
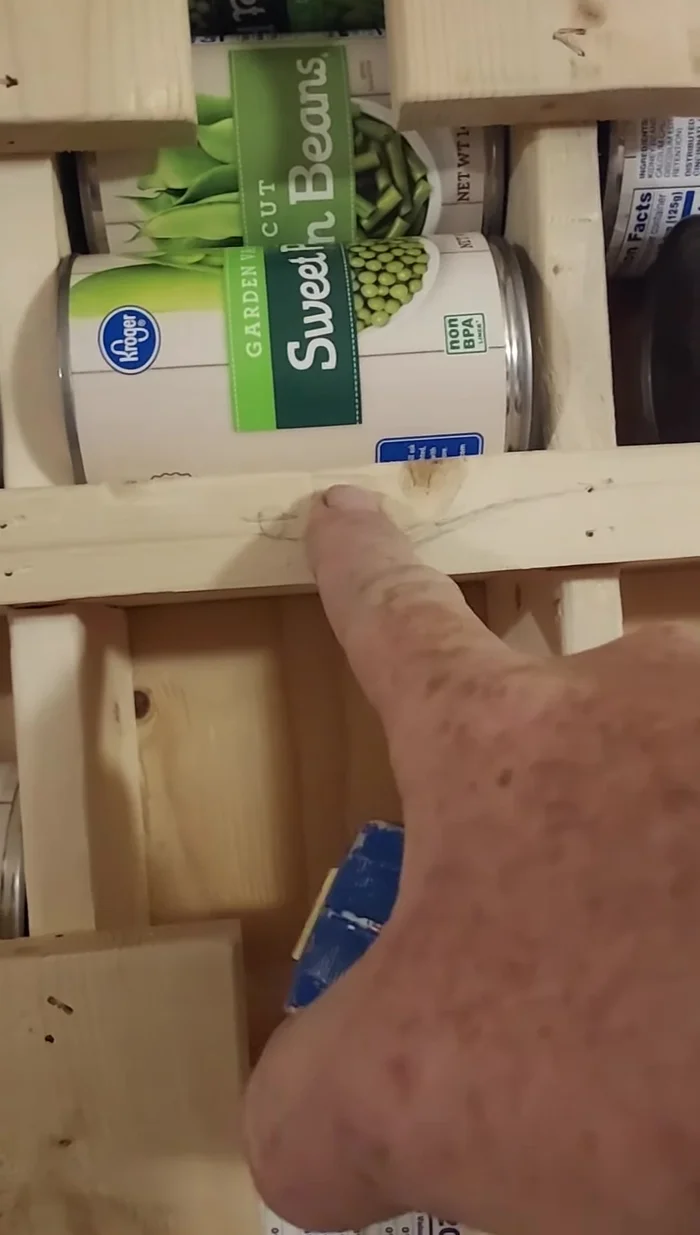
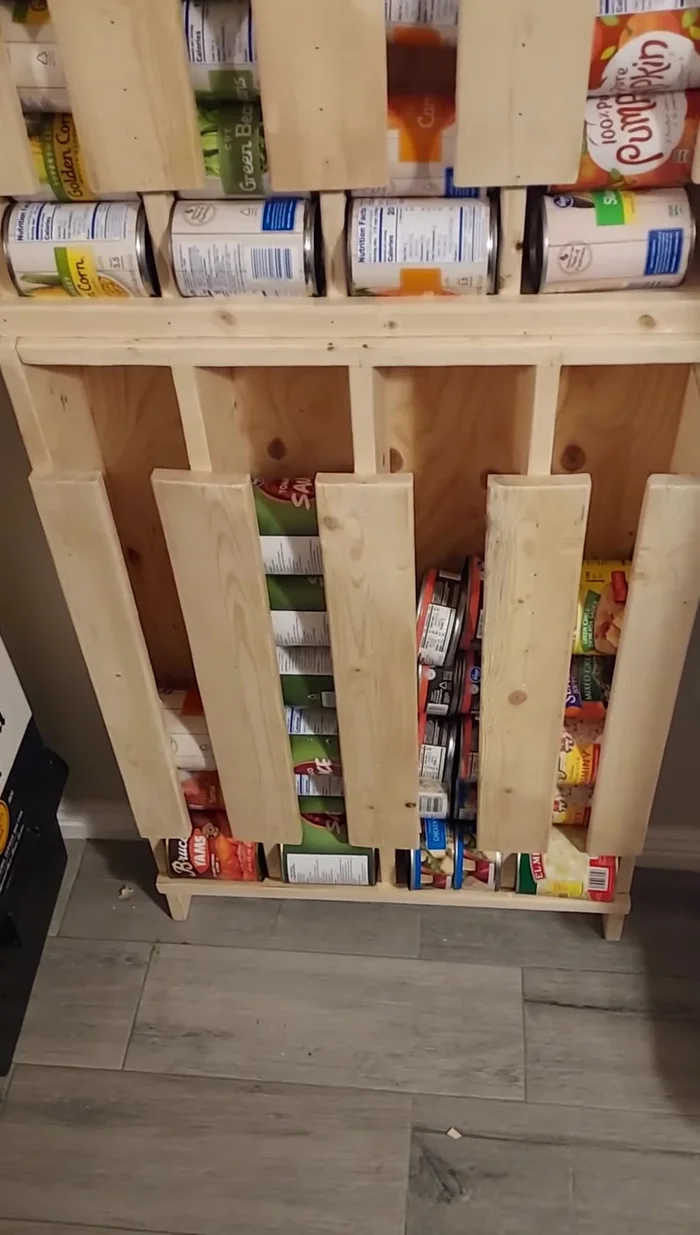
- The front lip should be a quarter inch higher than the can resting surface to hold cans in place and prevent them from falling over.
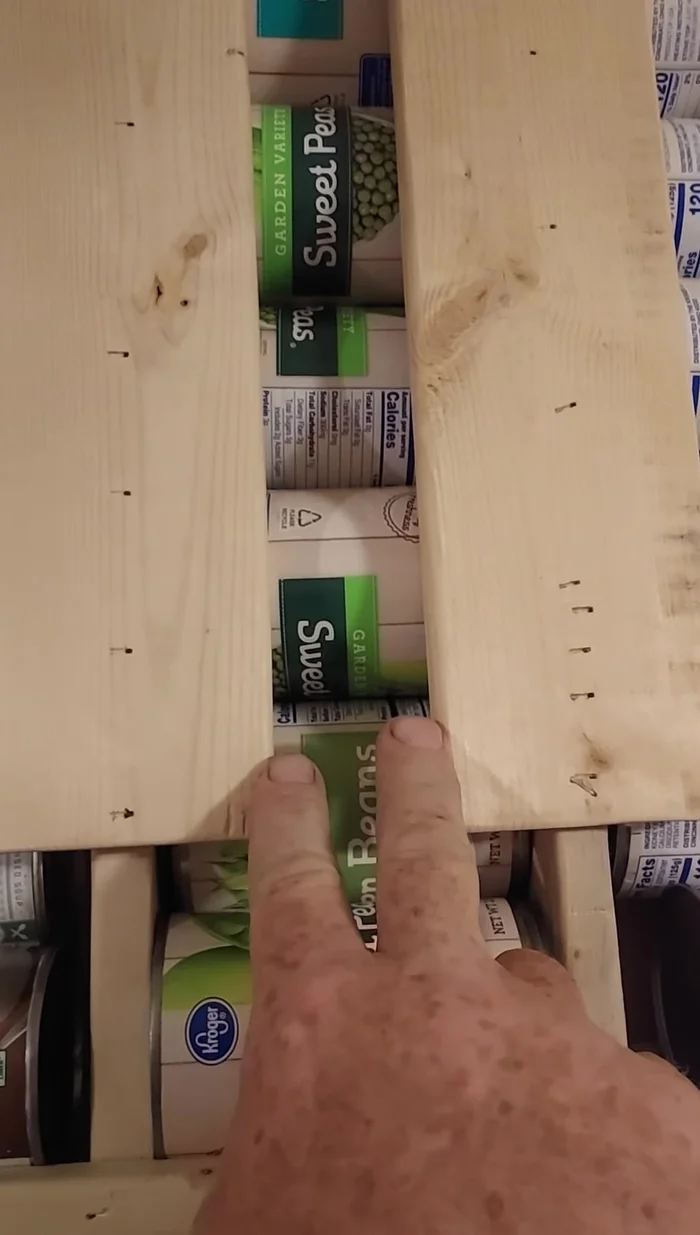
- Place a block of 3/4 inch square wood at the back to force the last can to jut out for easy dispensing.
Adding Functional Details Finishing and Sanding
- Sand all surfaces to ensure a smooth finish.
Finishing and Sanding Installation
- Mount the completed dispenser to the wall, keeping it slightly off the floor for easier cleaning.
Installation Loading the Dispenser
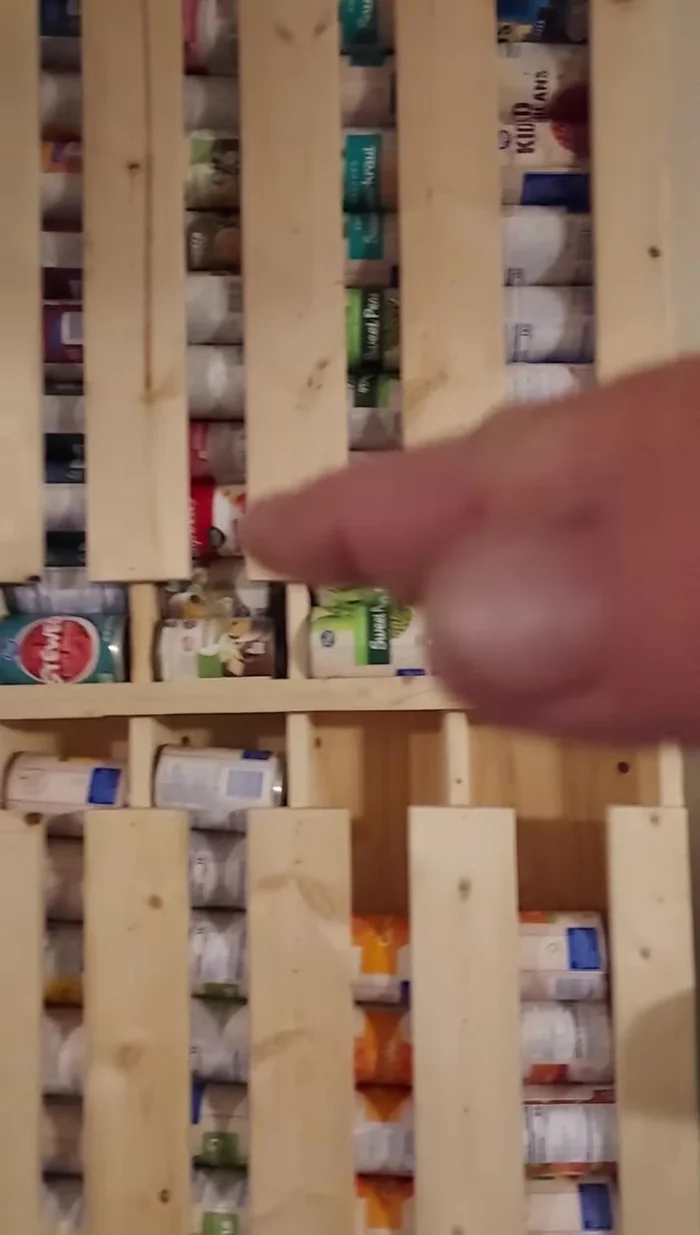
- Load cans into each section, starting with the oldest cans at the front.
Loading the Dispenser
Read more: DIY Rotating Canned Food Storage Unit: Maximize Space & Organize Your Pantry!
Tips
- Sand as much as possible before assembling for easier work.
- Using 22 inches in width is optimal, and 30 inches for height is a good starting point for each section, but adjust as needed.
- This method ensures FIFO (First-In, First-Out) stock rotation, preventing food expiration.
- Consider the height of your existing shelves to optimize the size of your dispenser.