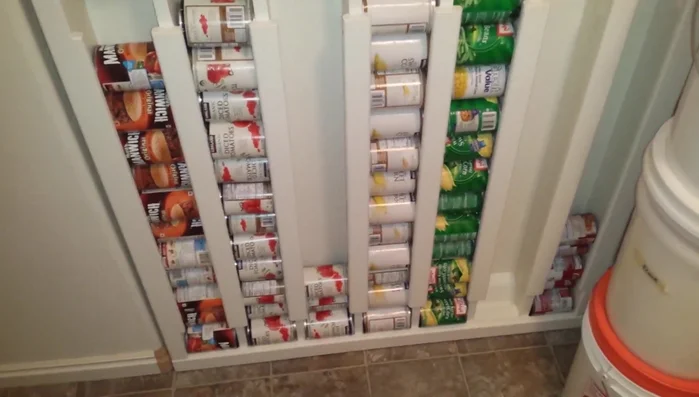
Tired of a pantry overflowing with cans, creating a chaotic mess and wasting precious space? Imagine a neatly organized pantry where finding your favorite soup is a breeze, not a frantic hunt. A DIY rotating canned food storage unit is the perfect solution to transform your pantry from a cluttered nightmare into a sleek, efficient storage system. This clever project maximizes vertical space, making the most of even the smallest pantry, and provides easy access to your canned goods, reducing food waste by helping you see what you have and use it before it expires.
This simple yet effective project requires minimal tools and readily available materials, making it a manageable weekend undertaking for even novice DIY enthusiasts. Ready to revolutionize your pantry organization? Let's dive into the step-by-step process of building your own rotating canned food storage unit!
Preparation and Safety Guidelines
- 2x4s
- 1x4s (suggested for lighter build)
- MDF
- Wood Glue
- Screws
- Brad nails
- Circle cutting saw (for optional finger grips)
- Half-inch backer board (or quarter-inch for floor mounting)
- Baseboard
- Ensure the rotating mechanism is sturdy and can handle the weight of the canned goods. Overloading can cause instability and potential injury.
- Regularly inspect the unit for any signs of wear and tear, especially the bearings and supporting structure. Replace or repair damaged parts immediately.
- Always place heavier cans at the bottom of the unit for better stability and to prevent tipping.
Step-by-Step Instructions
Frame Construction
- Construct the frame using 2x4s or lighter 1x4s for the outer edges and center supports. Consider the weight of the finished product when choosing materials.

Frame Construction Shelf and Slot Creation
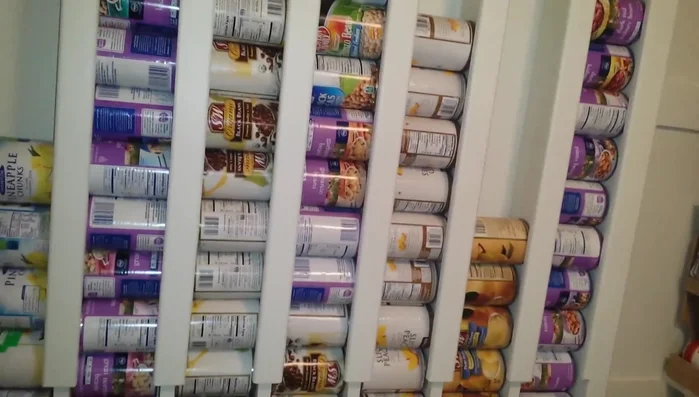
- Cut and attach MDF to create the shelves/slots for the cans. Ensure consistent spacing between the shelves (4 5/8 inches is suggested, but consider adding ⅛ inch for easier access).
Can Holder Installation
- Attach MDF hook strips (or similar) to create the can holders.
Assembly and Securing
- Secure all pieces with screws and wood glue. Pre-drill holes to prevent splitting.
Assembly and Securing Finishing Touches
- Fill screw holes and paint the unit for a finished look.
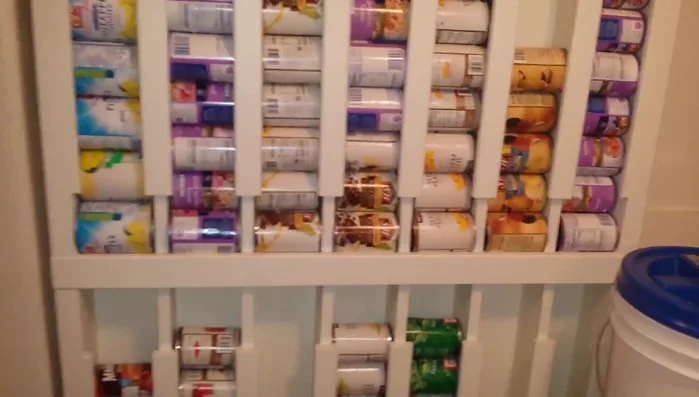
Finishing Touches Mounting and Anchoring
- Anchor the unit to the wall or floor (floor mounting is recommended due to weight).
Mounting and Anchoring Kicker Installation
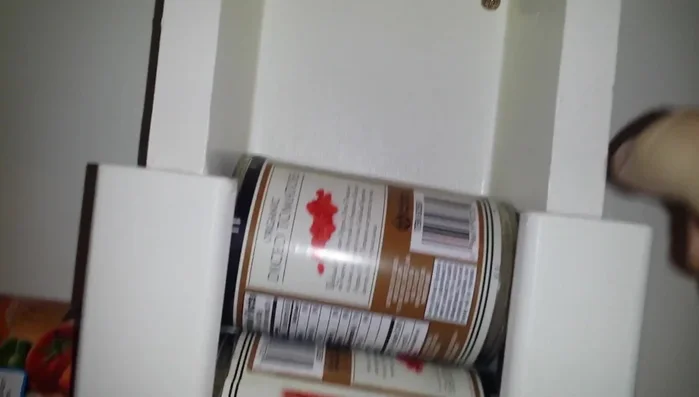
- Add a kicker (angled piece of MDF with baseboard) at the bottom to tilt cans towards the front for easy access.
Kicker Installation
Tips
- Use lighter 1x4s instead of 2x4s to reduce weight.
- Anticipate the weight of the finished unit; consider floor mounting.
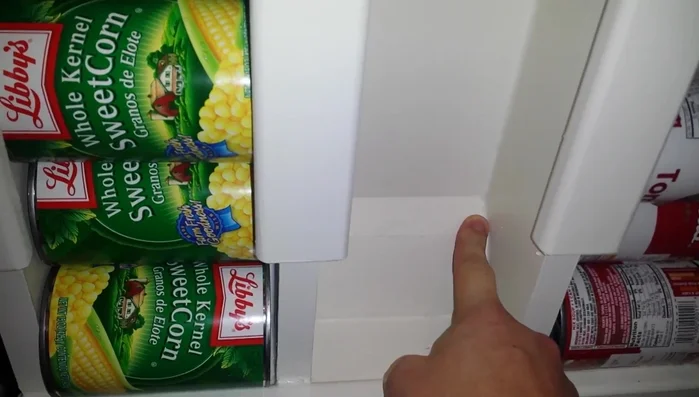
- Create finger grips for easy access to cans, especially large ones.
- Add extra spacing (⅛ inch) to the shelves to prevent tight fits.
- Use a thinner backer board (¼ inch) if floor mounting.