Are you tired of soda cans cluttering your refrigerator shelves, taking up precious space and making it difficult to find what you need? Do you dream of a neatly organized fridge where everything has its place, maximizing storage and minimizing the chaos? Then you've come to the right place! This simple DIY project transforms ordinary pop cans into a stylish and space-saving organizer that will revolutionize your fridge's interior. Say goodbye to the frustrating game of "find the soda" and hello to a more efficient and visually appealing chilled beverage system.
Forget expensive, bulky organizers – this project utilizes materials you likely already have at home, making it both budget-friendly and environmentally conscious. We'll guide you through a straightforward, step-by-step process to create a custom dispenser perfectly tailored to your refrigerator's dimensions. Ready to transform your fridge from chaotic to chic? Let's get started!
Preparation and Safety Guidelines
- Half-inch particle board
- Hot glue
- Finishing nails
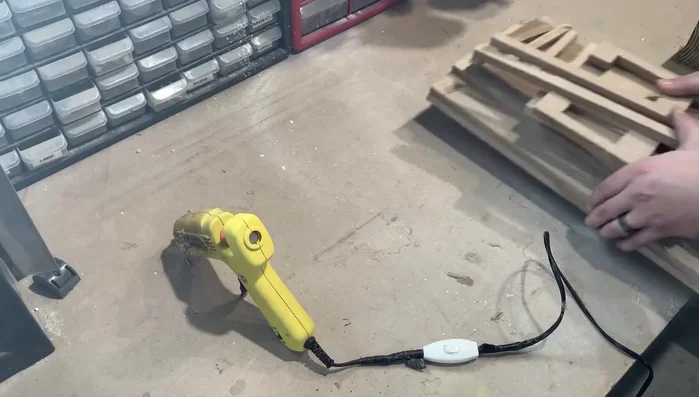
- Saw
- Sandpaper
- Paint (optional)
- Always ensure the pop can dispenser is securely attached to your refrigerator door before loading it with cans. A poorly secured dispenser could fall, causing injury or damage.
- Avoid overloading the dispenser. Overloading can cause it to become unstable and potentially fall, or damage the dispenser itself.
- Check regularly for any signs of damage or wear and tear on the dispenser. Replace it if necessary to prevent accidents.
Step-by-Step Instructions
Design and Measurement
- Create a two-tiered organizer design that allows cans to feed in from the front and dispense from the front using gravity. Determine dimensions to fit your fridge shelf (19 inches wide and 8 inches tall in this example).
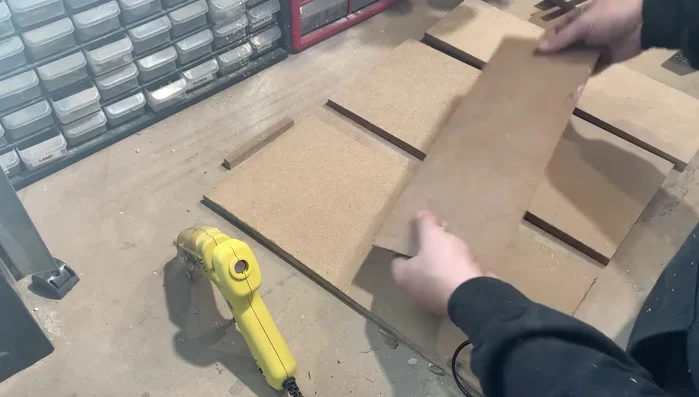
Cut Particle Board
- Cut the particle board according to your design. Cut pieces for the sides, bottom, top, front, and the slides for the cans.
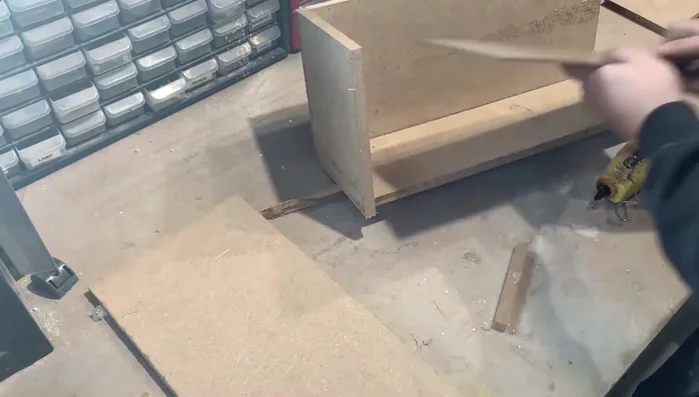
Partial Assembly
- Begin assembly by attaching one side, the bottom, and the back piece. Leave one side off for easier slide installation.

Partial Assembly Install Slides
- Position the slides ensuring cans will feed and dispense smoothly. Aim for about an inch of drop between tiers.
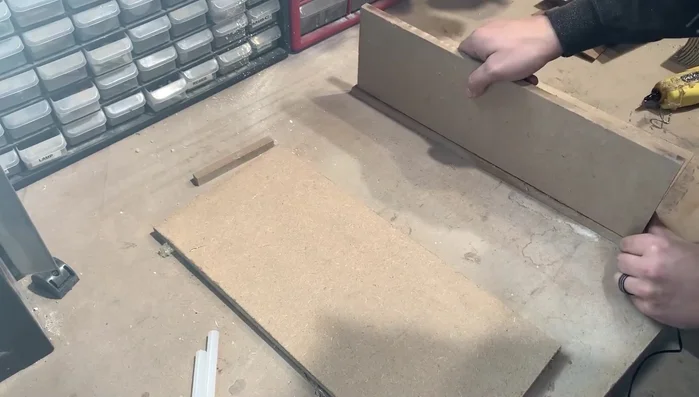
Install Slides Complete Assembly
- Secure the remaining side piece and the top. Use hot glue for temporary hold and finishing nails for permanent securing.
Complete Assembly Finishing
- Sand down any rough edges, and optionally paint the organizer for a cleaner look.
Finishing
Read more: DIY Rotating Canned Food Storage Unit: Maximize Space & Organize Your Pantry!
Tips
- Make the front opening wide enough to easily grab cans (approximately 5 inches in this example).
- Leave one side off initially for easier slide placement and alignment.
- Ensure about an inch of drop between the two tiers to prevent jams.