Primo water dispensers offer a convenient and refreshing way to stay hydrated, but maintaining their cleanliness is crucial for ensuring the water remains pure and safe to drink. A buildup of minerals, bacteria, and other contaminants can compromise the quality of your drinking water and even impact the lifespan of your dispenser. Regular cleaning is essential, but a thorough deep clean goes beyond a simple wipe-down, ensuring optimal hygiene and performance. Neglecting this important task can lead to unpleasant tastes, odors, and potential health concerns.
Therefore, this guide provides a comprehensive step-by-step approach to deep cleaning your Primo water dispenser, leaving it sparkling and ready to deliver crisp, clean water. To learn how to effectively sanitize every component and eliminate any hidden grime, follow the simple yet effective steps outlined below.
Preparation and Safety Guidelines
- 5-gallon bucket
- 2-gallon bucket (or 1-gallon jug)
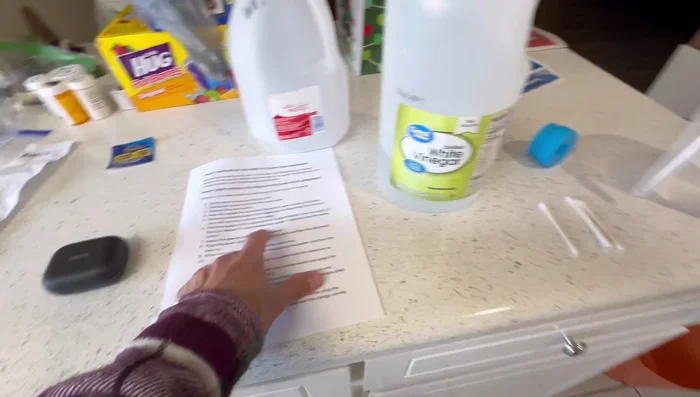
- Distilled white vinegar (2 cups) or bleach (2 tablespoons)
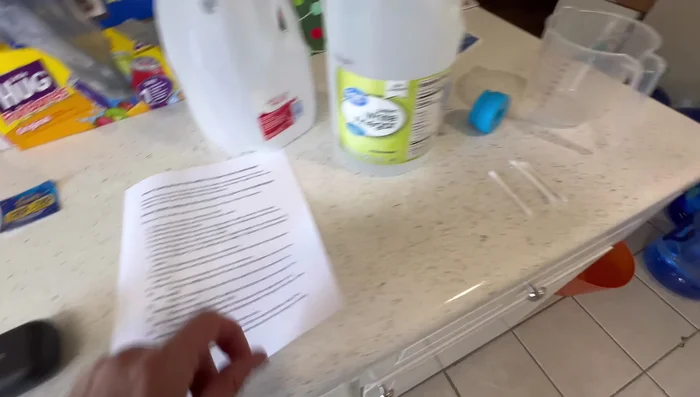
- Measuring cup
- Phillips head screwdriver
- Silicone rubber cap for Primo water bottle (optional)
- Mr. Clean Magic Eraser (optional)
- Q-tips (optional)
- Dawn Platinum Powerwash dish soap (optional)
- Always unplug the Primo water dispenser from the power outlet before cleaning to prevent electric shock.
- Never immerse the dispenser's electrical components in water. Use a damp cloth to wipe them down.
- Ensure the dispenser is completely dry before plugging it back in and resuming use.
Step-by-Step Instructions
Prepare the Dispenser
- Turn off the energy-saving switches, unplug the power cord, and remove the water bottle.

Prepare the Dispenser Drain Existing Water
- Remove any remaining water from the reservoirs by dispensing from the hot and cold taps into a pitcher or bucket.
Drain Existing Water Prepare Cleaning Solution
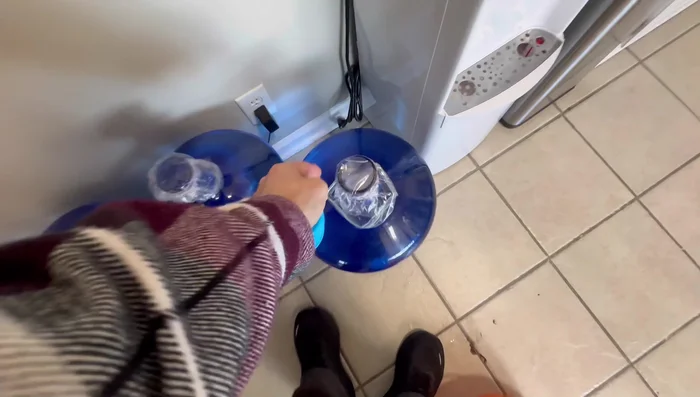
- Remove the cap from a spare empty 5-gallon bottle. Pour 2 cups of white vinegar (or 2 tablespoons of bleach) and 2 gallons of hot tap water into the empty bottle.
Prepare Cleaning Solution Clean the Reservoirs
- Attach the cleaning bottle to the dispenser, plug in the power cord, and turn the dispenser back on. Allow the cleaning solution to fill the reservoirs.
Clean the Reservoirs First Rinse and Drain
- Turn the switches off, unplug the cord, and wait 10 minutes. Then, drain the water from the reservoirs.
First Rinse and Drain Flush with Clean Water
- Fill the empty 5-gallon bottle with 2 gallons of hot tap water and use this to flush the system. Drain the water from the front and then the back of the dispenser.
Flush with Clean Water Final Drain and Cleaning
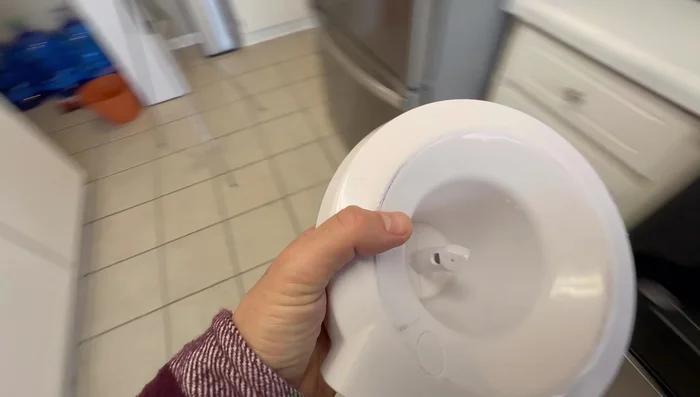
- Remove the bottom drain cap and allow any remaining cleaning solution to drain completely. Clean the removable parts with soap and water or a Mr. Clean Magic Eraser.
Final Drain and Cleaning Reassemble and Refill
- Reassemble the dispenser, install a fresh water bottle, and turn it on.
Reassemble and Refill


Read more: Deep Clean Your Garbage Disposal with Ice and Bleach: A Pro Tip!
Tips
- Purchase silicone rubber caps for your Primo water bottles to prevent leaks.
- Use a garbage disposal to get rid of the used vinegar solution and simultaneously clean your disposal.
- Clean the inside of the dispenser's dispensing area with Q-tips for a thorough clean.
- Remove and clean the water tray for a spotless finish.