Tired of rummaging through cluttered cabinets for your favorite canned goods? Imagine a sleek, gravity-fed can dispenser that effortlessly organizes your pantry and makes accessing your supplies a breeze. Building your own DIY can dispenser is easier than you might think, offering a rewarding project and a significant upgrade to your kitchen organization. This simple solution utilizes readily available materials and requires minimal tools, making it perfect for both experienced DIY enthusiasts and beginners alike. Forget wrestling with stacked cans that topple over – reclaim your pantry space and enjoy easy access to your canned goods.
This guide provides a clear and concise step-by-step process to building your very own gravity-fed can dispenser. We'll walk you through selecting the right materials, assembling the components, and customizing the design to fit your specific needs and aesthetic preferences. Prepare to transform your pantry from a chaotic jumble into an organized and efficient space. Let's get started!
Preparation and Safety Guidelines
- Scrap wood (pallet wood is suitable)
- Planer
- Table saw
- 1" 18-gauge nails
- 1 1/2" 18-gauge nails (optional, but potentially better for thicker wood)
- Wedges
- Measuring tape
- Straight edge
- Always ensure the can dispenser is securely mounted and stable to prevent tipping and potential injury from falling cans.
- Use appropriate materials that can withstand the weight of the cans and are food-safe. Avoid materials that might leach chemicals into the contents.
- Regularly inspect the dispenser for any signs of wear and tear, especially the mounting points and supporting structures. Replace or repair damaged parts immediately.
Step-by-Step Instructions
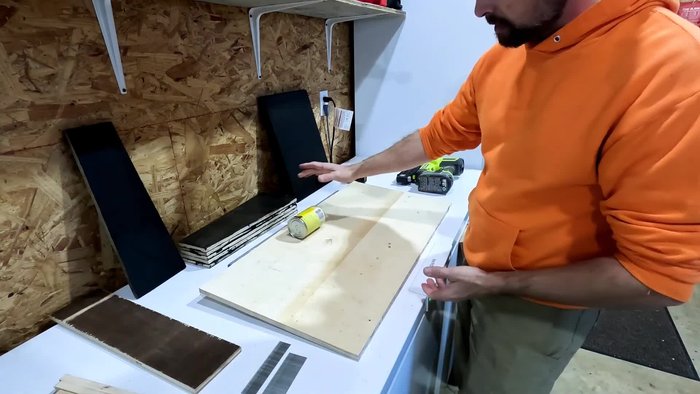
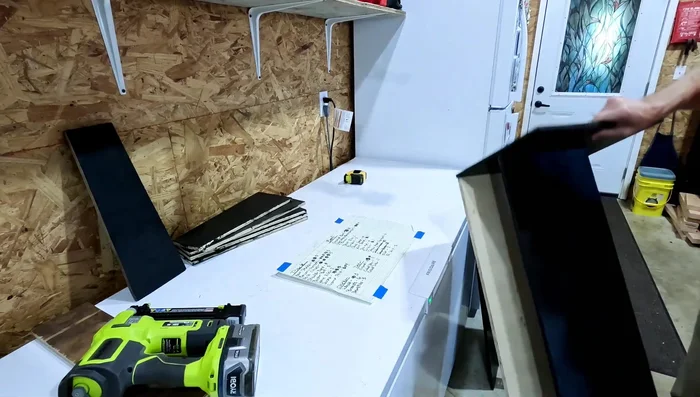
Prepare Materials
- Prepare the base and side pieces. The dimensions will depend on the size of your can and available shelf space. Cut pieces for guides to keep the cans aligned.

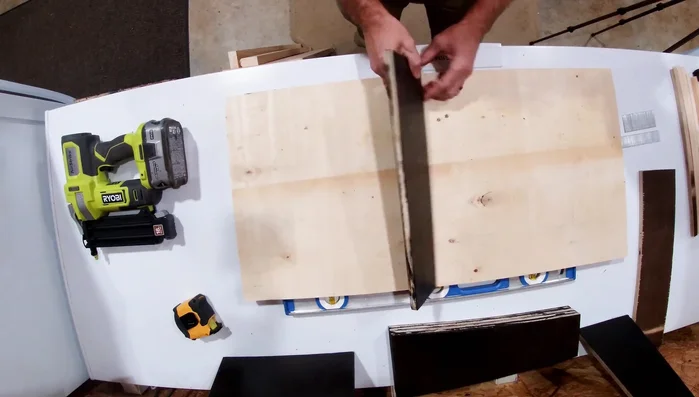
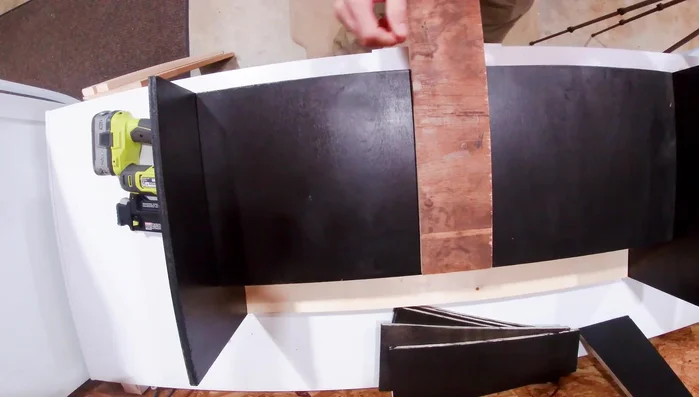
Prepare Materials Build Angled Brackets
- Construct the angled brackets. These brackets are key to creating the sloped surface for the cans to roll down. The dimensions shown are 6 inches on one side and 4 inches on the other, creating a 1-inch rise.
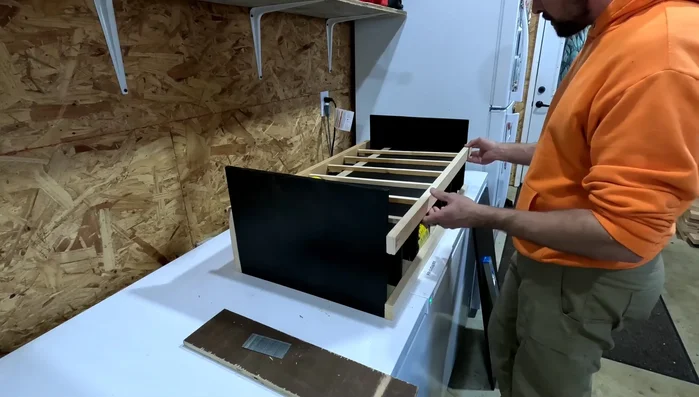
Build Angled Brackets Assemble the Base and Sides
- Assemble the side pieces to the base. Use nails to secure the side pieces to the base, ensuring the back of the dispenser is elevated for the desired slope.
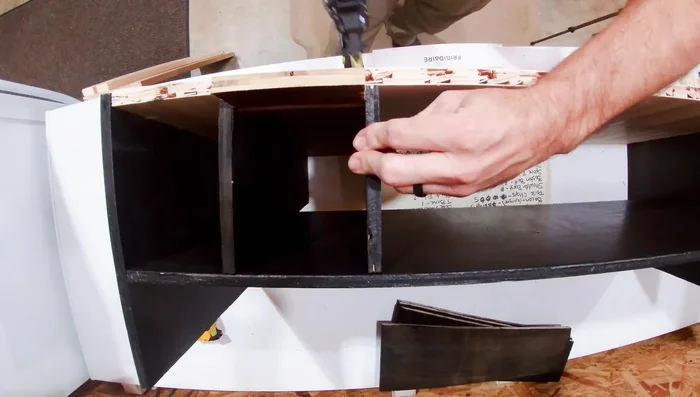
Assemble the Base and Sides Install Shelf
- Add the shelf supports and attach the shelf. Make sure the shelf is level and aligned correctly.
Install Shelf Reinforce Structure
- Reinforce the structure by adding more nails for stability.
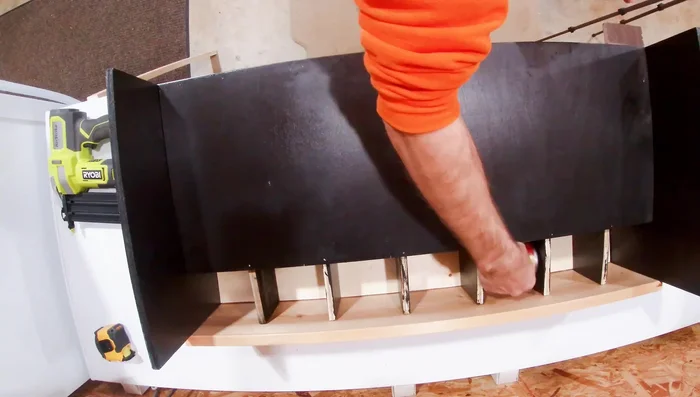
Reinforce Structure Add Can Alignment Spacer
- Add a spacer piece matching the can width to ensure proper can alignment during the rolling process.
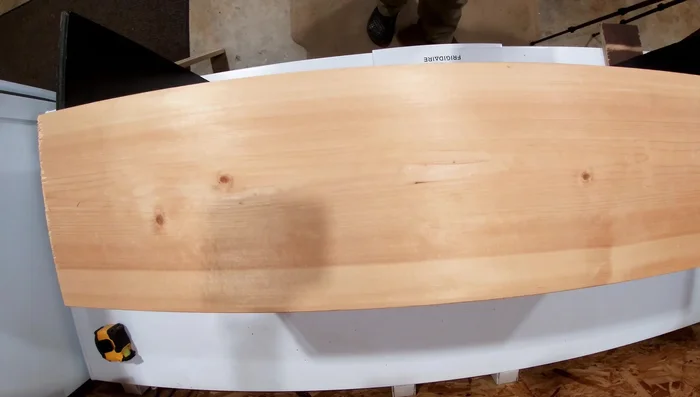
Add Can Alignment Spacer Attach Front Piece
- Attach the front piece. Accurate measurement is crucial to ensure the cans roll out smoothly.
Attach Front Piece Install and Adjust Guides
- Install guides to ensure smooth can movement. Ensure the cans roll down easily without getting stuck. If needed, adjust the guides.
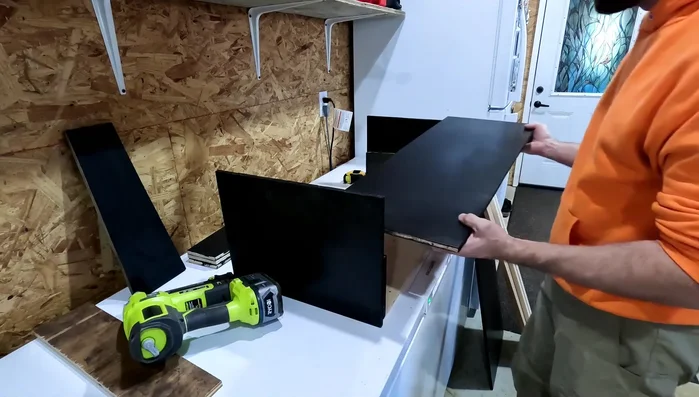
Install and Adjust Guides Install Back Piece
- Add a back piece to prevent cans from getting stuck in the back. This piece should be slightly wider than the can to ensure smooth rolling.
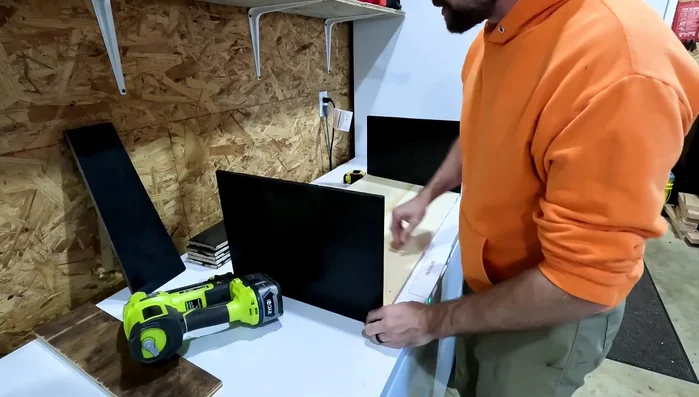
Install Back Piece Finishing Touches
- Add finishing touches such as trim pieces.
Finishing Touches
Read more: Deep Clean Your Garbage Disposal with Ice and Bleach: A Pro Tip!
Tips
- Use shorter nails (1 inch) for thinner wood to prevent blowouts.
- Precise measurements are critical, especially for the front and back pieces to ensure smooth can dispensing.
- Test the can dispensing mechanism thoroughly before permanently attaching all the pieces.