Hot glue guns are indispensable tools for a myriad of crafting and repair projects, but their nozzles can become clogged with hardened glue, leading to messy applications and even damage to the gun itself. A clogged nozzle not only hinders your workflow but can also shorten the lifespan of your trusty hot glue gun. Regular cleaning is crucial to maintain its efficiency and ensure a smooth, even glue flow for years to come. Ignoring this simple maintenance can result in frustrating projects and ultimately, a costly replacement.
Fortunately, cleaning and reassembling a hot glue gun nozzle is a relatively straightforward process that requires only a few simple tools and a little patience. This article will guide you through each step, providing clear instructions and helpful tips to get your hot glue gun back in top working order quickly and easily. Let's dive into the detailed, step-by-step guide to cleaning and reassembling your hot glue gun nozzle.
Preparation and Safety Guidelines
- Spray hose
- Hot Glue Gun
- Always unplug the hot glue gun and allow it to cool completely before cleaning or handling the nozzle.
- Use caution when handling the nozzle; it will be hot even after the gun is unplugged. Use heat-resistant gloves if necessary.
- Never use sharp objects like knives or metal tools to clean the nozzle; this can damage it and cause injury.
Step-by-Step Instructions
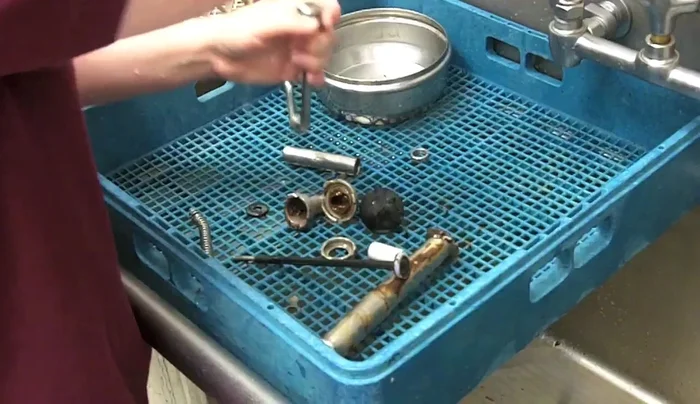
Cleaning the Nozzle
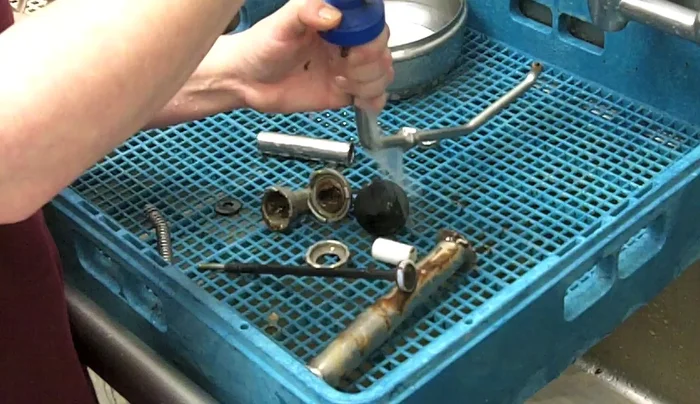
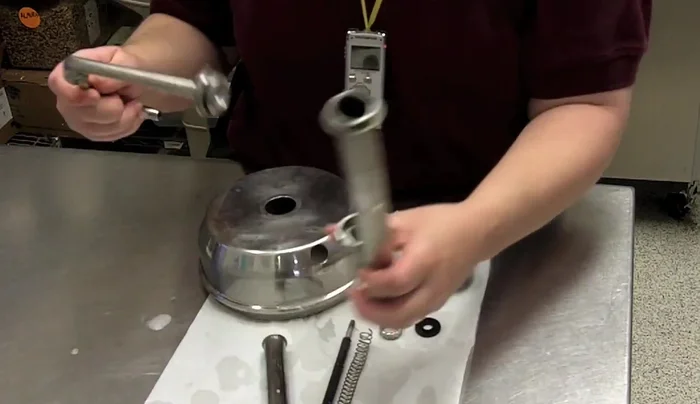
- Rinse the nozzle with water using a spray hose.
- Align the spray hose with the clutch nozzle, squeeze lightly, and flush out the residue until the water runs clear.

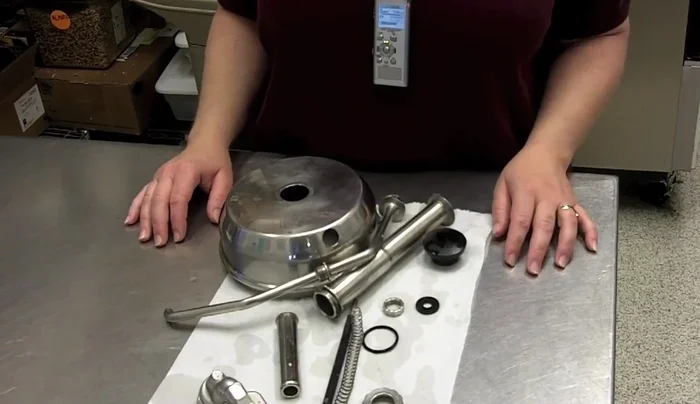
Cleaning the Nozzle Assembling the O-ring and First Component
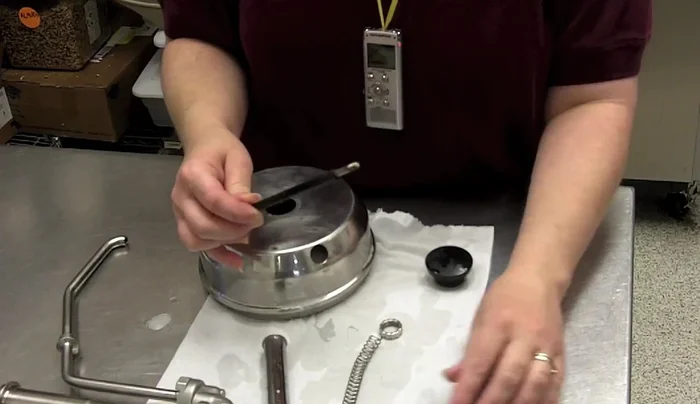
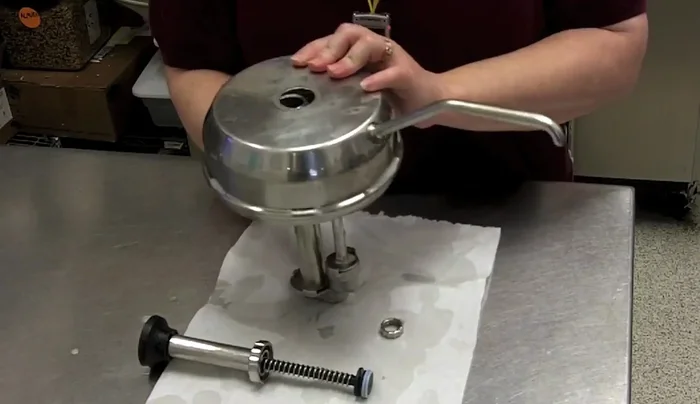
- Place the black O-ring onto the nozzle.
- Attach the flat part with two little lines, aligning them correctly and twisting to lock.
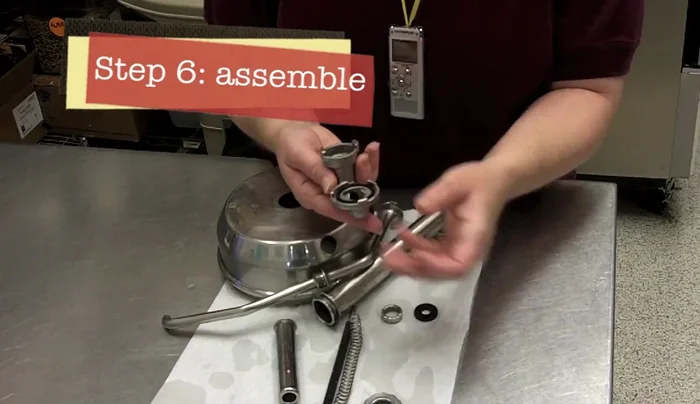
Assembling the O-ring and First Component Assembling the Second Component
- Align the flat edges of the next part, push in firmly, and twist to lock.
Assembling the Second Component Assembling the Internal Mechanism
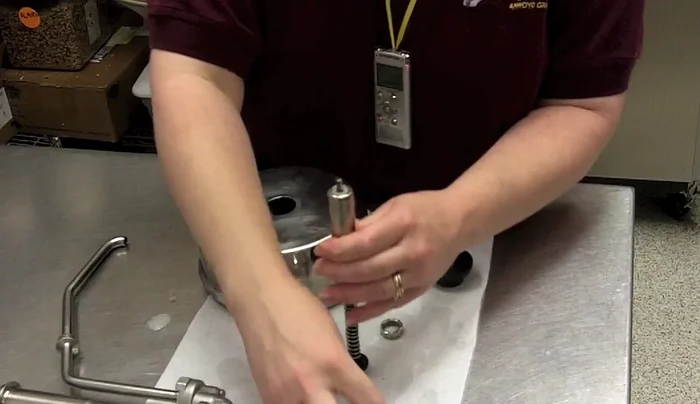
- Install the flat washer, spring, and white part.
- Place the stick inside, followed by the knob. Fold the bottom of the knob to allow screwing on the top.
Assembling the Internal Mechanism Assembling the Metal Parts
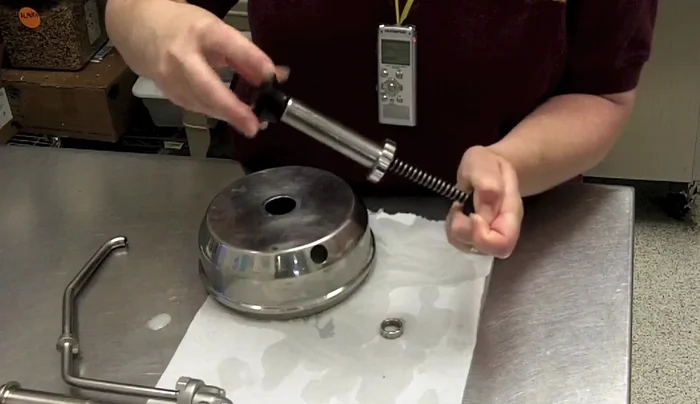
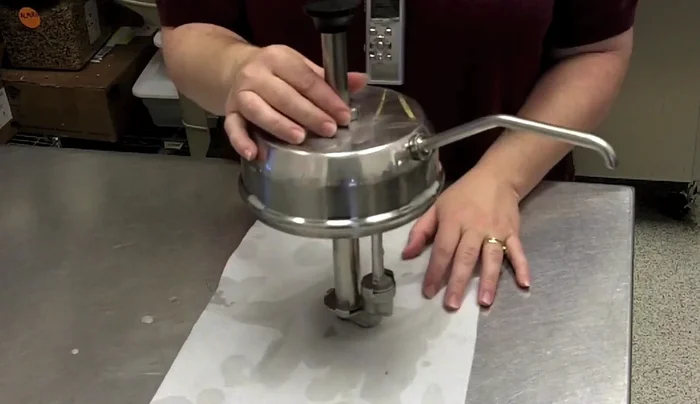
- Insert the metal part, ensuring it's tightening correctly.
- Insert the final part into the top.
Assembling the Metal Parts Final Assembly and Preparation
- Reinsert the nozzle into the hot glue gun and pump a few times.
Final Assembly and Preparation
Read more: Deep Clean Your Garbage Disposal with Ice and Bleach: A Pro Tip!
Tips
- N/A