Are you tired of inconsistent mealtimes and messy spills when feeding your furry friend? Do you dream of precise portion control for your dog's diet, ensuring they receive the perfect amount of food every single day? Many pet owners struggle with these challenges, often resorting to guesswork or unreliable measuring tools. This leads to potential overfeeding, weight gain, and digestive issues. A consistent feeding schedule, combined with accurately measured portions, is key to maintaining your dog's health and happiness. But what if you could build a customized solution?
This article presents a detailed guide to constructing your own DIY dog food dispenser, featuring a clever mechanism designed for precise portion control. We’ll walk you through each step of the process, from selecting the right materials to assembling the final product. Let's get started with a step-by-step guide to building a dispenser that will revolutionize your dog's mealtimes.
Preparation and Safety Guidelines
- CNC machine
- Miter saw
- Band saw
- Forstner bit (or drill and jigsaw)
- Brad nailer
- Sandpaper (80, 120 grit)
- Joint compound
- Paint
- PVC pipe
- Compass
- Carriage bolt
- Nuts
- Paint stir stick
- Table saw
- Armor tool
- Tight Bonds glue
- Jigsaw
- Drill
- Epoxy
- Track saw
- Jointer
- Thickness planer
- RRS (random orbital sander)
- Six-inch Triton ROS (random orbital sander)
- Buffing wheel
- Polish compound
- Piano hinge
- Short screws
- Dowels
- Infinity flush trim bit
- Infinity round-over bit
- Always supervise your dog while using the dispenser to prevent choking or ingestion of parts.
- Ensure all materials used are non-toxic and dog-safe. Avoid using materials that could splinter or contain harmful chemicals.
- Regularly inspect the dispenser for wear and tear. Replace any damaged components immediately to prevent accidents.
Step-by-Step Instructions
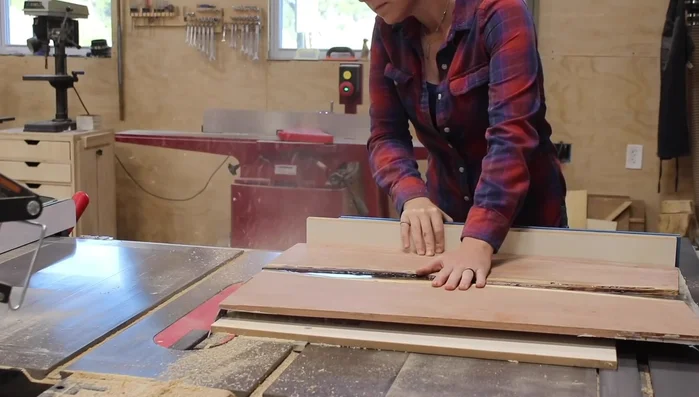
Build the Dispenser Body
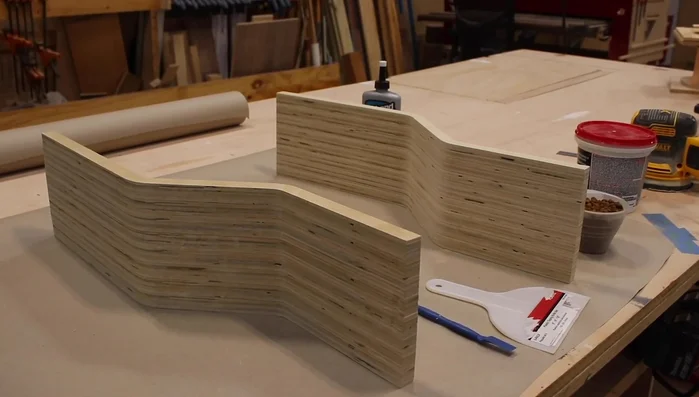
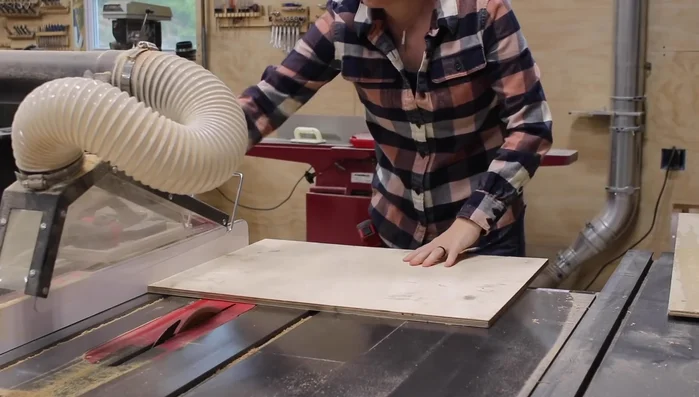
- Create the dispenser body using plywood and stacking identical parts, gluing and brad nailing them together.
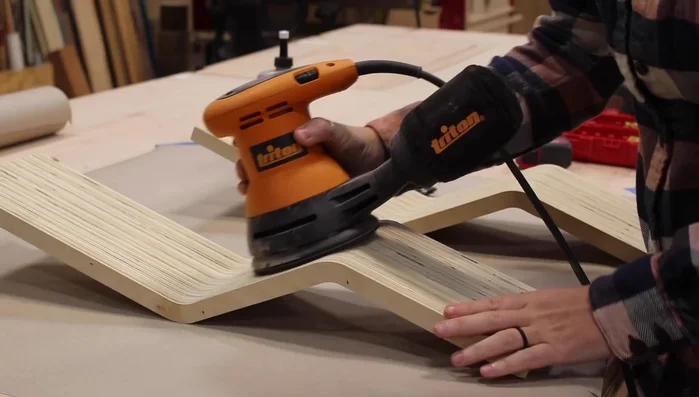
- Sand the body with 80 grit then 120 grit sandpaper after gluing and filling any voids with joint compound.

Build the Dispenser Body Construct the Dispensing Mechanism
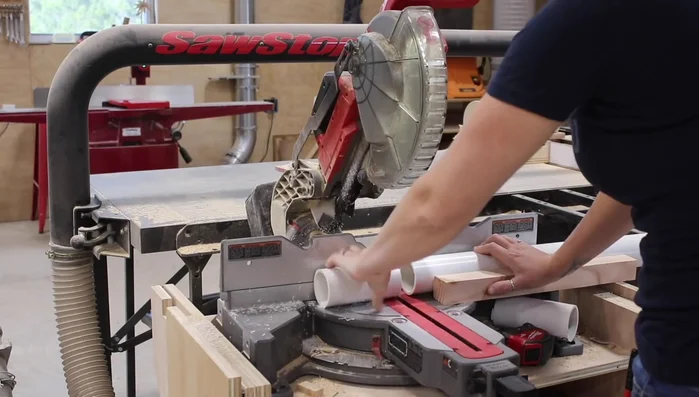
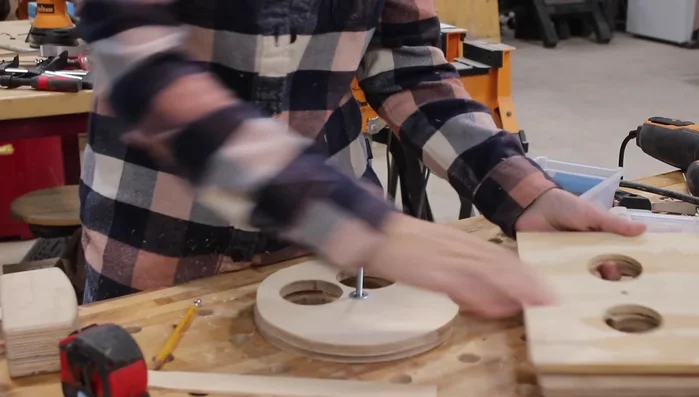
- Construct the dispensing mechanism using PVC pipes, wood circles, and smaller circles cut out using a Forstner bit (or drill and jigsaw).
- Create the top and bottom parts using scraps, cutting rectangles and using a jigsaw to cut curved pathways to prevent food from getting stuck.
- Assemble the mechanism, attaching the pipes, circles, and a paint stir stick (food agitator) using glue and bolts.
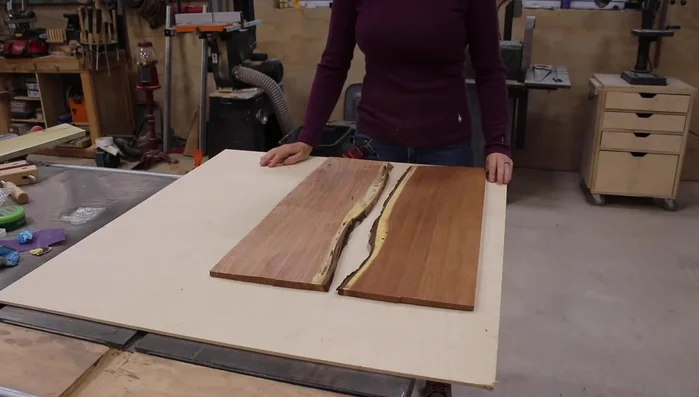
Construct the Dispensing Mechanism Create the Live Edge Front
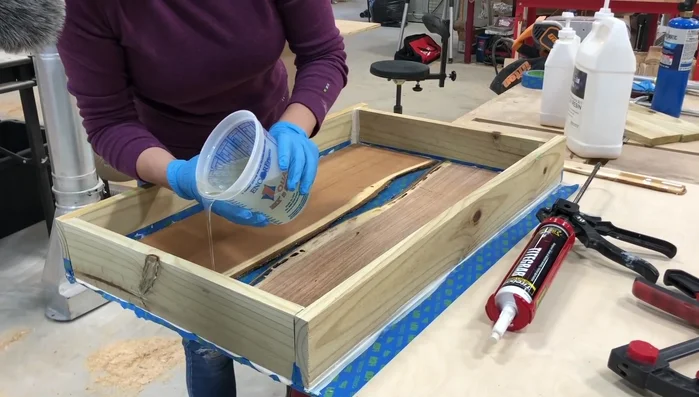
- Create the front using a two-piece live edge mesquite wood with epoxy poured between them.
- Prepare the epoxy pour by taping off the back of the mesquite boards, building walls, and sealing with adhesive.
- Pour the epoxy, use a flame to remove air bubbles, and let it cure.
- Sand the cured epoxy, starting with 80 grit and progressing to 3000 grit, followed by polishing.
Create the Live Edge Front Assemble and Finish
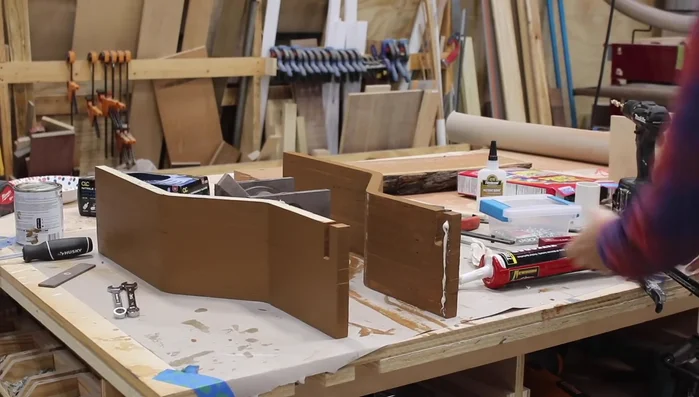
- Paint the body and mechanism (if necessary), then assemble all components, attaching the front and back using glue and dowels.
- Attach a lid using a piano hinge and screws.
Assemble and Finish
Read more: Deep Clean Your Garbage Disposal with Ice and Bleach: A Pro Tip!
Tips
- Use a high-quality glue like Tight Bonds for strong and quick adhesion of different materials.
- Use a fast-setting adhesive for sealing the epoxy mold to minimize drying time.
- Consider using house wrap tape instead of painter's tape for easier removal after the epoxy cures.
- Use a crystal-clear epoxy for the sight glass to ensure good visibility.
- Blind dowels are a great way to secure the face while keeping the look clean.