Are you tired of constantly monitoring your dog's food intake, struggling to maintain consistent portion sizes, and dealing with the mess of scattered kibble? Many dog owners face these challenges daily, impacting both their pet's health and their own sanity. A simple, yet effective solution exists: a DIY dog food dispenser. This isn't just any dispenser; we're focusing on an optimized design that prioritizes accurate portion control, making mealtime easier for both you and your furry friend. Forget expensive, often complicated store-bought options. This guide empowers you to build a custom dispenser tailored to your dog's specific needs and your home's aesthetic.
This article will walk you through a straightforward, step-by-step process to construct a functional and stylish DIY dog food dispenser. We'll cover material selection, design considerations for optimal portion control, and assembly techniques ensuring a robust and long-lasting product. Get ready to say goodbye to inconsistent feeding and hello to a happier, healthier dog, all while saving money and enjoying a rewarding DIY project.
Preparation and Safety Guidelines
- Plywood
- Circular saw
- Sawhorses
- Drill
- Screws
- Glue
- Bandsaw
- Hole saw
- Router
- Flush trim router bit
- Caster wheels
- Blackboard paint
- Staple gun
- Piano hinge
- Knitting needle
- Perspex
- Hot glue gun
- Jigsaw
- Always supervise your dog during playtime with the dispenser to prevent choking hazards or ingestion of broken parts.
- Ensure all materials used are dog-safe and non-toxic. Avoid using materials that could splinter or leach harmful chemicals.
- Regularly inspect the dispenser for damage or wear and tear. Replace or repair any damaged components immediately to maintain safety.
Step-by-Step Instructions
Initial Construction and Cutting
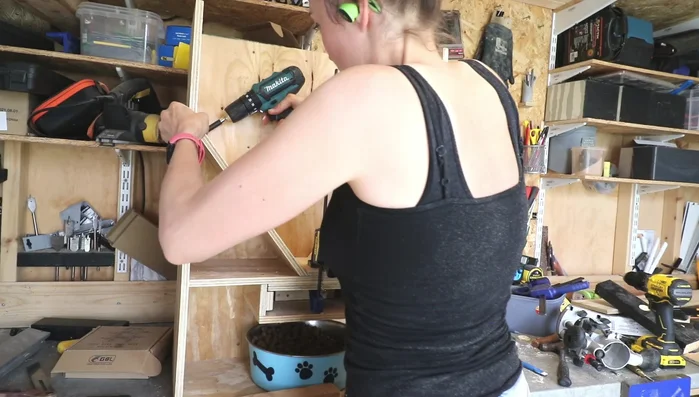
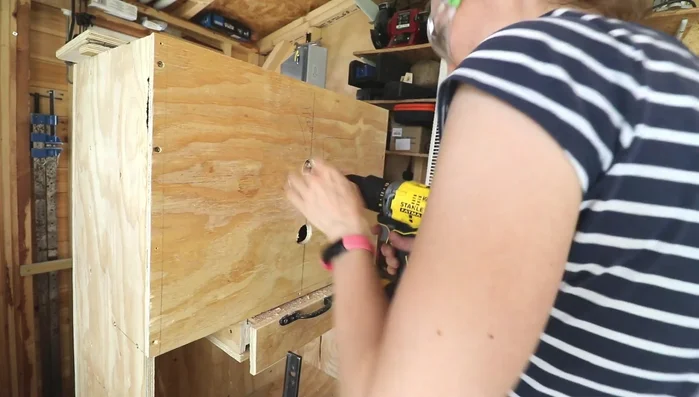
- Cut plywood into three sections for easy transport and then rip all components down using a circular saw.

Initial Construction and Cutting Assemble the Base
- Pre-drill, glue, and screw the two sides to the base. This creates a wheel-like structure for easy movement.
Add Can Storage
- Add can dividers for better access to canned food.
Create Can Dispensing Mechanism
- Cut angled pieces to push the bottom cans out. Adjust dimensions as needed to ensure proper fit.
Design Kibble Dispenser Mechanism
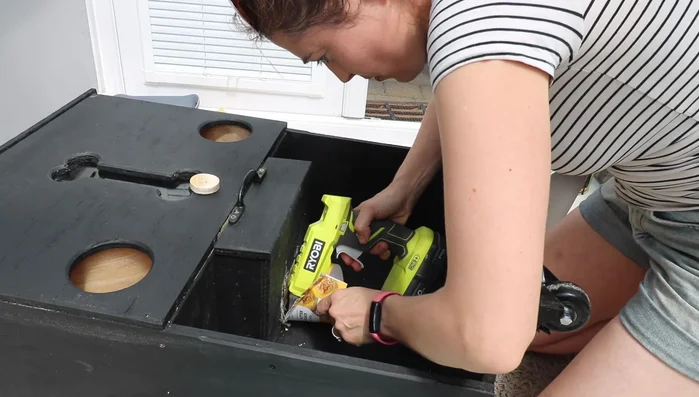
- Design and build a kibble dispensing mechanism. Initially, a blast gate idea was tried, but a pulley system with a single hole and a small container underneath proved more effective for portion control.
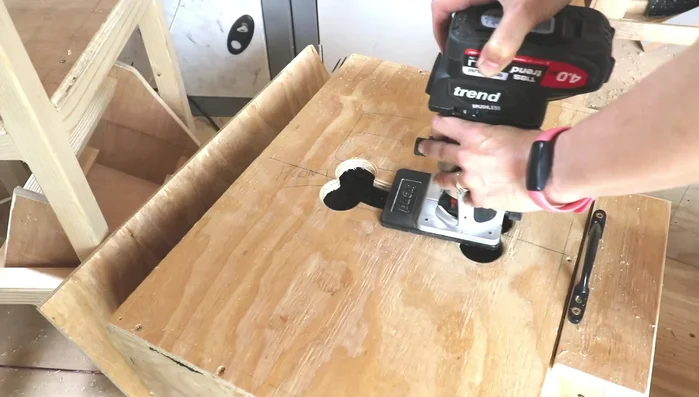
Install Pulley System
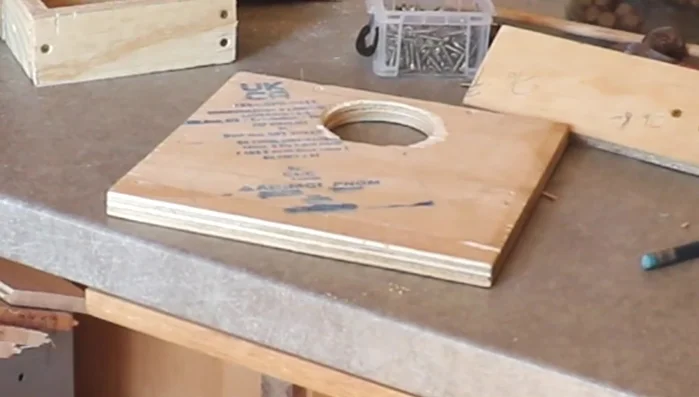
- Drill a hole with a hole saw for the pulley lever, and attach side pieces with runners for the mechanism.
- Create a box shape around the hole to serve as a container for dog biscuits, ensuring it's sized to allow portion dispensing.
- Drill a hole through the shelf, potentially using a smaller hole saw to prevent jams. Ensure the hole's placement prevents the mechanism from completely coming out.
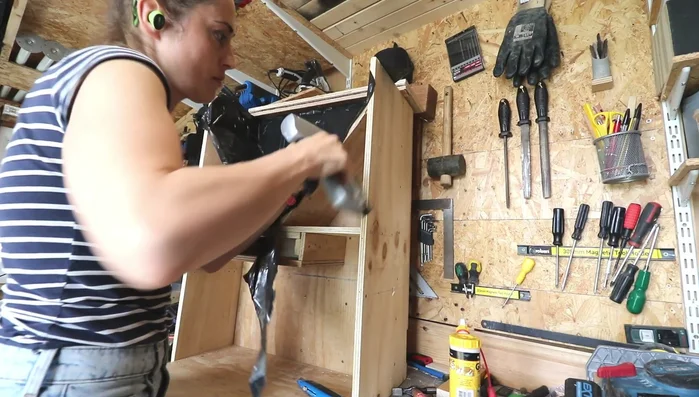
Install Pulley System Refine Pulley System
- Screw another piece on top, push the lever closed, and clamp it to prevent movement. Use a router to remove excess material for a flush finish.
- Screw the shelf into the frame, potentially adjusting the height as needed. The final placement prevents interference with the dog's bowl.
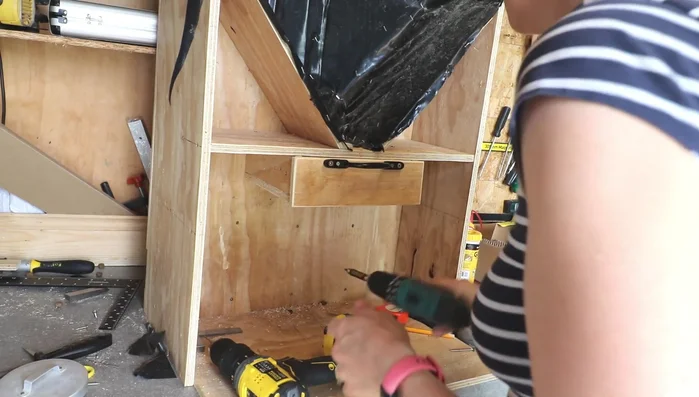
Refine Pulley System Optimize Kibble Flow
- Cut beveled pieces and attach them to the sides for proper kibble flow and prevent biscuits from getting stuck in corners.
- Create a V-shape at the back of the top hole to prevent excess kibble from blocking the mechanism.
Optimize Kibble Flow Add Lid and Handle
- Attach a lid using a piano hinge.
- Add a pulley handle for easy operation, ensuring proper spacing to prevent rubbing.
Add Lid and Handle Create Front Access
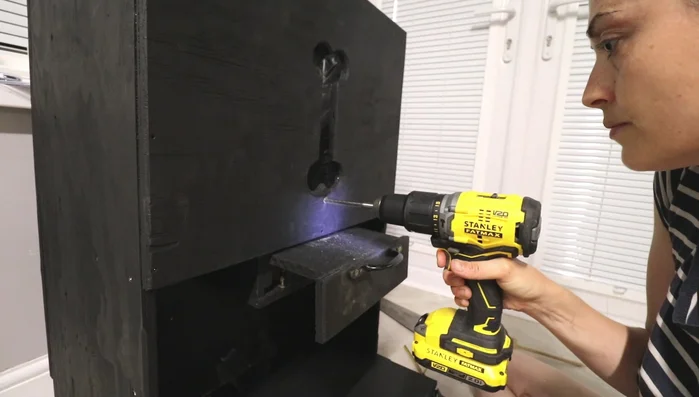
- Create a dog-bone shaped opening on the front cover for visibility and a cleaner aesthetic.
Create Front Access Finishing Touches
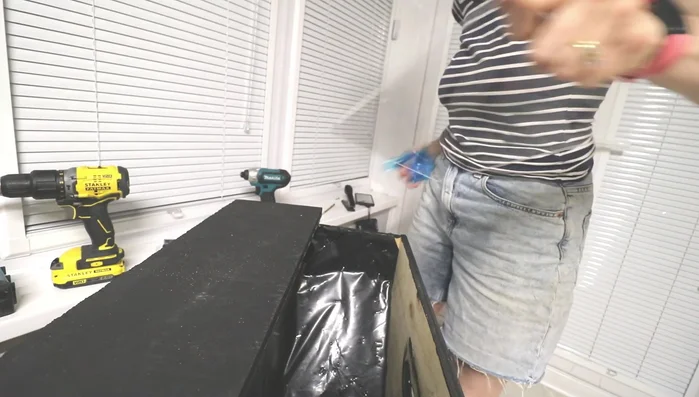
- Sand, chamfer the edges, and attach caster wheels with brakes.
- Paint using a toy-safe, blackboard paint.
Finishing Touches Add Biscuit Release Mechanism
- Drill a small hole for a poking device (e.g., a knitting needle) to help release stuck biscuits.
Add Biscuit Release Mechanism Install Treat Compartments
- Install perspex compartments for dog treats. Drill holes on either side for easy access.
Install Treat Compartments Kibble Bowl Adaptor
- Add curved plastic pieces to redirect kibble into the dog bowl.
Kibble Bowl Adaptor


Read more: Deep Clean Your Garbage Disposal with Ice and Bleach: A Pro Tip!
Tips
- Plan the moving parts in advance using software like SketchUp to avoid design challenges.
- Use a smaller hole saw to prevent jams in the dispensing mechanism.