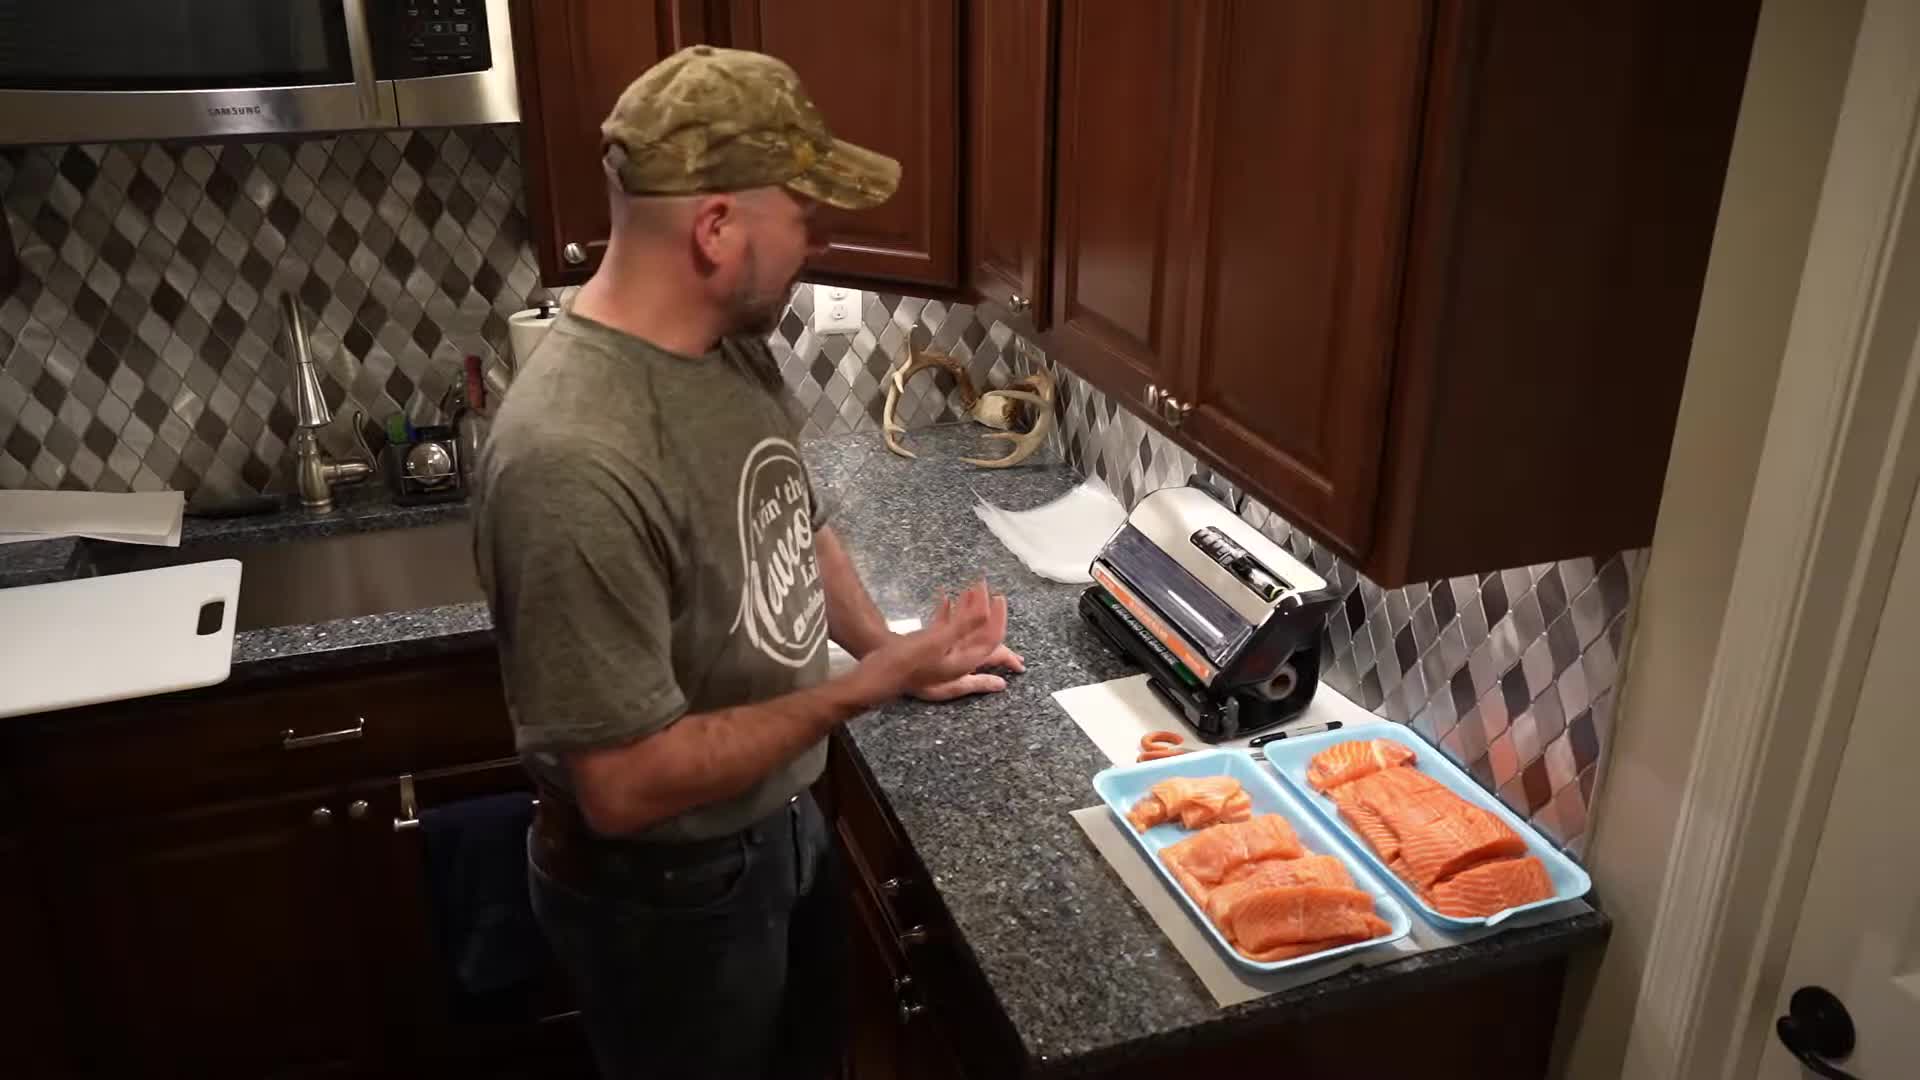
Maximize the lifespan of your frozen and refrigerated food with the FoodSaver double-seal technique. This simple yet effective method provides an extra layer of protection against leaks and freezer burn, ensuring your food remains fresh and flavorful for longer. Unlike single-sealed bags, a double seal creates a superior barrier, maintaining the vacuum and preventing the dreaded freezer burn that compromises texture and taste. This technique is especially valuable for preserving delicate foods and maximizing the benefits of your FoodSaver system.Investing a few extra seconds to double-seal your bags significantly reduces food waste and saves you money in the long run. This guide provides a step-by-step walkthrough of the process, ensuring you achieve a perfect, airtight seal every time. Learn how to properly prepare your bag, create the initial seal, and then add the crucial second seal for optimal preservation. With this enhanced sealing technique, you'll confidently store a wide variety of foods, preserving their quality and extending their shelf life for weeks, months, or even longer.
Read more: Out of Air Vacuum Sealer Bags Review: Are Thicker Bags Worth It?
Double Sealing Your FoodSaver Bags
Properly sealing FoodSaver bags is crucial for extending the shelf life of your food. This technique involves creating a double seal at the bottom of the bag, providing an extra layer of protection against leaks and spoilage. A double seal ensures the vacuum remains intact, preventing freezer burn and maintaining the quality of your stored items.
Many users overlook the importance of a secure seal. This method not only enhances preservation but also safeguards against potential freezer burn, which can significantly impact the texture and taste of your food.
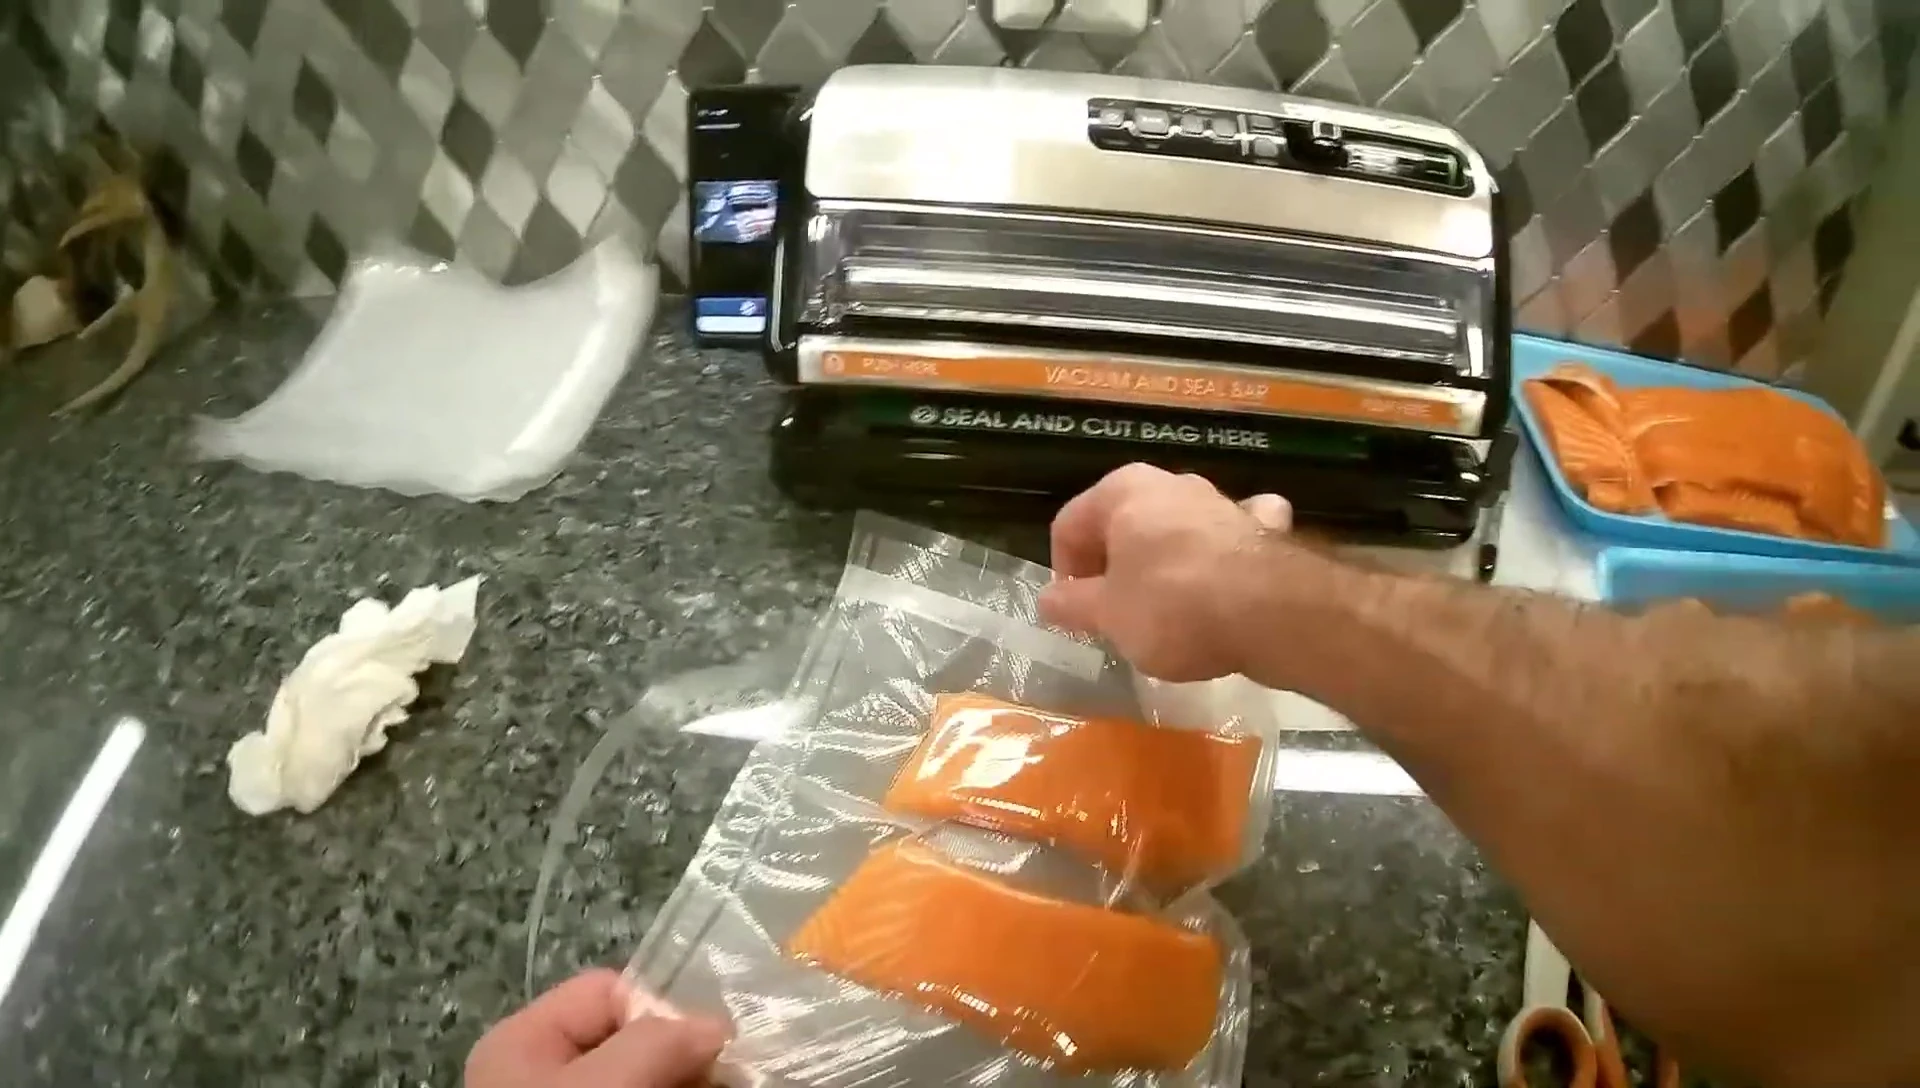
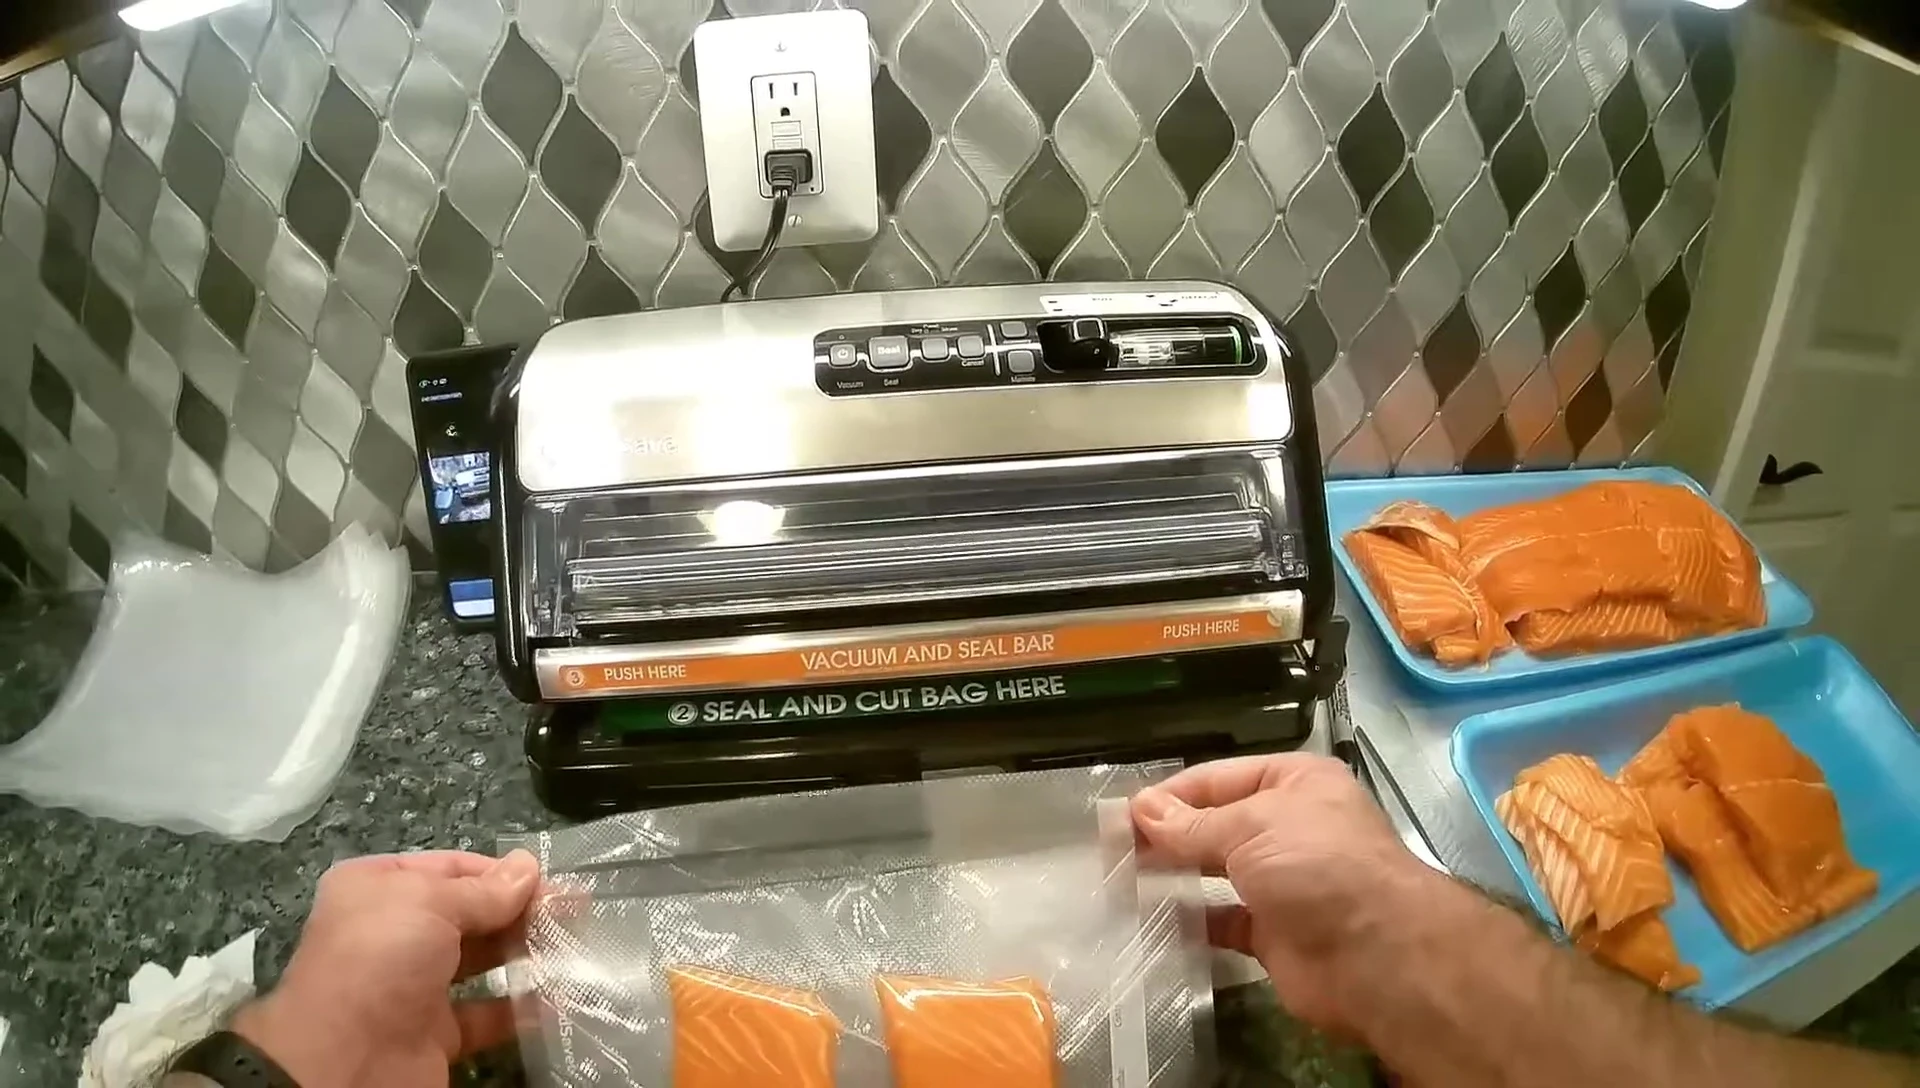
Sealing Process: Step-by-Step Guide
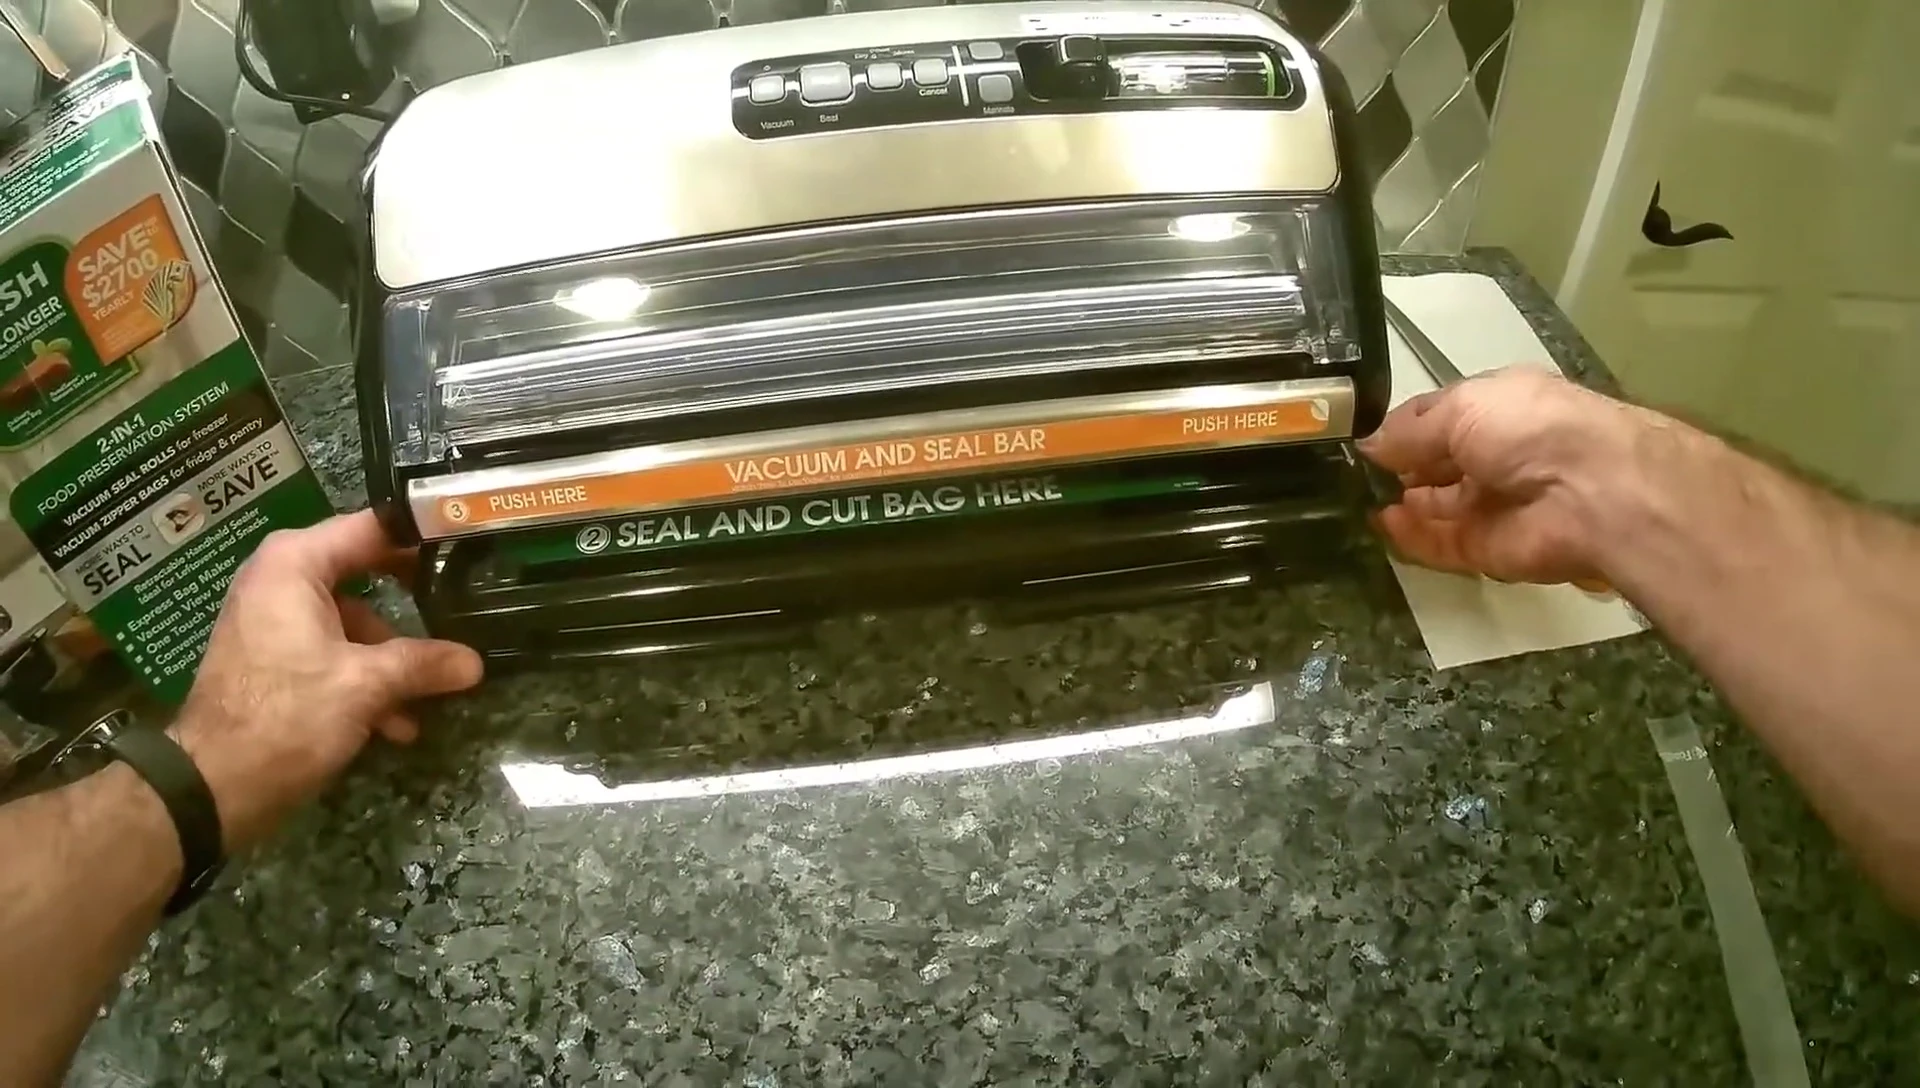
First, insert the bag into the FoodSaver machine, ensuring it is flat and aligned. Then, activate the sealing mechanism to create the initial seal. You'll know it's sealed when the red light on the machine turns off.
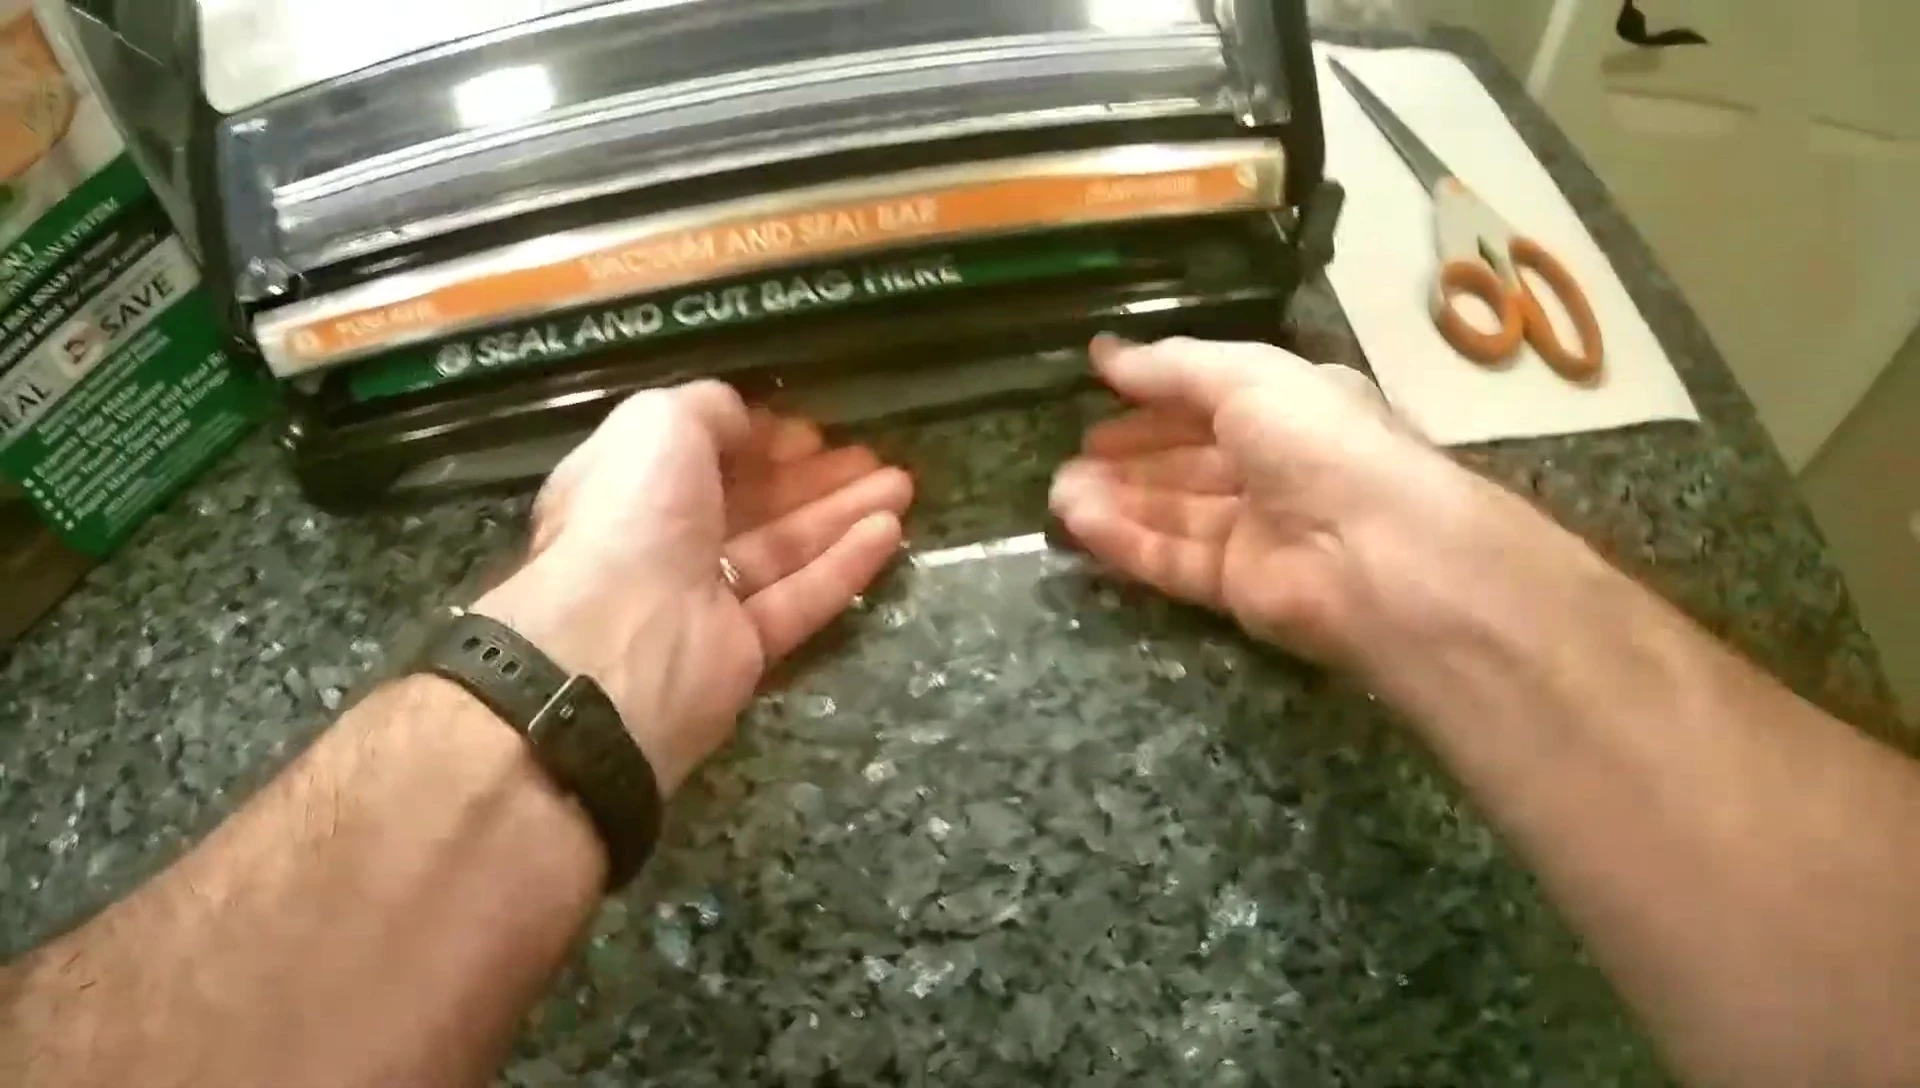

Next, lift the sealing lock. Gently pull the end of the bag up to the white line indicating the sealing area on the machine. This creates extra space for the second seal. Finally, push down the ceiling lock again to complete the double seal.
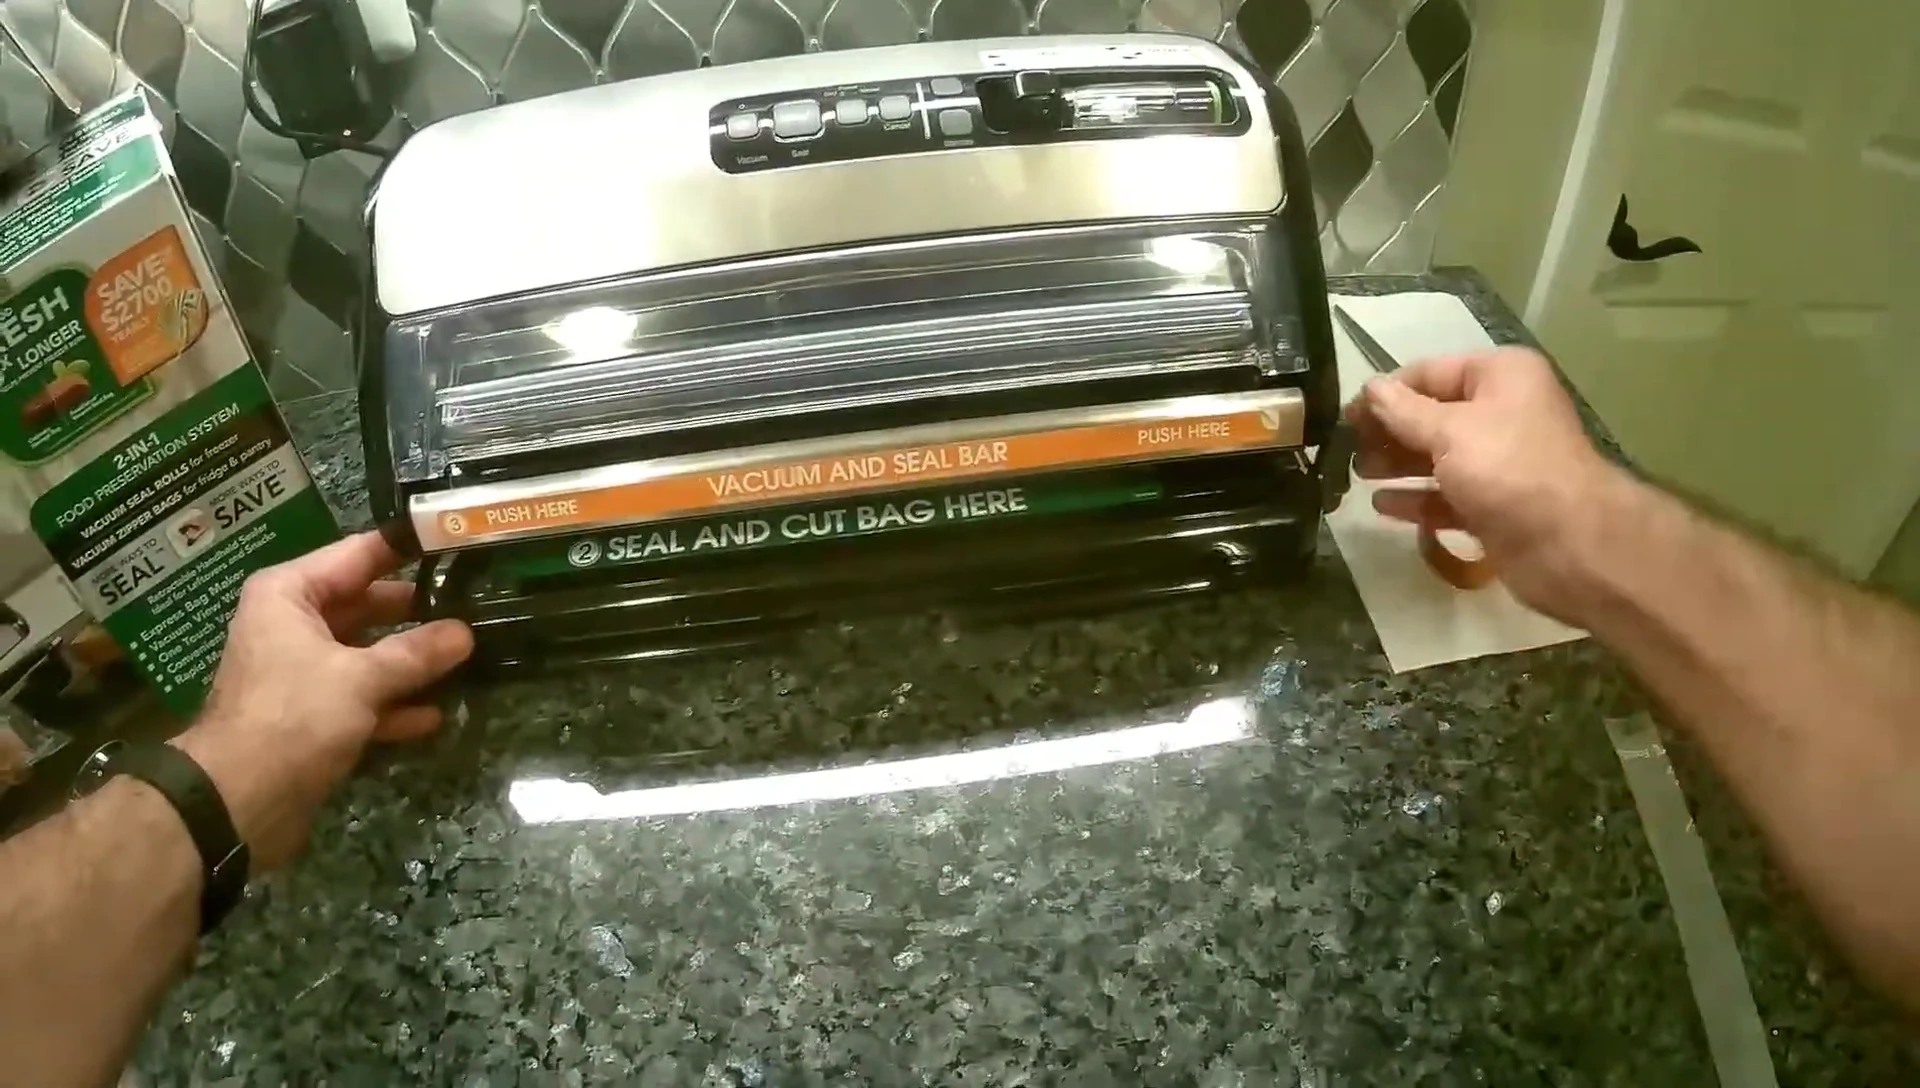
Trimming and Final Touches
Once the double seal is complete, trim the excess bag material using scissors for a neat finish. Ensure to leave enough space to maintain the seal's integrity, preventing any compromises to the vacuum.
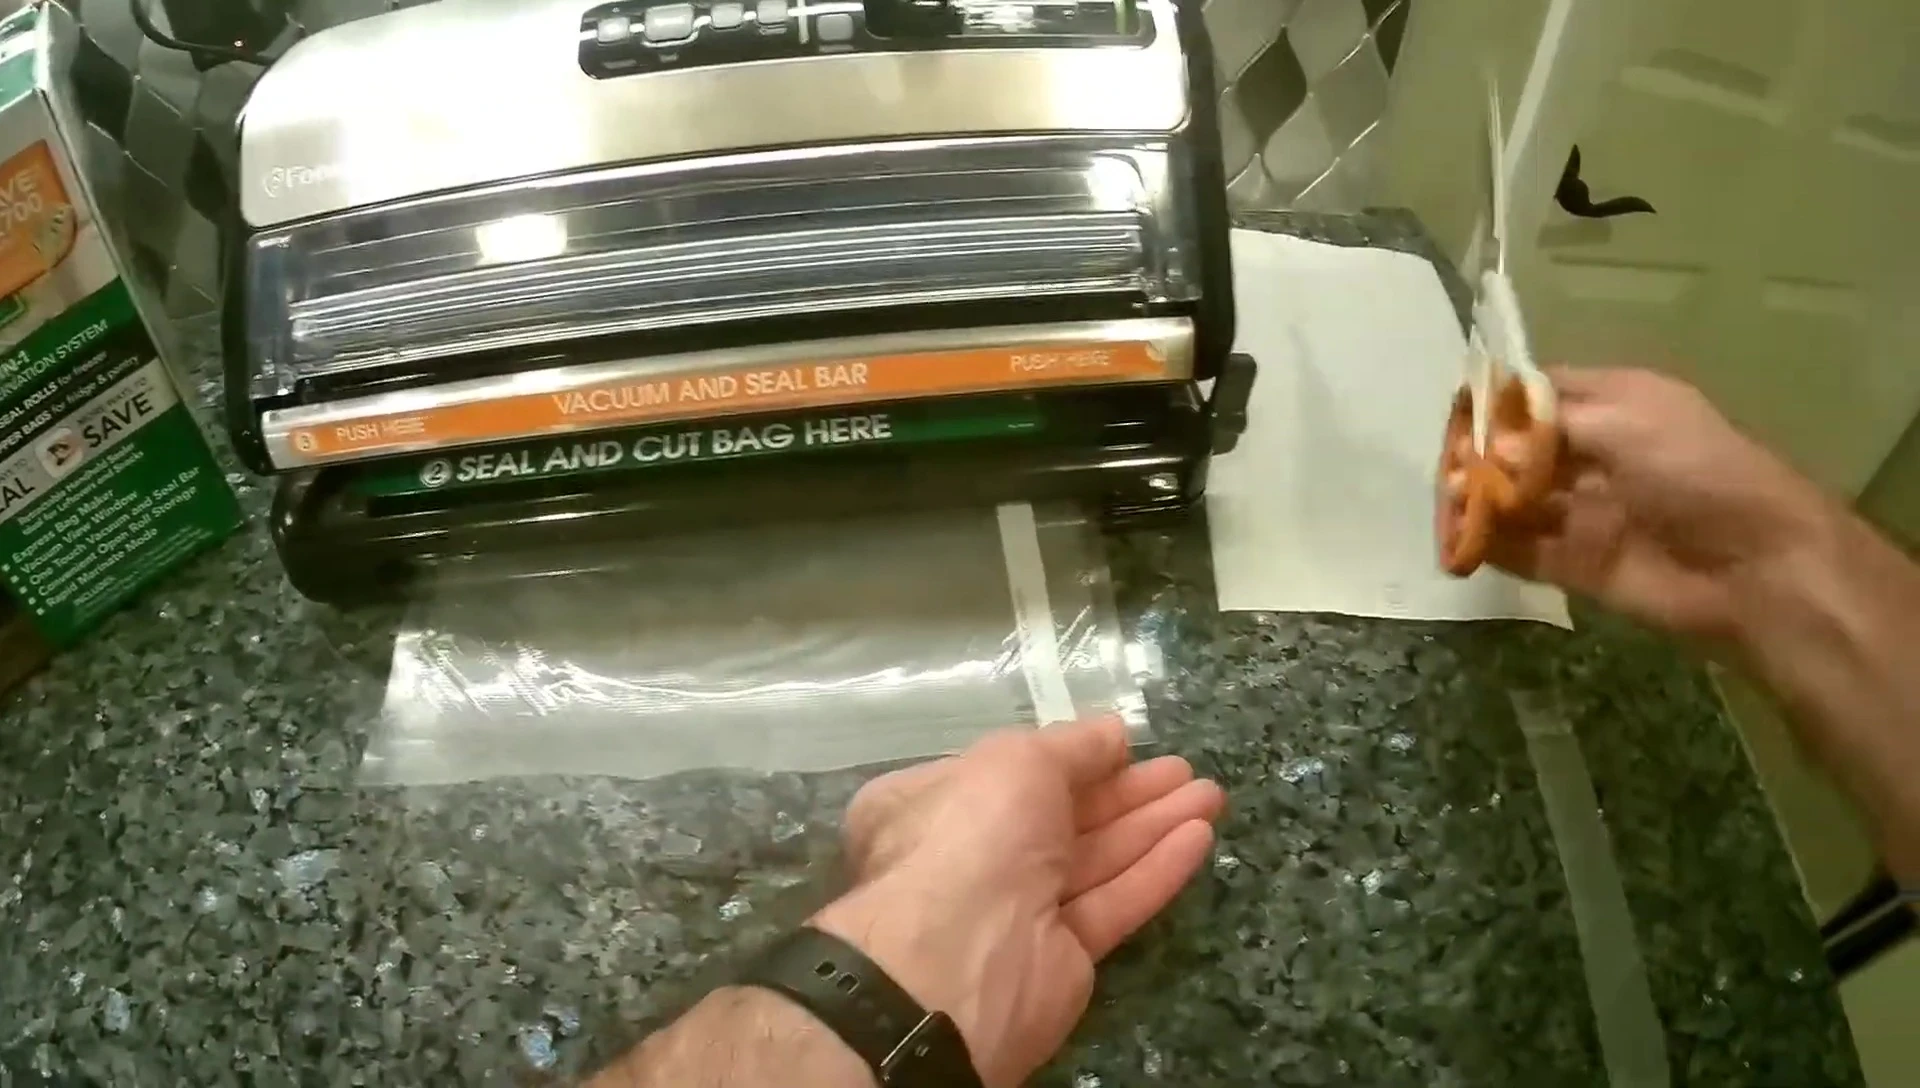
After trimming, your bag is ready for labeling. It's recommended to write the contents and date on the bag for easy identification. This is a critical step to avoid confusion and easily track the food's shelf life.
Vacuum Sealing and Storage
Place the prepared bag into the FoodSaver machine's vacuum chamber. Press the start button, and the machine will automatically vacuum and seal the bag. The red light indicates the sealing process.
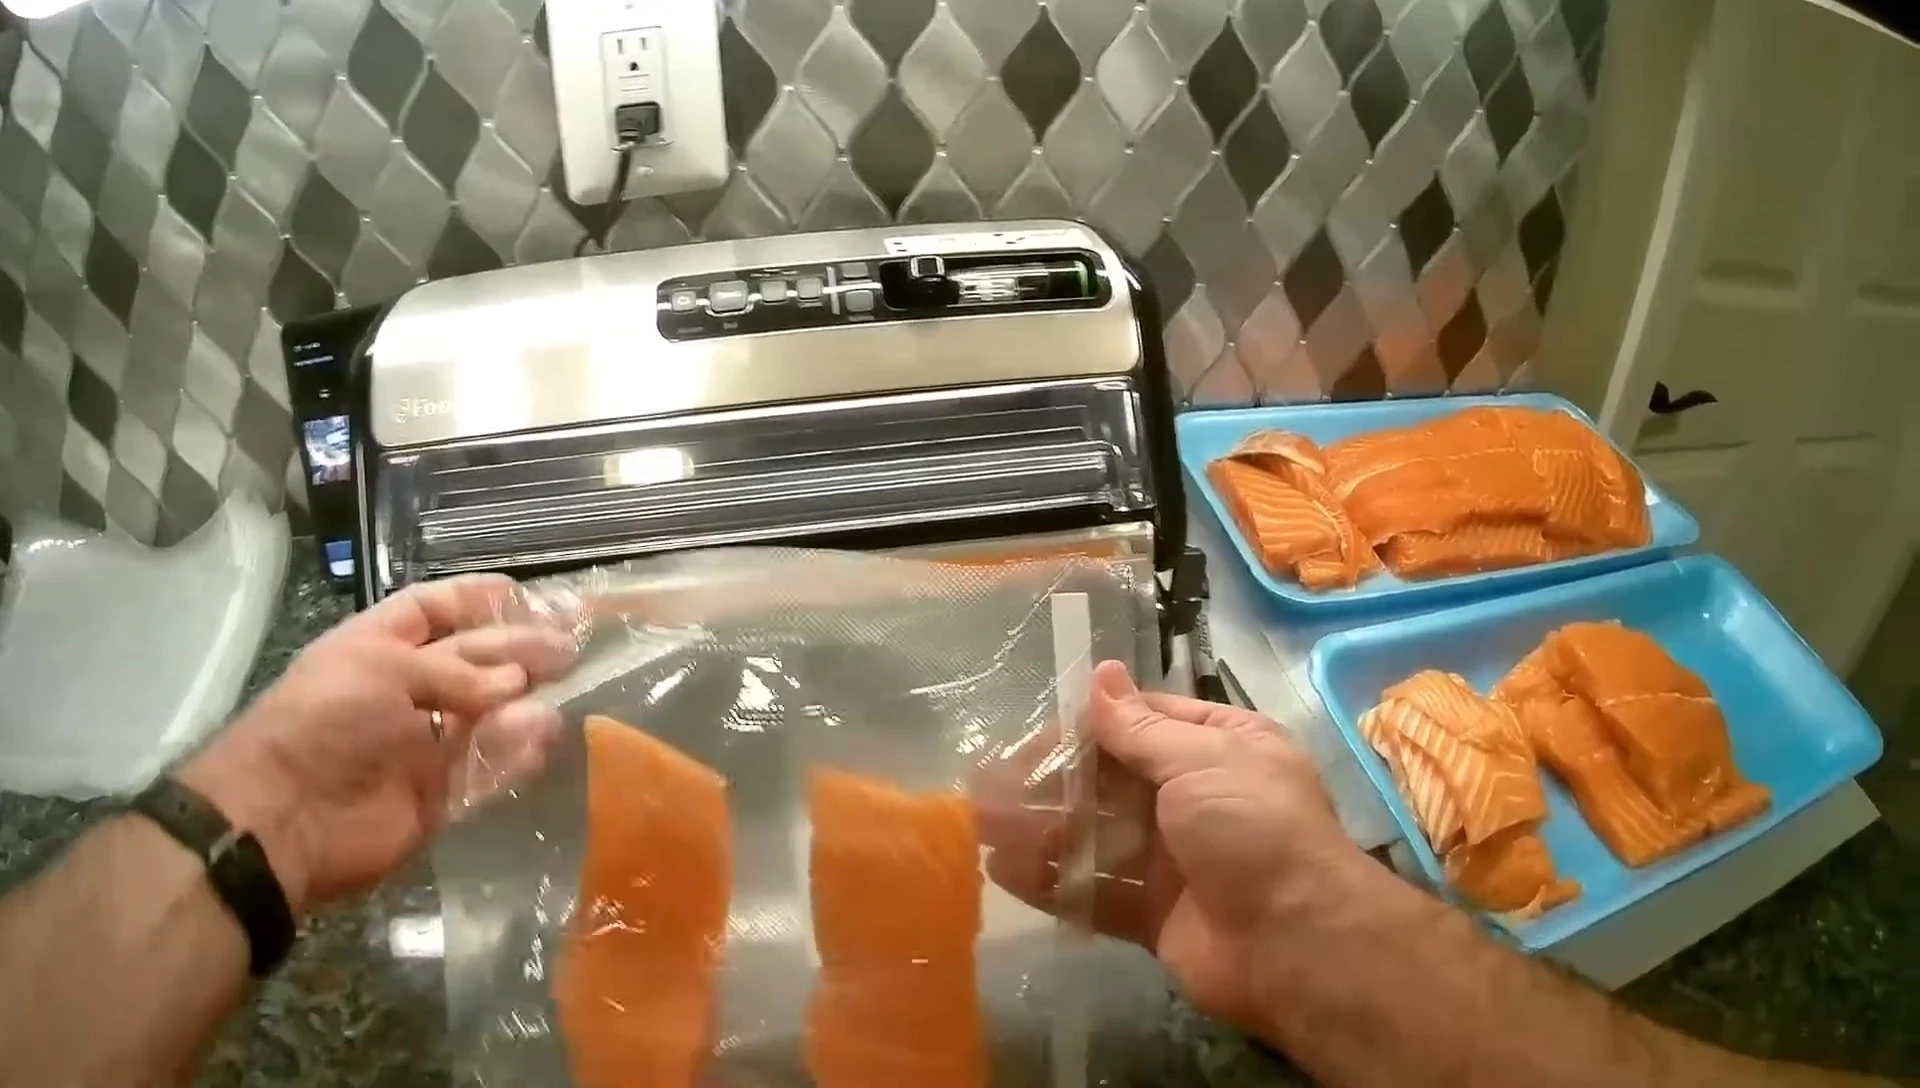
After vacuum sealing, a secondary seal can be added using the same double-seal technique. This results in a bag that is airtight and ready for long-term storage in the freezer.
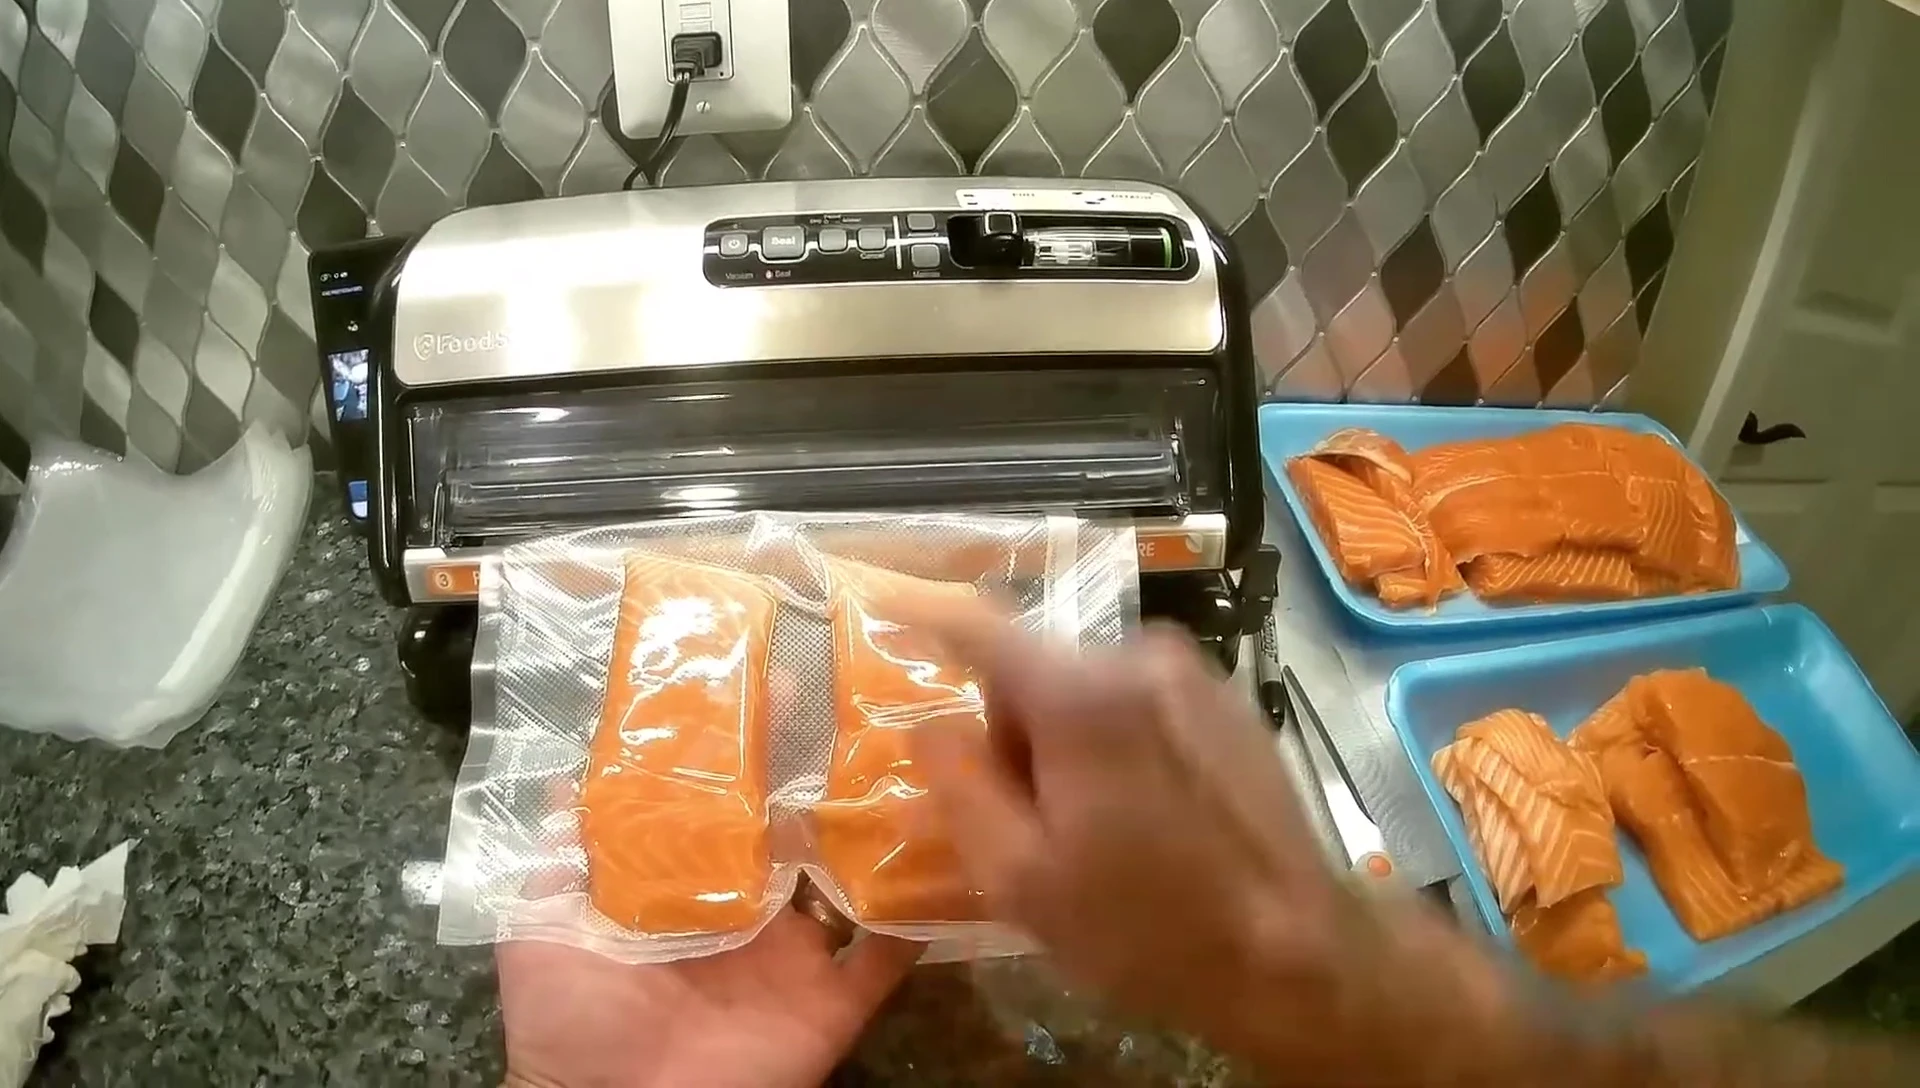
Conclusion: Is Double Sealing Worth It?
Double sealing FoodSaver bags offers significant advantages in food preservation. The added layer of protection significantly reduces the risk of leaks and freezer burn, extending the shelf life of your food. While it requires a few extra steps, the benefits far outweigh the slight inconvenience.
For optimal food preservation and to minimize waste, the investment of time for double sealing FoodSaver bags is highly recommended.