This guide demonstrates how to create custom-sized vacuum bags using the Avid Armor A100 Gen 2 vacuum sealer. This versatile machine allows for precise bag creation, accommodating various food items and shapes, eliminating the need for pre-packaged bags. The process is surprisingly simple, offering a significant advantage for preserving food while minimizing waste. Learn how to efficiently utilize the sealer's features to achieve perfect airtight seals every time, ensuring optimal food preservation and extending shelf life.We’ll walk you through each step, from preparing the machine and creating the initial seal to ensuring a clean seal area and achieving a complete, air-tight vacuum seal. Learn the importance of proper headspace and how to handle high-moisture foods for best results. By following these simple instructions, you’ll master the art of custom bag creation with your Avid Armor A100 Gen 2, maximizing its potential for efficient and effective food preservation.
Pros And Cons
- Can make custom-size bags from a roll
- Has a default seal time setting of three
Read more: Out of Air Vacuum Sealer Bags Review: Are Thicker Bags Worth It?
Creating the Initial Seal
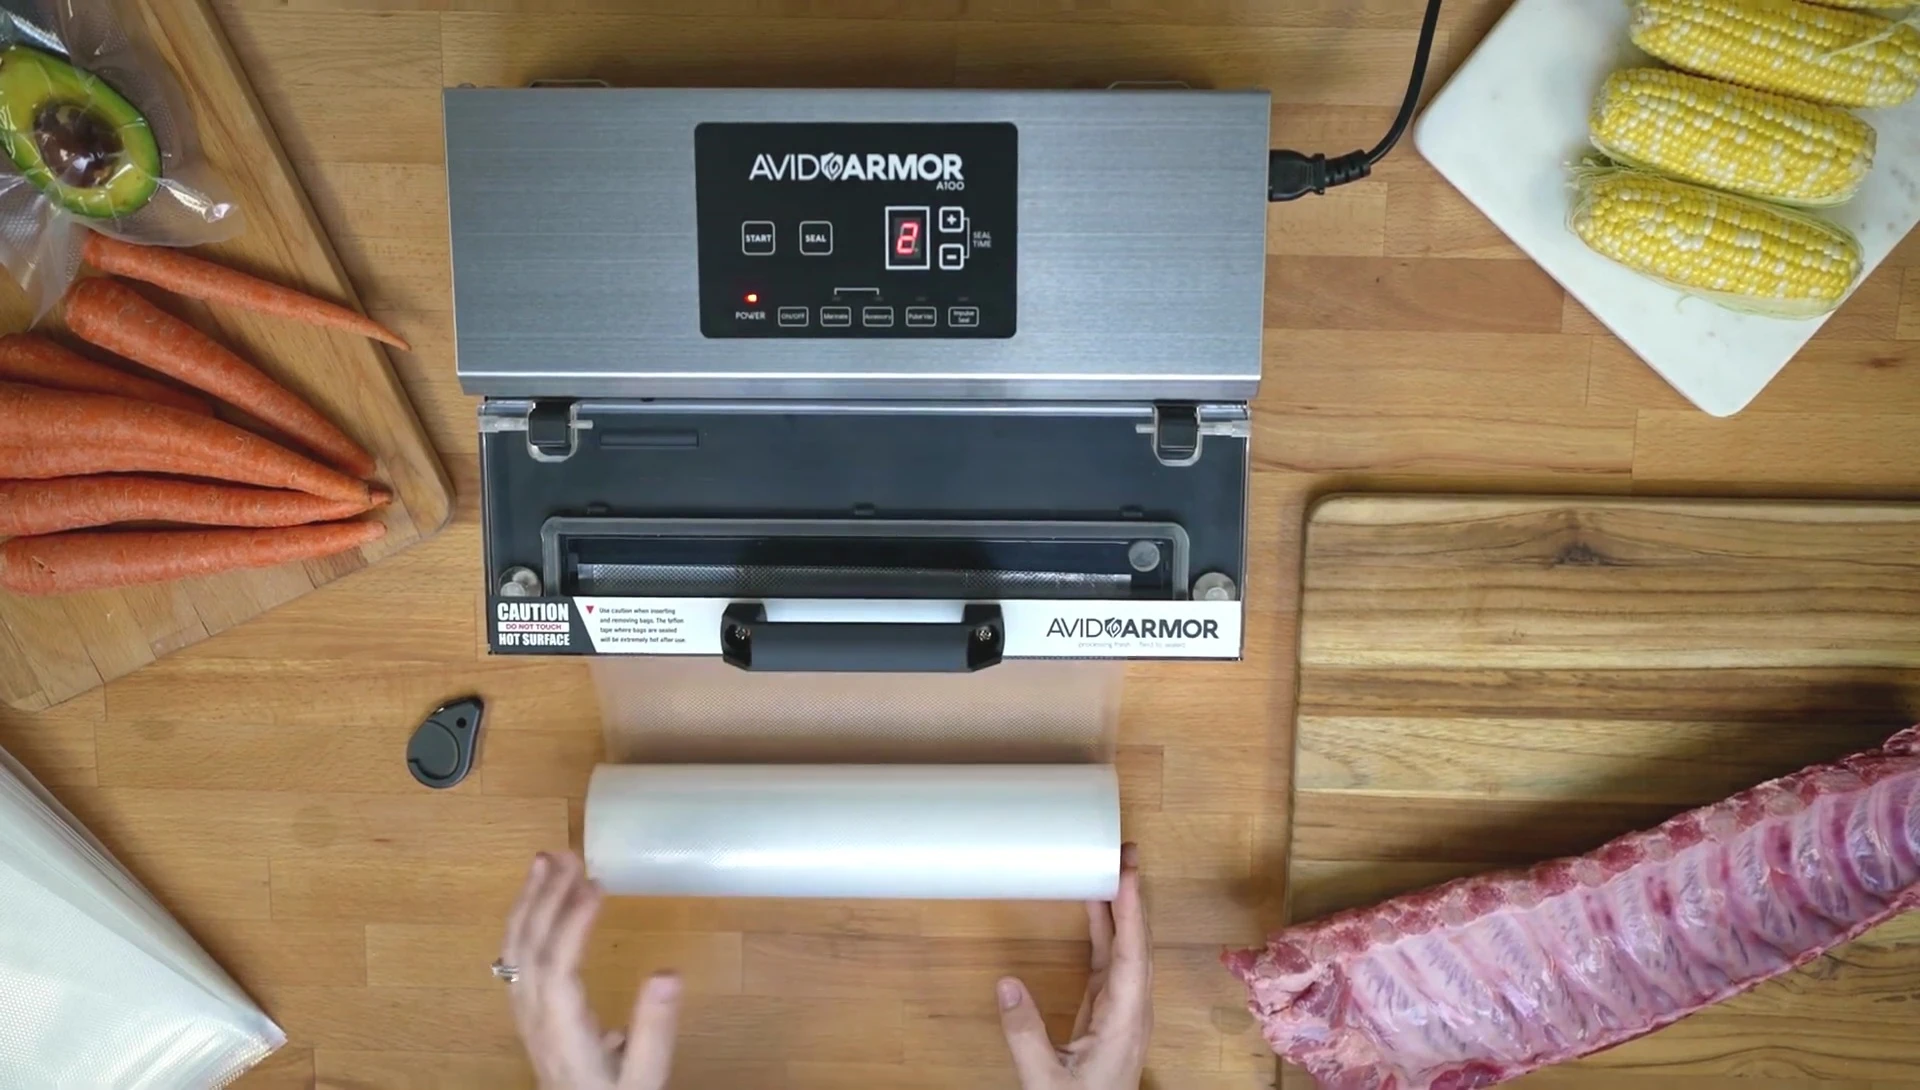
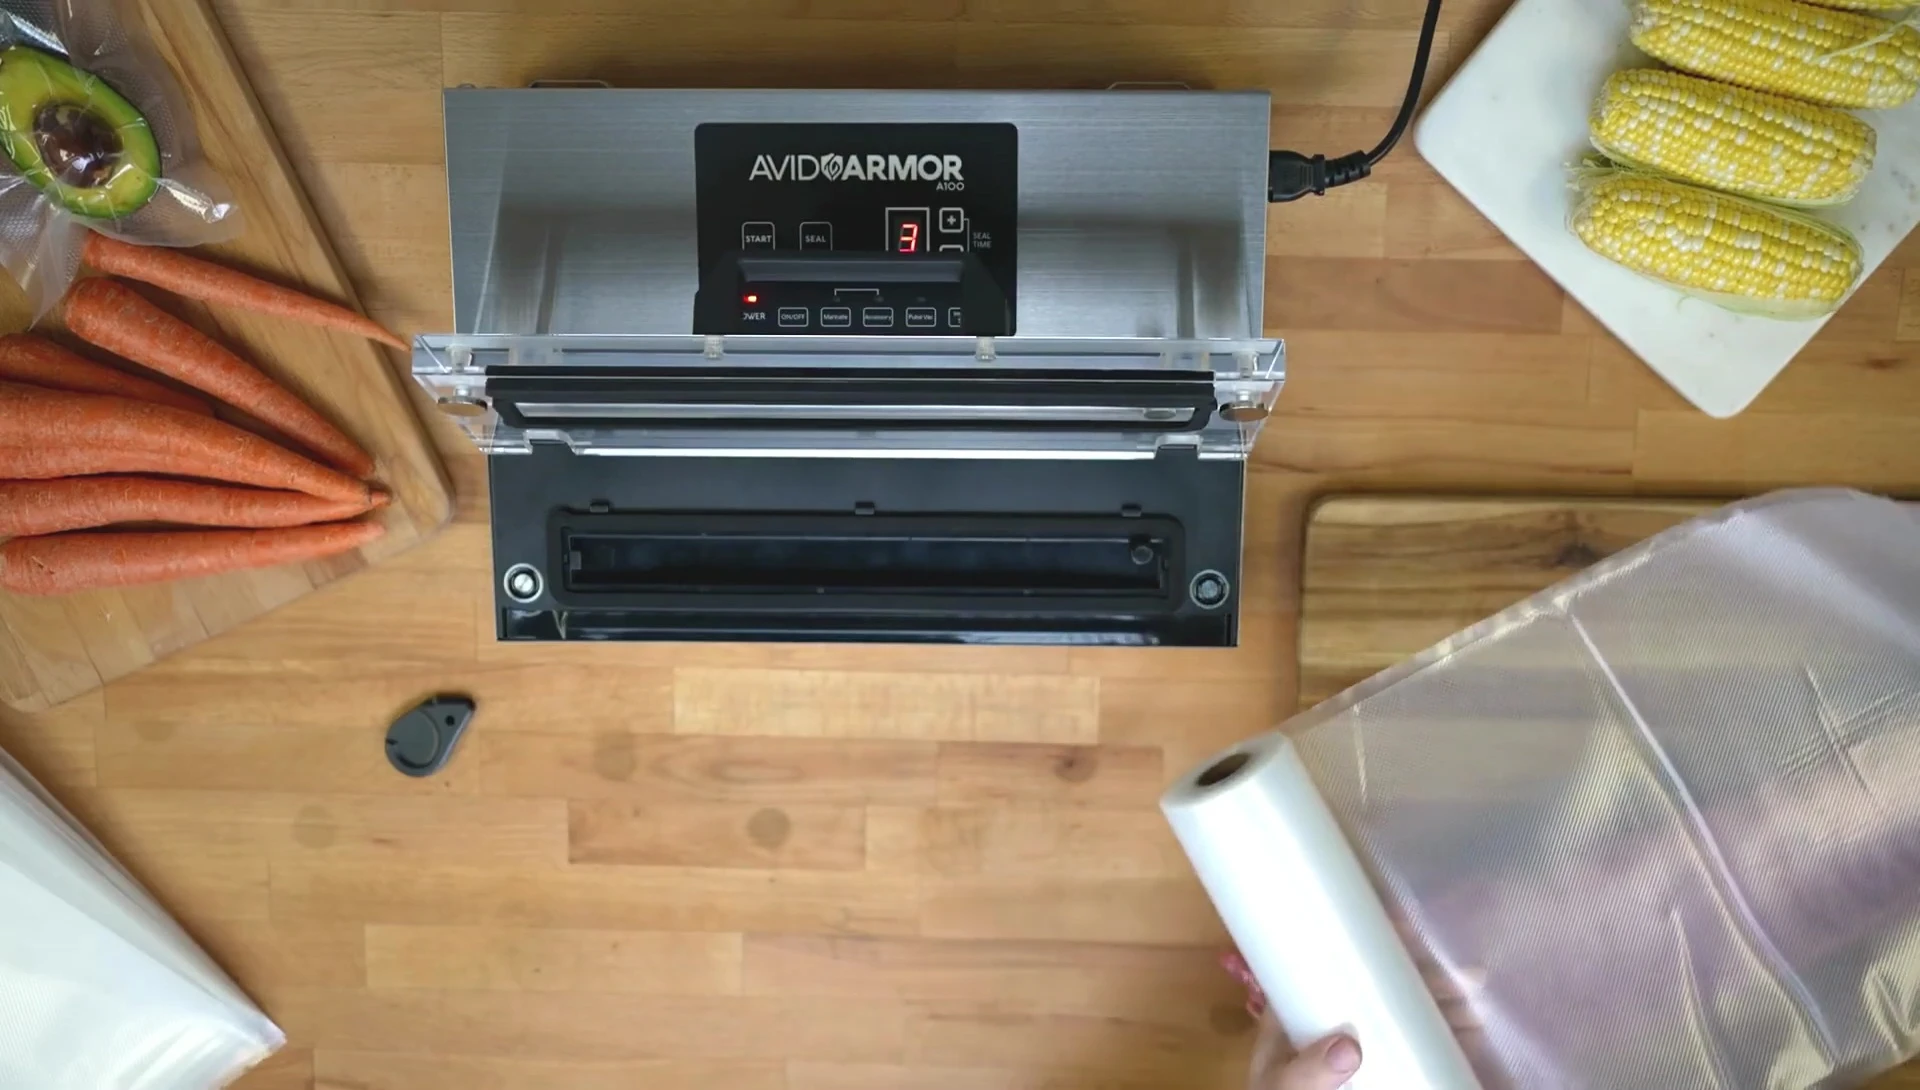
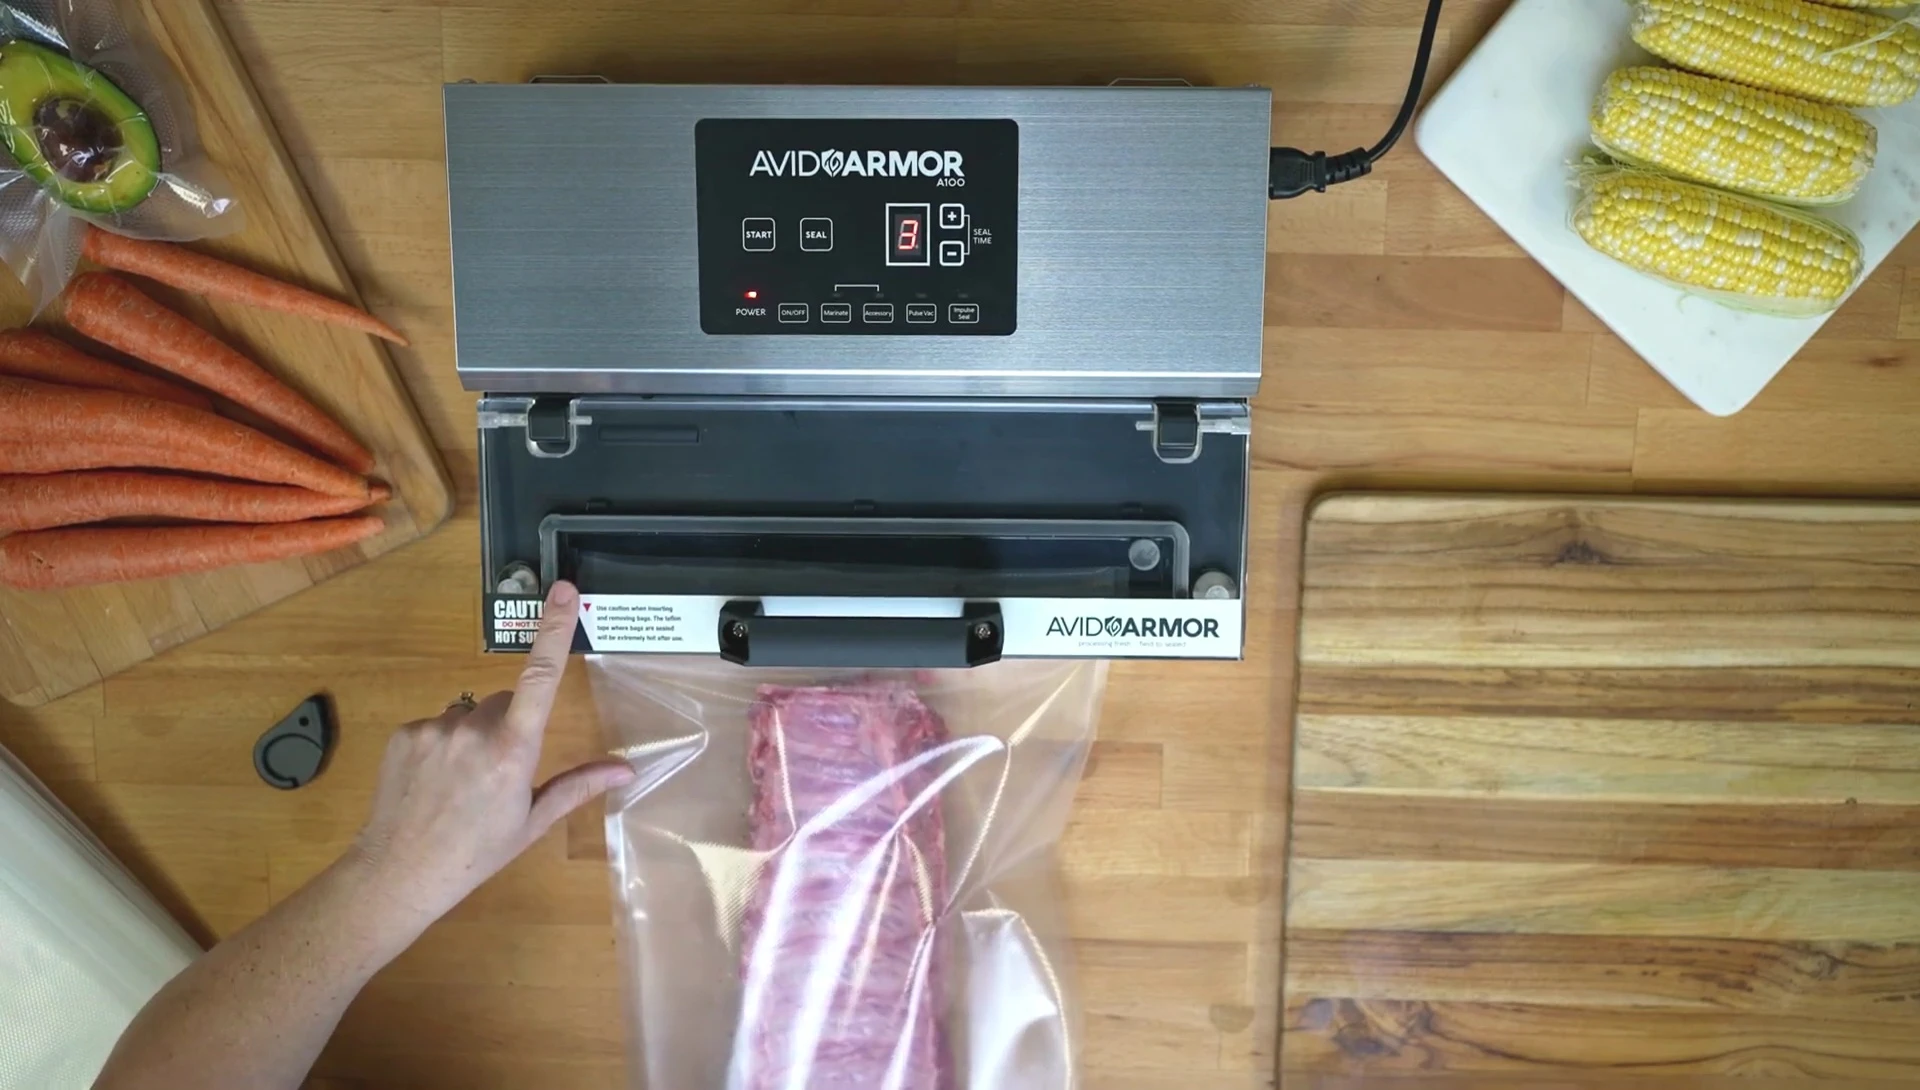
Begin by preparing the Avid Armor A100 Gen 2 vacuum sealer. Open the lid and insert the vacuum sealer roll into the designated channel. Ensure the seal time is set to '3', the default setting for Avid Armor rolls. Press the 'seal' button; the machine will beep to signal completion.

After the seal is created, inspect it carefully to ensure a complete and secure closure. This initial seal forms one end of your custom-sized bag.
Cutting and Sizing the Bag
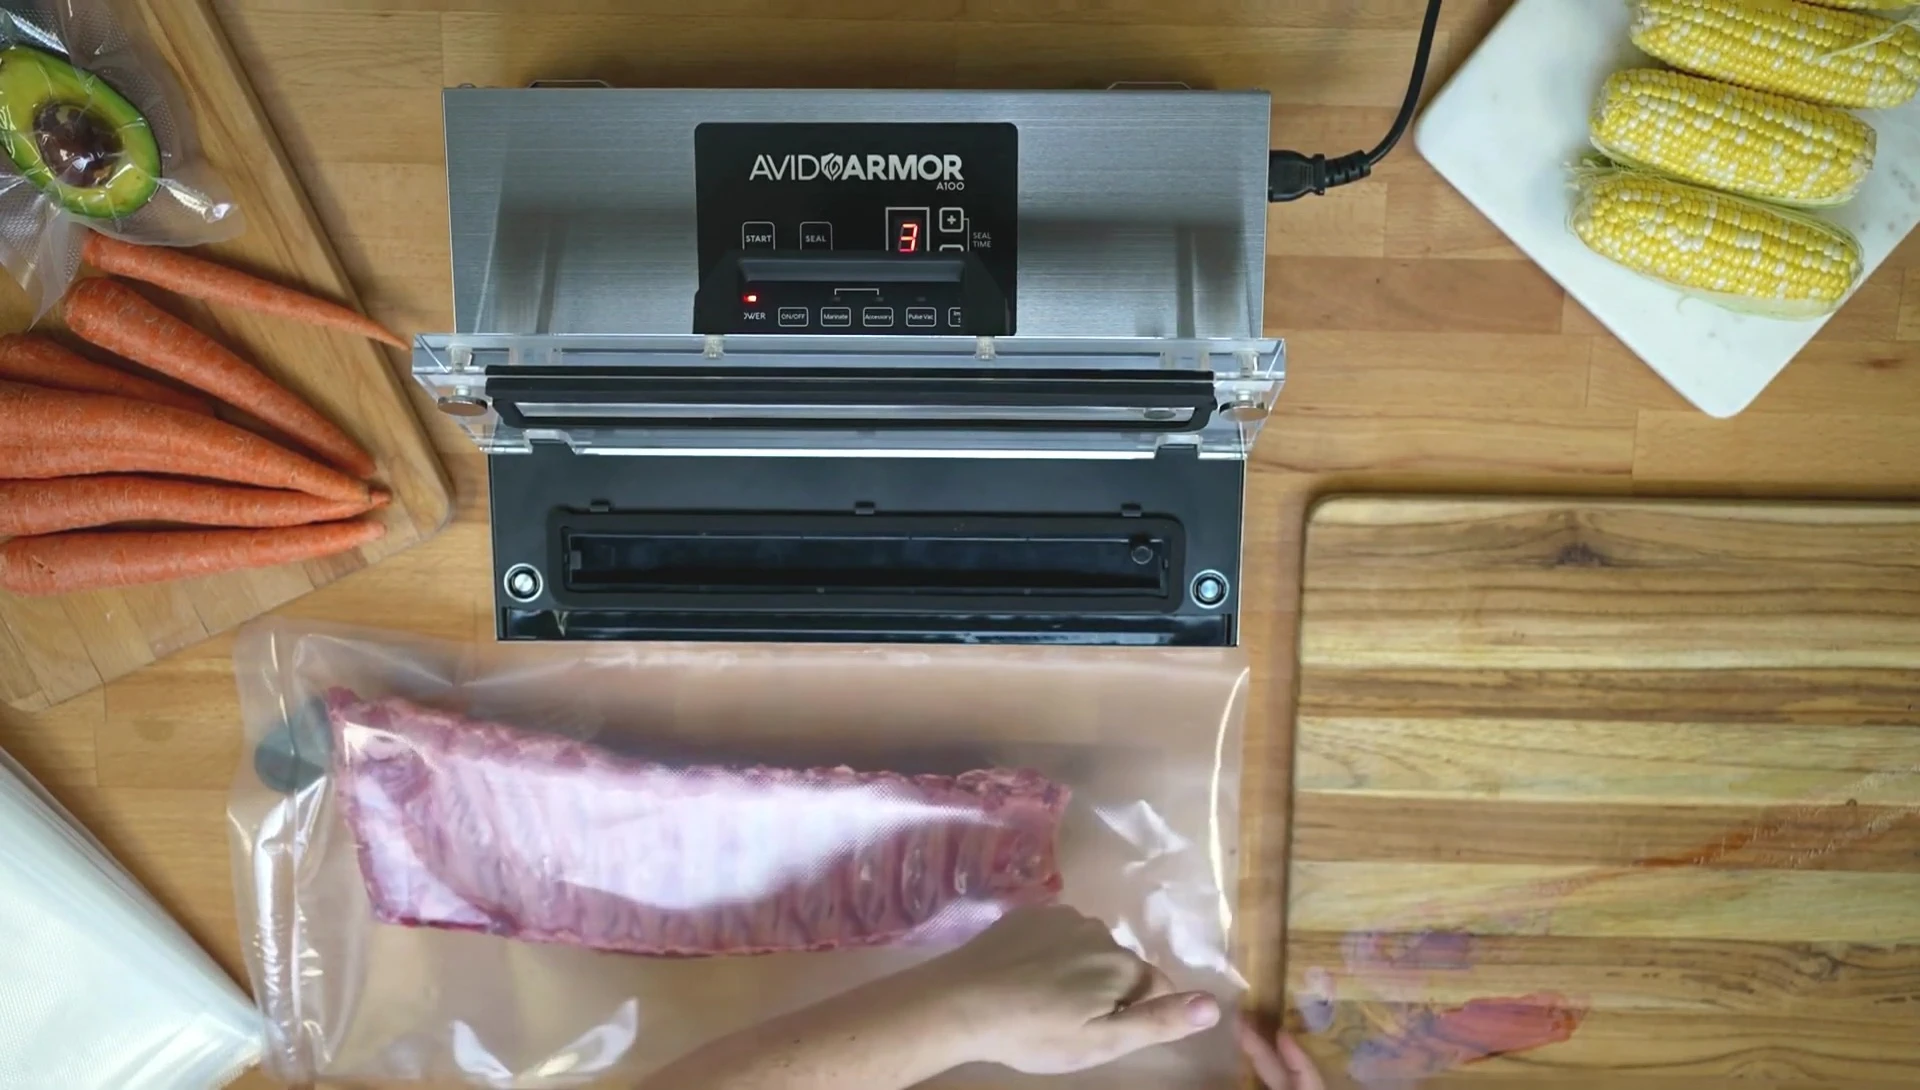
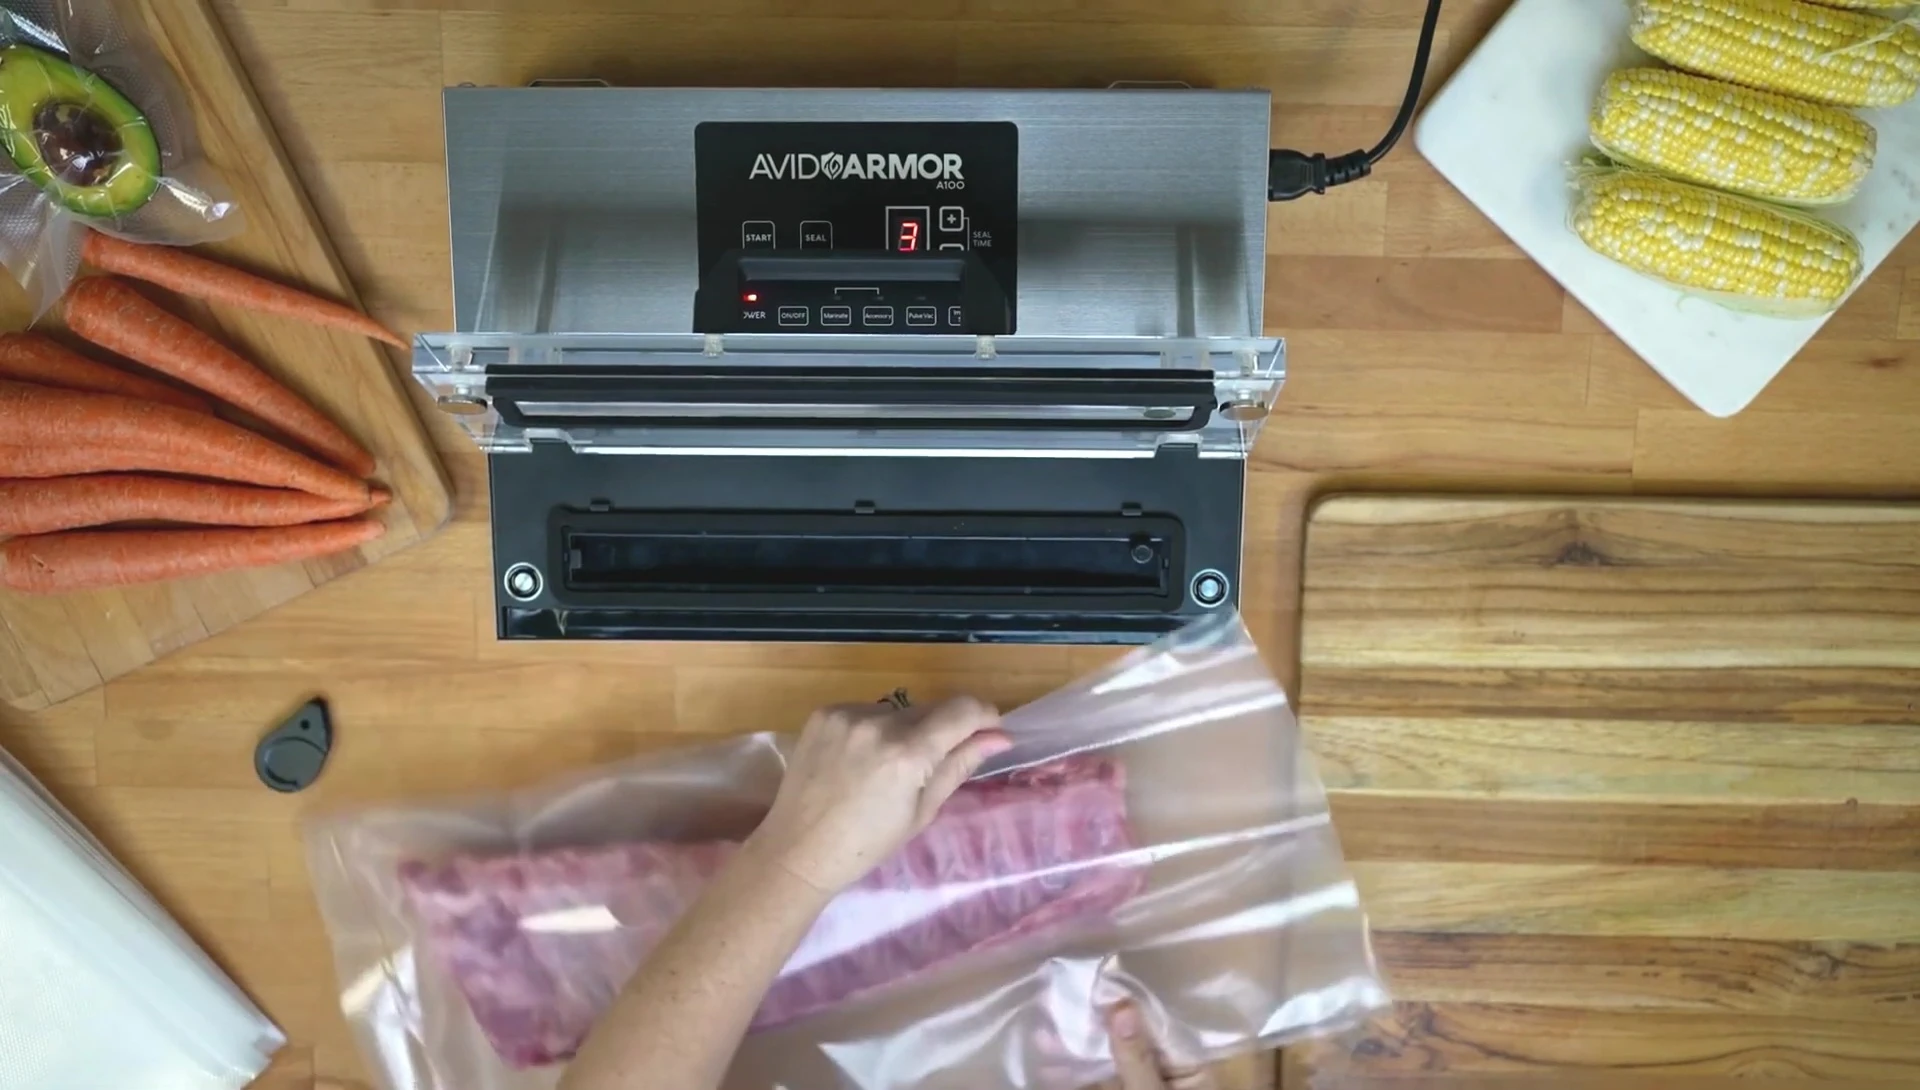
Hold the sealed end of the bag against the items you intend to seal – in this example, pork ribs. Determine the required length and cut the bag accordingly, ensuring ample headspace for vacuuming. A bag cutter provided with the machine or standard scissors can be utilized for this step.
This headspace is critical to ensure complete air removal during the vacuum sealing process. Proper sizing prevents overfilling and ensures a good seal.

Preparing for Vacuum Sealing
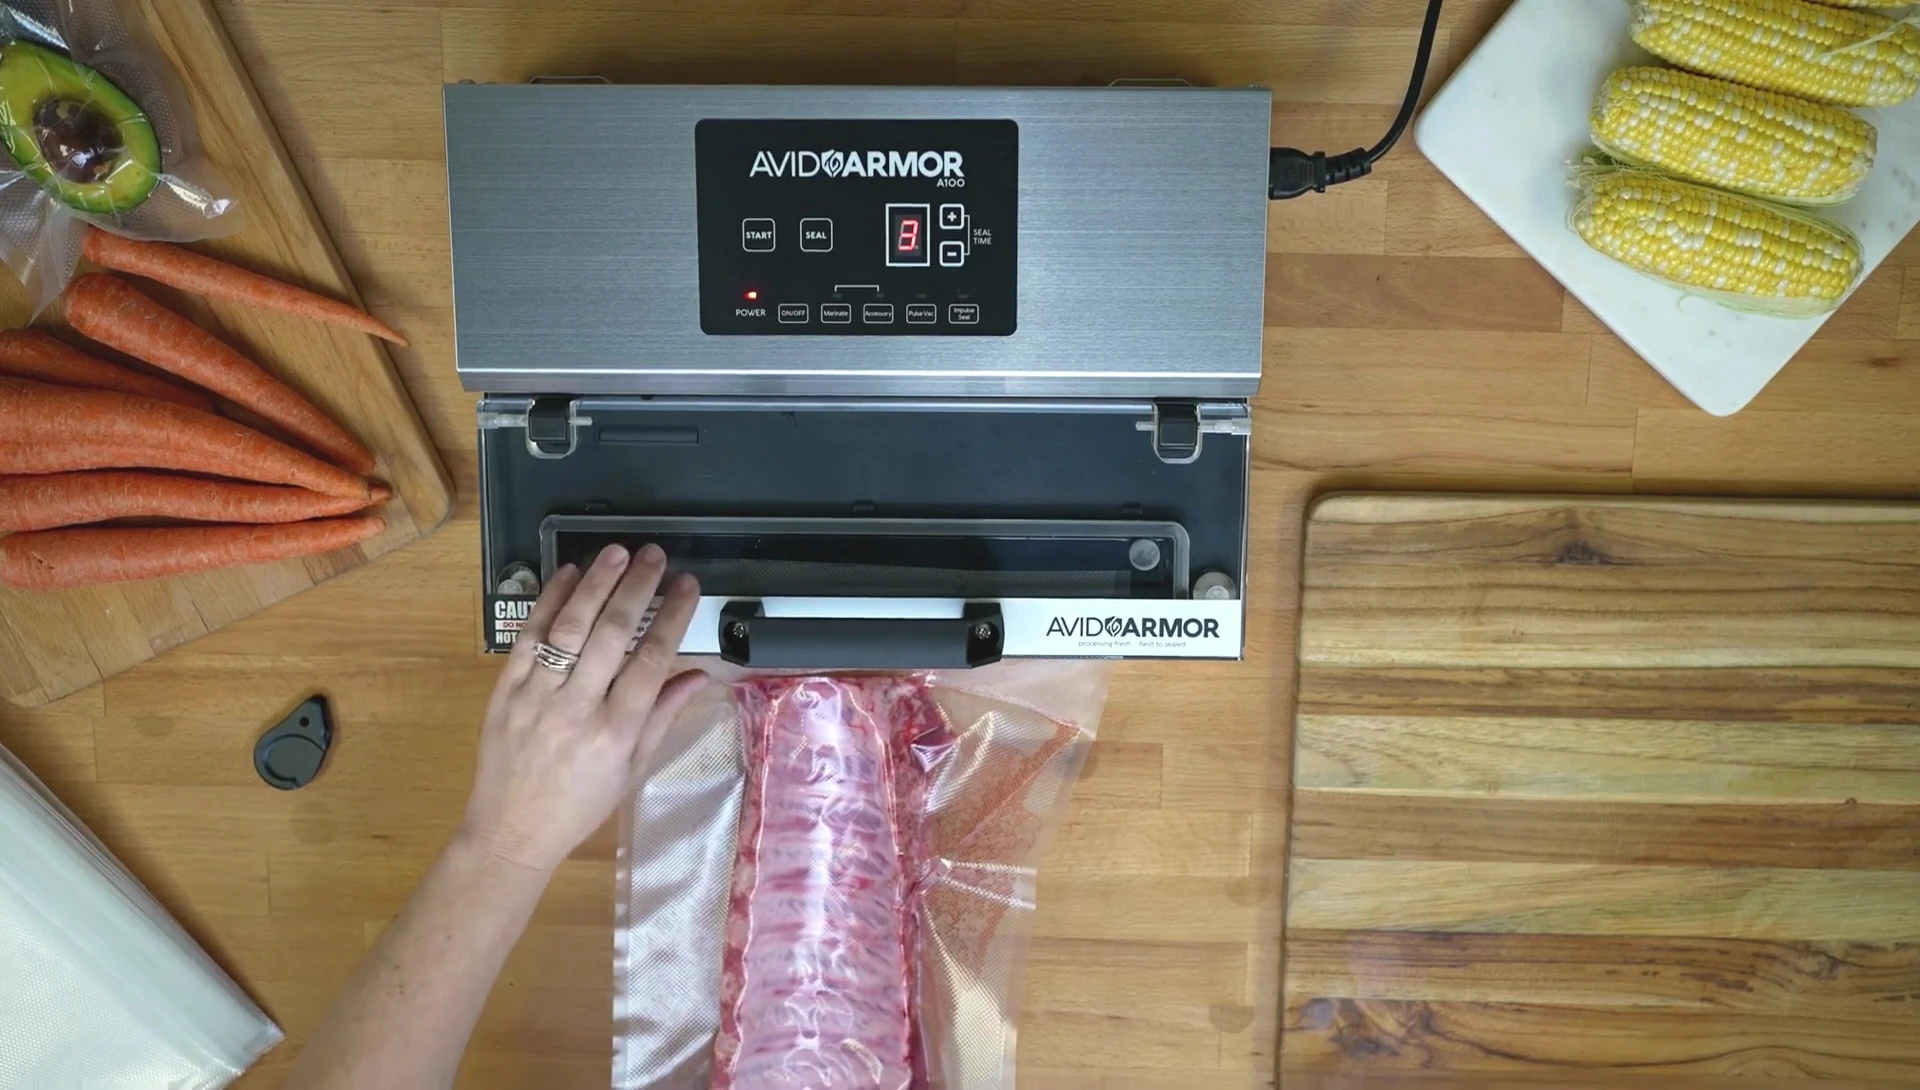
Before placing the bag into the sealer, clean any liquid or residue from the seal area. This step is essential to achieve a strong, airtight vacuum seal, ensuring the effectiveness of the preservation process.
This prevents contamination and ensures an optimal seal. Once the area is cleaned, carefully insert the bag into the sealer channel.
Final Vacuum Seal and Inspection
Place the bag into the vacuum sealer's channel, ensuring proper alignment for effective air removal. Press the 'start' button; the machine will beep upon completion. For high-moisture foods, try to expel as much air as possible beforehand to aid the sealing process.
Following the sealing cycle, inspect the seal for completeness and tightness. Check for any air bubbles; a proper seal should be consistent and free of gaps.
Conclusion
The Avid Armor A100 Gen 2 vacuum sealer excels at creating custom-sized bags from rolls, offering flexibility for various food items. The process, as demonstrated, is straightforward and ensures a reliable, airtight seal.
The ability to create custom-sized bags is highly beneficial, particularly for irregularly shaped items. The clear instructions and intuitive design of the sealer make the whole process user-friendly.