Organize your pantry and add a touch of elegance with the Simple Houseware Stackable Can Rack. This easy-to-assemble rack provides a convenient and space-saving solution for storing canned goods of various sizes. The step-by-step instructions below will guide you through the simple assembly process, ensuring your new rack is ready to use in minutes. Forget cluttered shelves and enjoy the streamlined look and efficient storage this rack offers.The Simple Houseware Stackable Can Rack boasts a sturdy construction and a sleek bronze finish, making it a stylish addition to any kitchen. Its adjustable dividers allow for customized storage, accommodating different can sizes and maximizing space. This comprehensive guide will walk you through attaching the base, assembling the racks, positioning the dividers, and adding the finishing end caps. With its straightforward assembly and durable design, this rack is a worthwhile investment for anyone seeking a simple yet effective solution for pantry organization.
Read more: NUNET Stackable Can Rack Organizer Review: Pantry Organization Made Easy
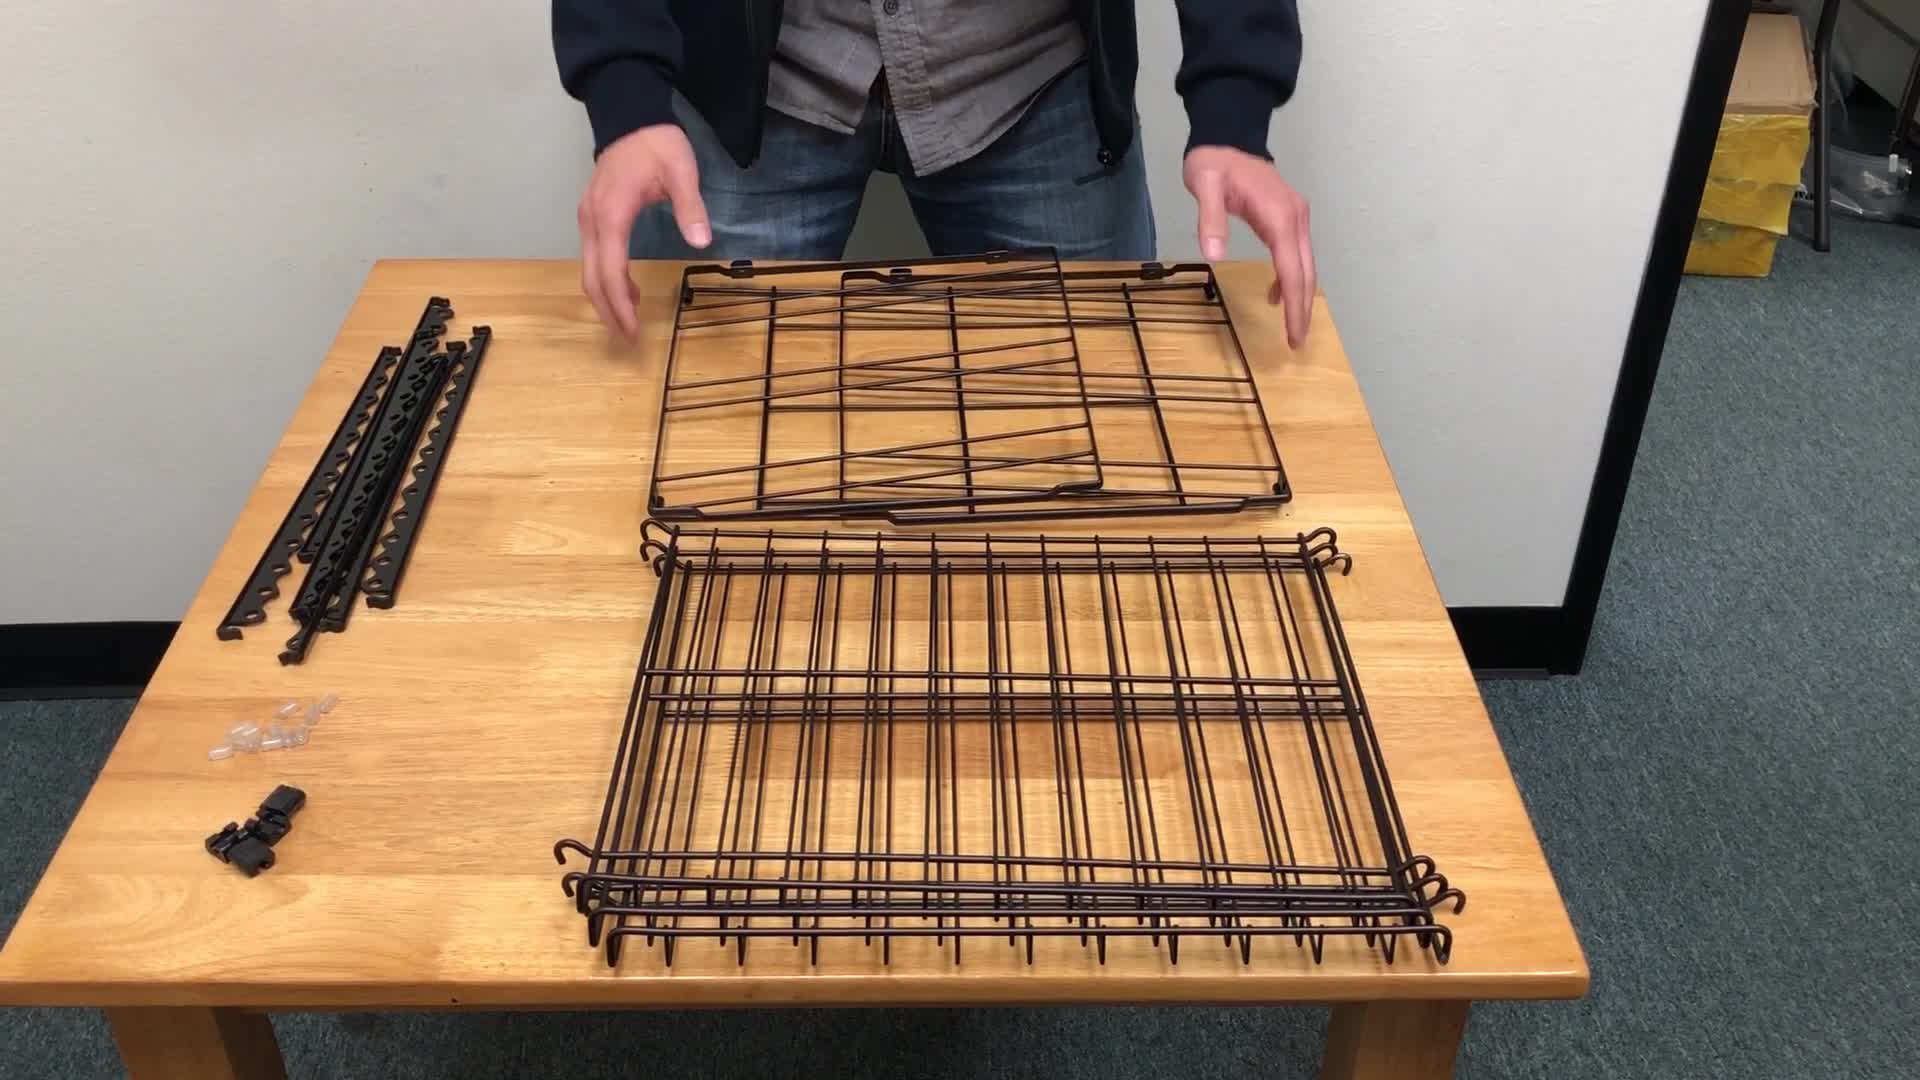
Unpacking and Identifying Parts
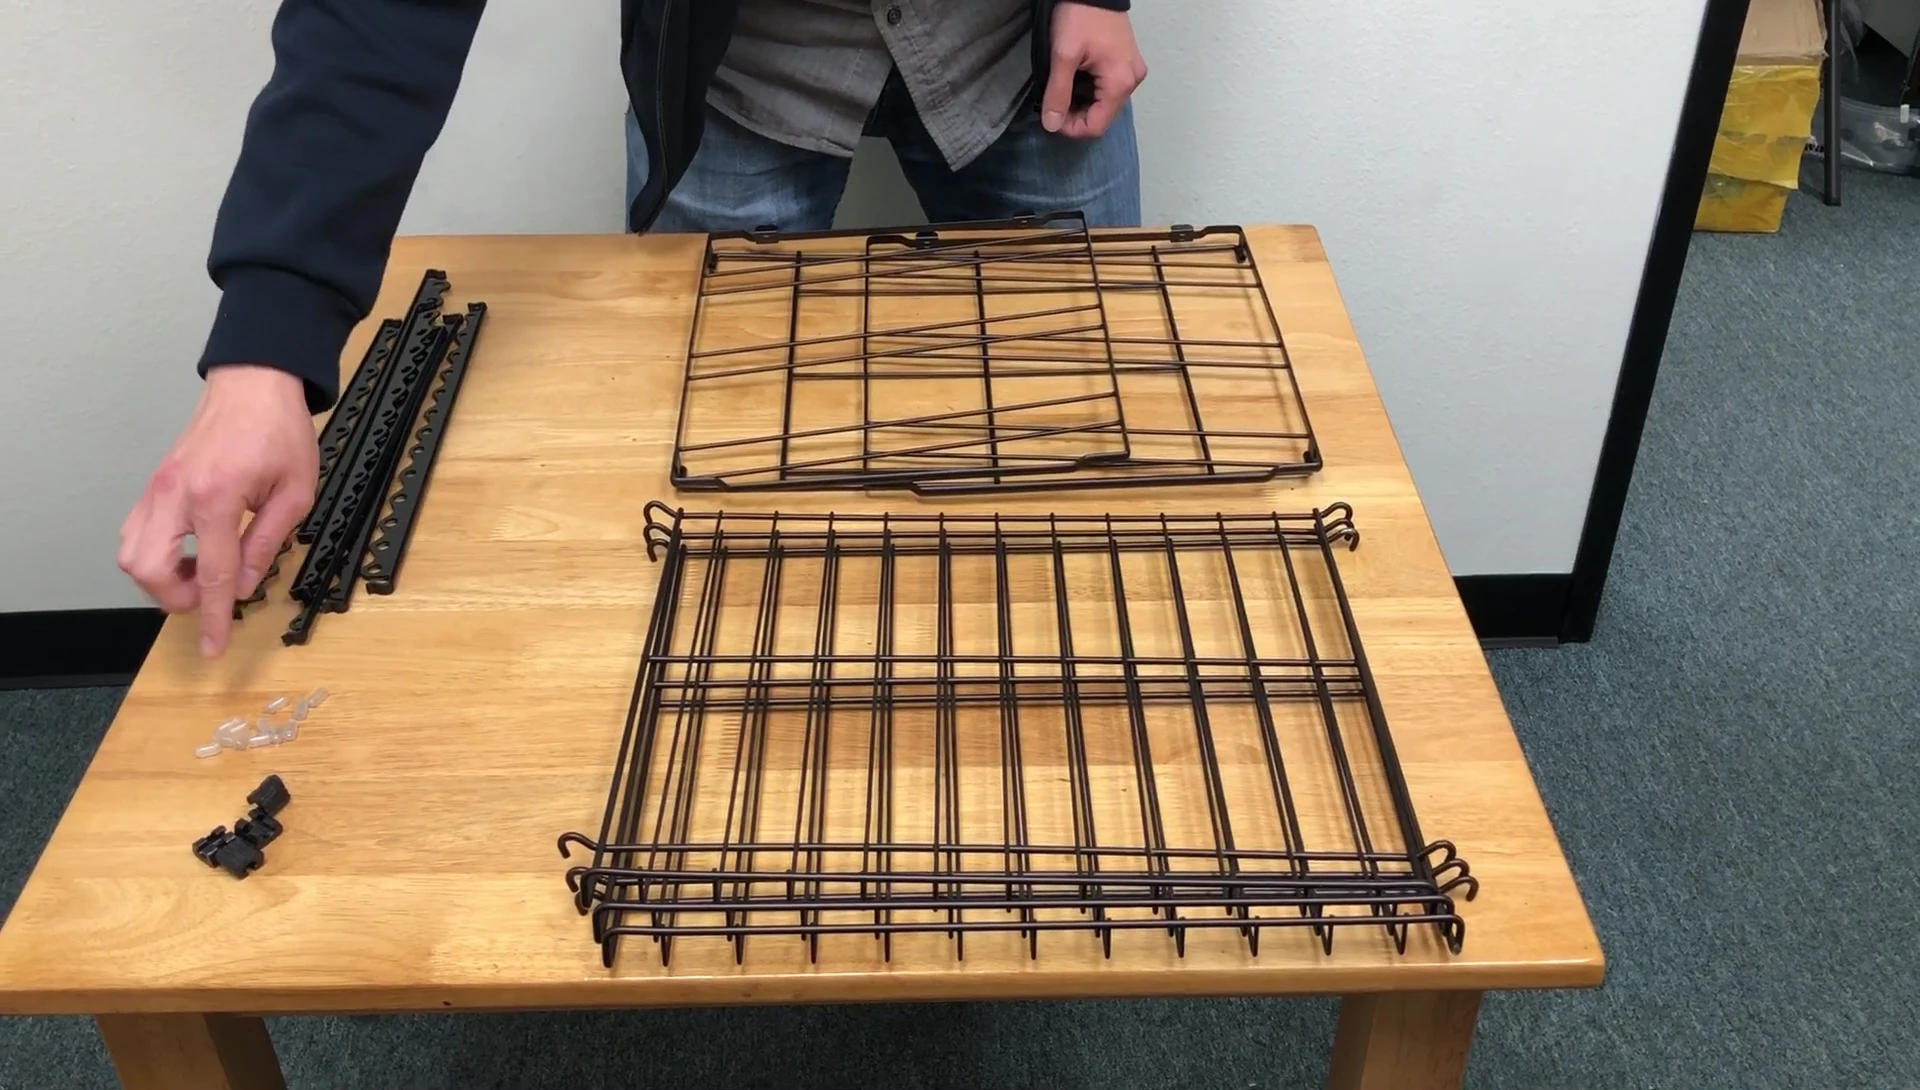
The Simple Houseware Stackable Can Rack arrives with several components. You'll find the base (Part A), three racks, dividers, rubber feet for the base, and small plastic end caps for the shelves. Carefully inspect all parts to ensure everything is present before starting assembly.
The bronze finish gives the rack a nice, elegant look. The quality of the materials seems sturdy enough for everyday use. Begin by attaching the rubber feet to the bottom of the base. This step can be done at the beginning or the end – it's entirely up to your preference.
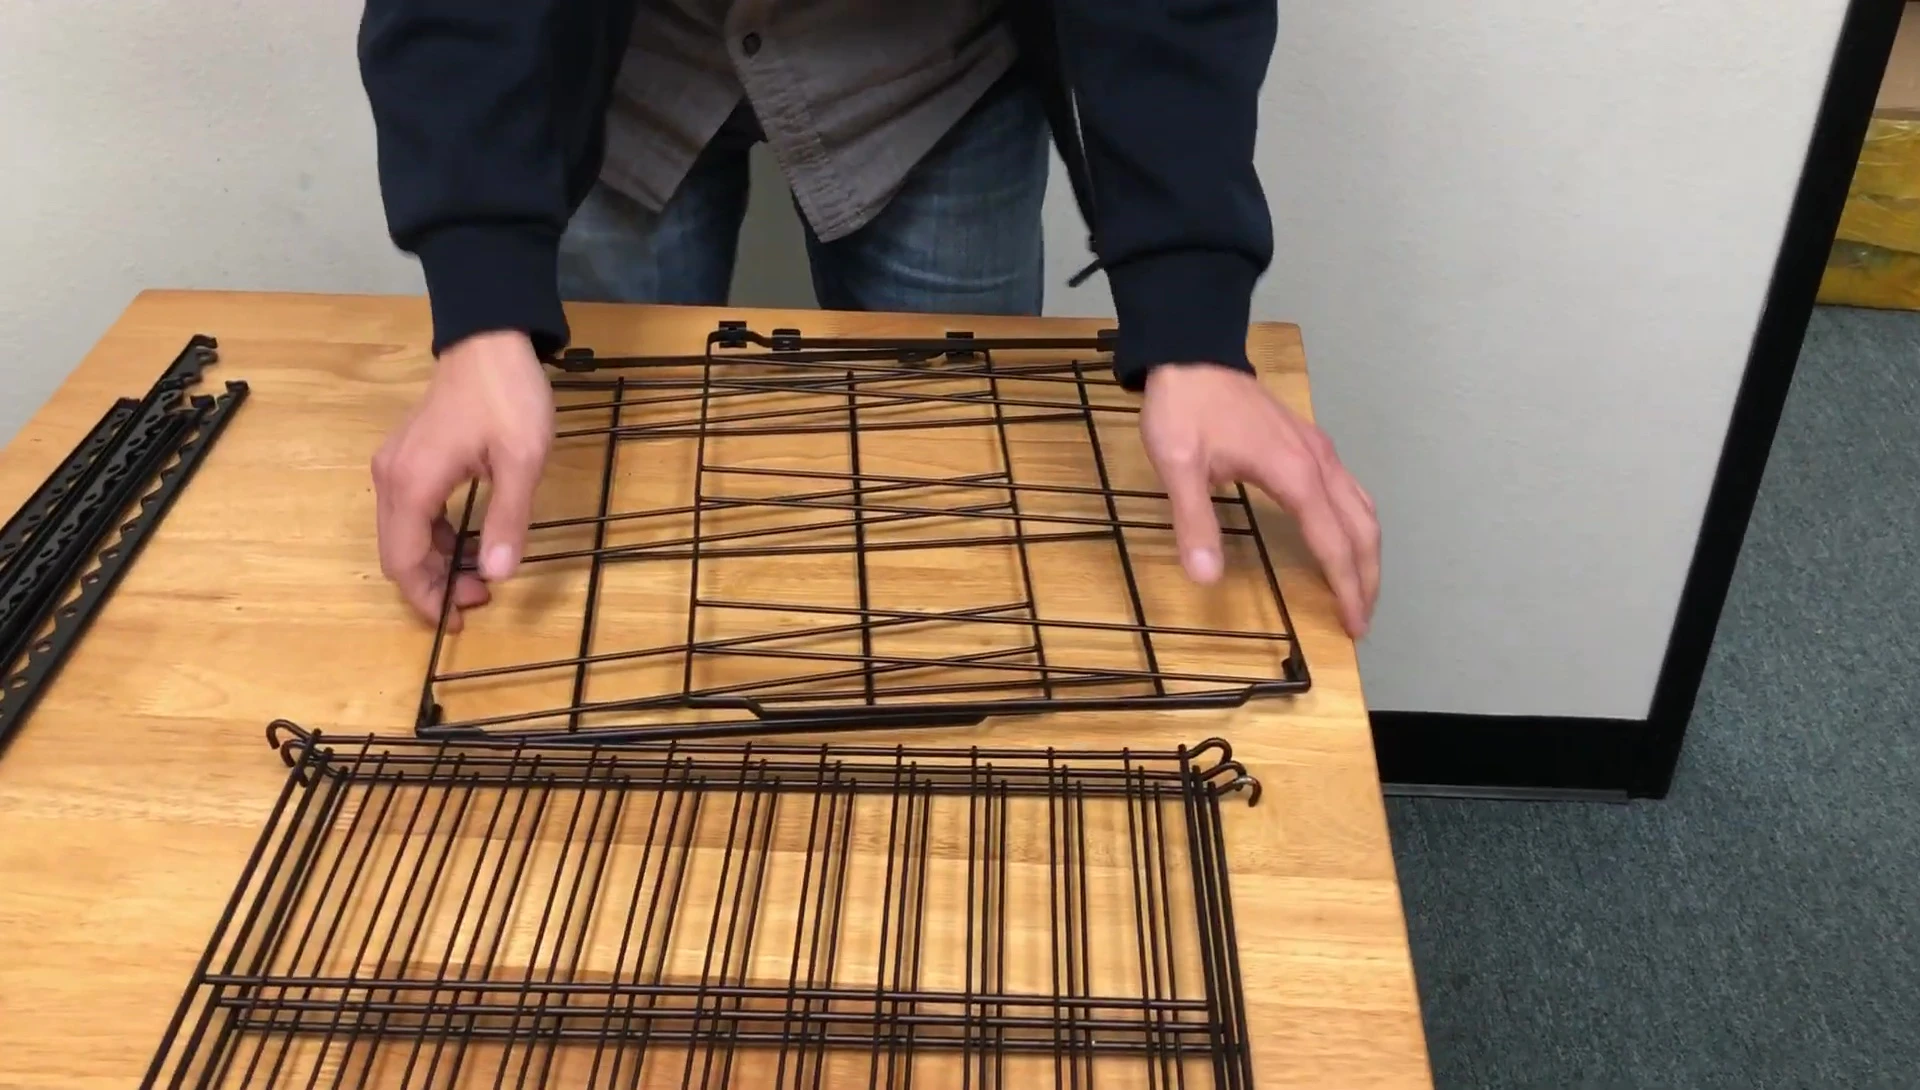
Assembling the Racks
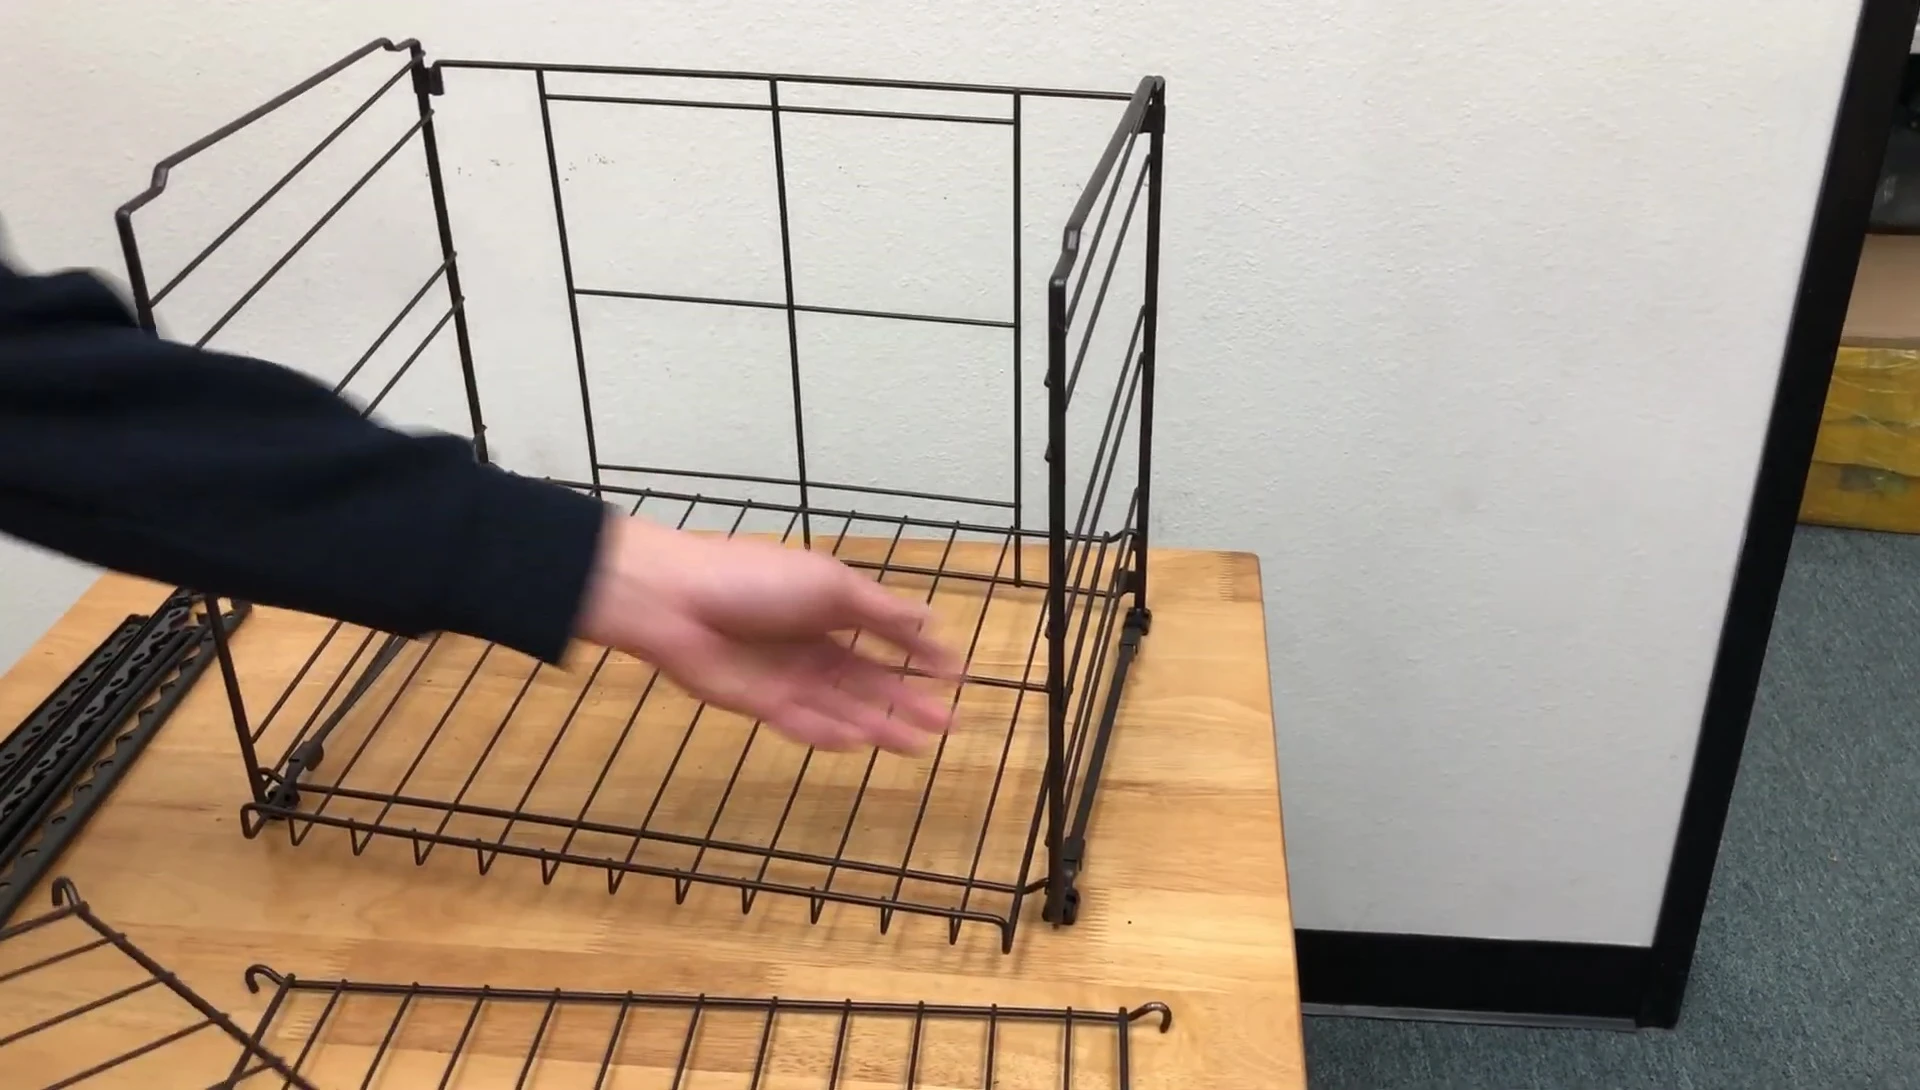
Start assembling the racks by attaching the first rack to the base. Begin at the bottom and slowly push upwards, expanding the sides as you go. This process ensures proper alignment and a secure fit.
Repeat the process for the remaining two racks. Remember to always start from the bottom bar and push upwards to avoid any issues with alignment. This method makes assembling the rack easier and faster.
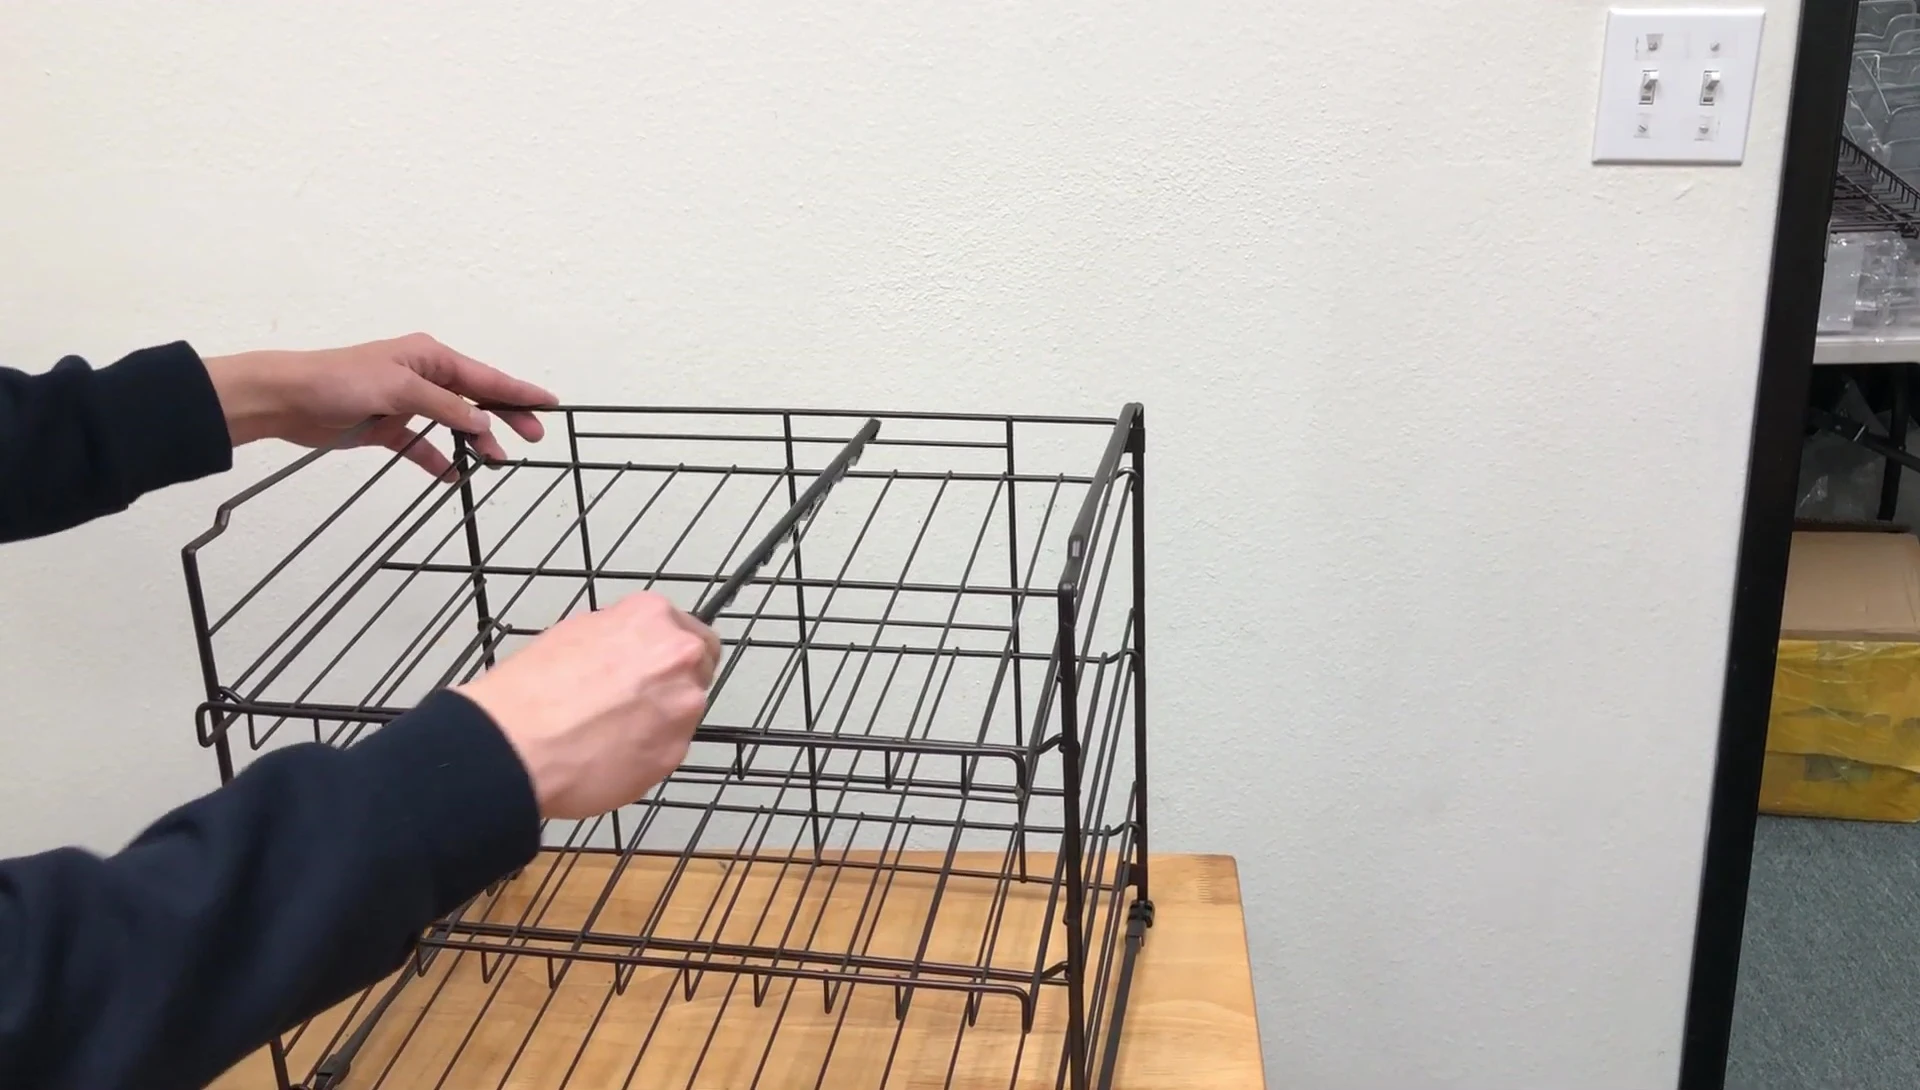
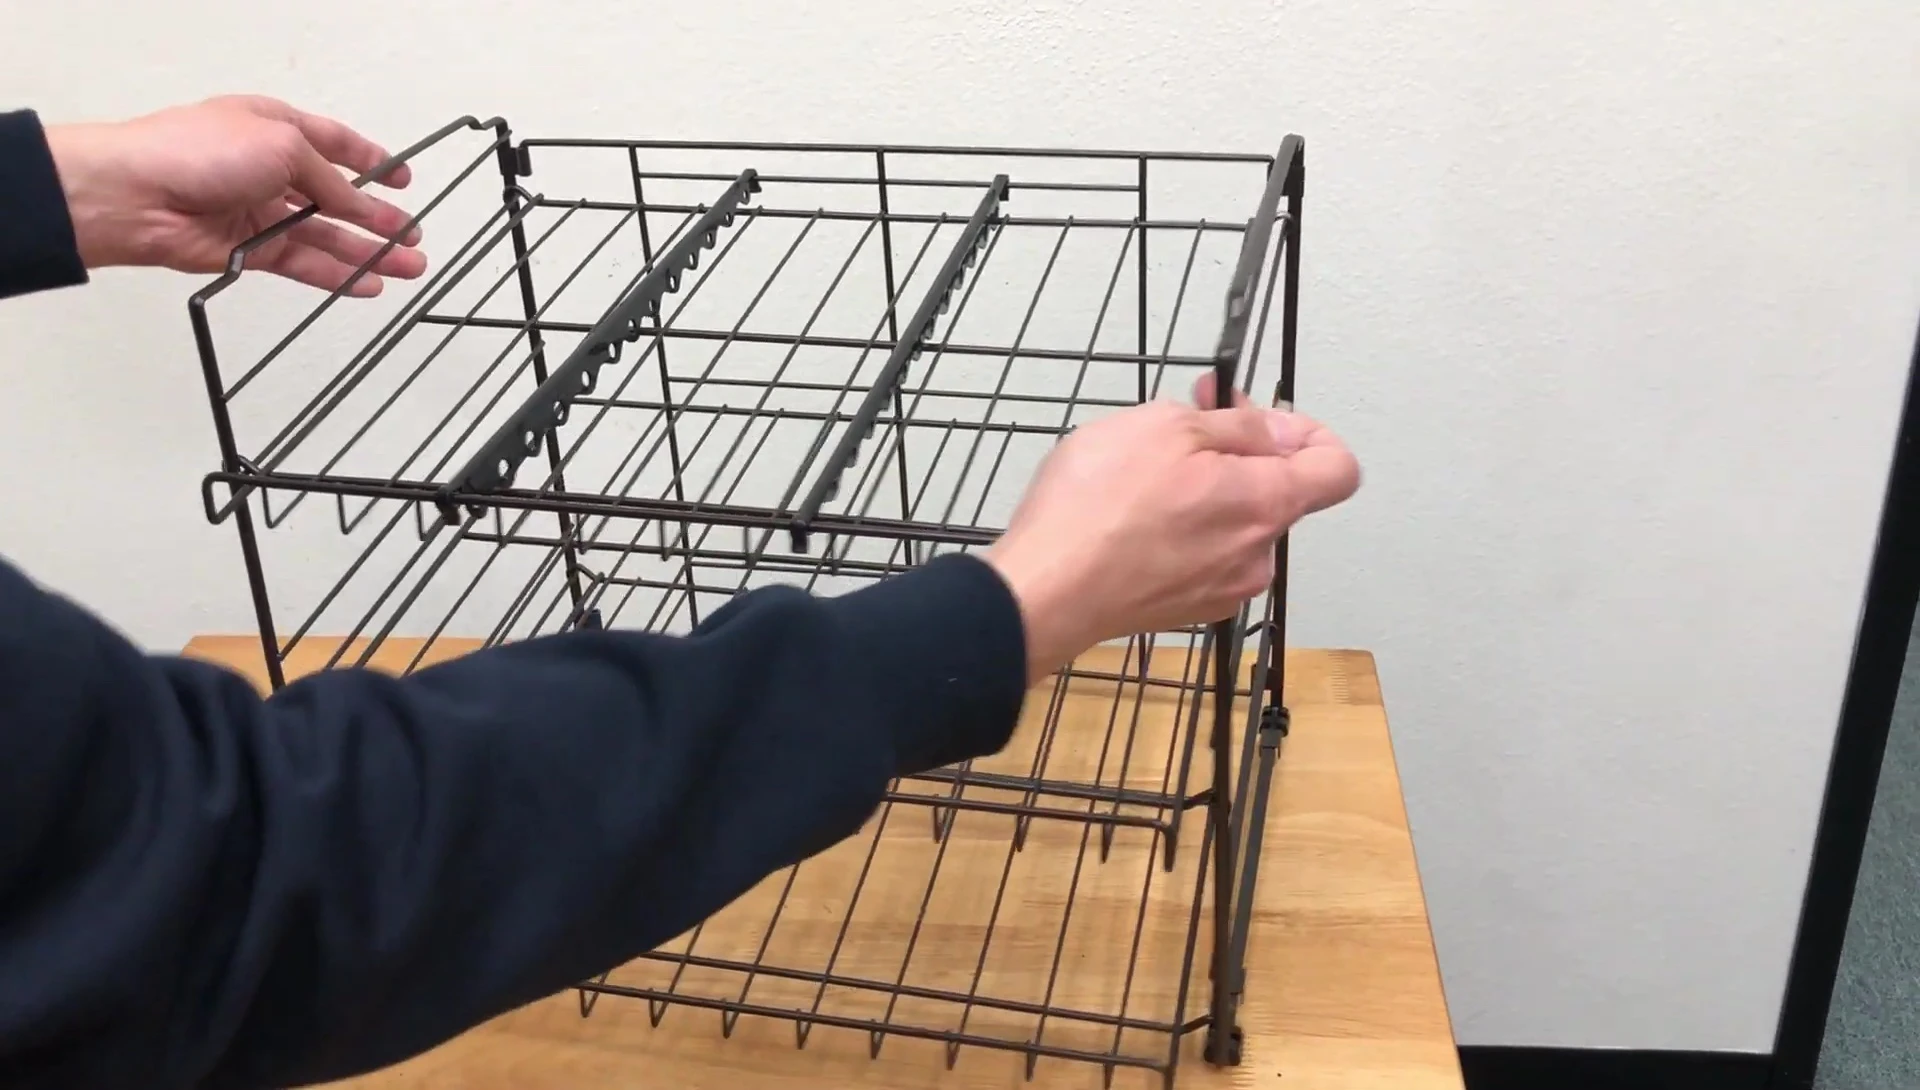
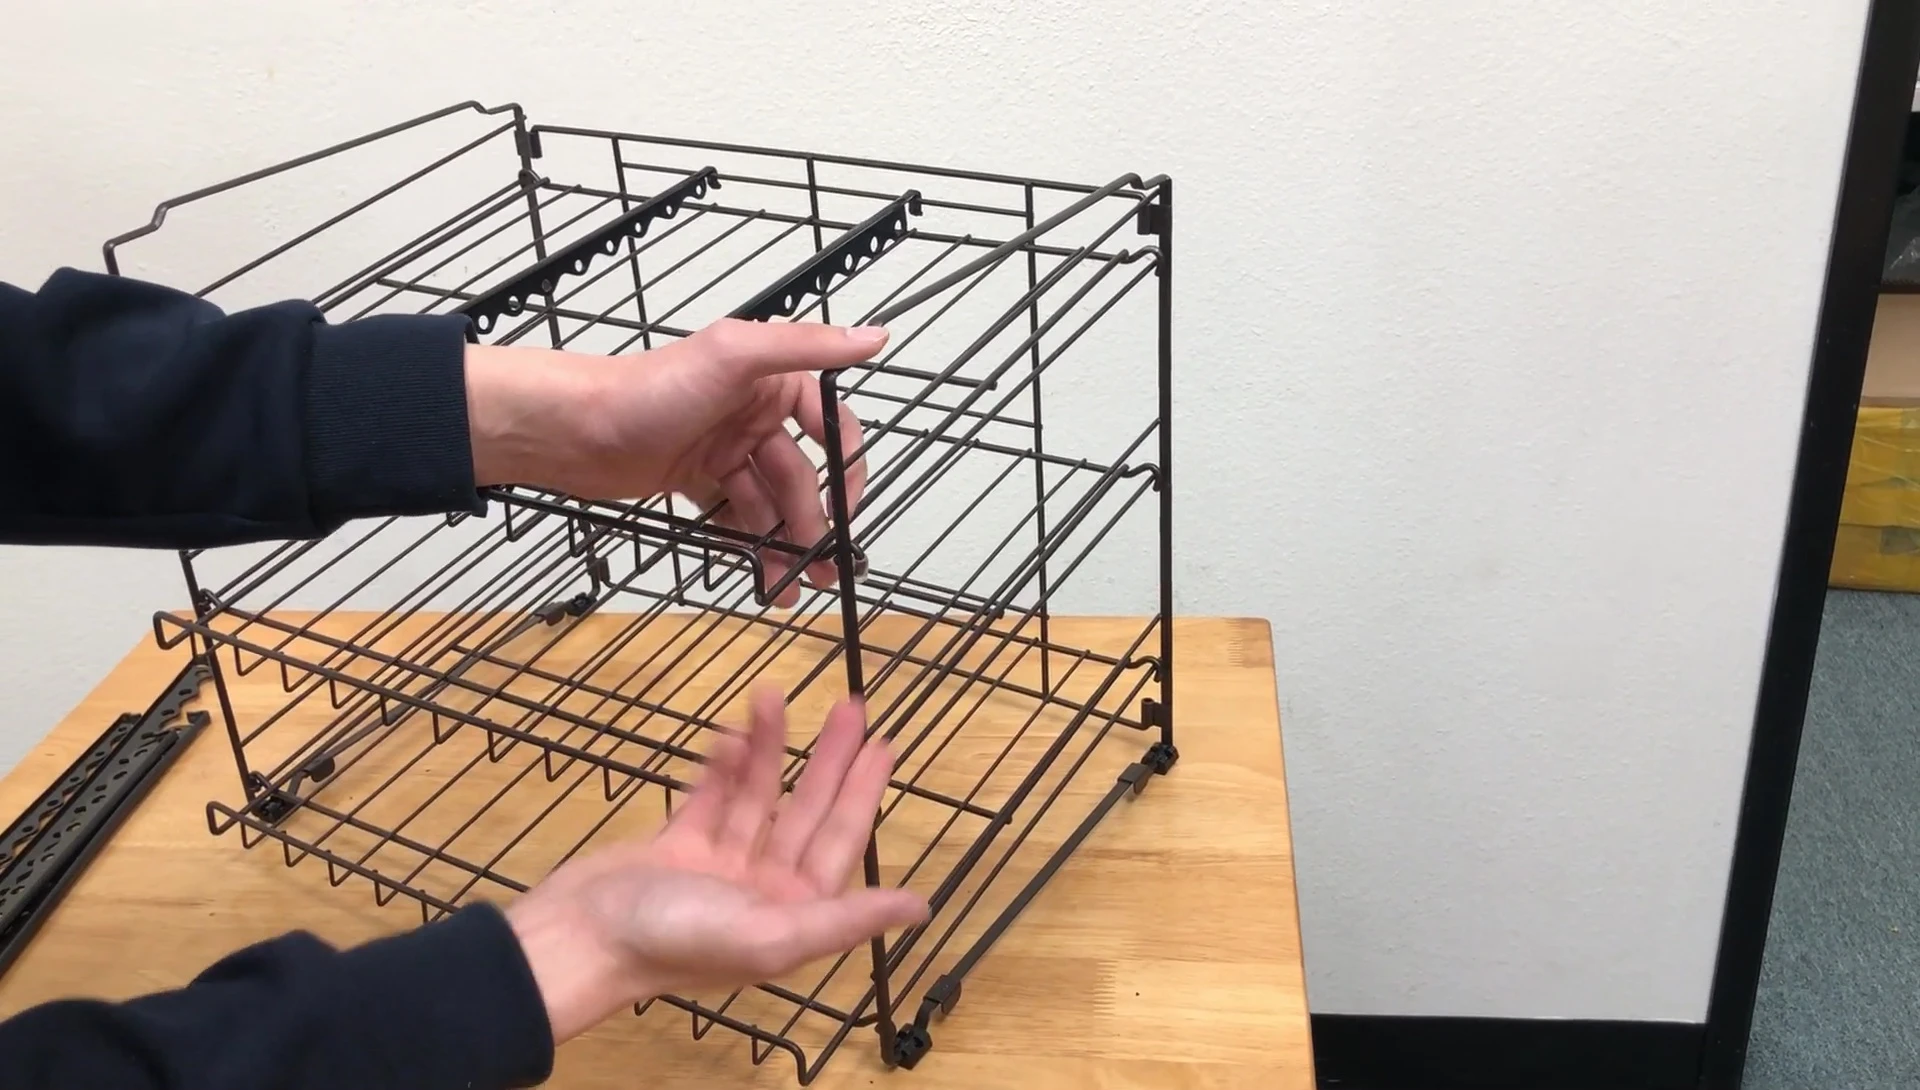
Adding the Dividers
The dividers offer customizable storage options. Note the slightly larger spacing on one end of the dividers – use this larger end for the outer positions. The dividers slide into place, allowing you to adjust the spacing based on your needs.
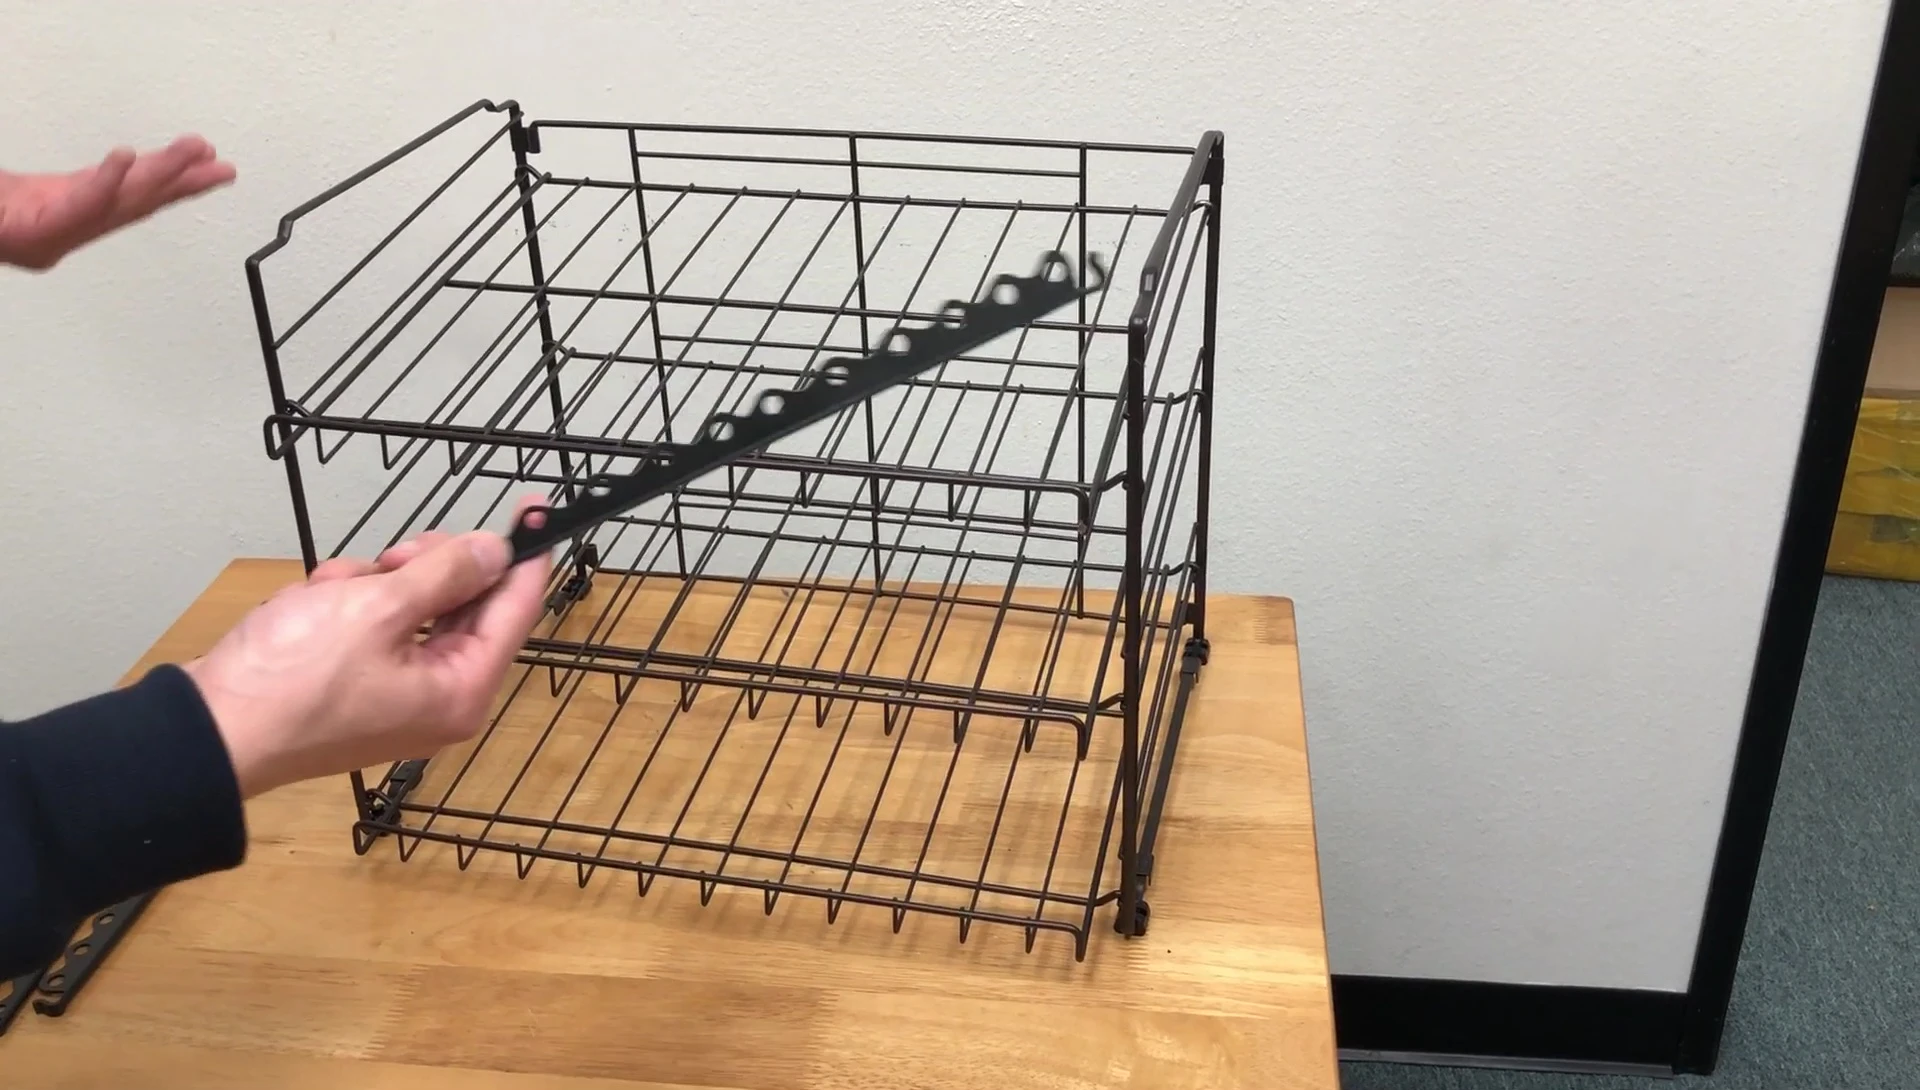
This flexibility is a major advantage, making it suitable for various can sizes and arrangements. Experiment with different divider placements to maximize space and organization within your rack.
Final Touches and End Caps
The final step involves adding the small plastic end caps. These caps simply snap onto the ends of each rack for a clean, finished look. The caps protect the rack's ends from damage and enhance the overall appearance.
Once all the end caps are in place, your Simple Houseware Stackable Can Rack is complete and ready to use. The whole assembly process is straightforward and shouldn't take more than a few minutes.
Conclusion
The Simple Houseware Stackable Can Rack is a convenient and space-saving solution for storing canned goods. The easy assembly process makes it accessible to everyone, regardless of their experience level. The adjustable dividers provide customizable storage.
The sturdy build suggests long-term durability, and the clean, bronze finish adds a touch of elegance to any kitchen. Overall, it's a worthwhile purchase for anyone looking to organize their pantry or kitchen efficiently.