This guide details a successful DIY repair of a malfunctioning Keurig 2.0 coffee maker. The machine unexpectedly stopped working completely, leaving the authors reliant on a less desirable alternative brewing method. Troubleshooting efforts initially proved fruitless, highlighting the frustration of a sudden coffee machine failure. However, persistence led to the identification of the problem: a broken piercing needle at the base of the machine. This common mechanical issue, thankfully, had a straightforward solution.The repair process, detailed step-by-step, involved locating the correct replacement part using the machine's model number, ordering it online for swift delivery, and then carefully installing the new needle. This guide provides valuable insights into finding the right replacement part, navigating the online ordering process, and completing the relatively simple installation. The authors share their experience to empower readers to tackle similar repairs and restore their own Keurig 2.0 coffee makers to full functionality, saving time and money compared to professional repair or replacement.
Pros And Cons
- Relatively easy to replace
- Arrived quickly (two days) via Amazon
- Nicely packaged
- Seems to be the correct part
- Restored coffee maker functionality
Read more: Stylish Wall-Mounted Coffee Pod Holders: 5 Space-Saving Designs
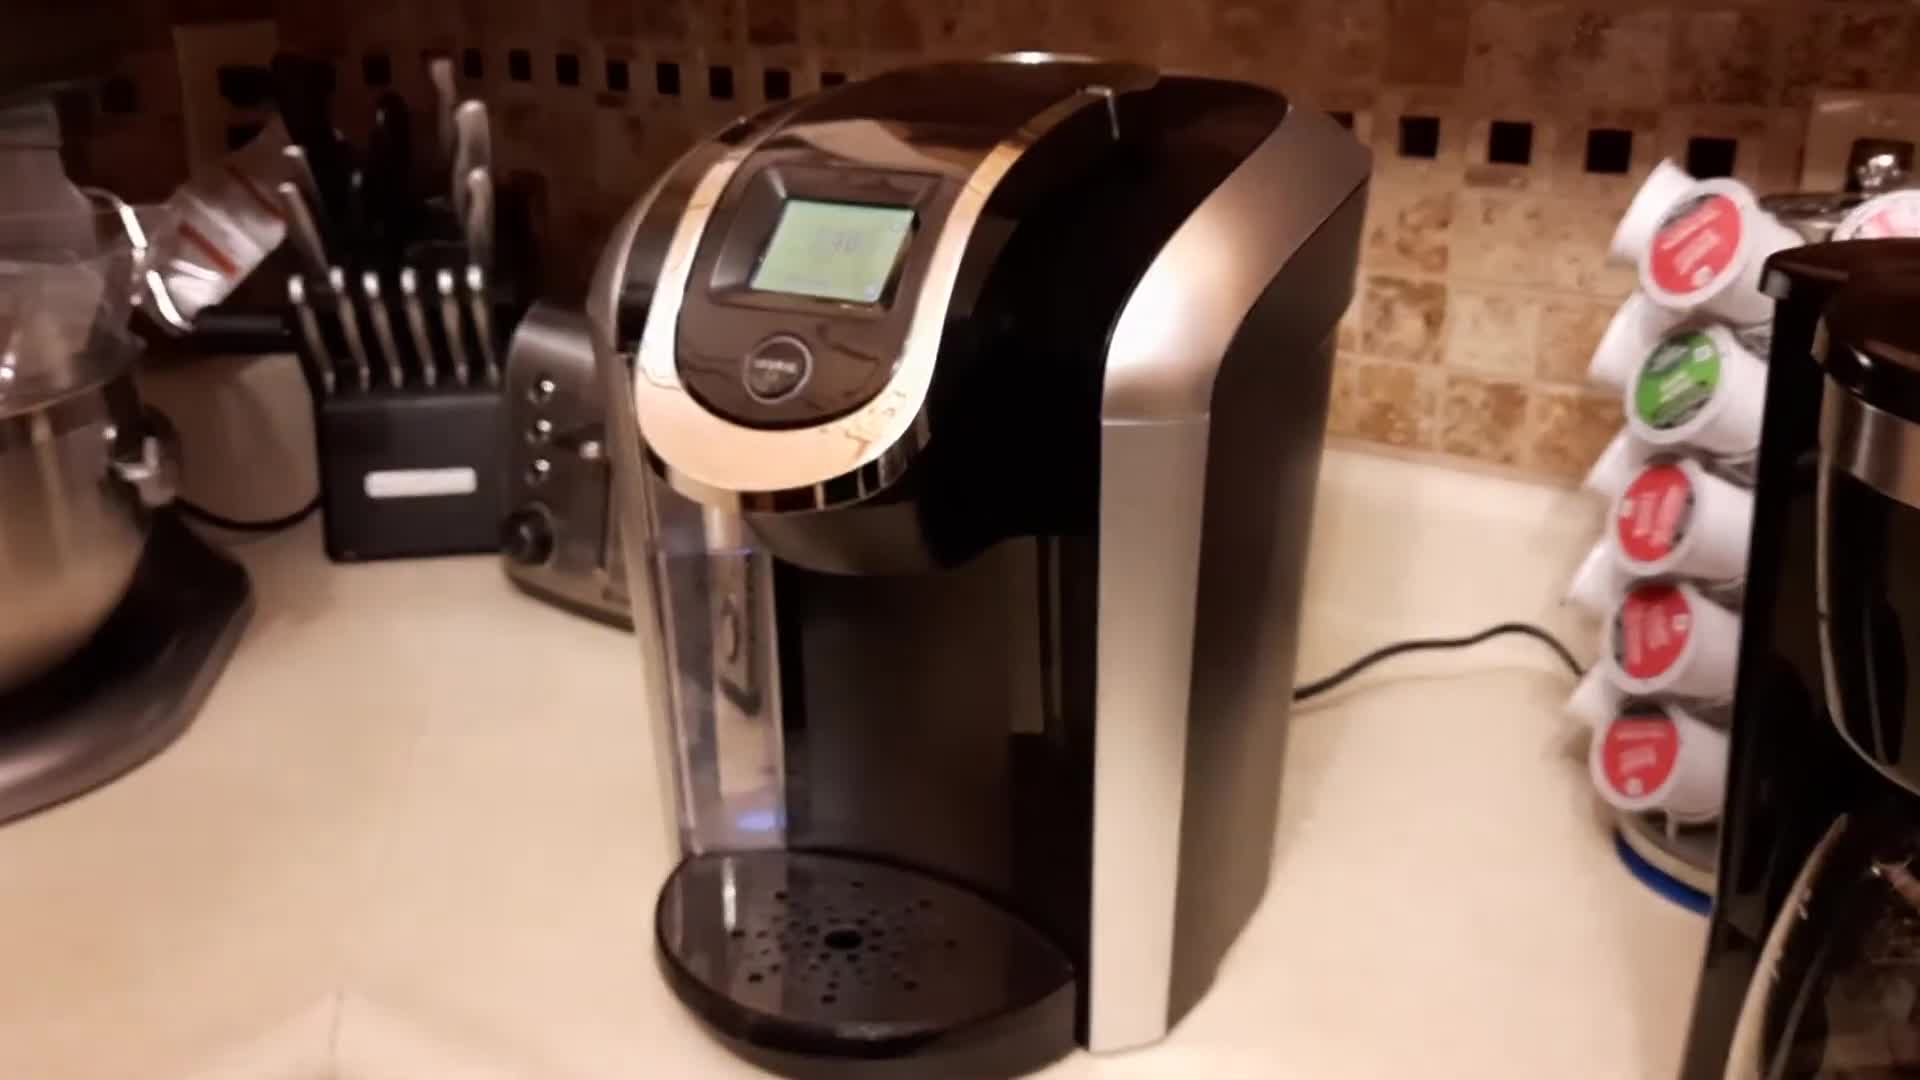
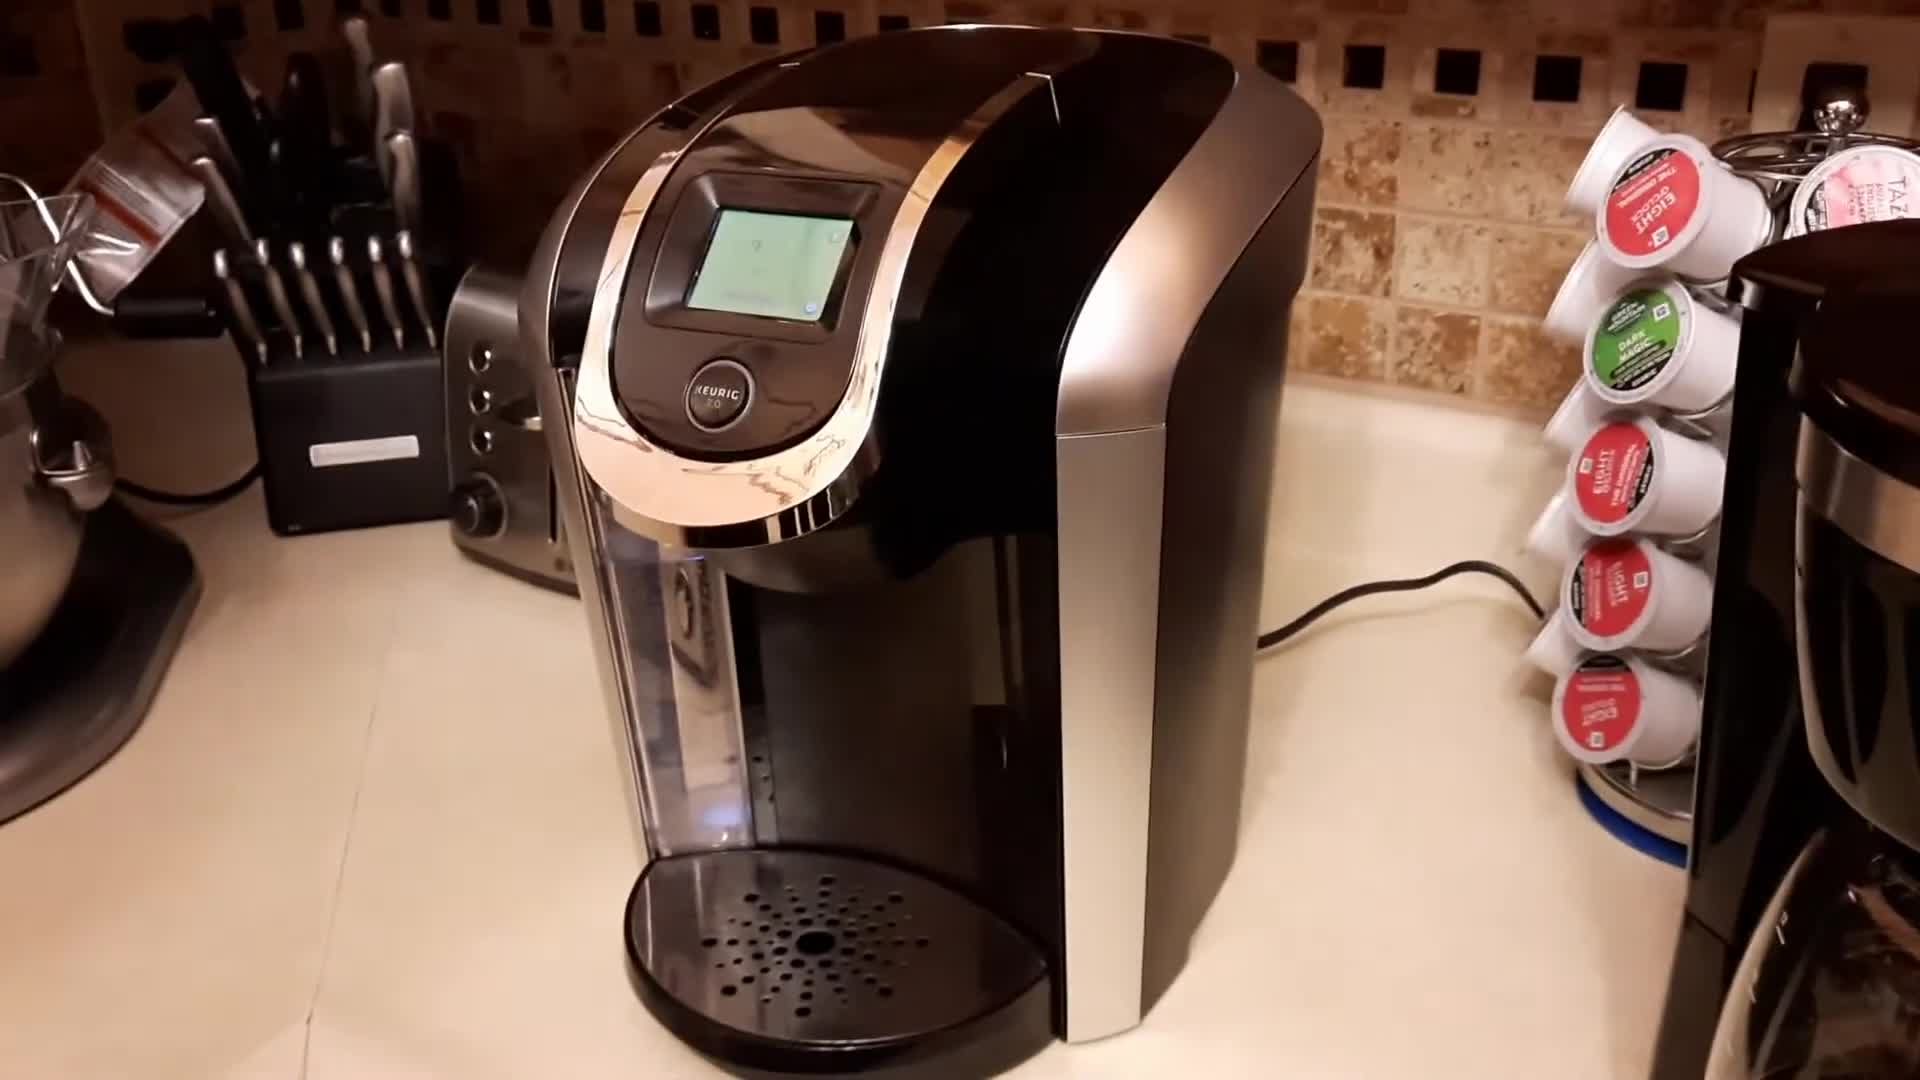
The Problem: A Broken Keurig 2.0
Our Keurig 2.0 coffee maker suddenly stopped working. The issue wasn't gradual; it failed completely unexpectedly. We initially had no idea what caused the malfunction.
Troubleshooting was our first step, but we were stumped. Without a working coffee maker, we resorted to our old Black & Decker coffee machine as a temporary solution.
This temporary fix only lasted a few days. We were determined to fix our Keurig 2.0 and get back to our preferred brewing method.
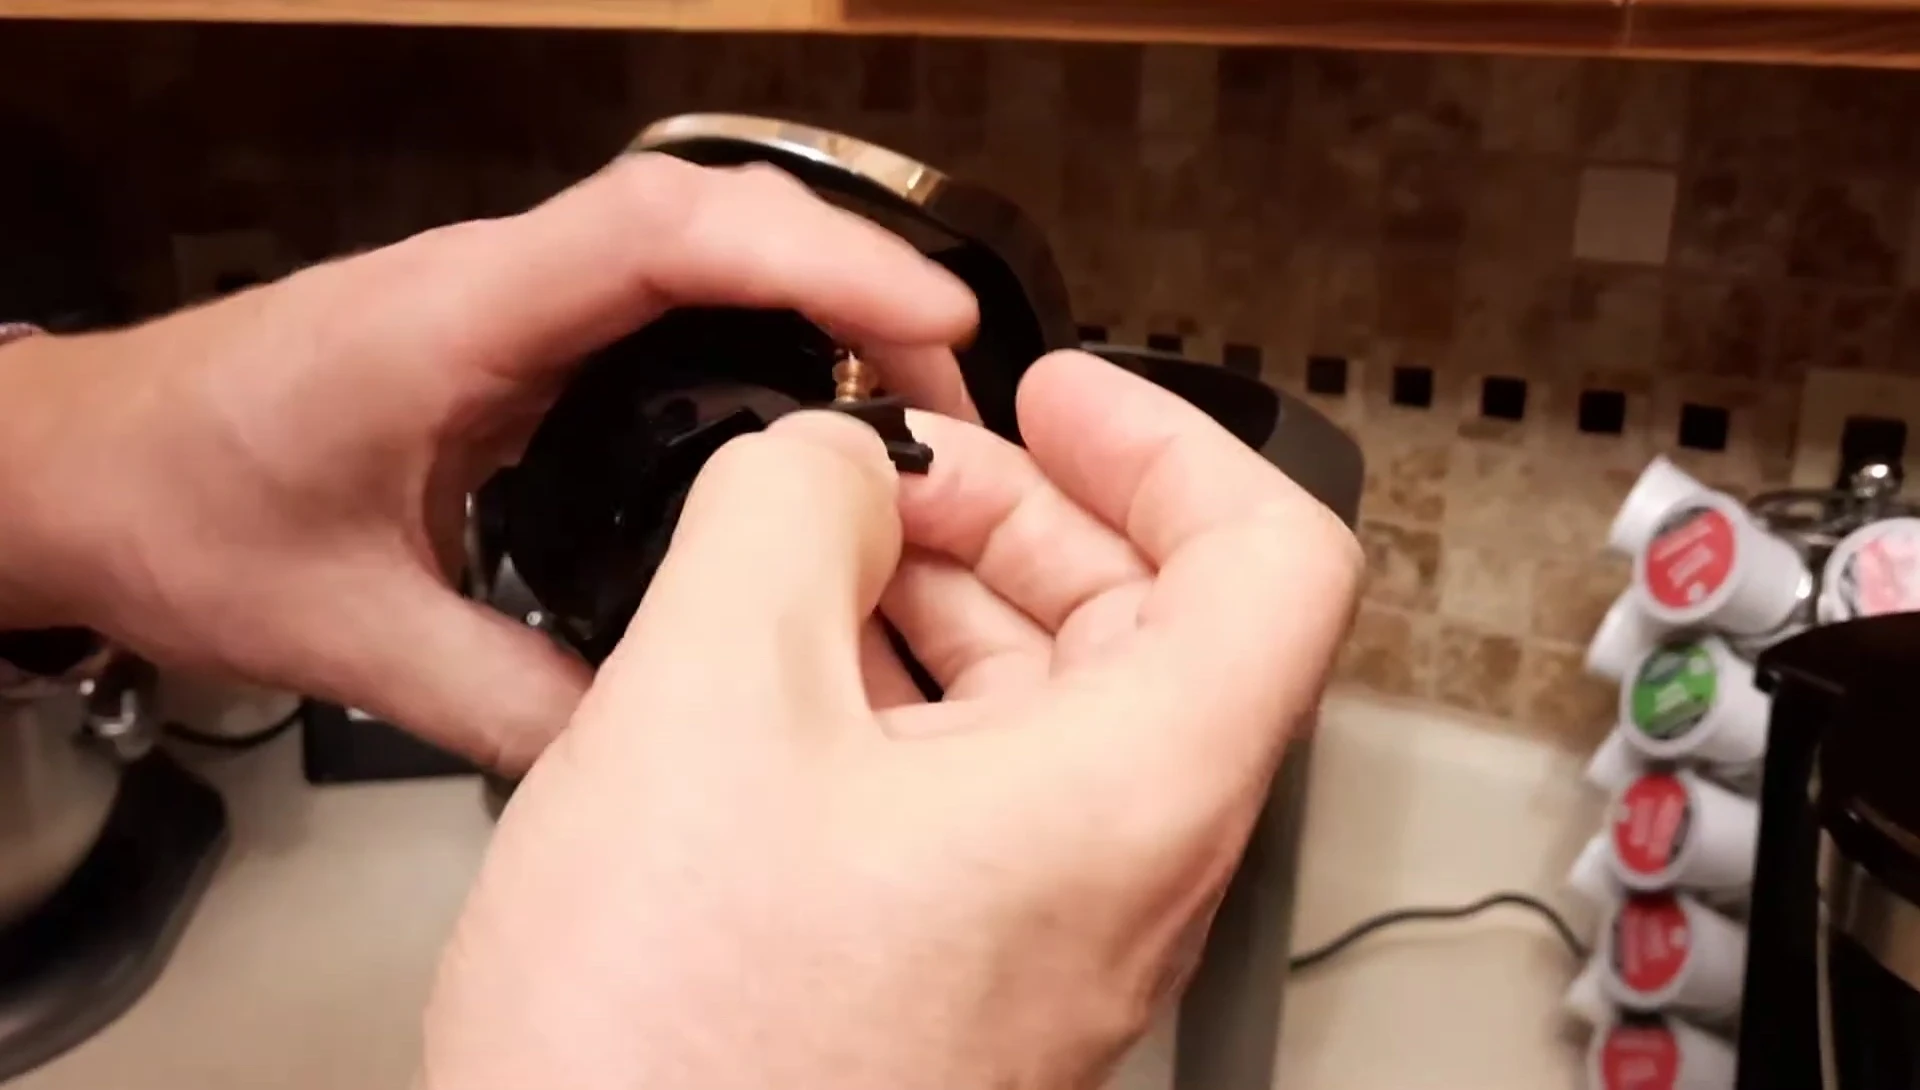
Diagnosis: Identifying the Faulty Part
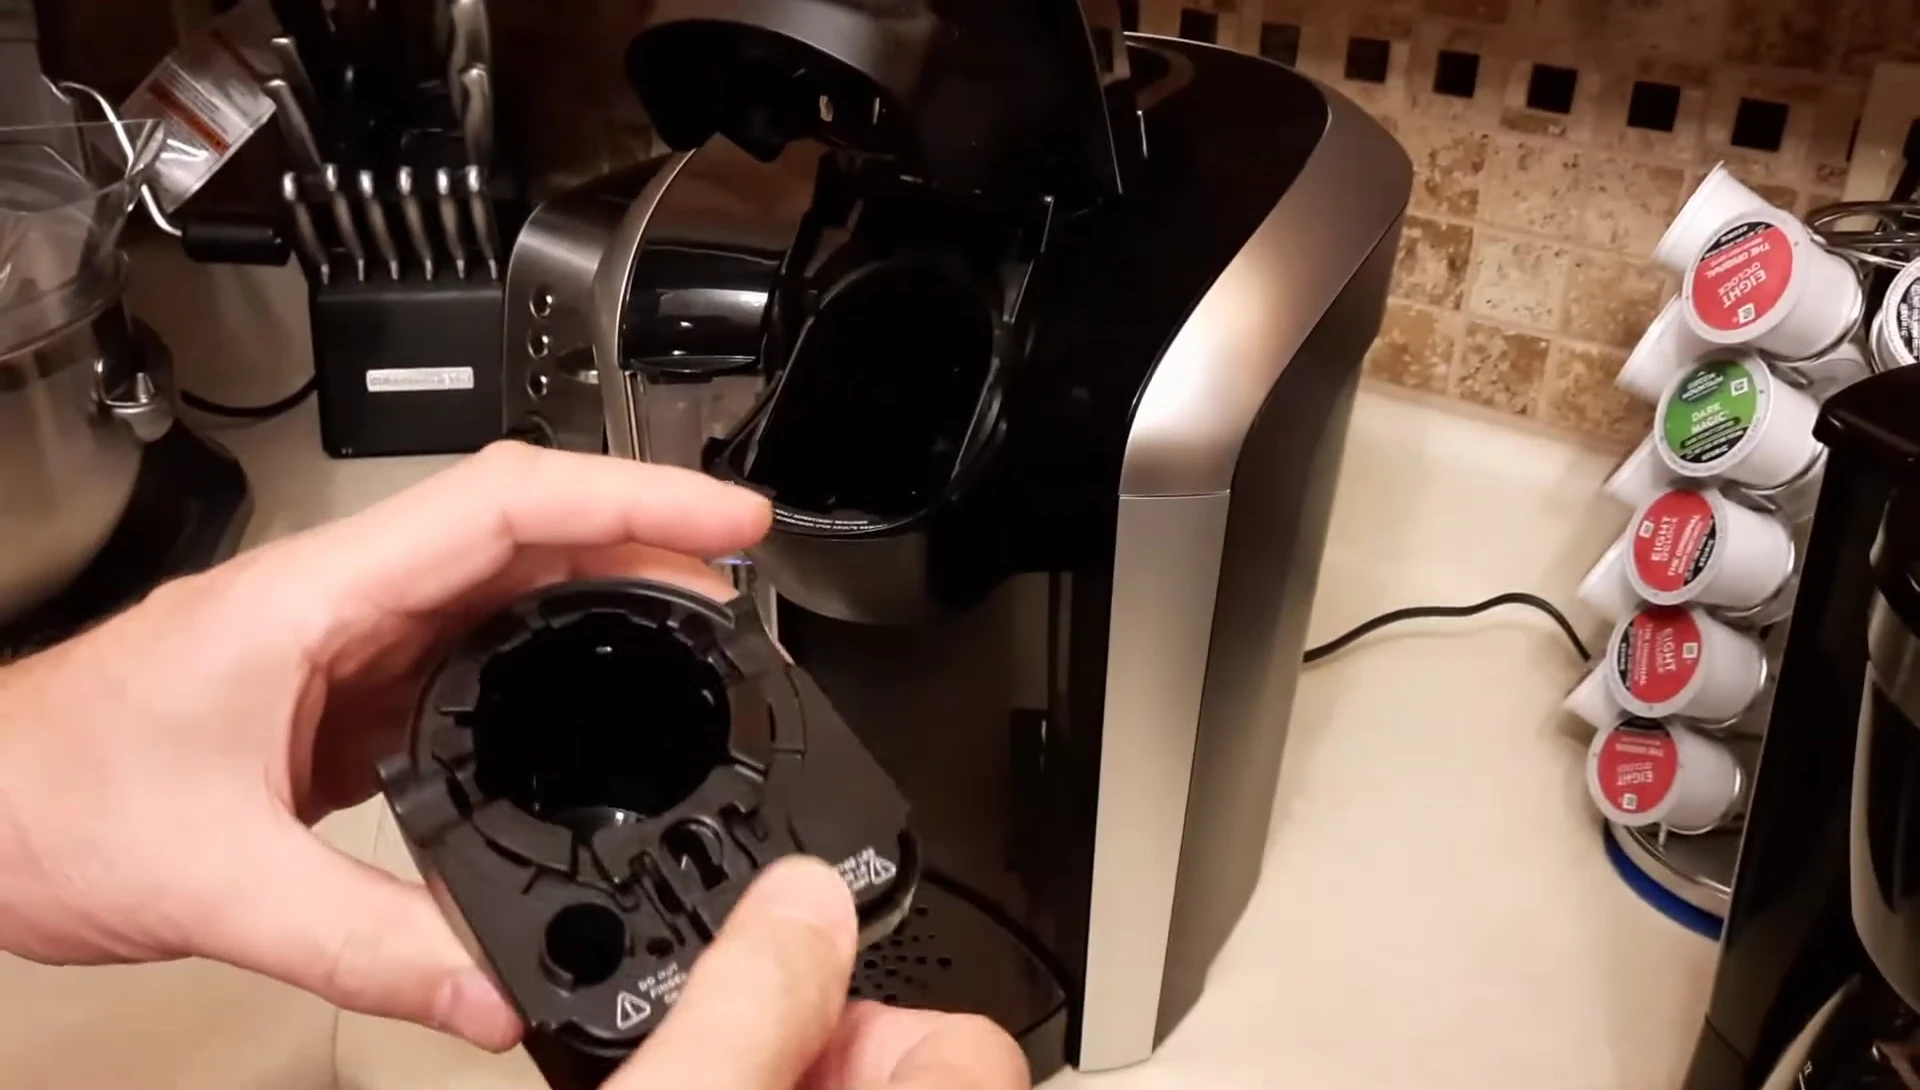
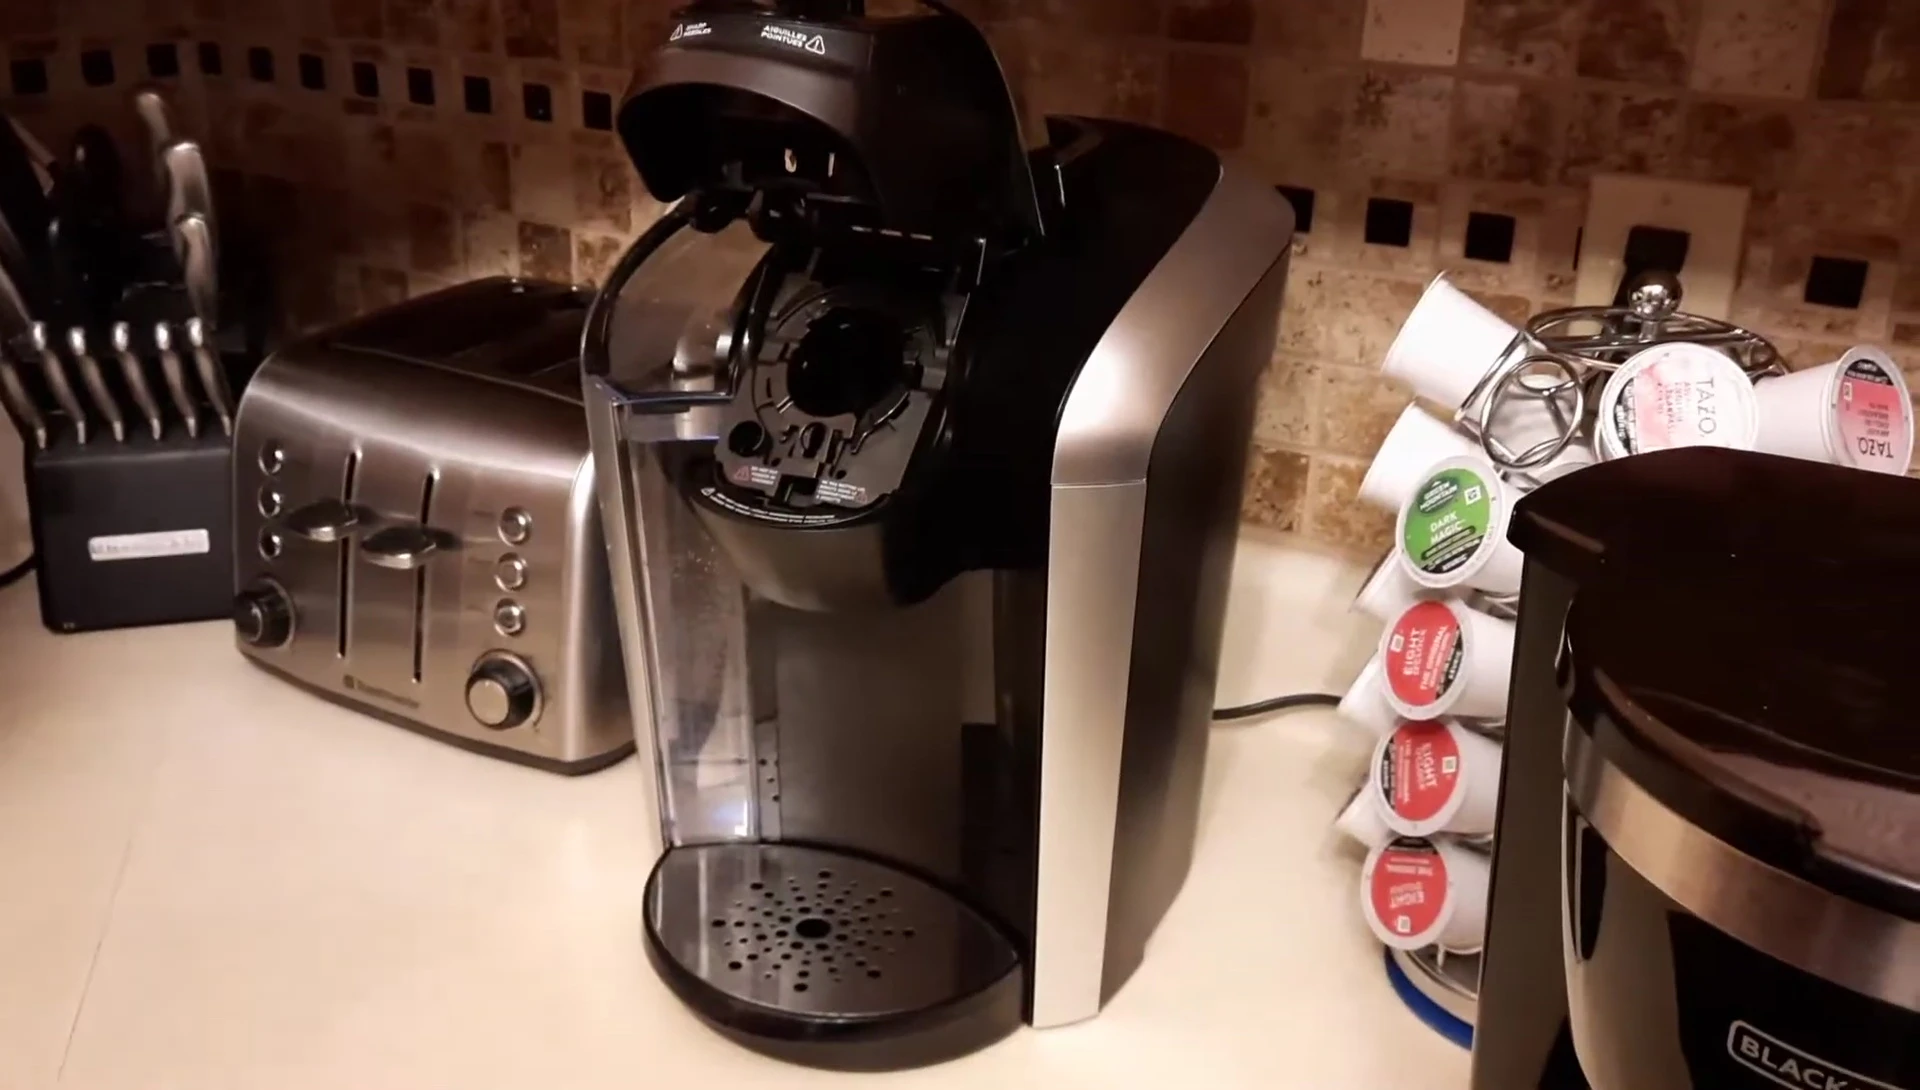
After some investigation, we found the problem. The bottom needle, responsible for piercing the K-cup, had broken off from the main body of the machine.
This was a simple mechanical failure, a relatively common issue according to online searches. Thankfully, it was a straightforward repair.
The solution was clear: we needed to order a replacement part.
Ordering and Receiving the Replacement Part
Finding the correct replacement part required knowing the exact model number of our Keurig 2.0, which was located on the bottom of the machine. In our case, it was a K400.
We opted for Amazon Prime for a quick and reliable delivery. Ensuring the correct model number is crucial to receiving the right part.
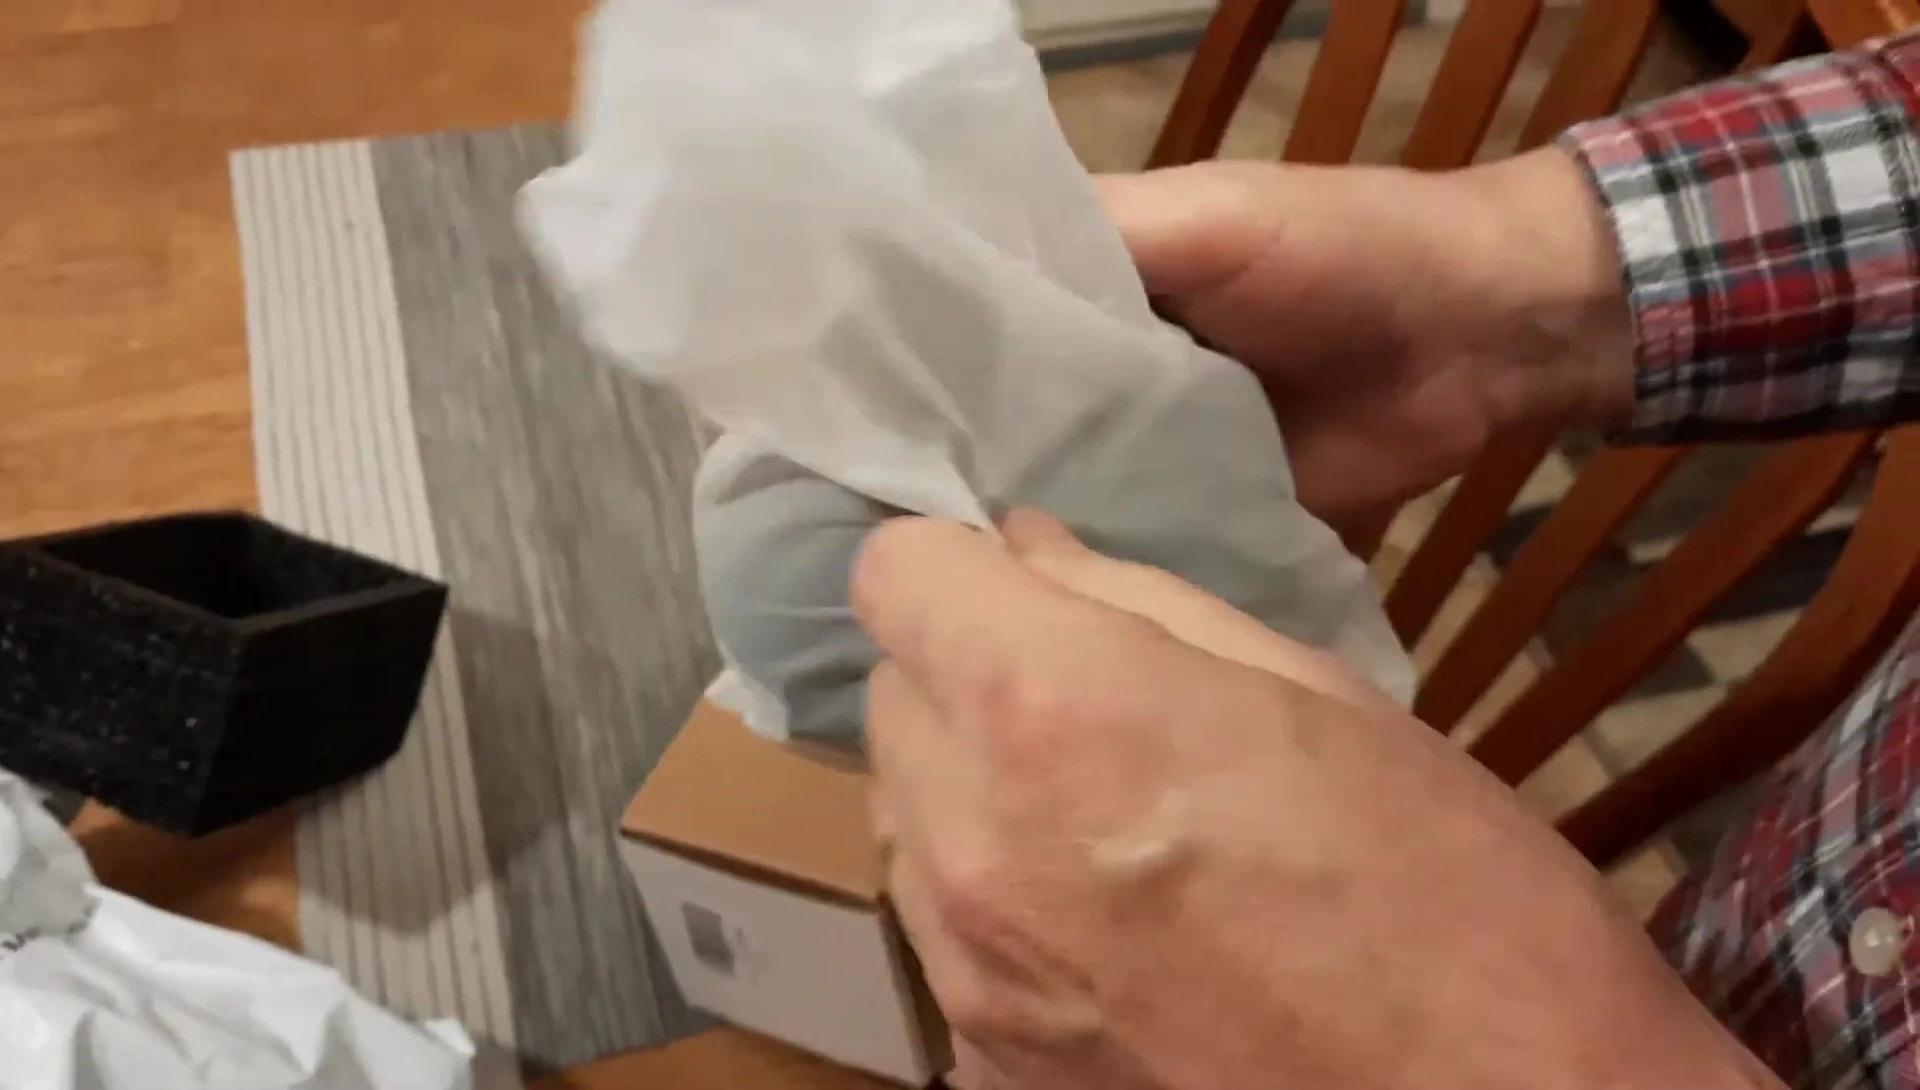
The part arrived within two days. It shipped from Boomba in Lexington, Kentucky, and was well-packaged.
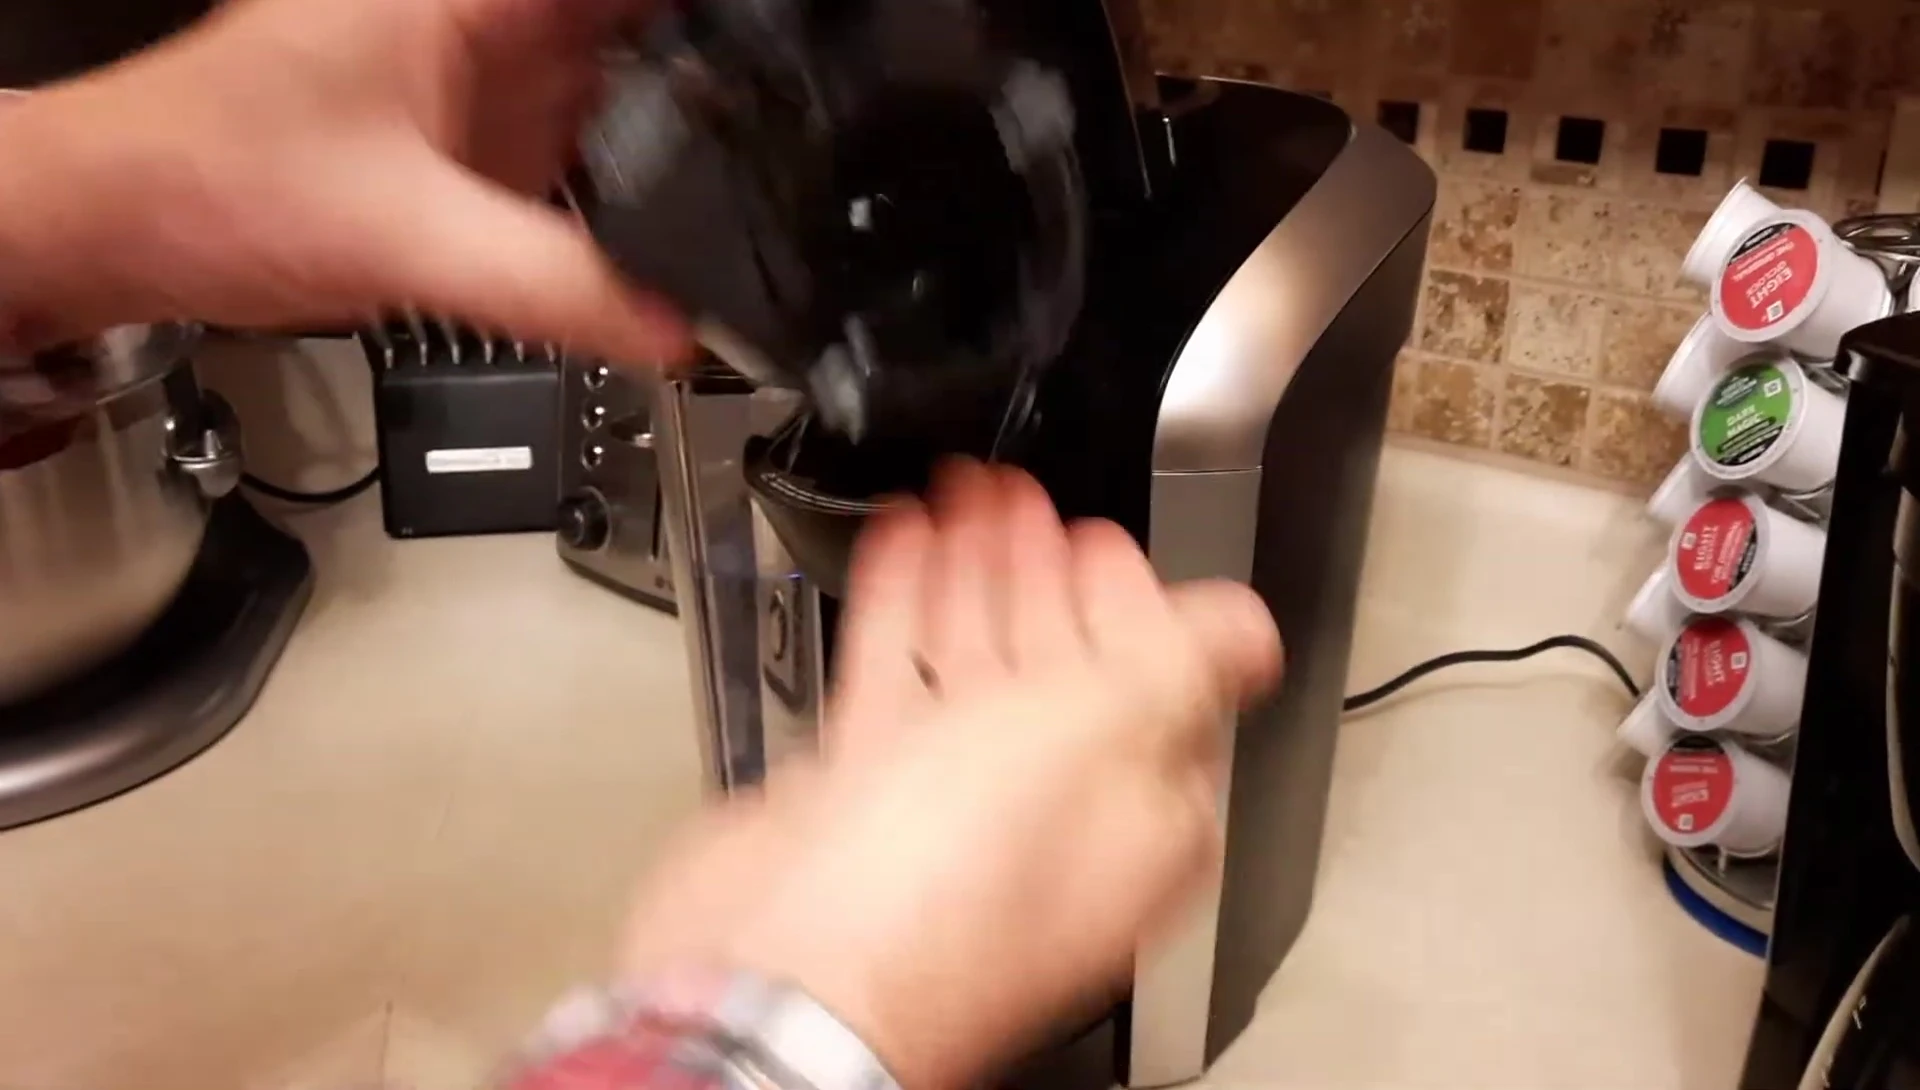
Replacement Process: Installing the New Part
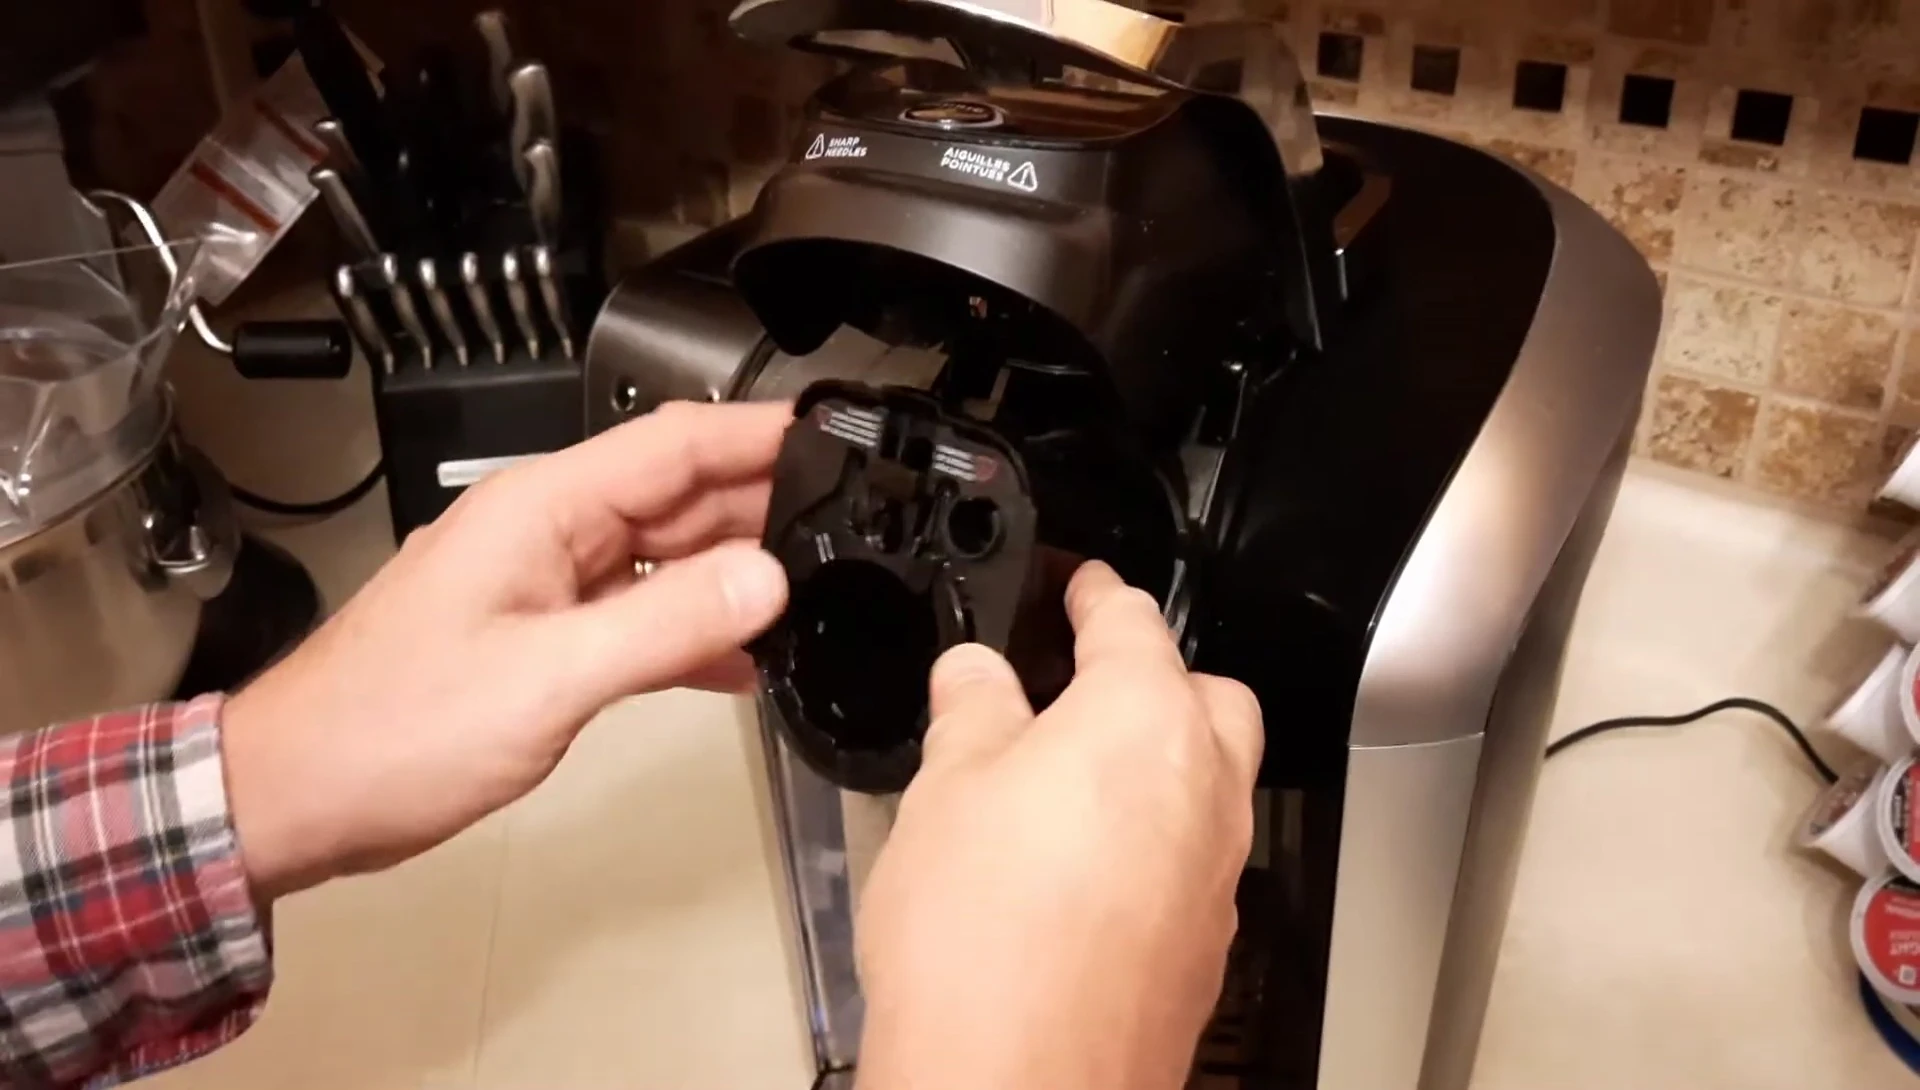
The replacement process was straightforward. We carefully compared the new part to the old one to ensure it was an exact match.
After confirming compatibility, we installed the replacement needle. It requires some precision to fit properly and might need adjustments.
We rinsed off the new part before installation. While not strictly necessary, it's a good precaution.
Testing and Conclusion
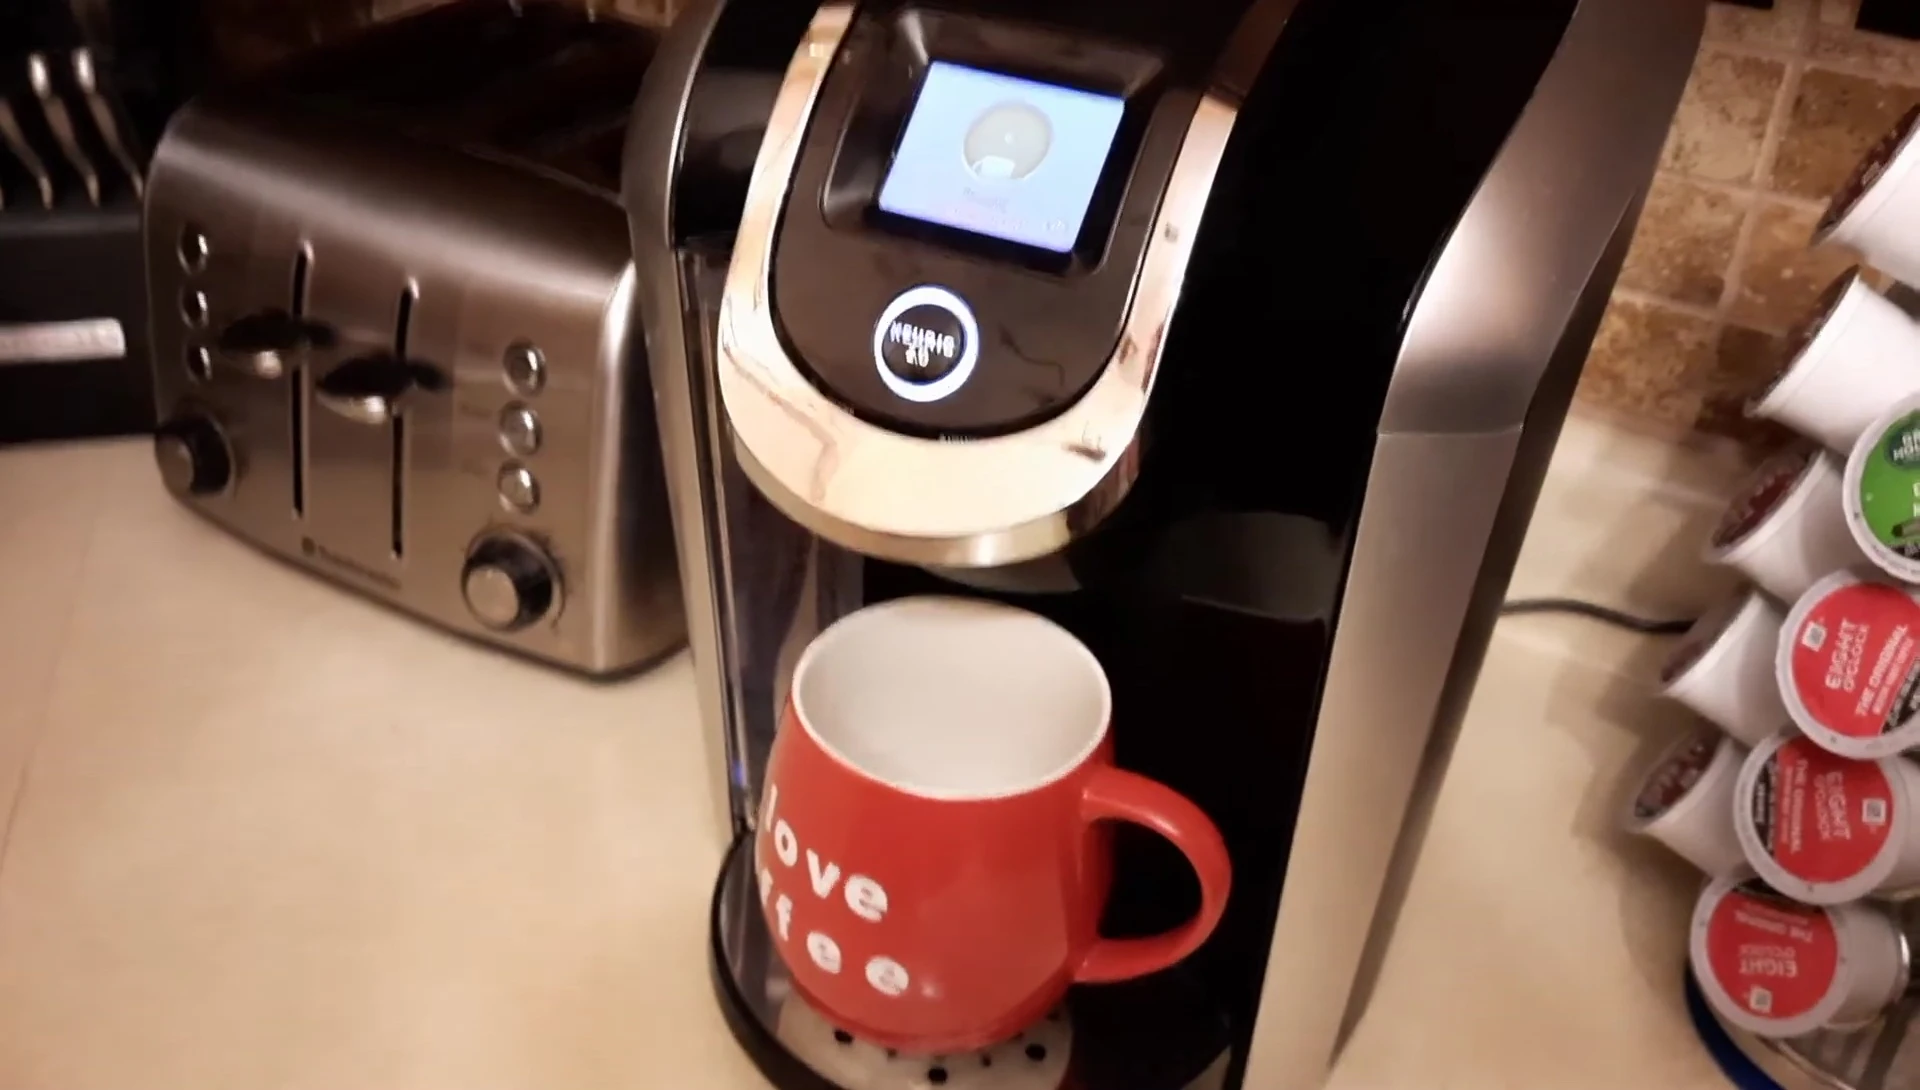
After the installation, we eagerly tested the repaired Keurig 2.0. We followed the standard brewing instructions.
The machine worked perfectly! The replacement part fixed the issue and returned the coffee maker to full functionality.
Overall, the repair was easy and relatively inexpensive. With this fix, our Keurig 2.0 should last for several more years.