Are store-bought vacuum containers breaking the bank? Tired of flimsy containers failing under pressure? This DIY project offers a budget-friendly solution, transforming readily available materials into a reliable FoodSaver-compatible vacuum container. Forget the hefty price tags of commercial options—this guide provides a step-by-step process to create your own, saving you significant money without compromising on performance. Using common household tools and a repurposed coffee bag, you'll learn how to construct a durable and effective container for preserving your food.This tutorial simplifies the process, providing clear instructions and addressing potential challenges. From selecting the right container and tools to mastering the crucial glue application and heat-forming techniques, we’ll cover every stage. We'll even show you how to repurpose the valve mechanism from a used coffee bag for a perfectly airtight seal. Get ready to enjoy the convenience of vacuum-sealed food storage at a fraction of the cost!
Pros And Cons
- Cost-effective alternative to store-bought vacuum-sealed containers (estimated cost: $2)
- Creates a good vacuum seal when used with a FoodSaver.
- Maintains a seal for at least three days.
- Container may be weak under full vacuum and could squish.
- Requires a specific type of super glue suitable for plastic.
- The process involves using a lighter and drill, increasing the risk of damaging the container or surrounding areas.
- May require additional glue application for a perfect seal.
Read more: Cambro Food Transport Containers: A Caterer's Review of Two Models
The Problem with Pre-made Vacuum Containers
Store-bought vacuum containers can be expensive, often costing $50-$60 or more. This high cost makes them inaccessible to many consumers who desire convenient food storage.
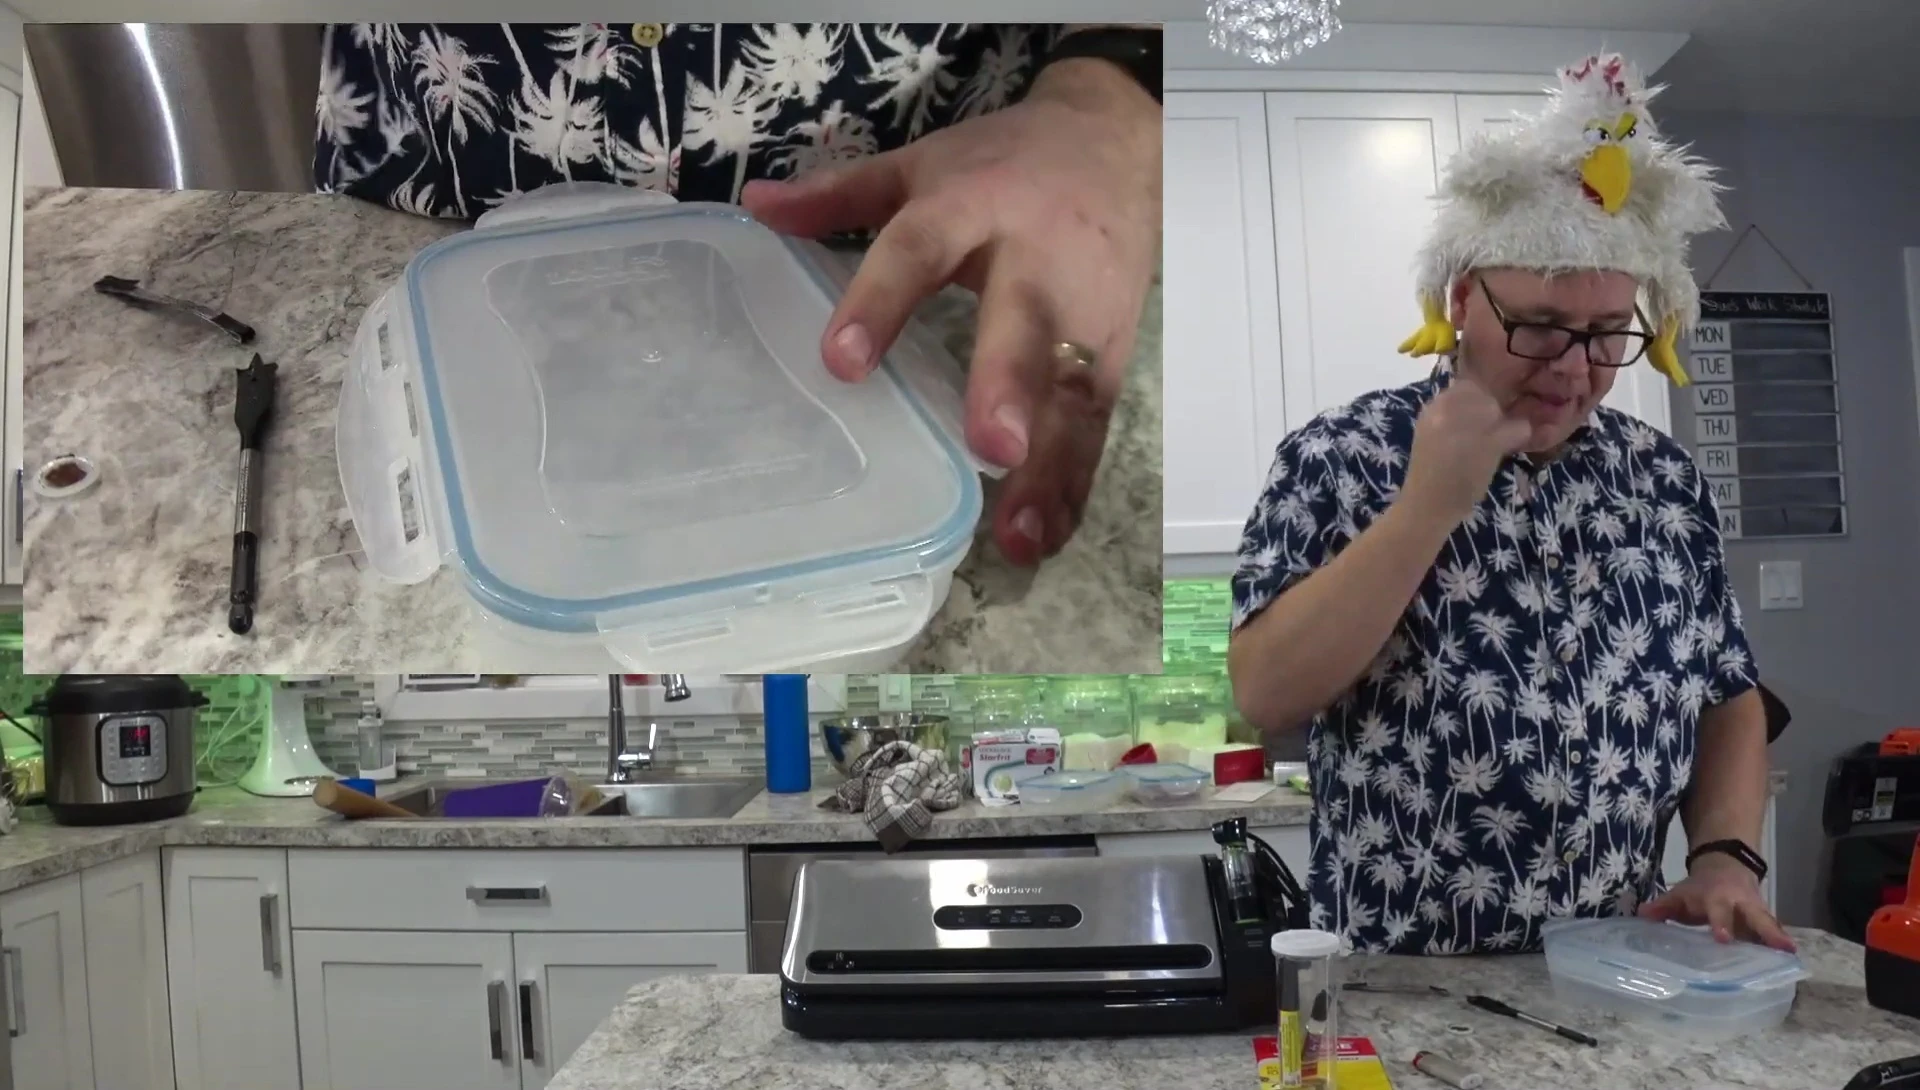
Even seemingly sturdy containers can be surprisingly flimsy under vacuum pressure, potentially leading to leaks or damage. I experienced this firsthand with a previous container, which developed a significant indent under vacuum.
This project aims to provide an affordable and effective alternative using readily available materials, saving significant money compared to purchasing commercial options.
Materials and Tools Needed
To make this DIY vacuum container, you will need a few essential components. The project begins with an empty, suitable container.
In addition to the container, you'll require a drill (corded or cordless), a 5/8" drill bit (or slightly larger), and a lighter for heat-forming.
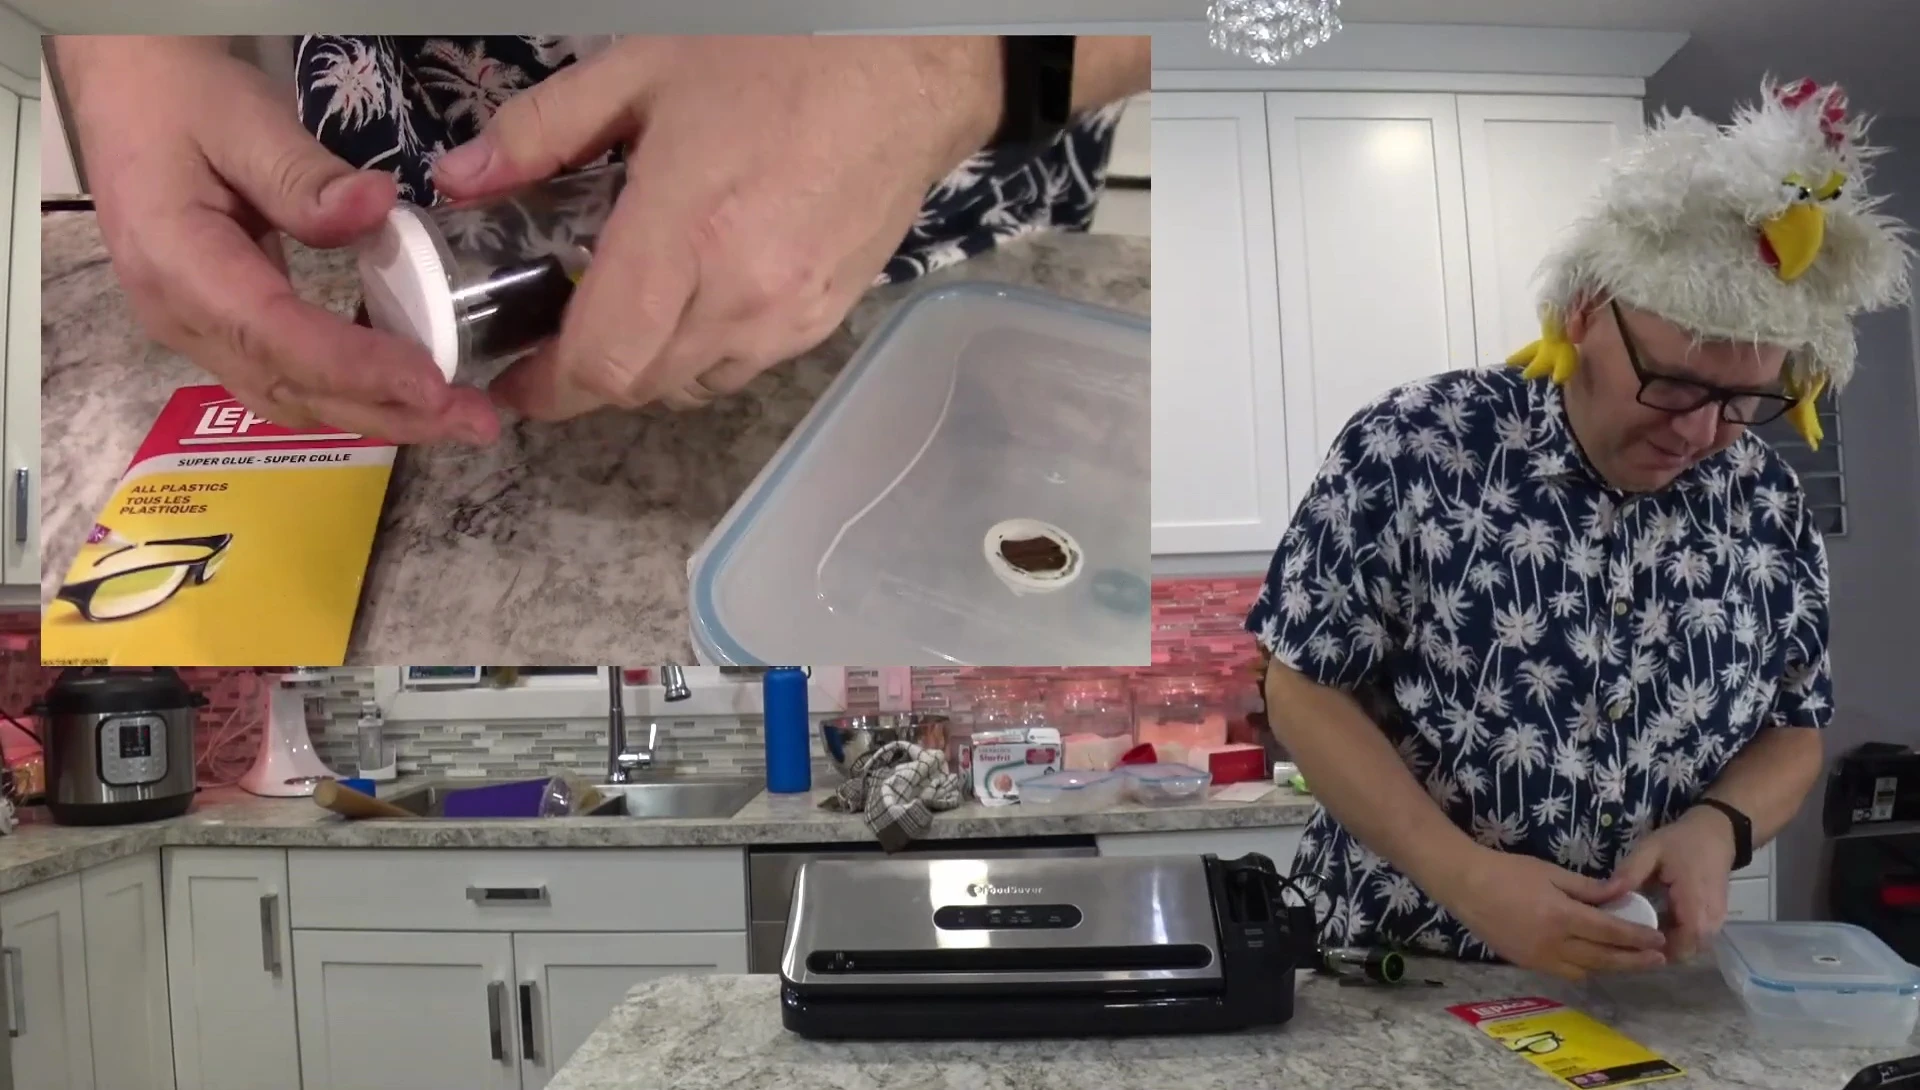
The glue required is crucial: you must use a super glue specifically formulated for plastics. Standard super glue may not adhere sufficiently and silicone-based glues are unsuitable.
Finally, the project needs a used coffee bag (for the valve mechanism). The type of bag is less important than its tiny vacuum seal insert.
Extracting the Vacuum Seal Valve
Carefully remove the vacuum seal valve from the used coffee bag. Empty the coffee grounds beforehand for easier access to the small plastic piece.
The video demonstrates different variations of the coffee bag valves. The shape and color can vary depending on the brand, but the functionality remains the same.
The removal process is simple but requires gentle extraction of the valve piece from the bag itself. Sometimes, this may require a bit of patience and effort
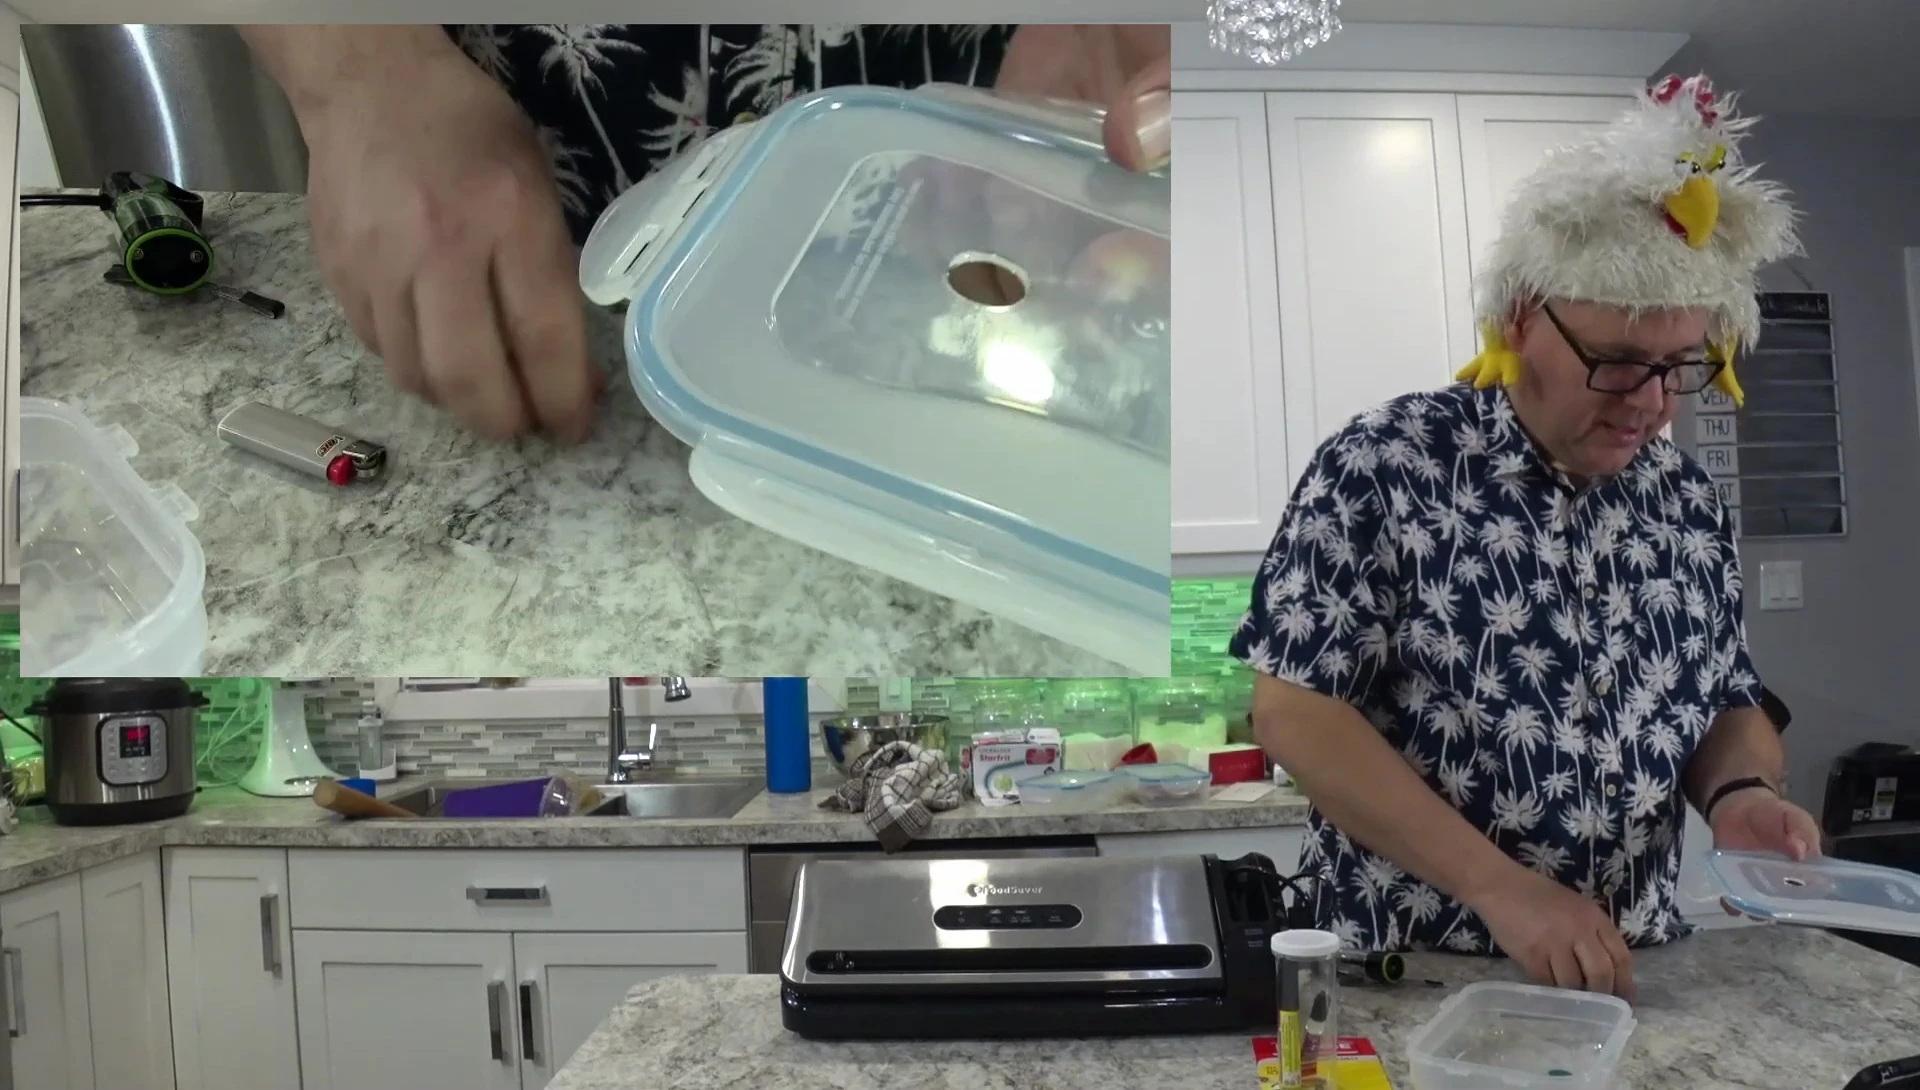
Drilling the Container
Select a smooth, unobstructed area on the container's lid for drilling. The video suggests an area away from any markings or imprinted designs.
Drill slowly and carefully to avoid cracking the container, emphasizing the need for a controlled, steady pace. Using too much pressure is the biggest risk during this step.
Once a hole is drilled, carefully clean any burrs or rough edges that form around the hole's perimeter, ensuring a smooth finish for the valve assembly.
Heat-forming and Valve Installation
Gently heat the edge of the hole with a lighter. This will soften the plastic, allowing for a better fit of the valve.
Carefully insert the valve into the hole, pressing firmly and evenly. The goal is to create a snug, form-fitting seal without burning the plastic.
This step involves patience and attention to detail. Overheating can easily damage the plastic and hinder the sealing capability.
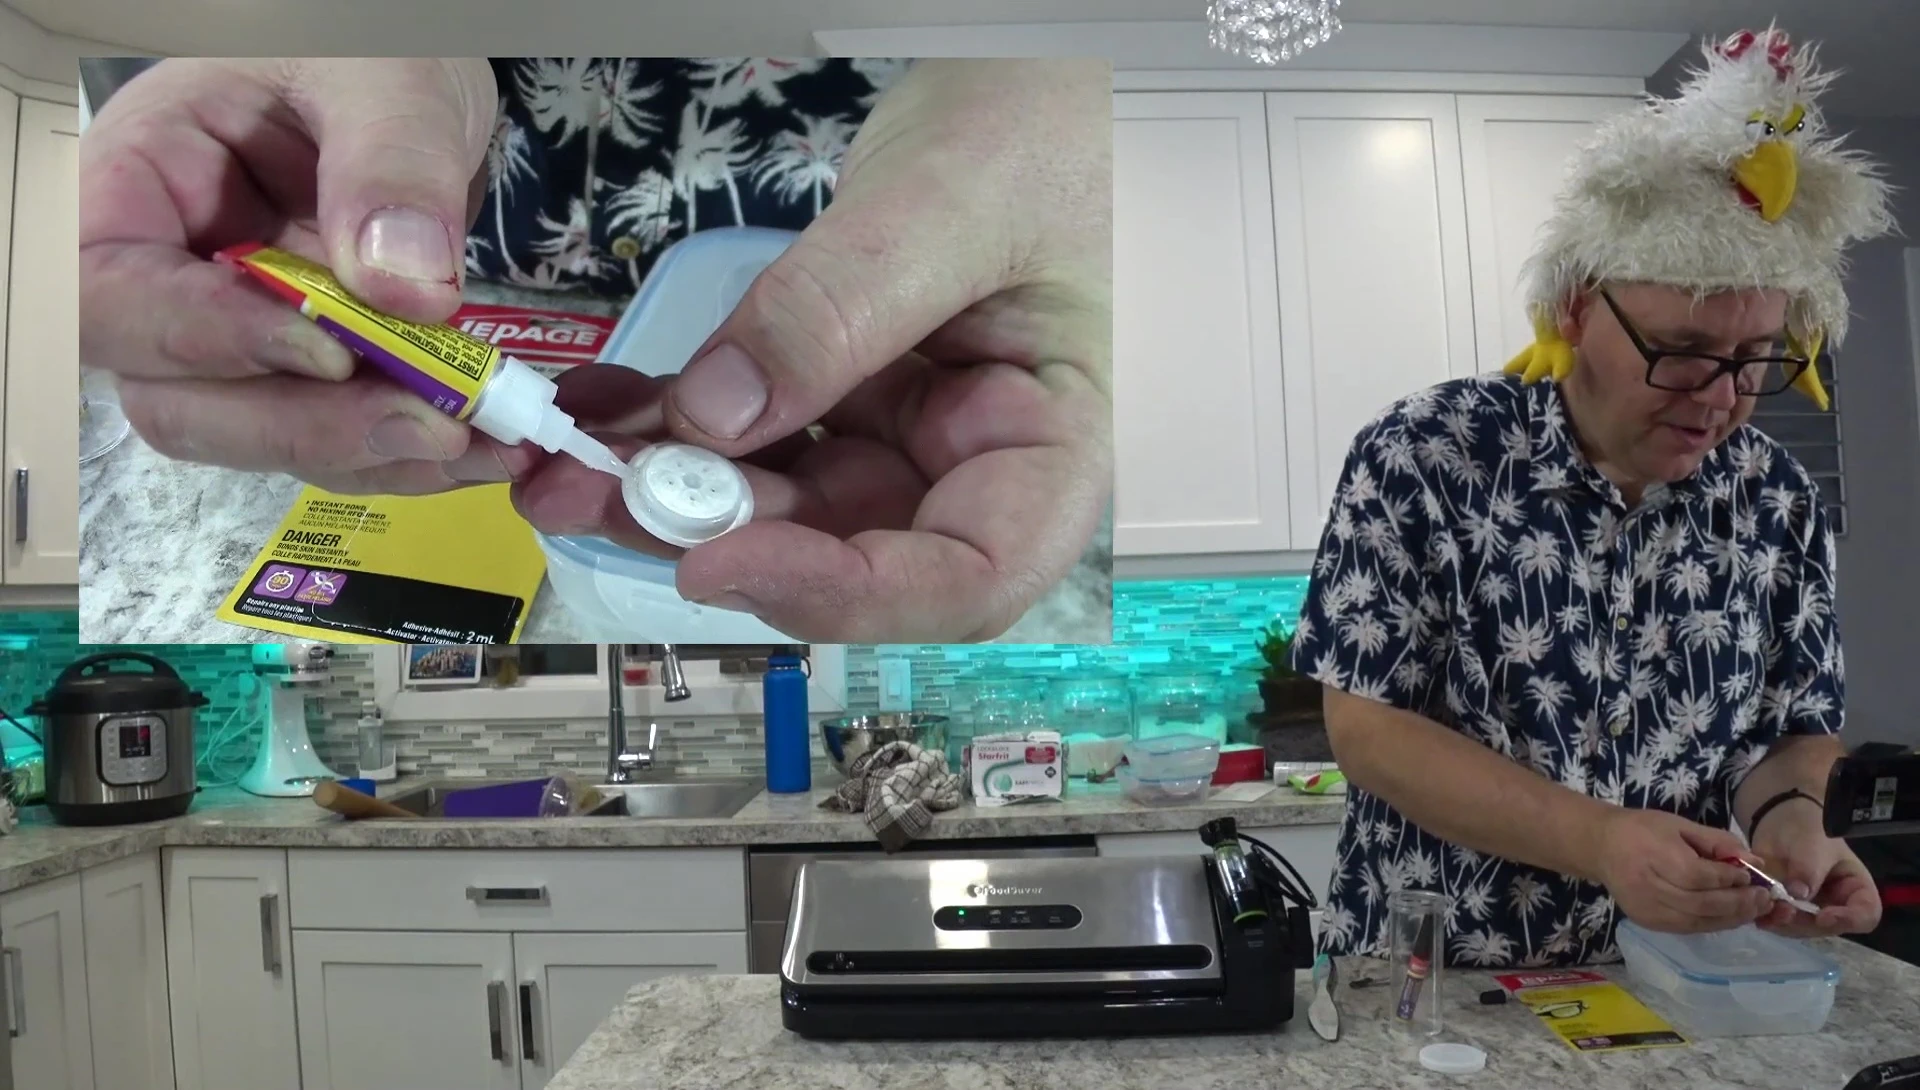
Gluing and Final Assembly
Apply a thin bead of plastic-specific super glue around the edges of the valve, ensuring a watertight seal. The activator pen should be used before applying the glue.
Allow the glue to dry completely before testing the vacuum seal. A drying time of at least 24 hours is recommended for optimal adhesion.
Attach the lid to the container, ensuring the valve is correctly aligned with the FoodSaver’s vacuum sealing nozzle.
Testing the Vacuum Seal
Once the glue is completely dry, test the vacuum seal using your FoodSaver. The video shows how to properly attach the FoodSaver nozzle to the container.
The demonstration includes using water to verify the seal’s integrity. No leakage indicates a successful vacuum seal.
The video demonstrates a successful vacuum seal, showing the container’s ability to maintain a vacuum despite water being poured over it.
Conclusion
This DIY project provides a cost-effective alternative to expensive pre-made vacuum containers. The process is straightforward, using readily available materials and tools.
The success of the project relies on careful drilling, precise heat-forming, and proper glue application. While there are some challenges to overcome, it is highly achievable.
The resulting vacuum-sealed container offers a comparable performance to store-bought options. The key is utilizing a suitable plastic super glue and taking your time during the construction process.