Transform your kitchen with this charming DIY vintage bread box! Inspired by expensive store-bought options, this project demonstrates how to create a stylish and functional bread box for under $3.50 using only Dollar Store finds. We'll show you how to upcycle readily available materials to achieve a beautiful, antique-inspired piece that perfectly complements any farmhouse or vintage-style kitchen. Forget about costly purchases; this project is a testament to the power of creativity and resourcefulness.This tutorial provides a step-by-step guide, from selecting the right Dollar Store boxes and trays to painting, distressing, and adding a custom handle. Learn the simple techniques involved in transforming ordinary items into an extraordinary kitchen accessory. With just a few tools and a little patience, you can create this stunning bread box, adding a touch of rustic charm and practicality to your home. Prepare to be amazed by how much you can accomplish with minimal cost and maximum creativity!
Read more: 5 Best Bamboo Bread Boxes: Top Picks for Fresh Bread
Project Inspiration and Budget
I was inspired to create a vintage bread box for my kitchen, but store-bought options were too expensive. I decided to tackle a DIY project using affordable materials.
My goal was to recreate the look of a vintage bread box without breaking the bank. I set a budget of under $3.50, utilizing mostly Dollar Store items.
The final cost came in at approximately $3.30, proving that a stylish, functional bread box can be created on a very tight budget.
Gathering Supplies from the Dollar Store and Beyond
I searched the Dollar Store for suitable boxes, ultimately choosing locker boxes as the closest match to my vision. While not perfectly shaped, they provided a good starting point.
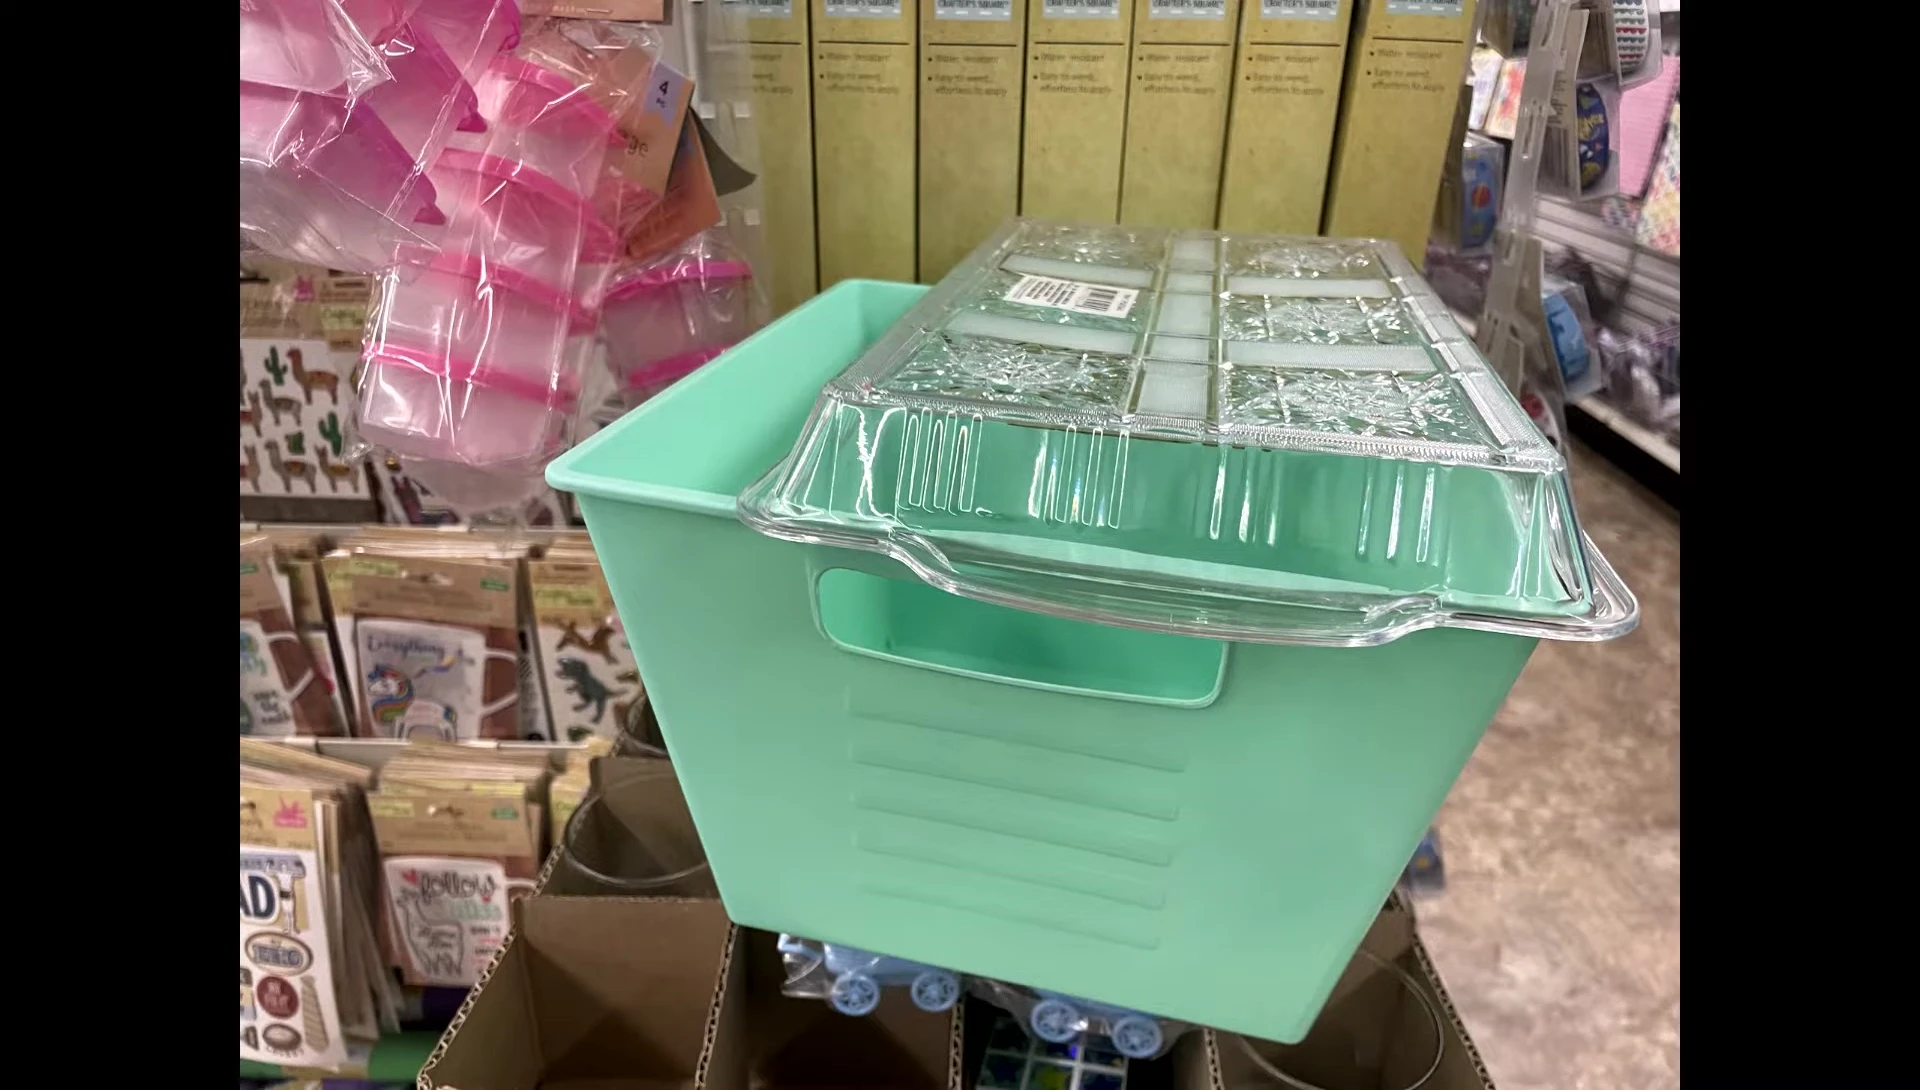
Finding the right tray proved challenging. I experimented with several options before settling on a shallow tray with a built-in handle, adding both functionality and aesthetic appeal.
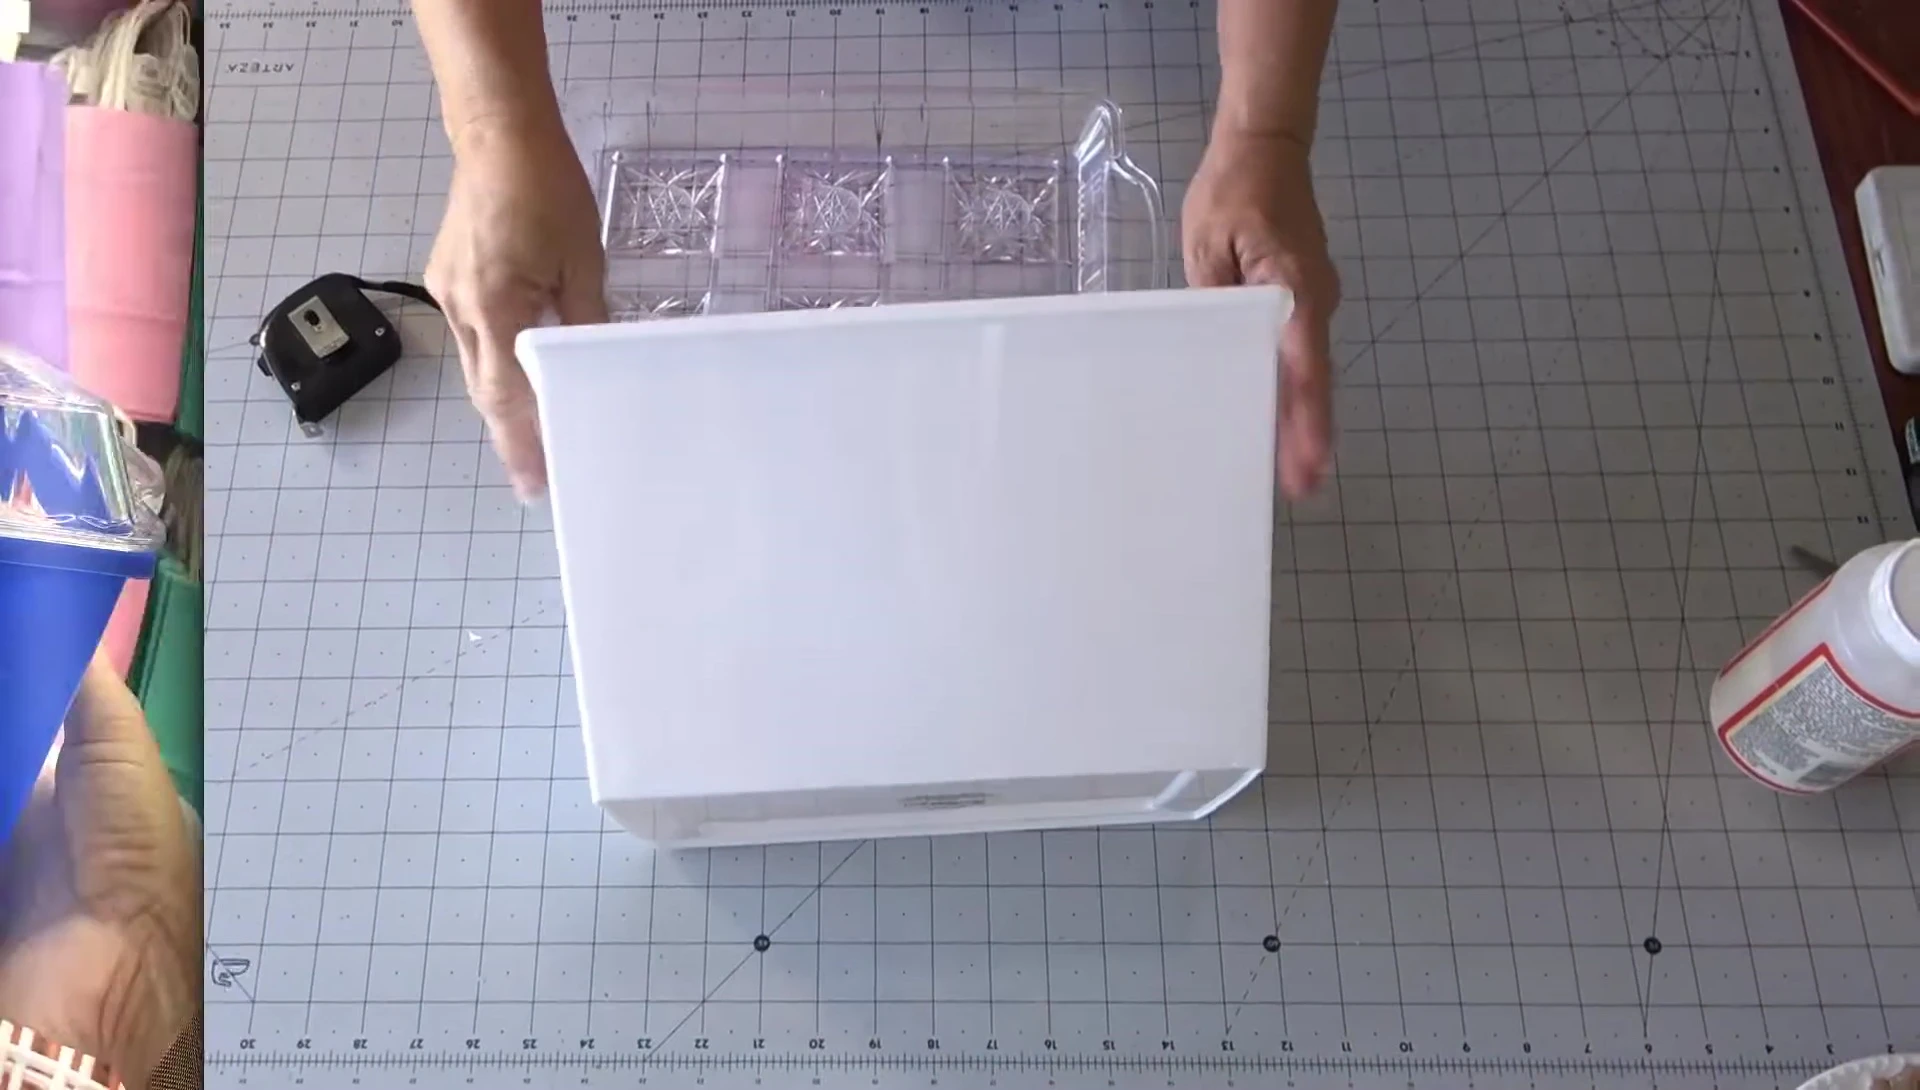
In addition to the Dollar Store finds, I needed a small hardware item - a PVC pipe holder - for a finishing touch. The final piece to the puzzle was the use of a simple white box from the Dollar Store as a base.
Constructing the Bread Box
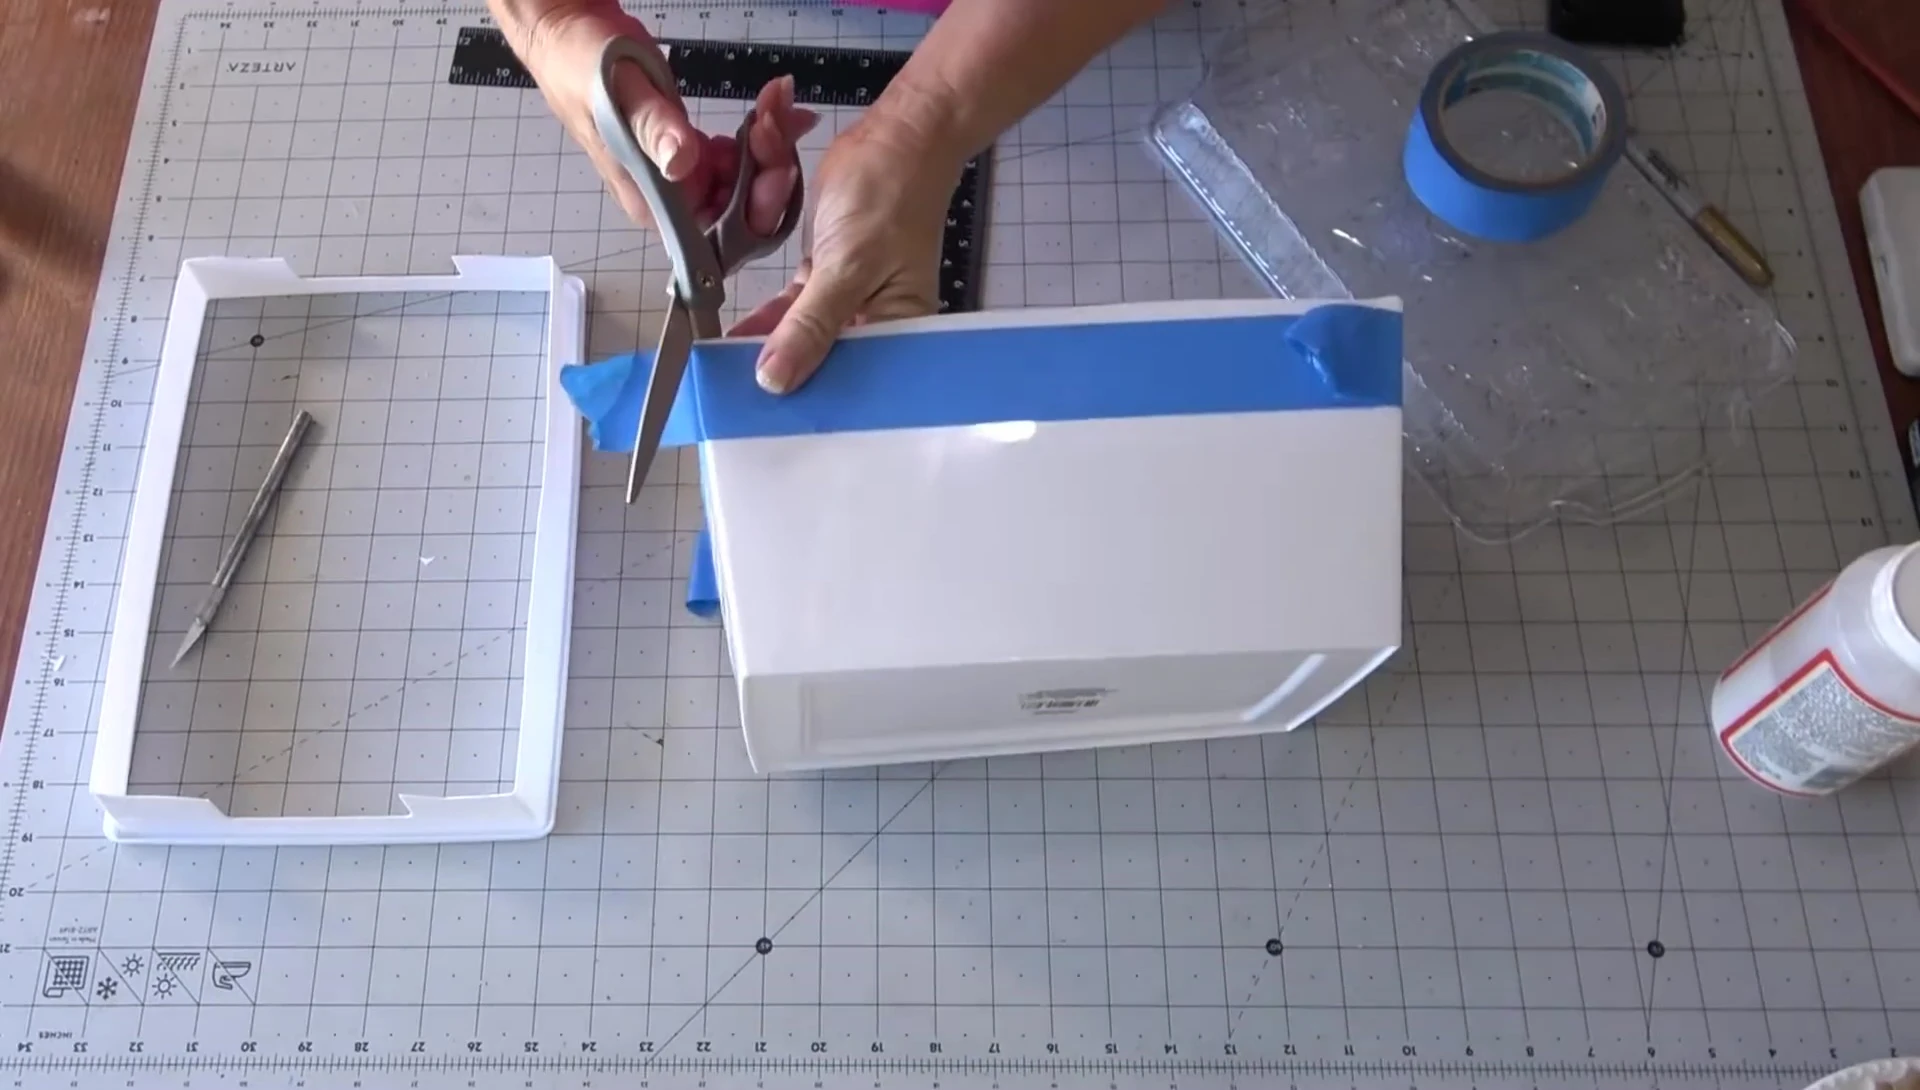
The locker box needed modification to achieve the desired rectangular shape and graduated curve. I carefully measured and marked the areas for cutting, ensuring a consistent line.
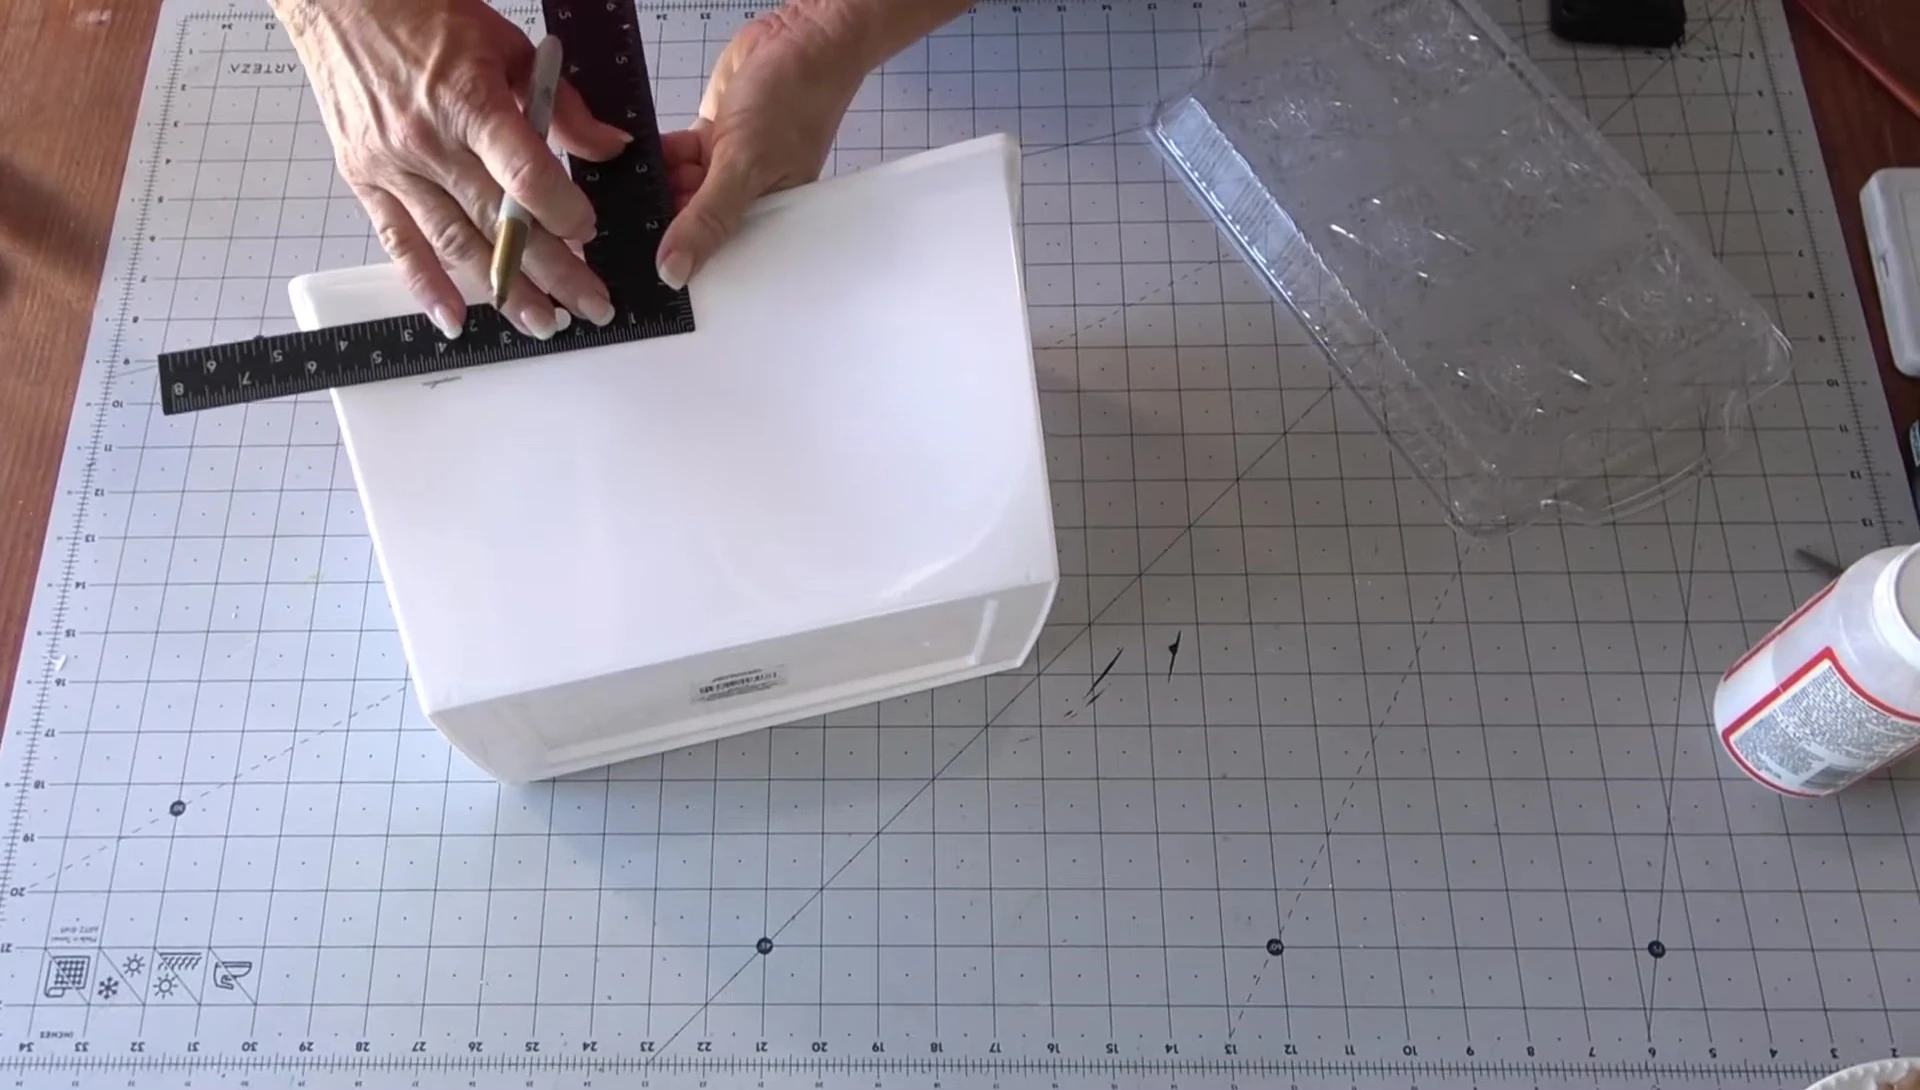
Using painter's tape to create clean cutting lines, I carefully cut the excess plastic from the box using a utility knife, maintaining precision to fit the top tray perfectly.
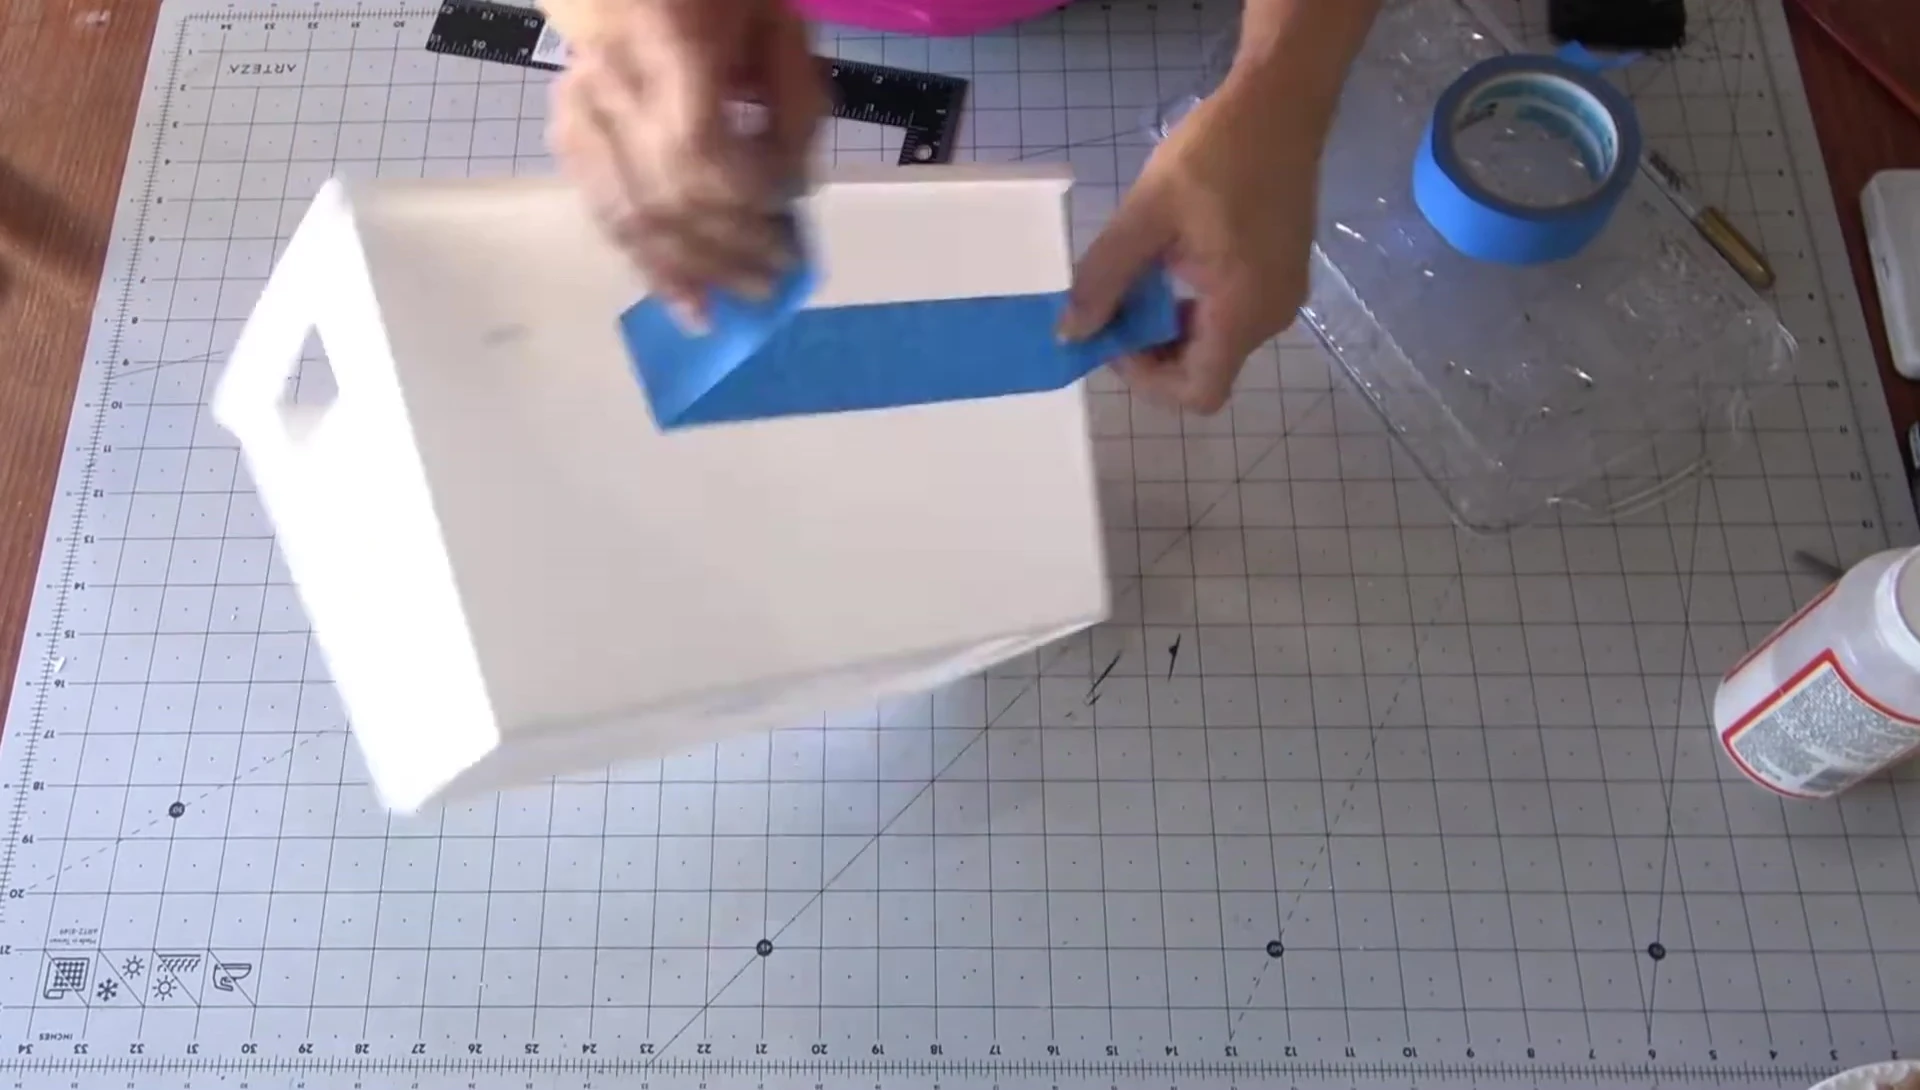
The final step involved using scissors to clean up the cut edges, ensuring a smooth, straight finish. This attention to detail ensured the tray would sit perfectly on top.
Finishing Touches and Decoration
The project involved spray painting both the box and tray in a satin black finish, along with priming with a plastic-safe primer for even coverage and adhesion.
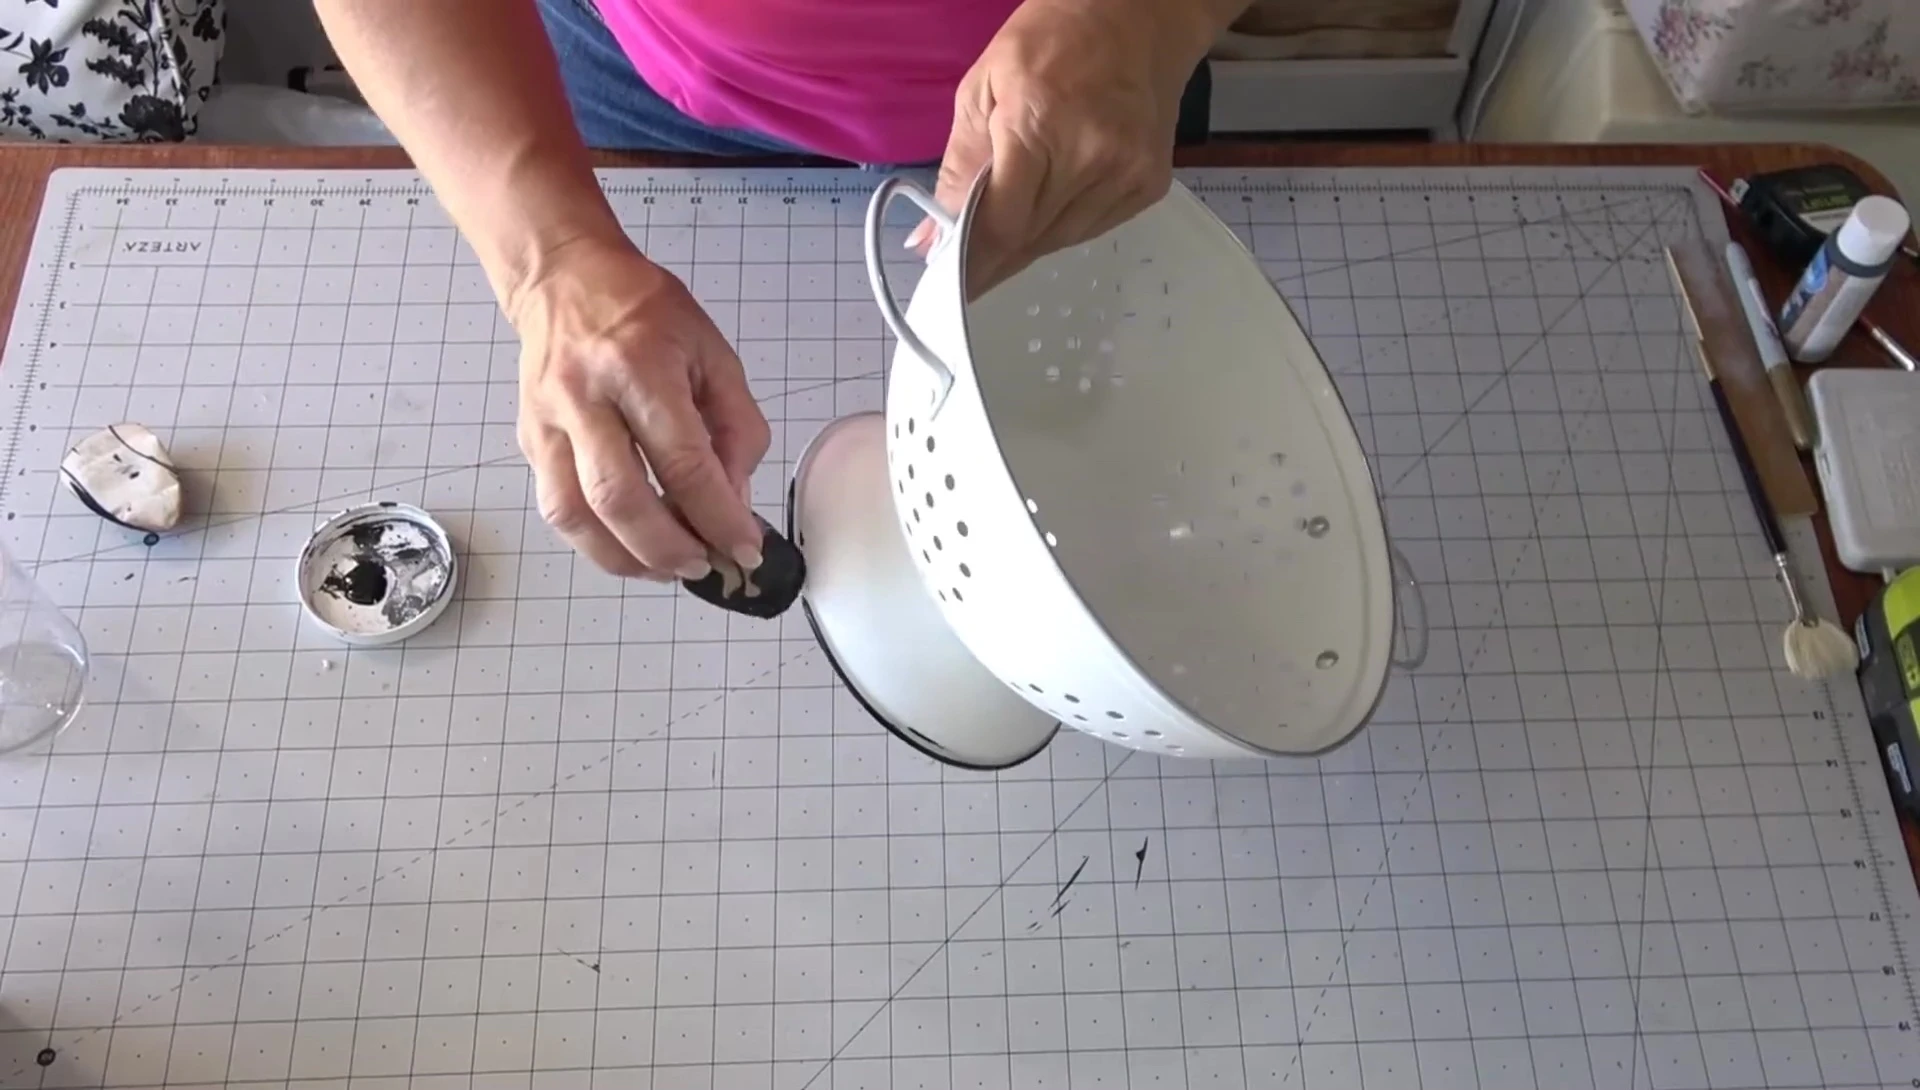
To add a handle, I used a small PVC pipe holder, carefully filing down any rough edges. The handle was attached using a combination of E6000 and hot glue for a secure bond.
Optional distressing was achieved using black chalk paint, adding a vintage feel. The addition of a vintage-style vellum label completed the project, enhancing the antique appearance.
Conclusion and Final Thoughts
This DIY vintage bread box project demonstrates that creating stylish home decor doesn't require expensive materials. The overall cost, under $3.50, is incredibly budget-friendly.
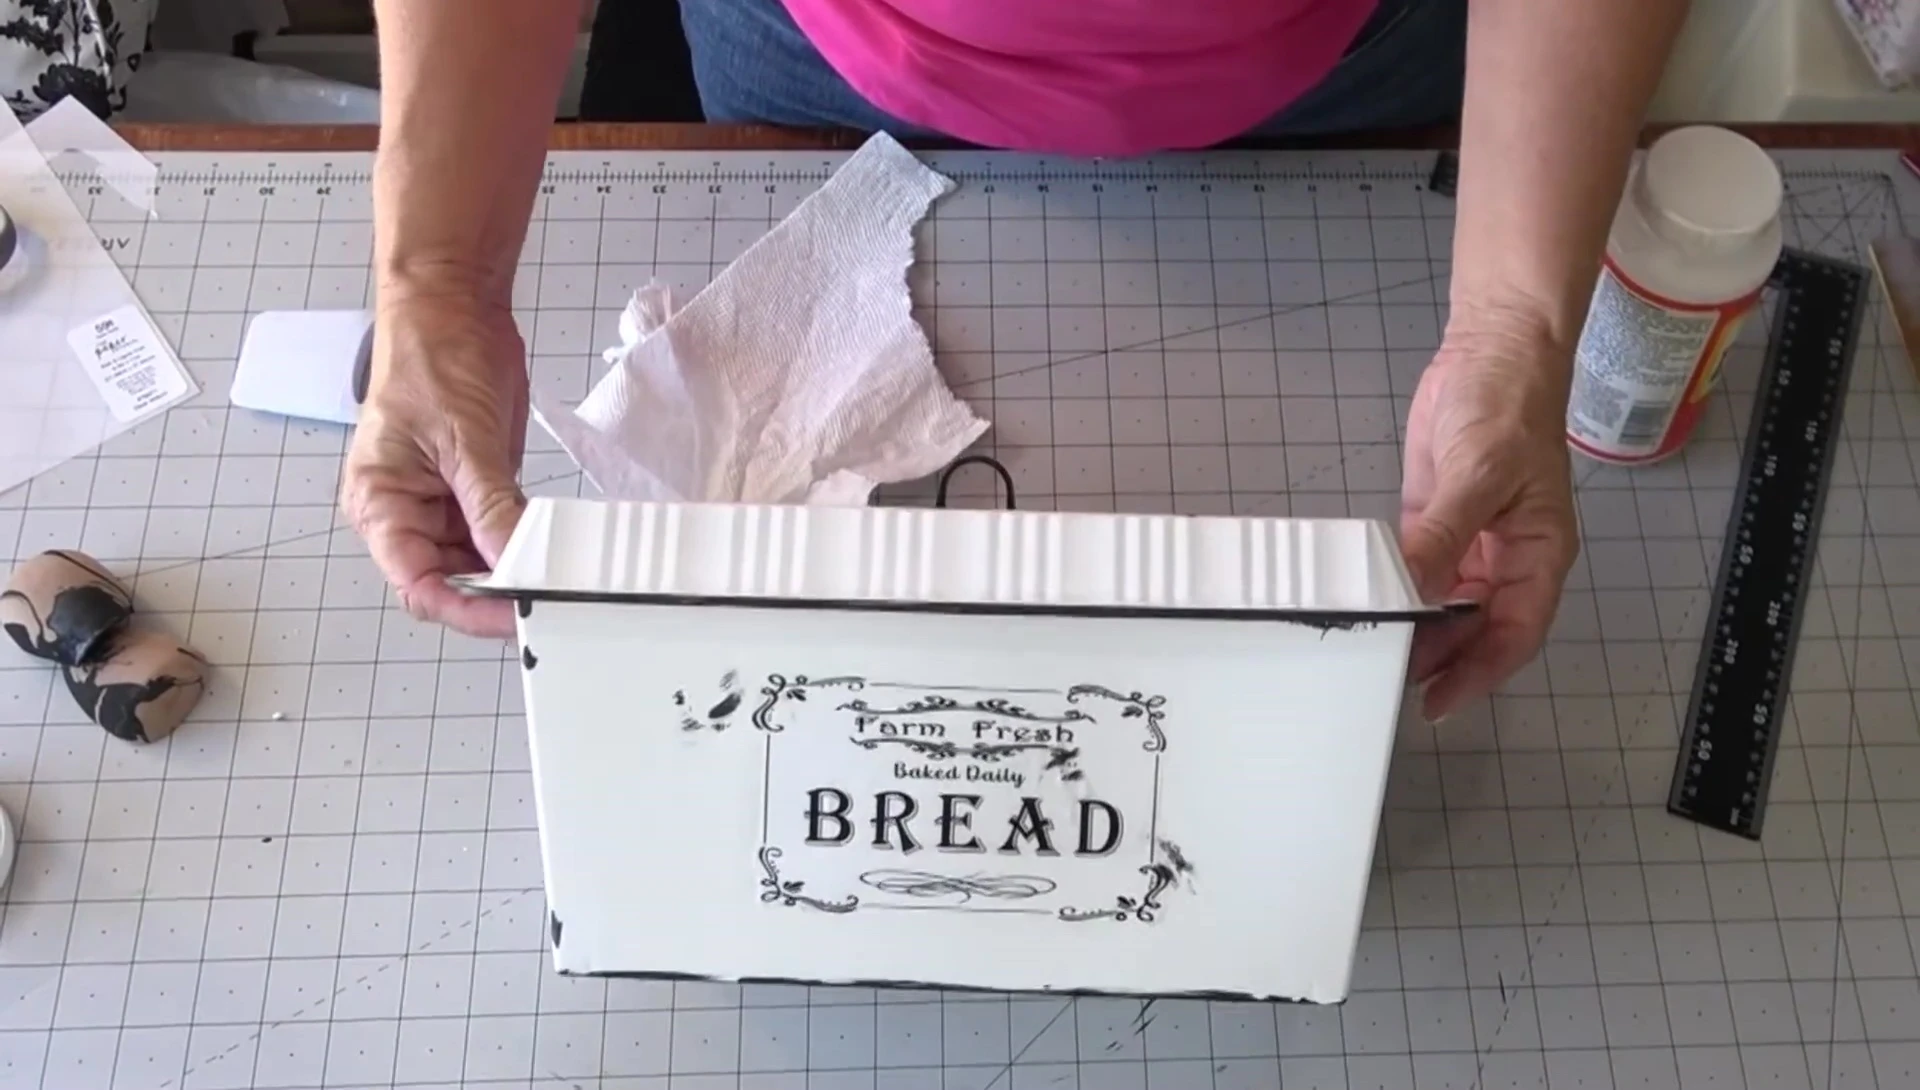
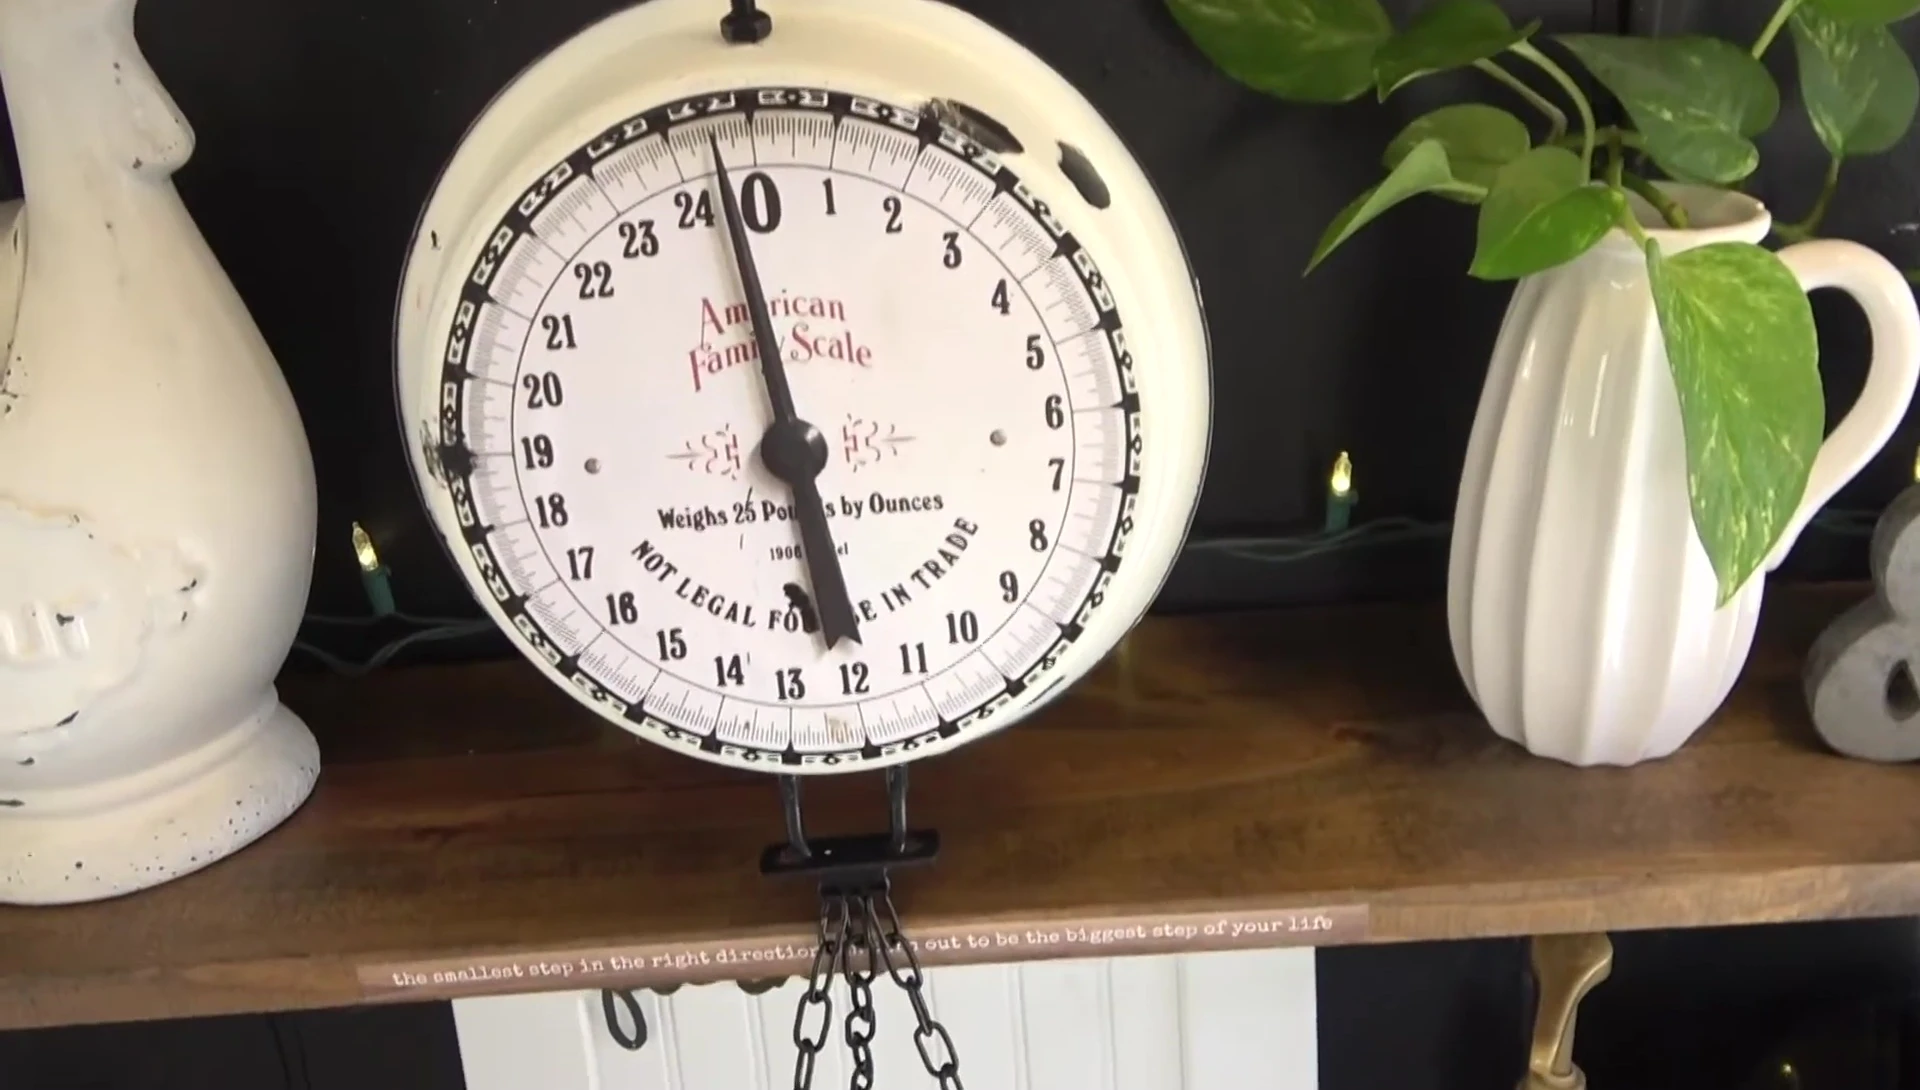
The final product boasts a beautiful vintage aesthetic, matching well with other DIY projects like the vintage scale and canisters from previous videos. It's both functional and visually appealing.
The project's success is a testament to the potential of upcycling and repurposing everyday items. It's a satisfying project with a charming and practical outcome, making it a great addition to any kitchen.