Are you tired of bulky, unsightly Keurig pod holders cluttering your kitchen counter? This DIY project offers a stylish and space-saving alternative, transforming a scrap piece of wood into a discreet and functional coffee pod storage solution. Perfect for smaller kitchens or those seeking a more streamlined aesthetic, this under-cabinet holder cleverly maximizes vertical space while keeping your pods readily accessible. This project demonstrates how repurposing materials can lead to both functional and beautiful results. We'll guide you through each step, from initial measurements and cuts to the final sanding and mounting.With clear instructions and precise measurements, even beginner woodworkers can easily replicate this project. We'll explore different methods for creating the pod compartments, highlighting the adaptability of woodworking techniques. Get ready to say goodbye to countertop chaos and hello to a sleek, custom-built Keurig pod holder that perfectly complements your kitchen design. This simple project offers a satisfying sense of accomplishment and a practical solution to a common kitchen storage problem.
Pros And Cons
- Space-saving design mounts on the top of a cupboard.
- Holds 12 coffee pods.
- Requires specific tools (table saw, router, slot router bit) for optimal construction. Alternative tools like hand tools or a dado blade can be used, but may require more effort.
Read more: Stylish Wall-Mounted Coffee Pod Holders: 5 Space-Saving Designs
The Problem: Bulky Keurig Pod Holders
Many Keurig coffee pod holders on the market are unnecessarily large and bulky. They consume valuable counter space and don't integrate well with kitchen aesthetics.
Finding a compact and stylish solution for storing coffee pods can be challenging, especially for those with limited kitchen space.
This project aims to address this issue by creating a space-saving holder that mounts discreetly on the top of a cupboard.
Materials and Preparation
This project utilizes a scrap piece of pine wood, left over from a previous project. This highlights the potential for repurposing materials.
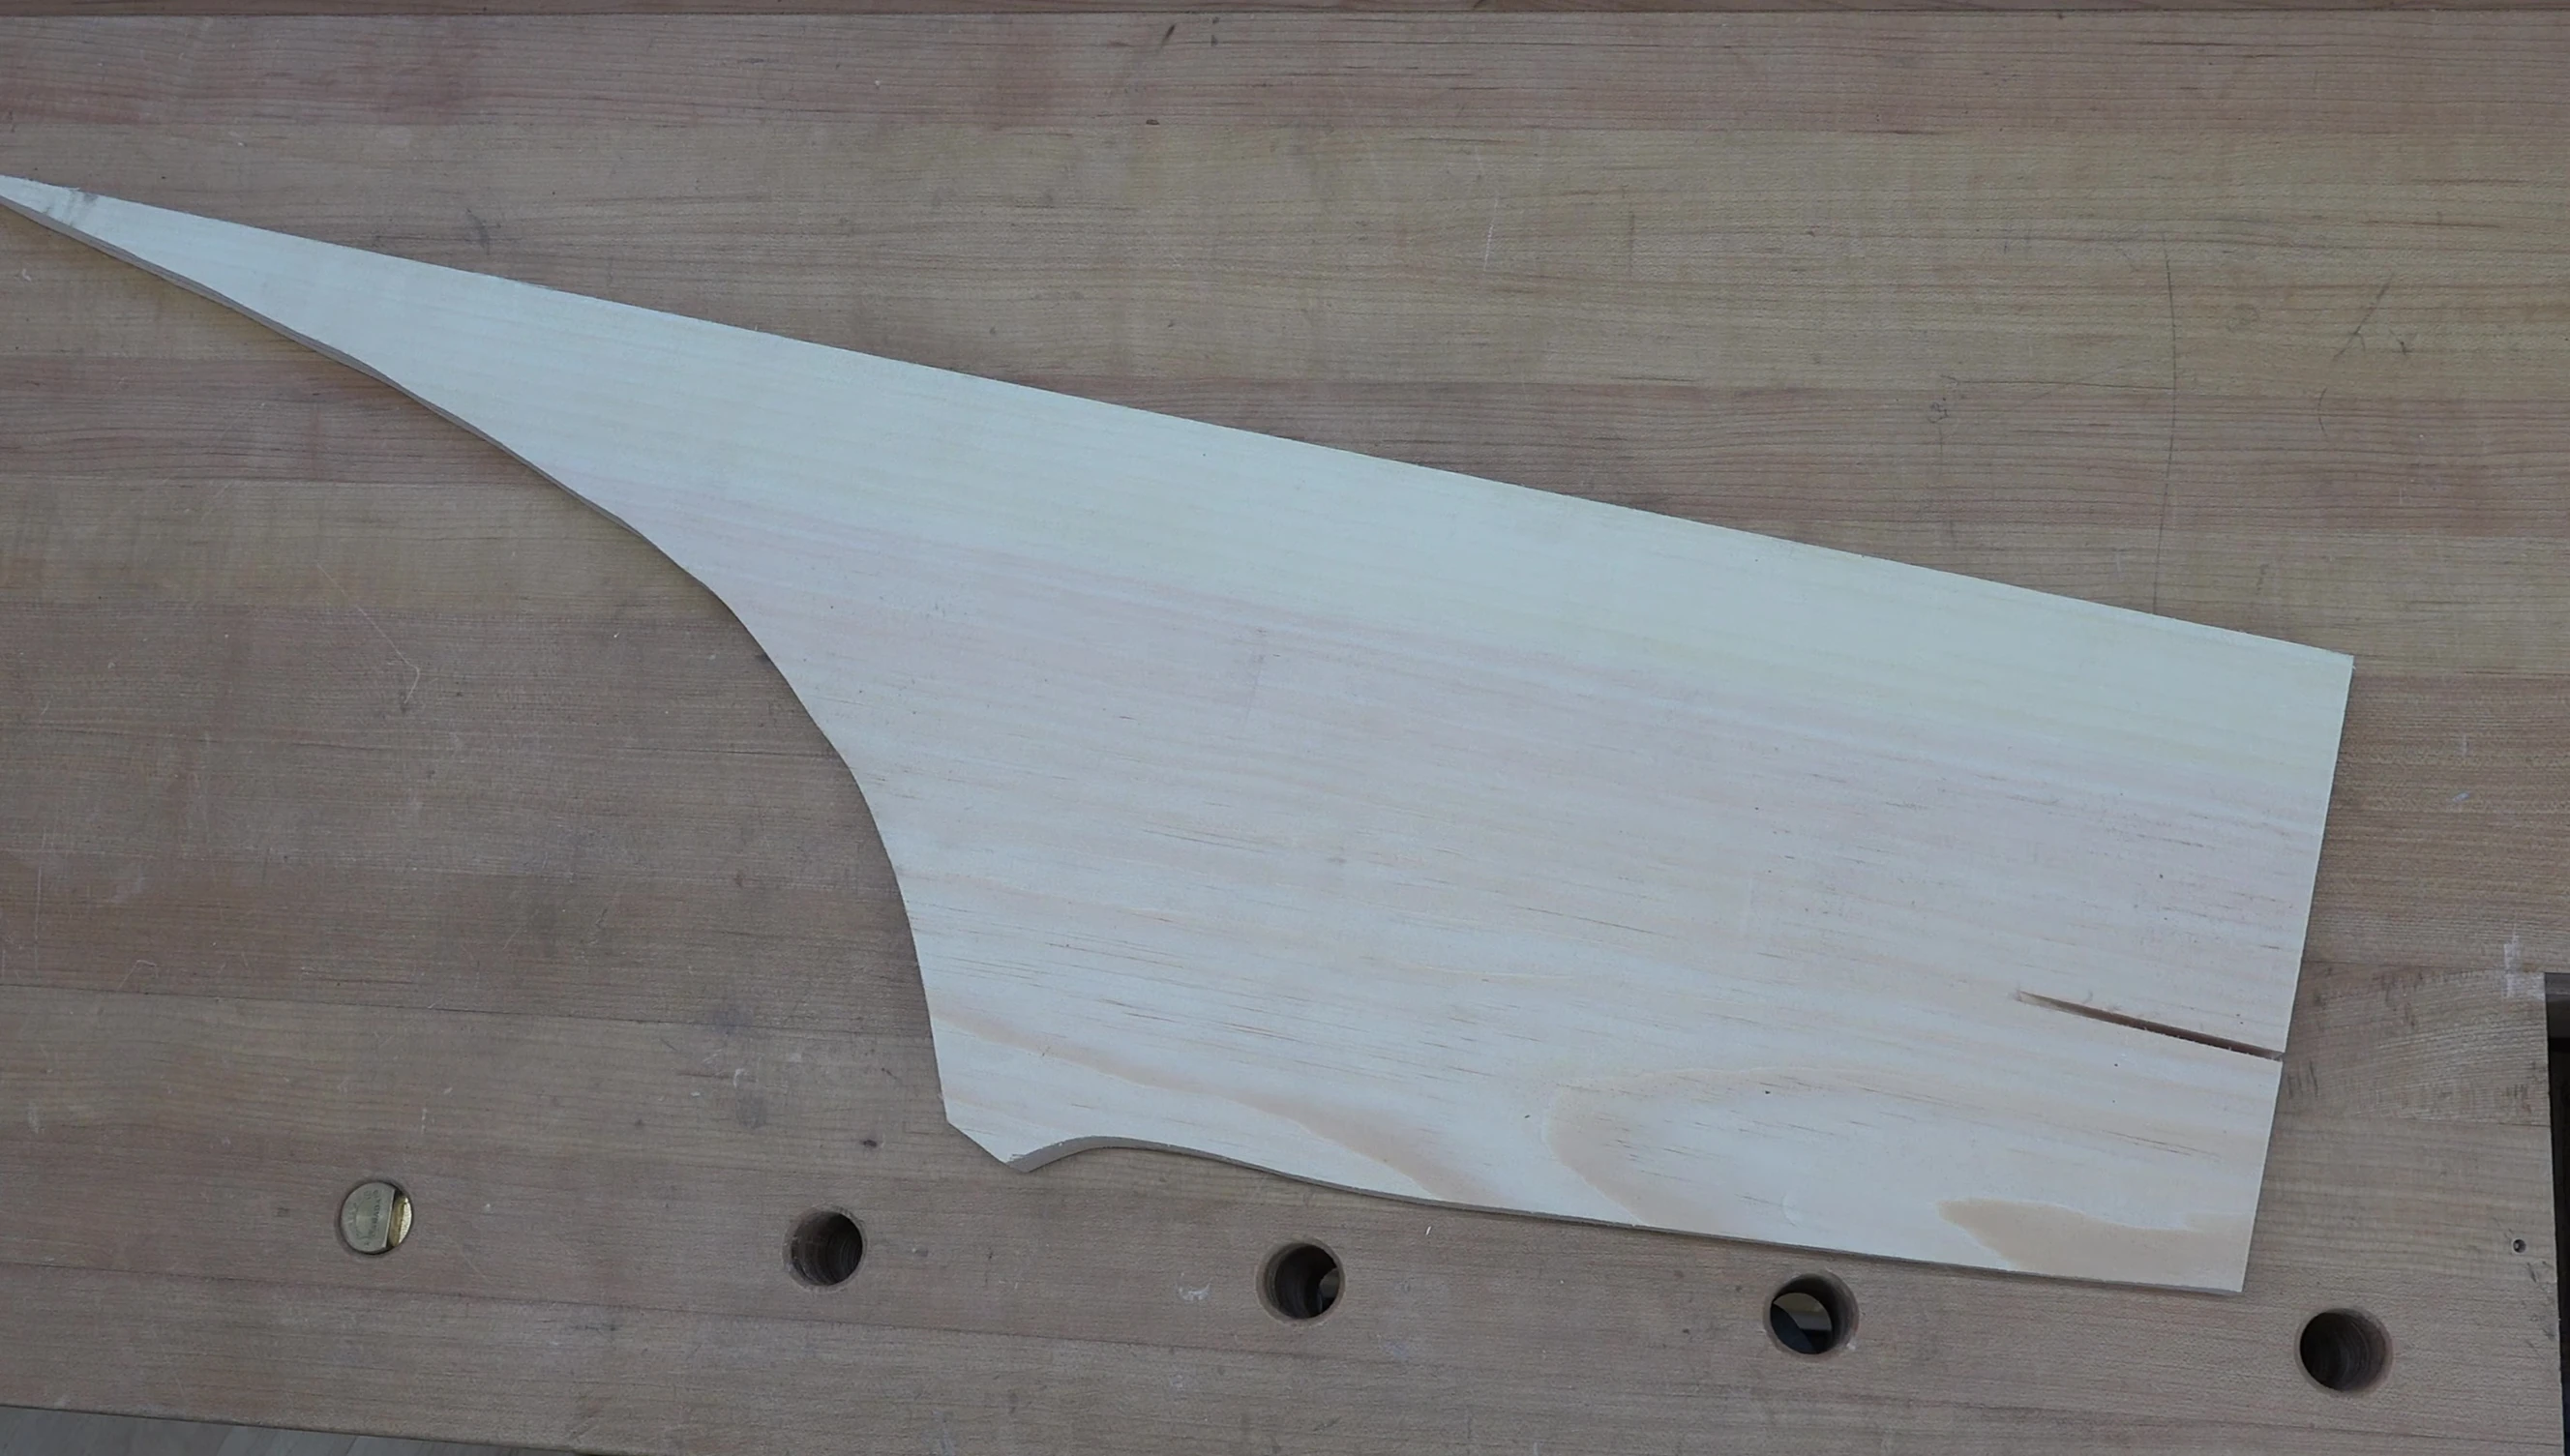
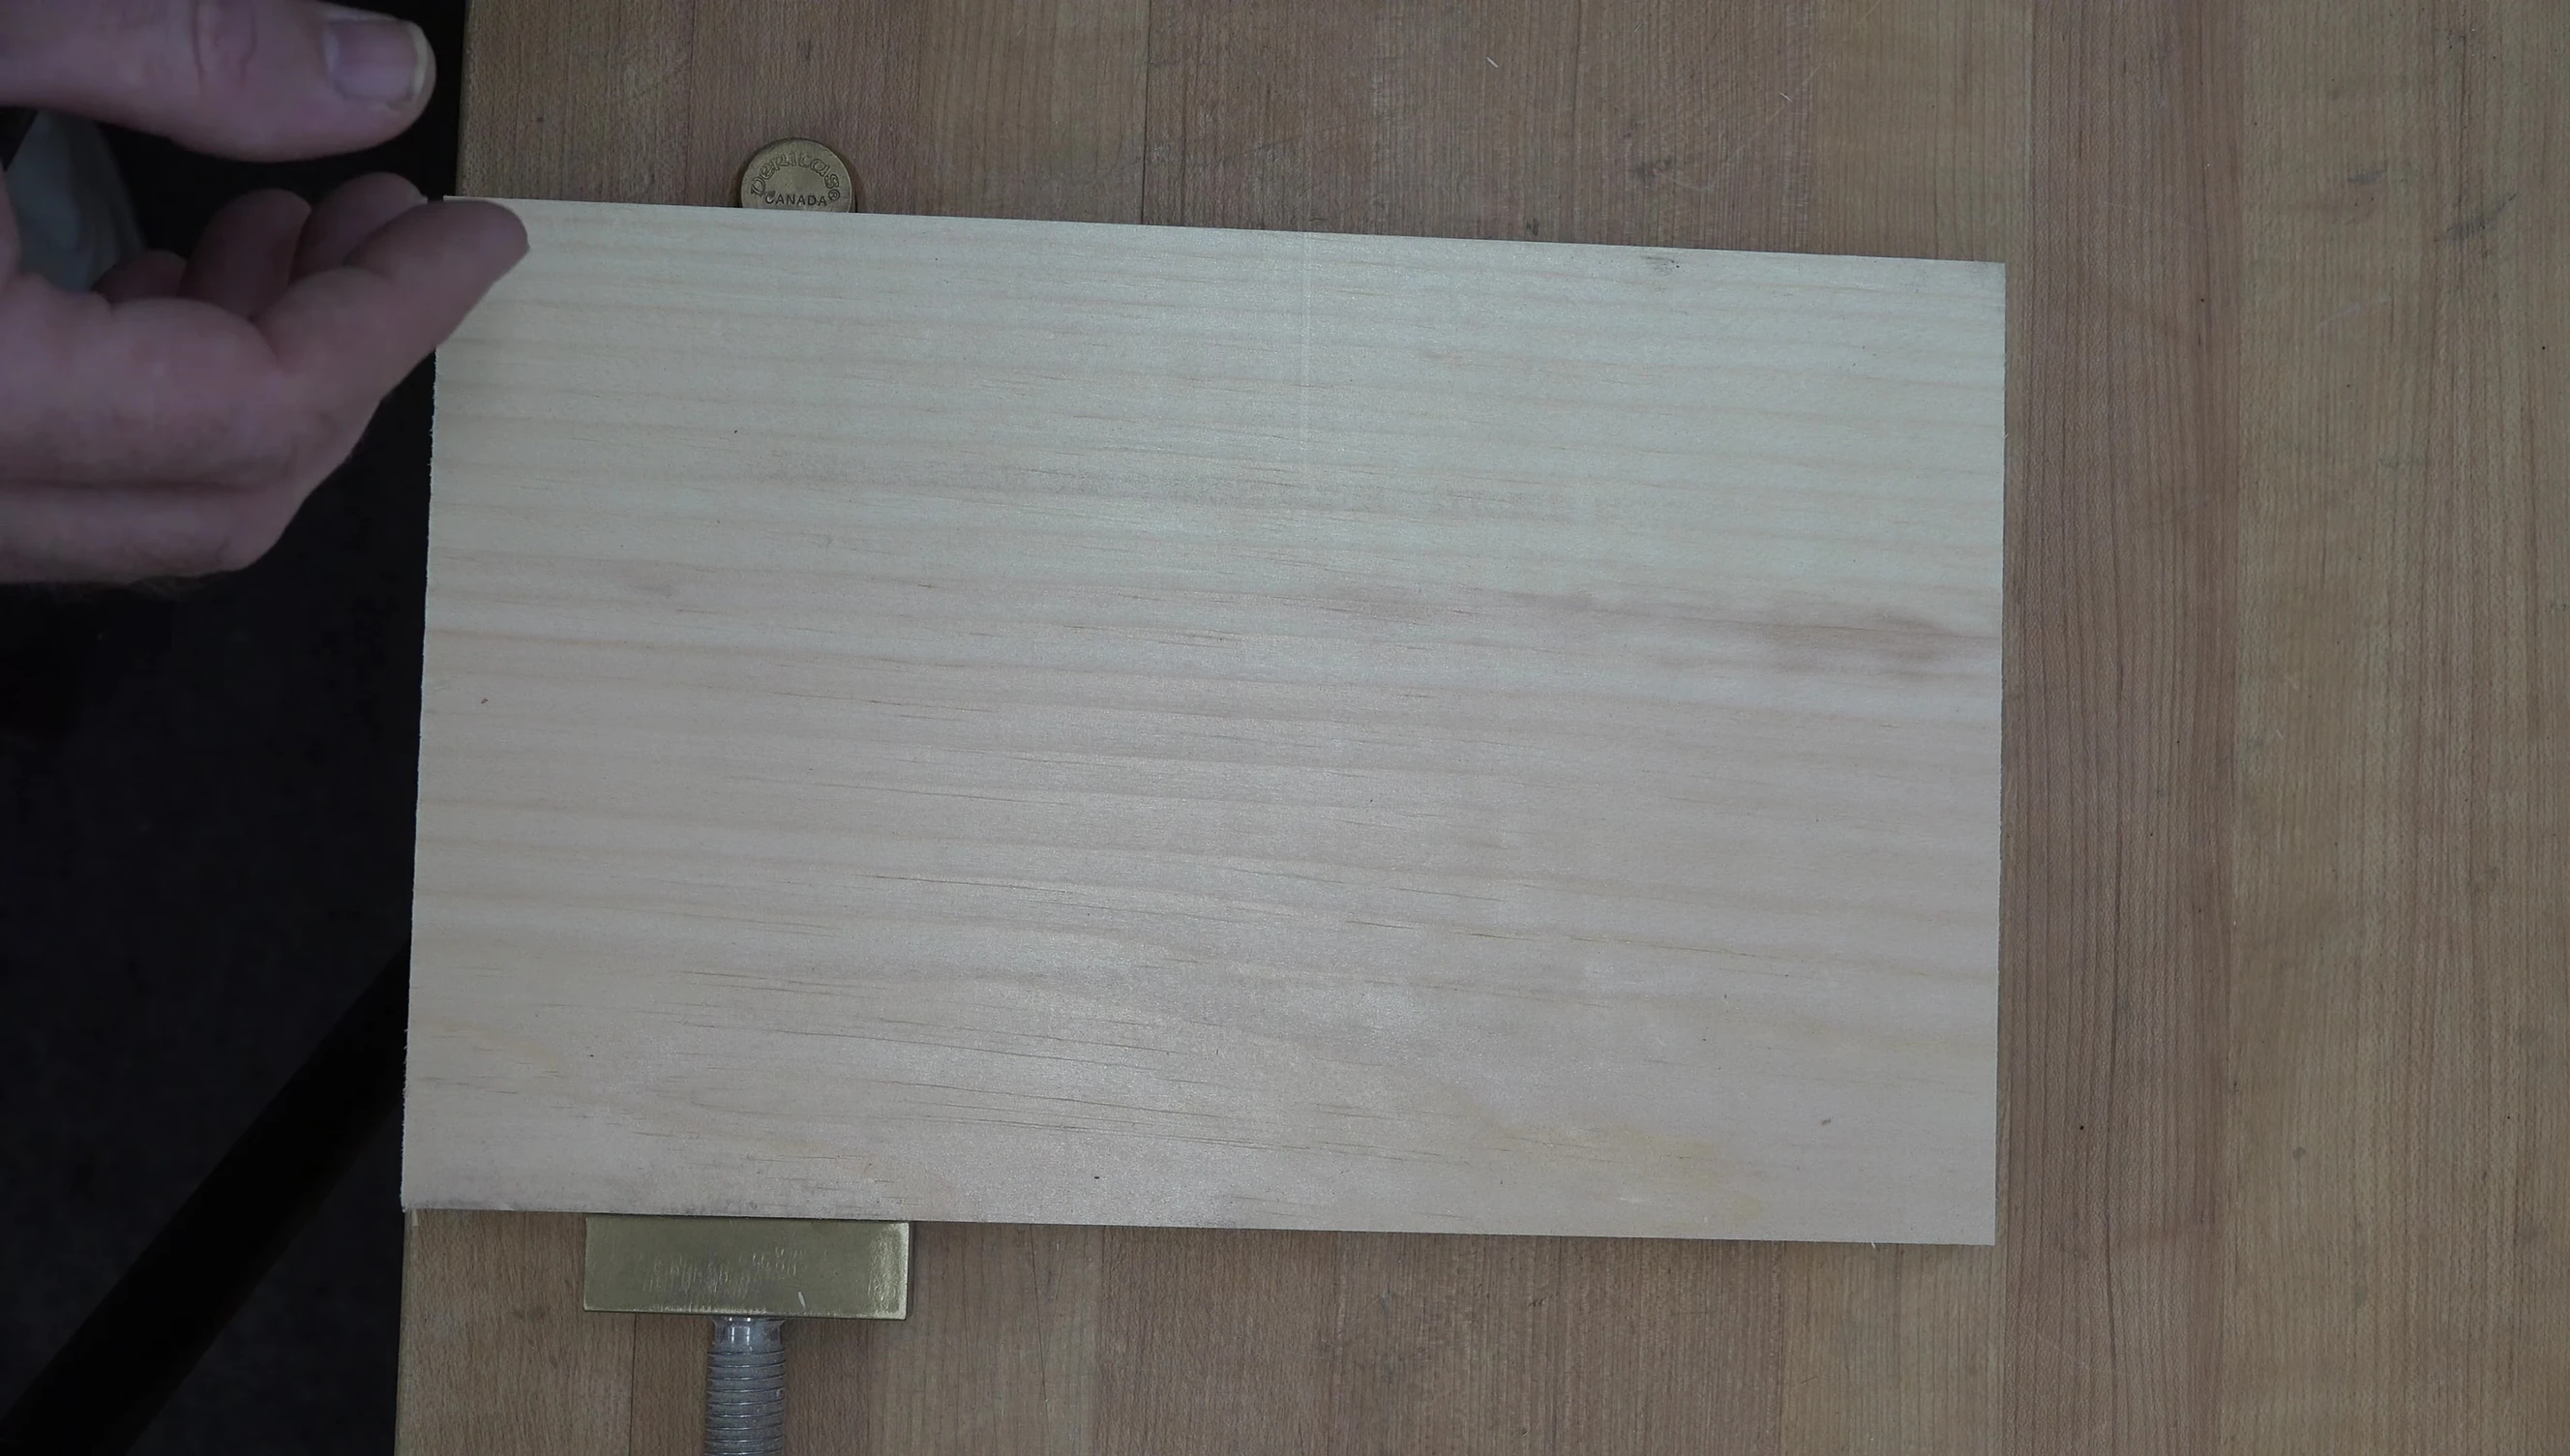
The initial step involves squaring off the irregularly shaped wood to maximize usable material. The resulting piece is approximately 6.25 inches wide and 10 inches long.
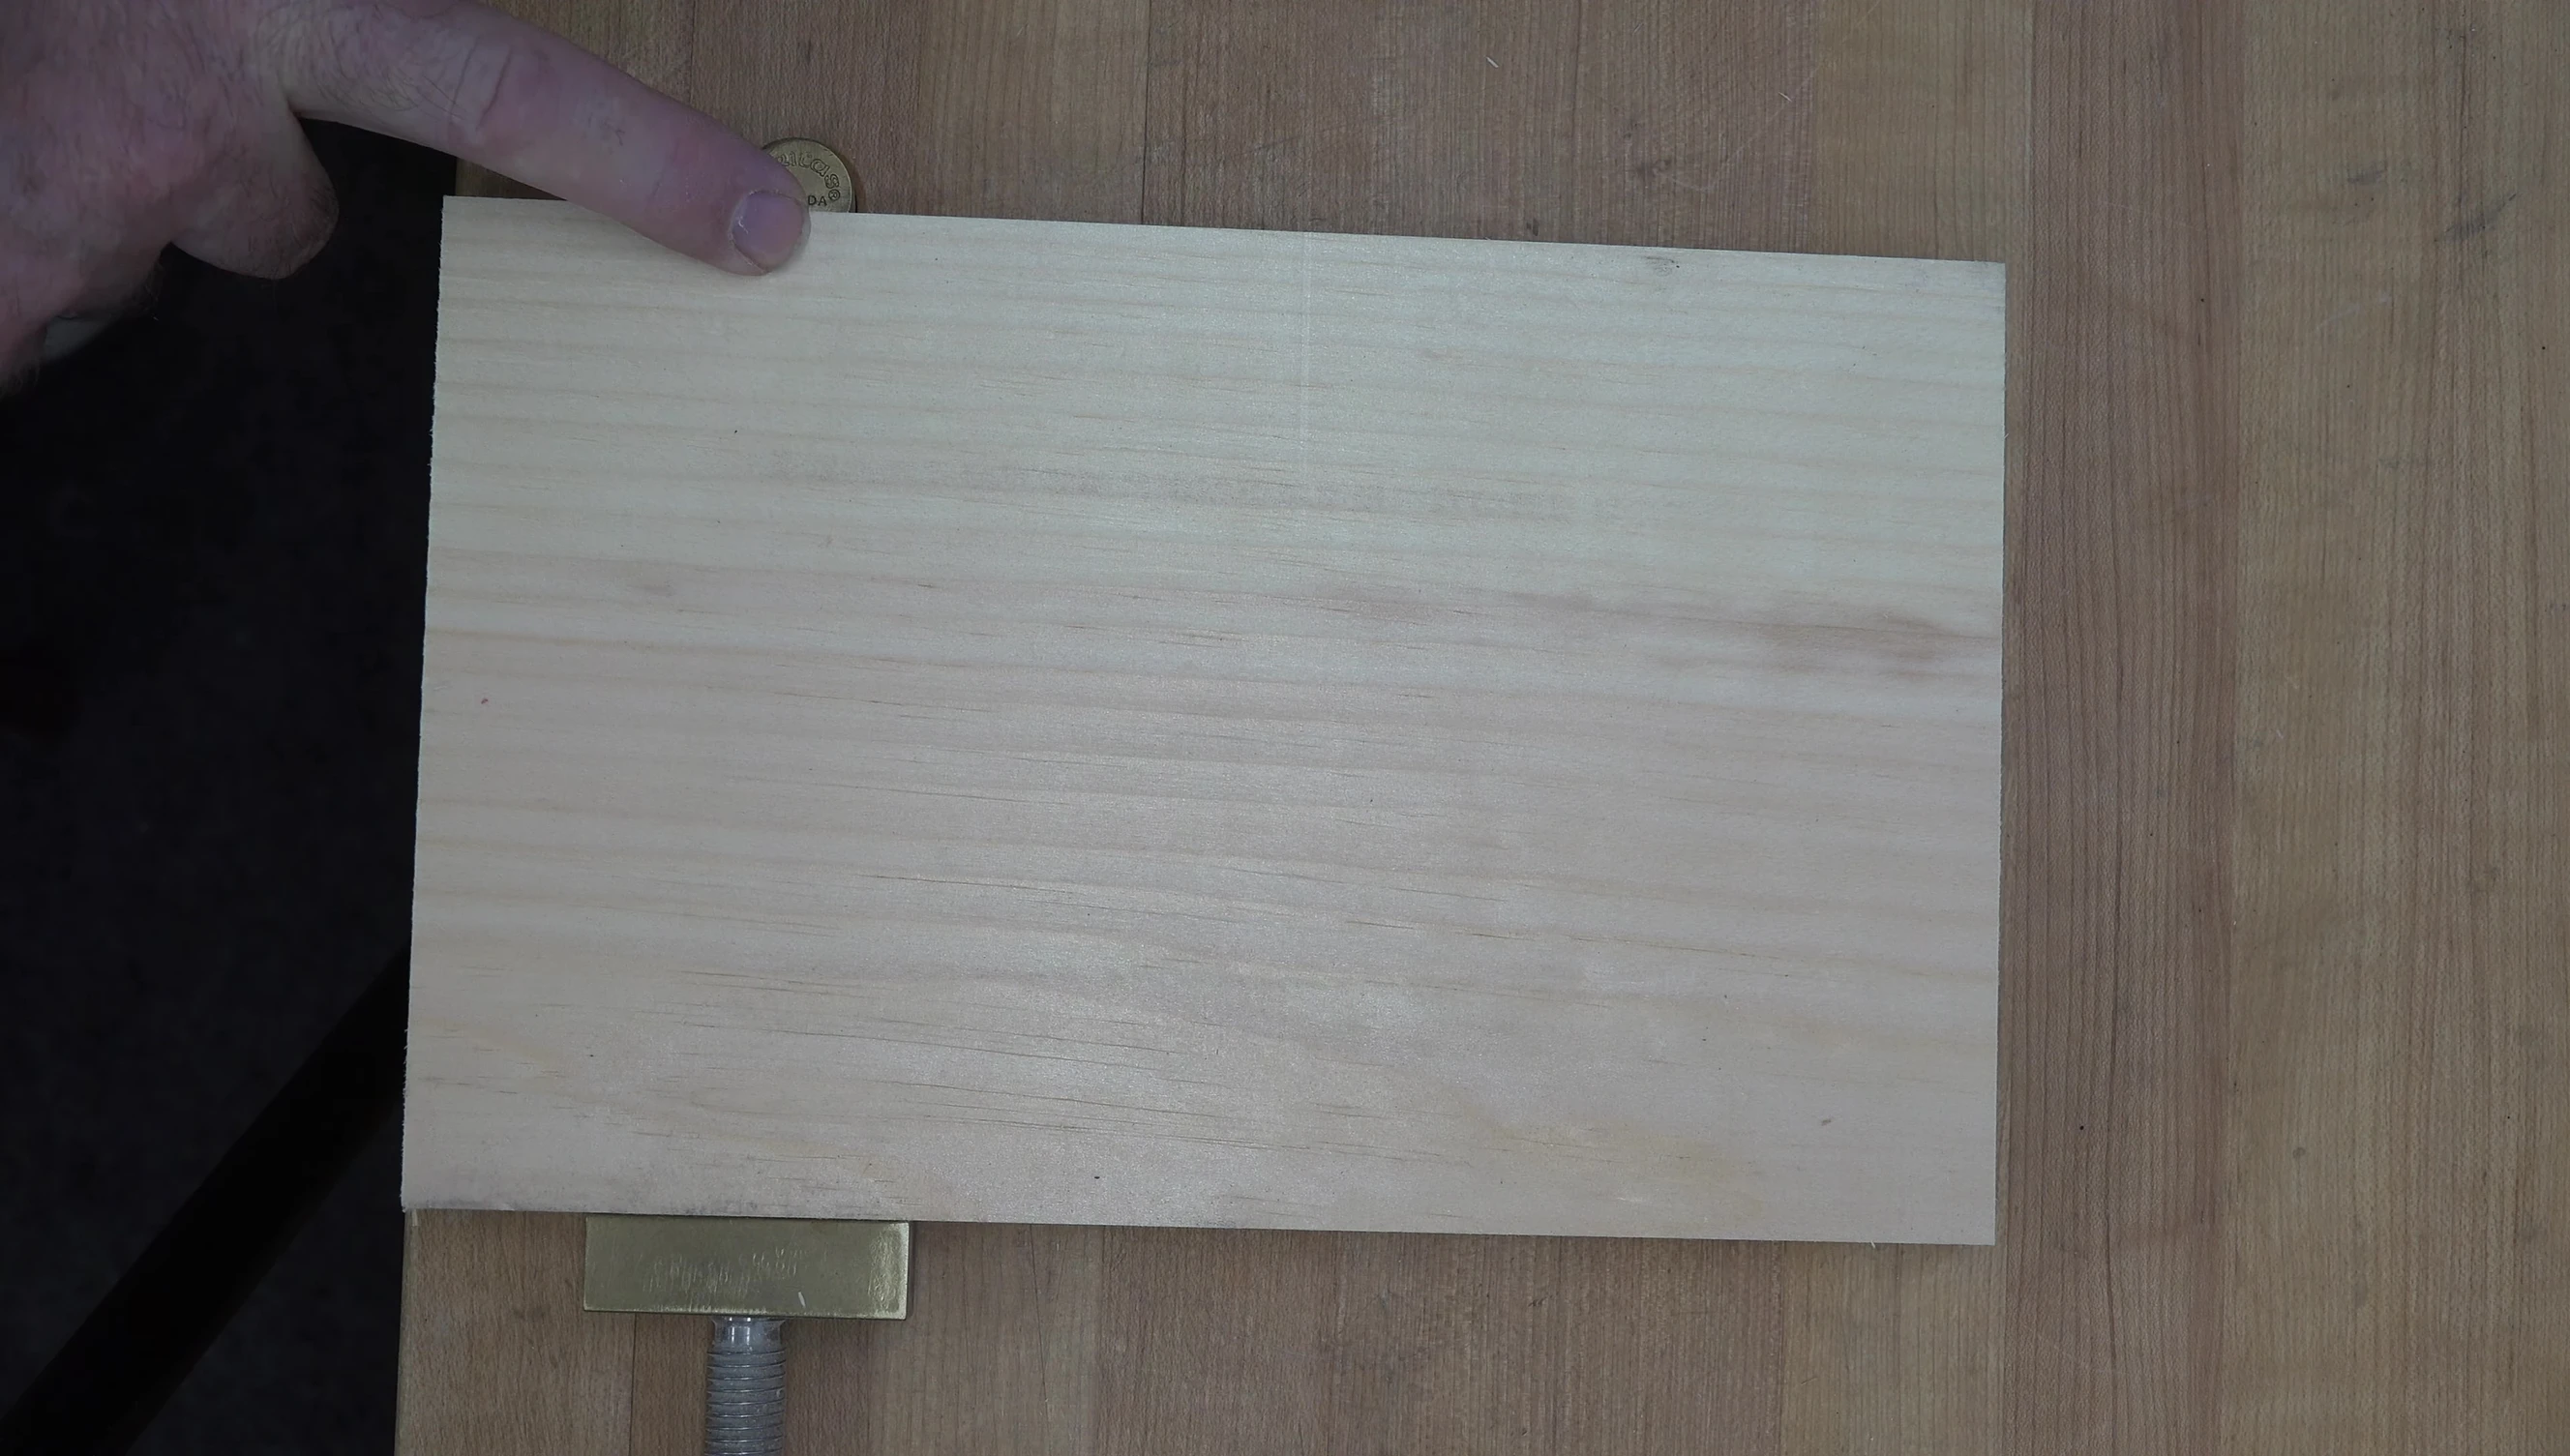
Accurate measurements are crucial, especially when working with limited material. Proper planning ensures efficient use of resources and minimizes waste.
Layout and Cutting
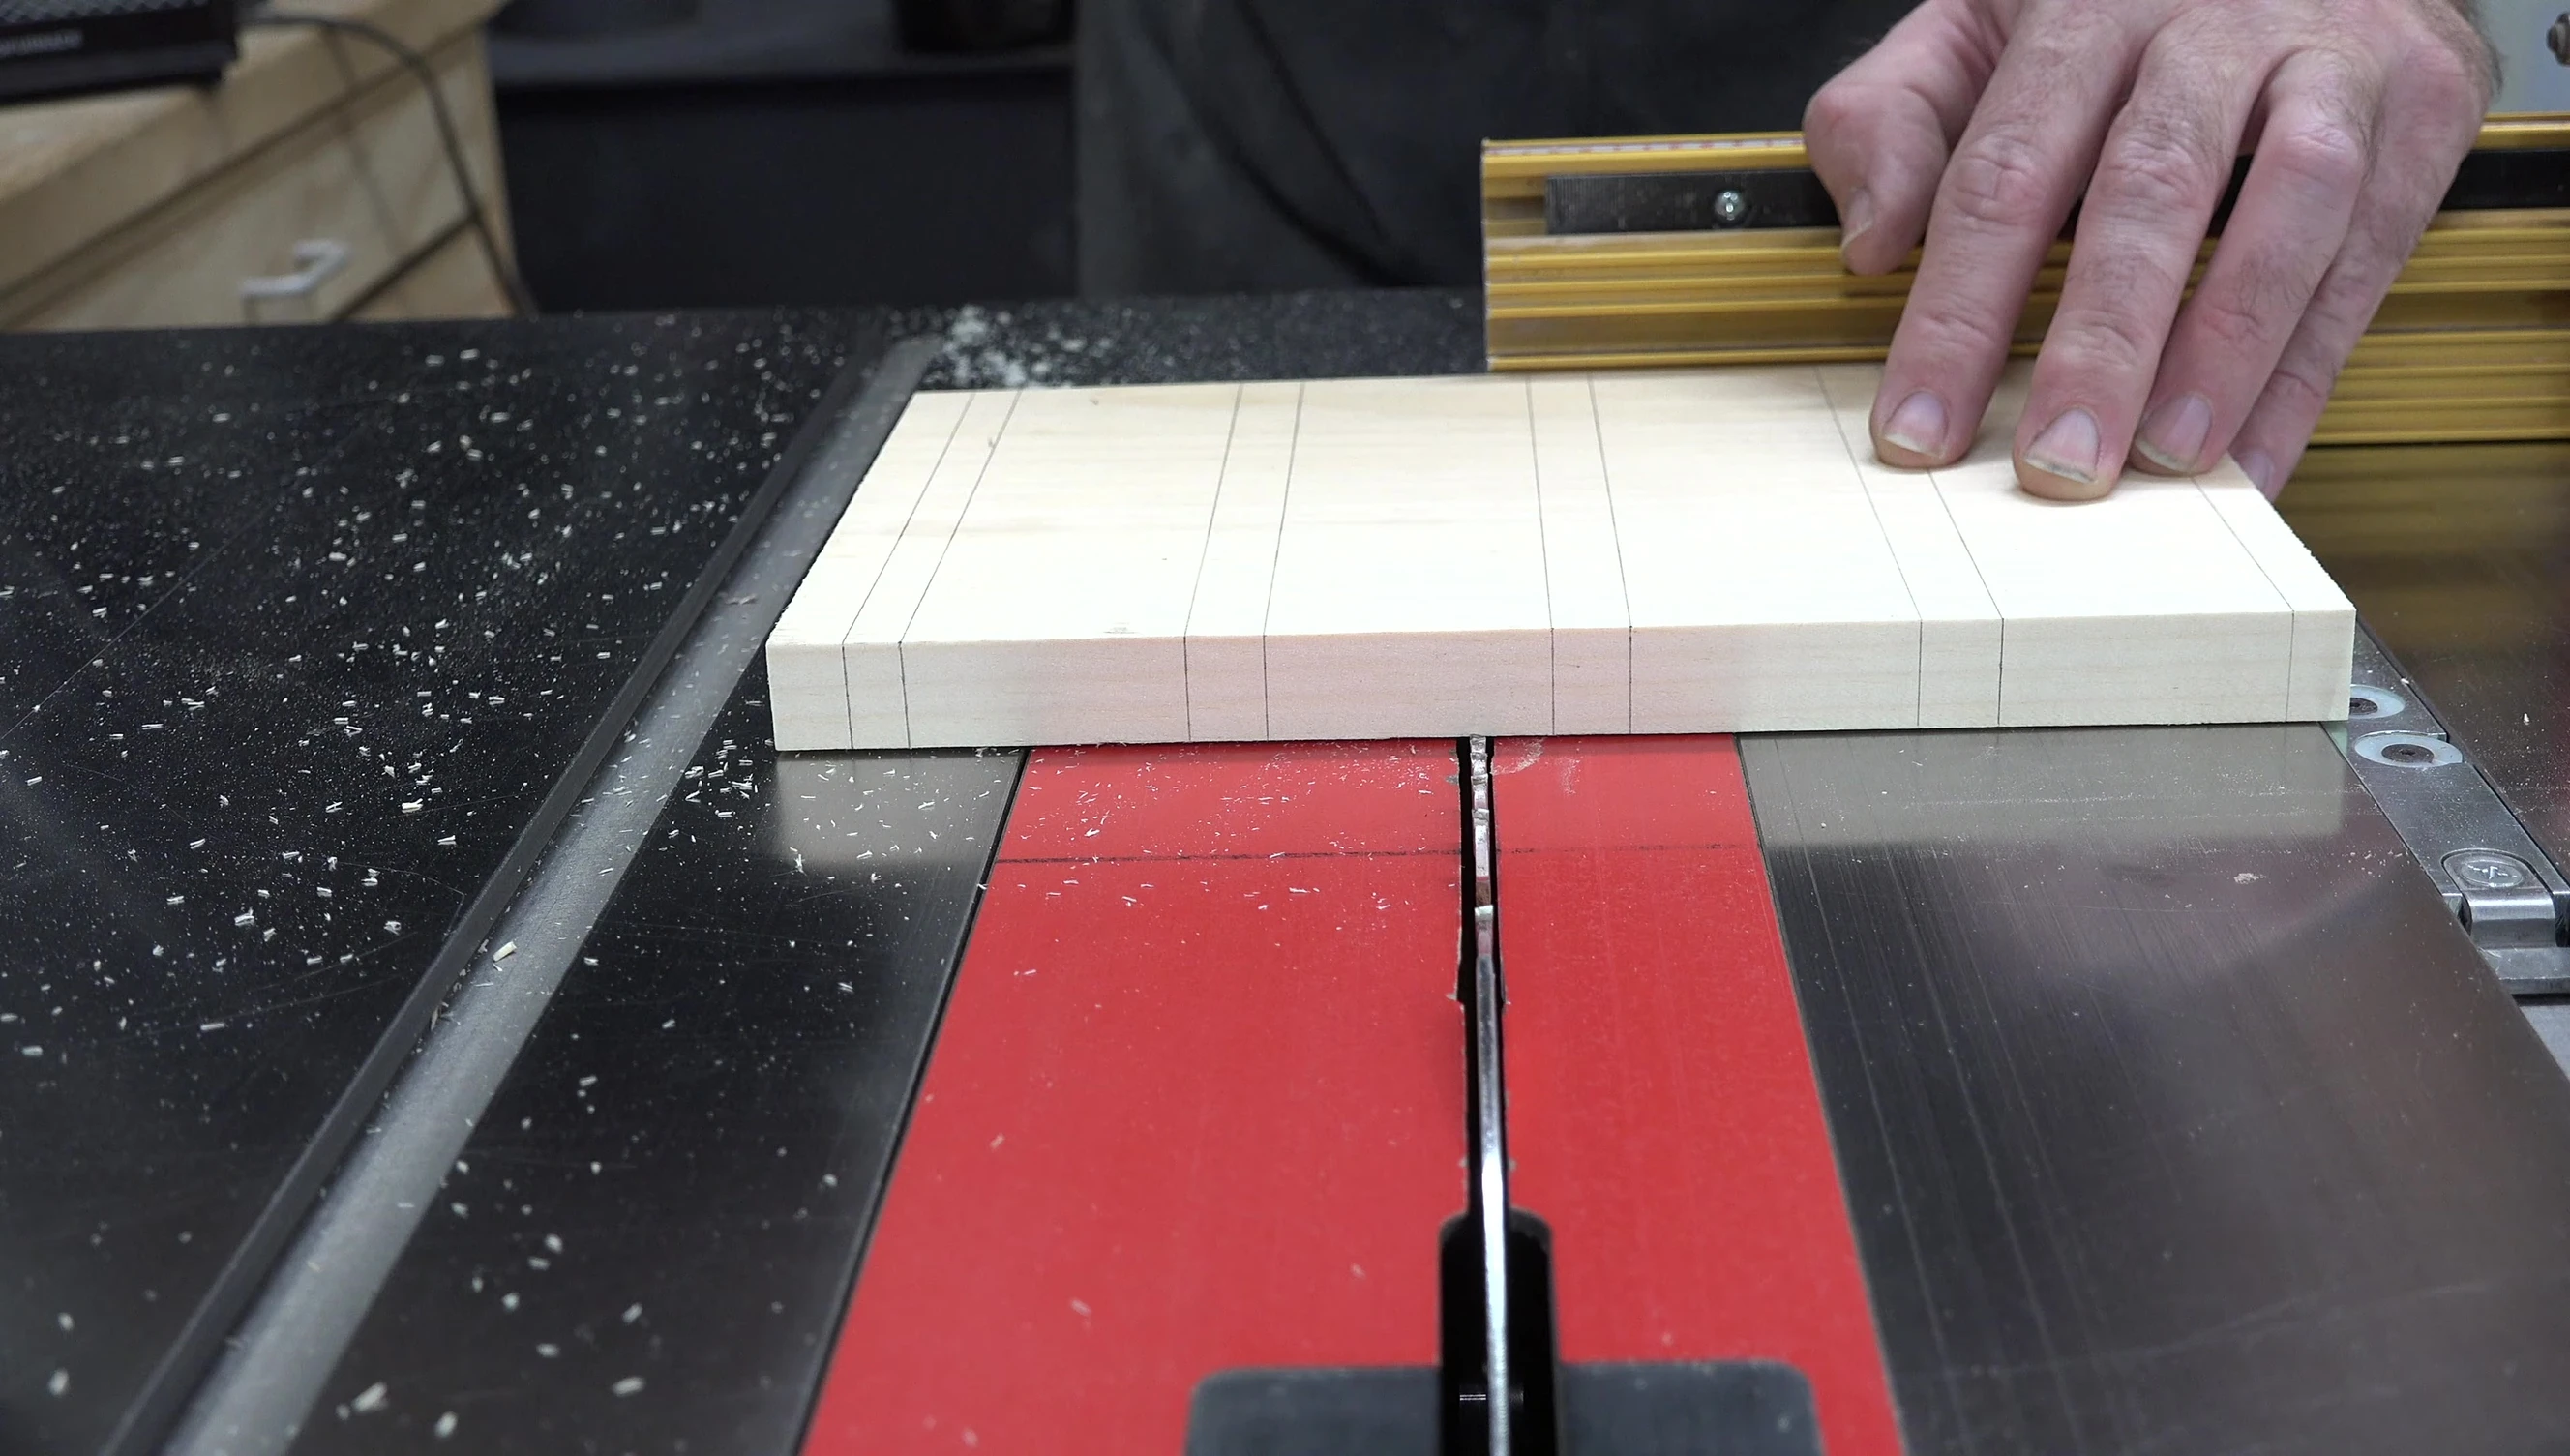
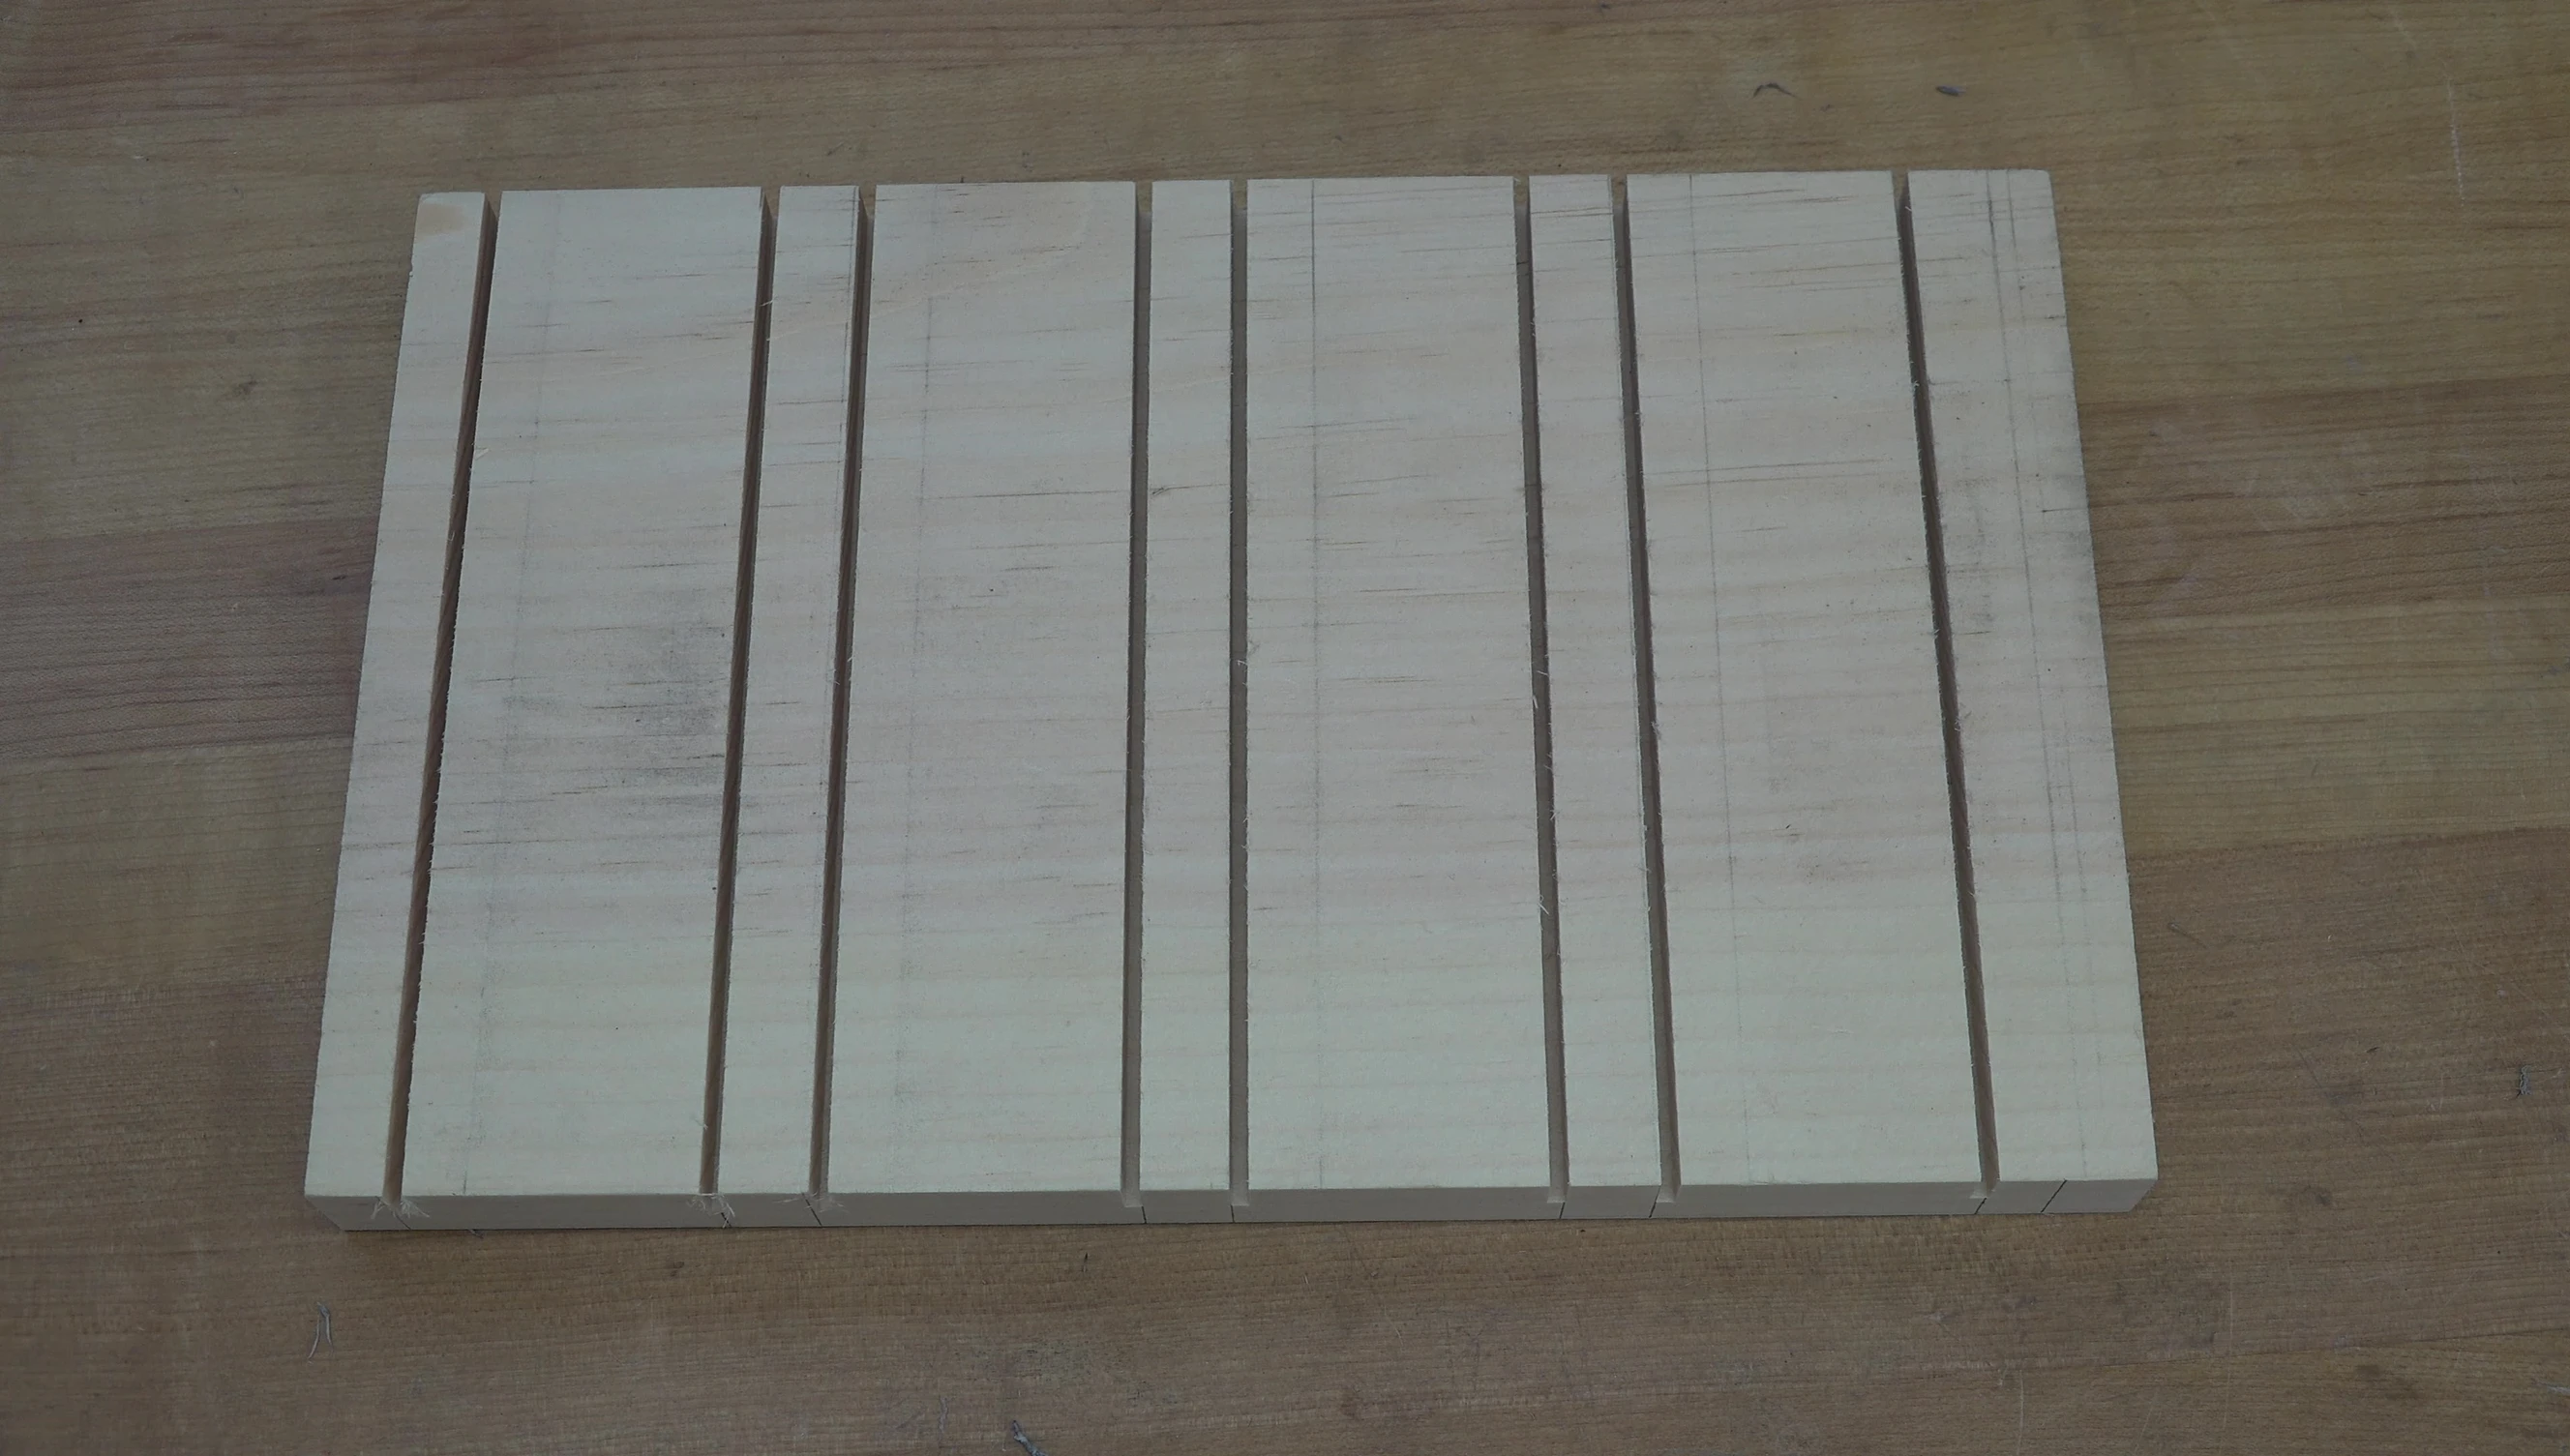
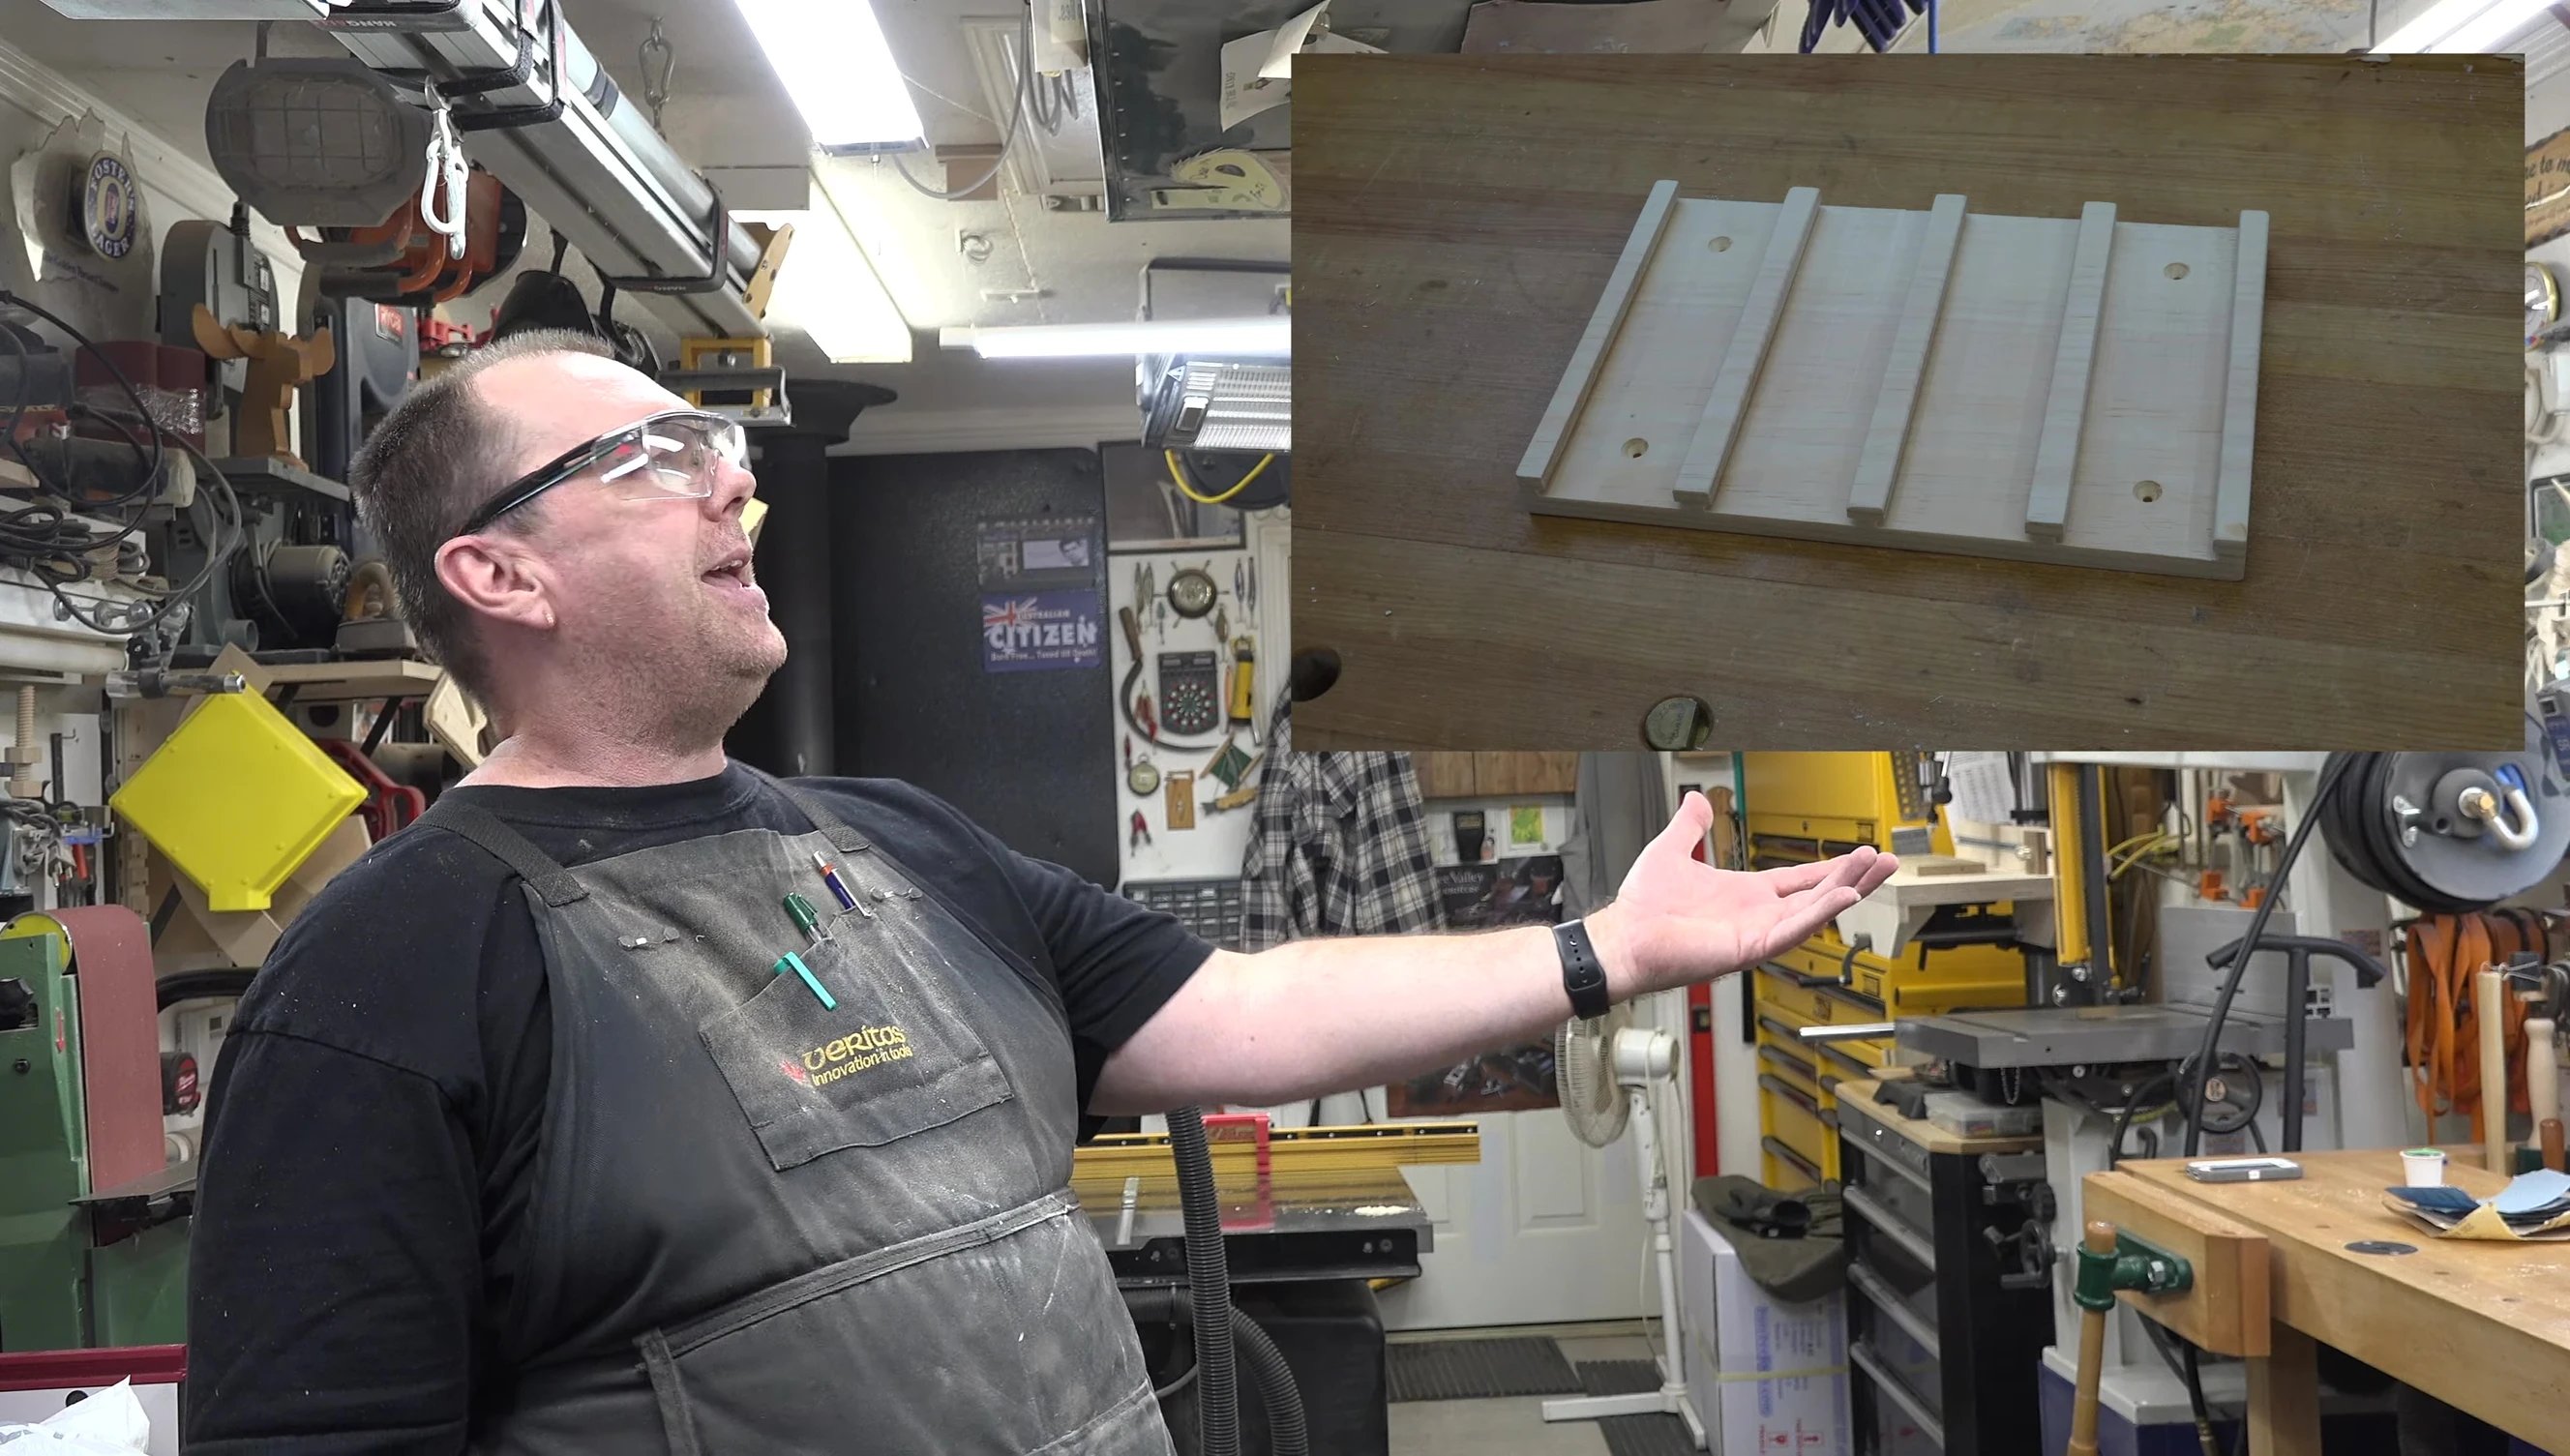
The design accommodates 12 Keurig coffee pods. Precise measurements are provided to ensure proper spacing between pods.
A 3/8 inch lip is added to one end for support and a neat finish. Each pod requires 1 13/16 inches, including spacing between rows.
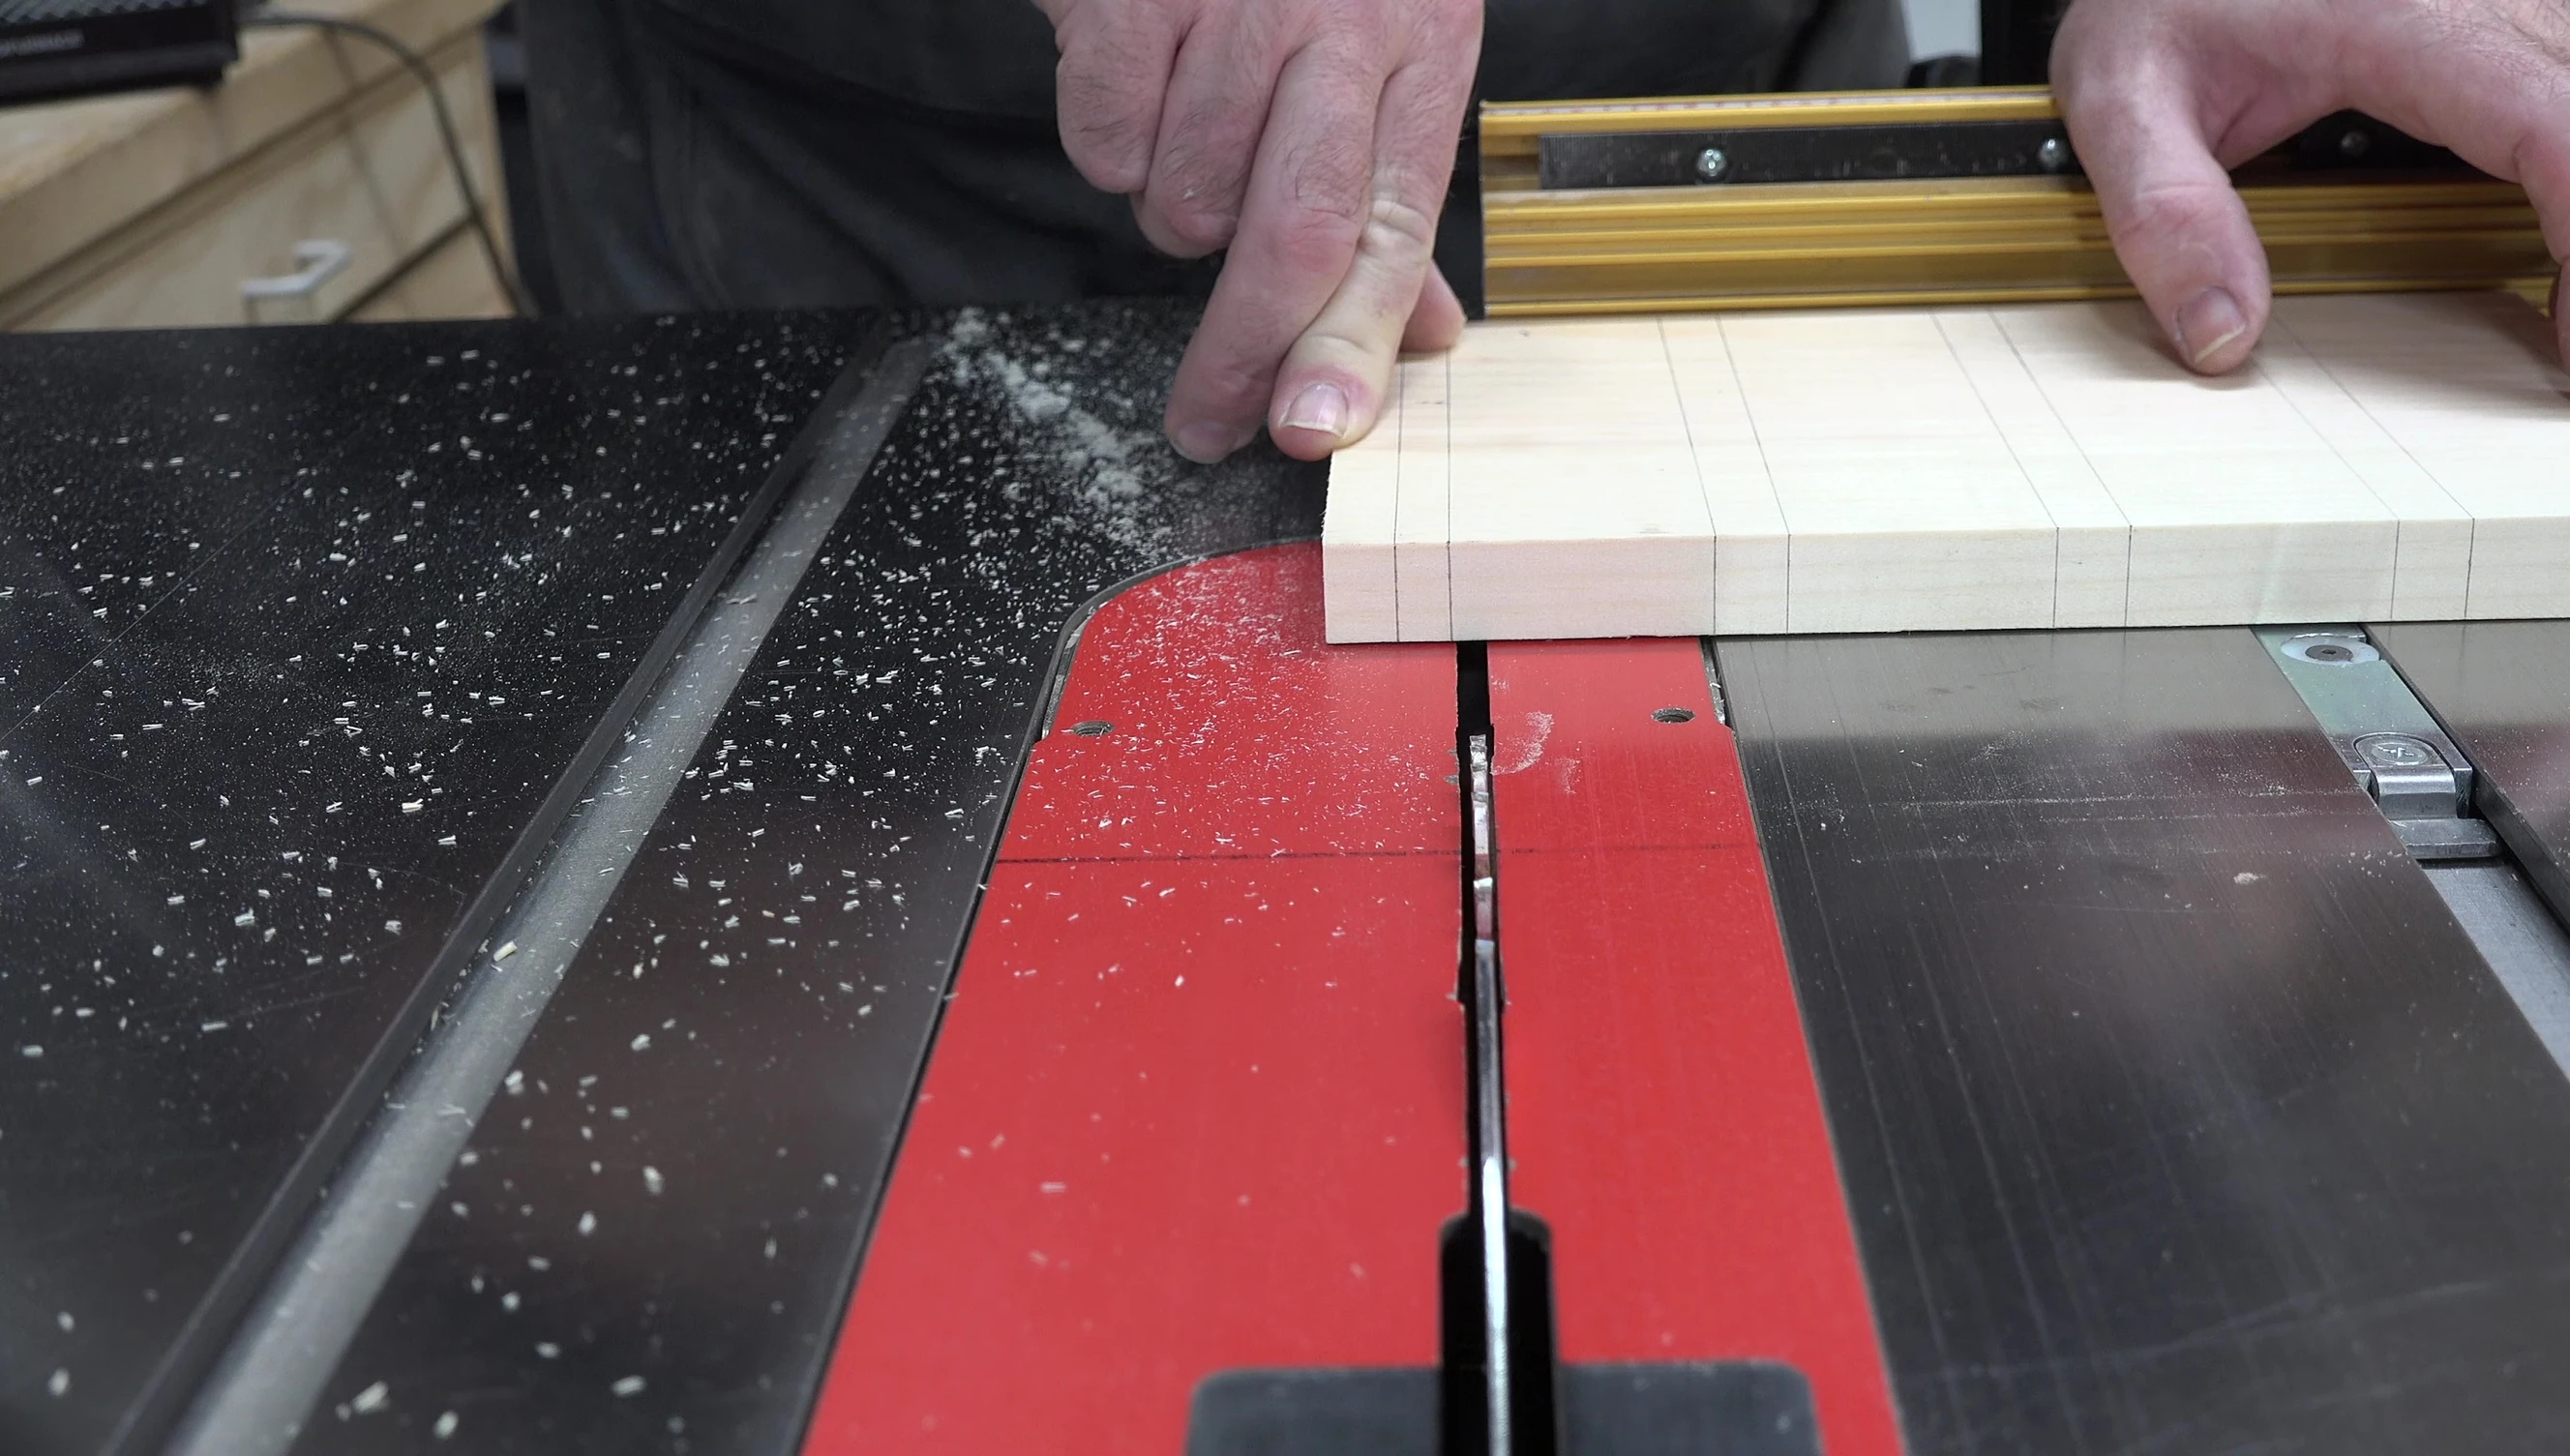
Multiple cuts are made using a table saw to define the individual compartments for the pods. Careful measurement and precise cuts are necessary for a proper fit.
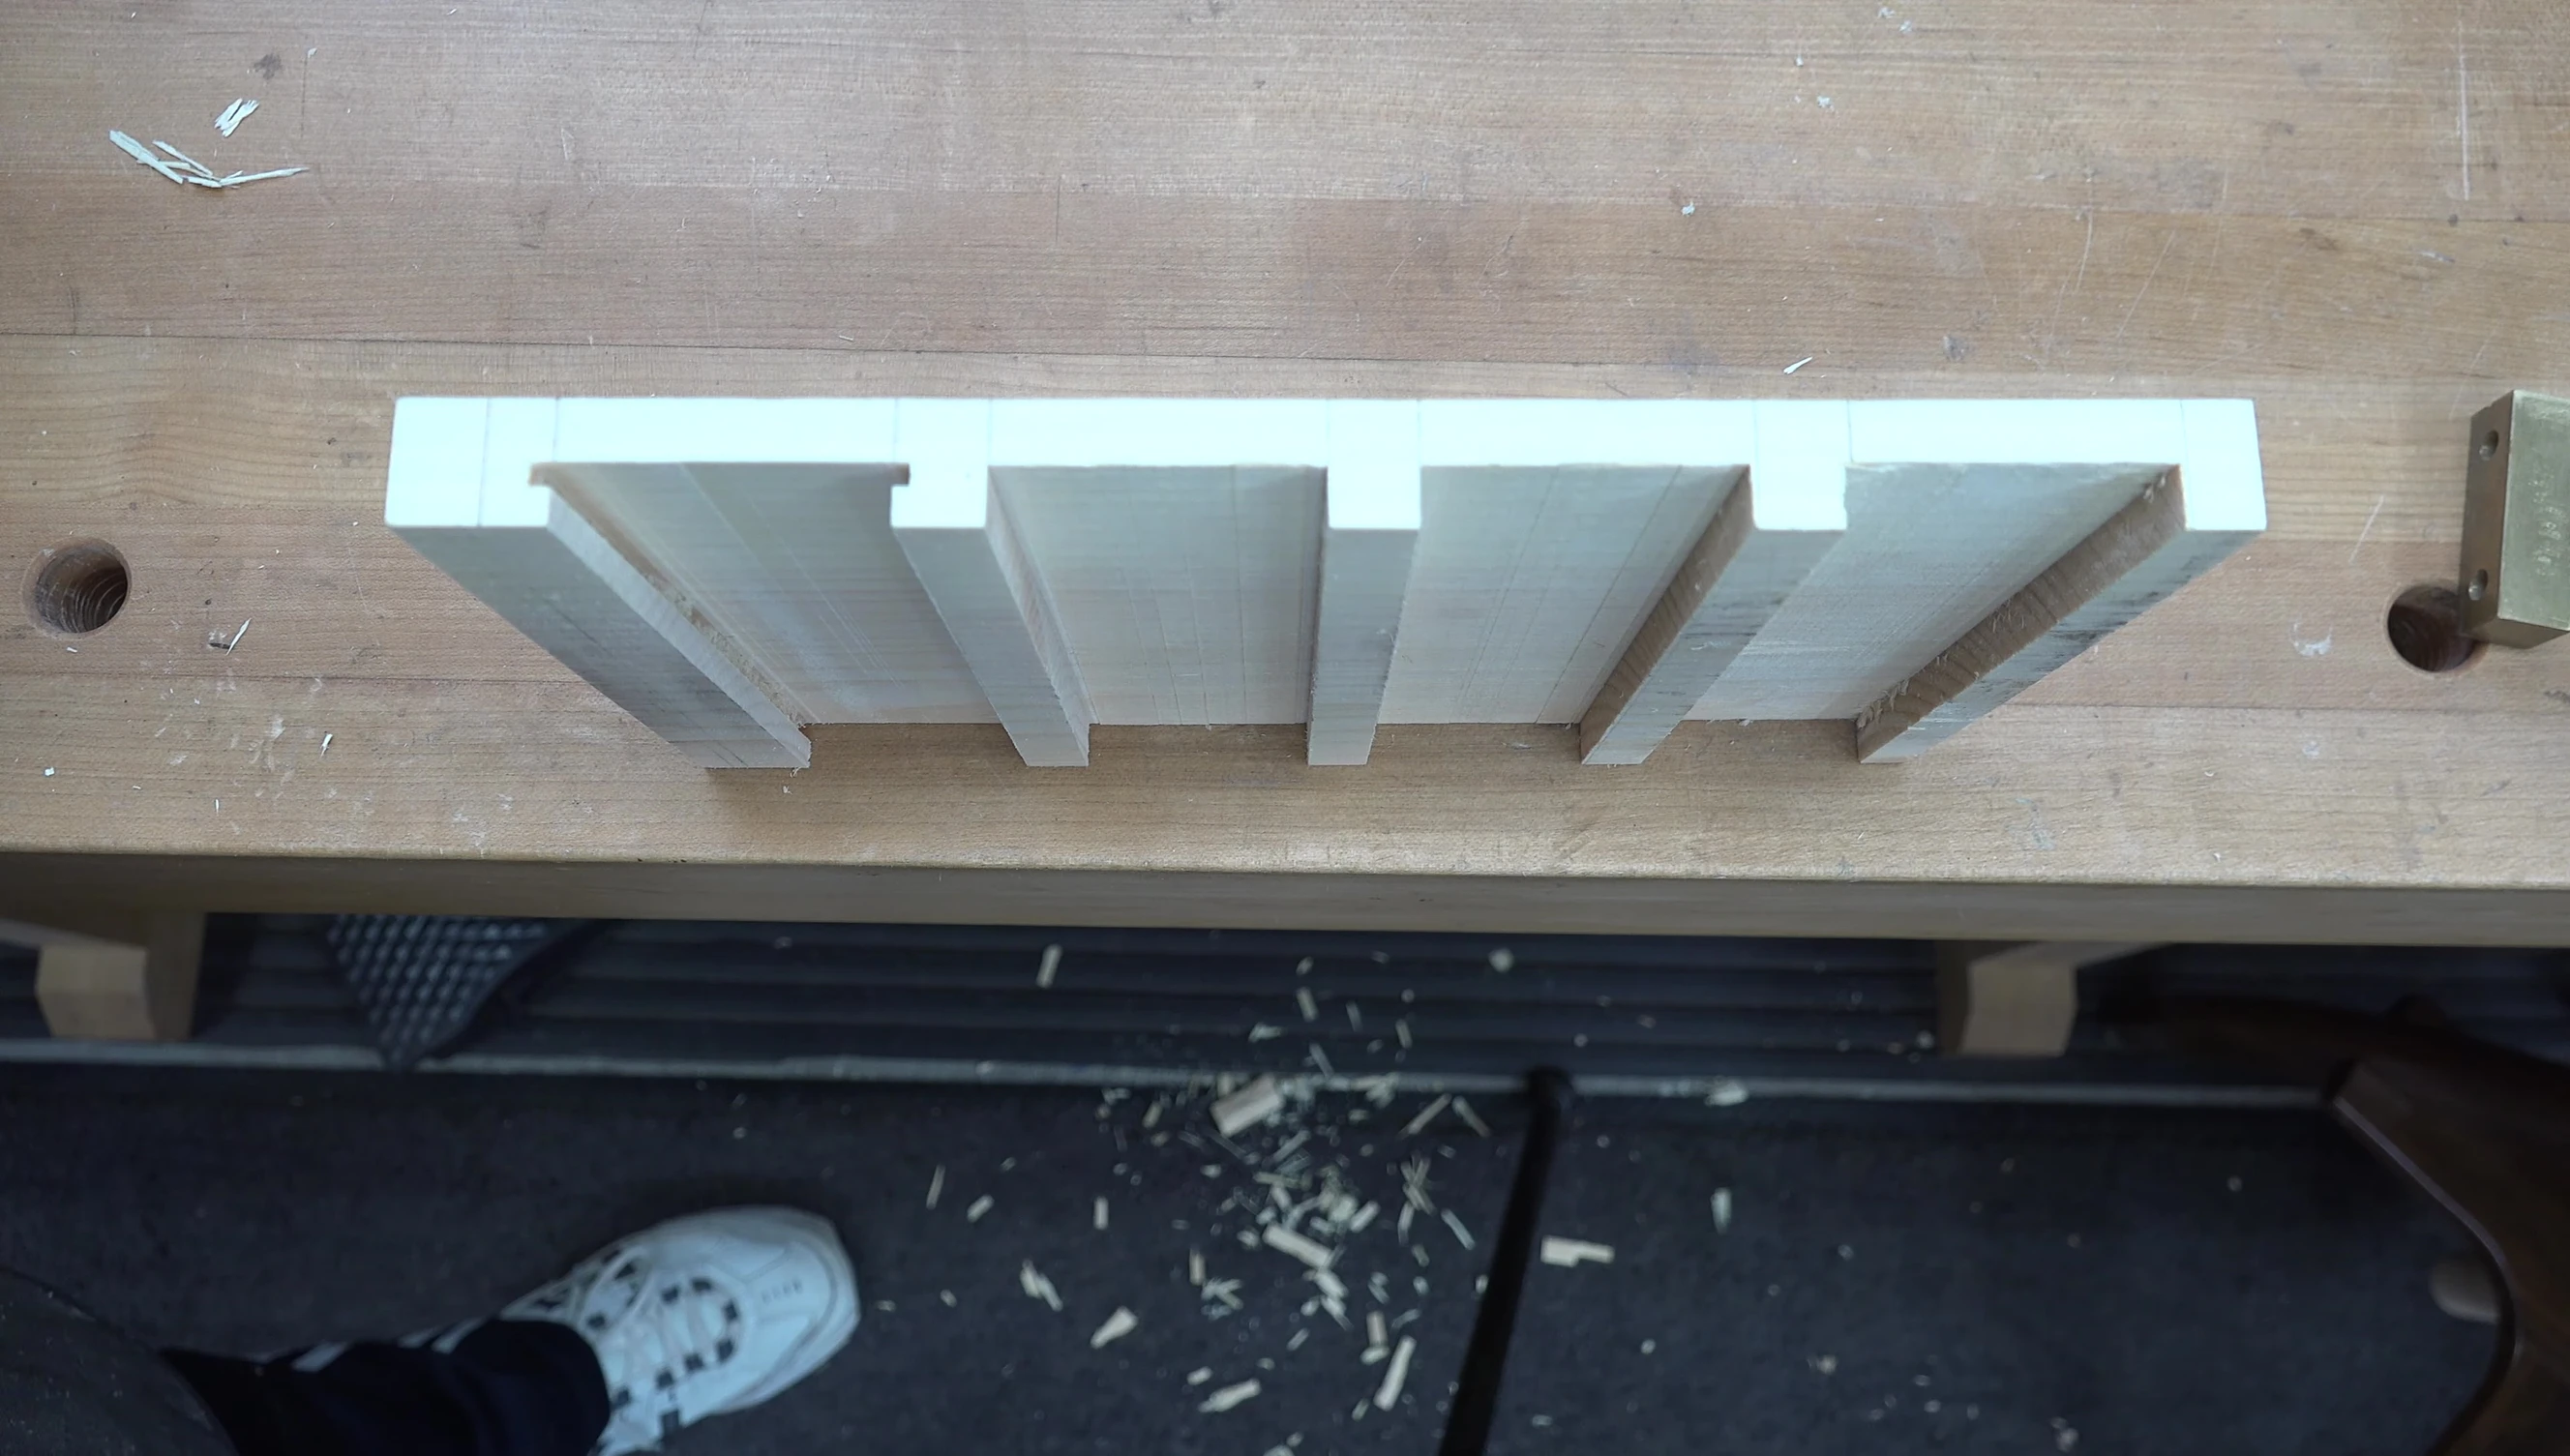
Creating the Pod Compartments
This phase involves creating the recesses to house the coffee pods. Various methods can be employed, such as hand routing, chiseling, or using a table saw.
The author opted for hand tools in this instance, demonstrating versatility and adaptability in woodworking techniques.
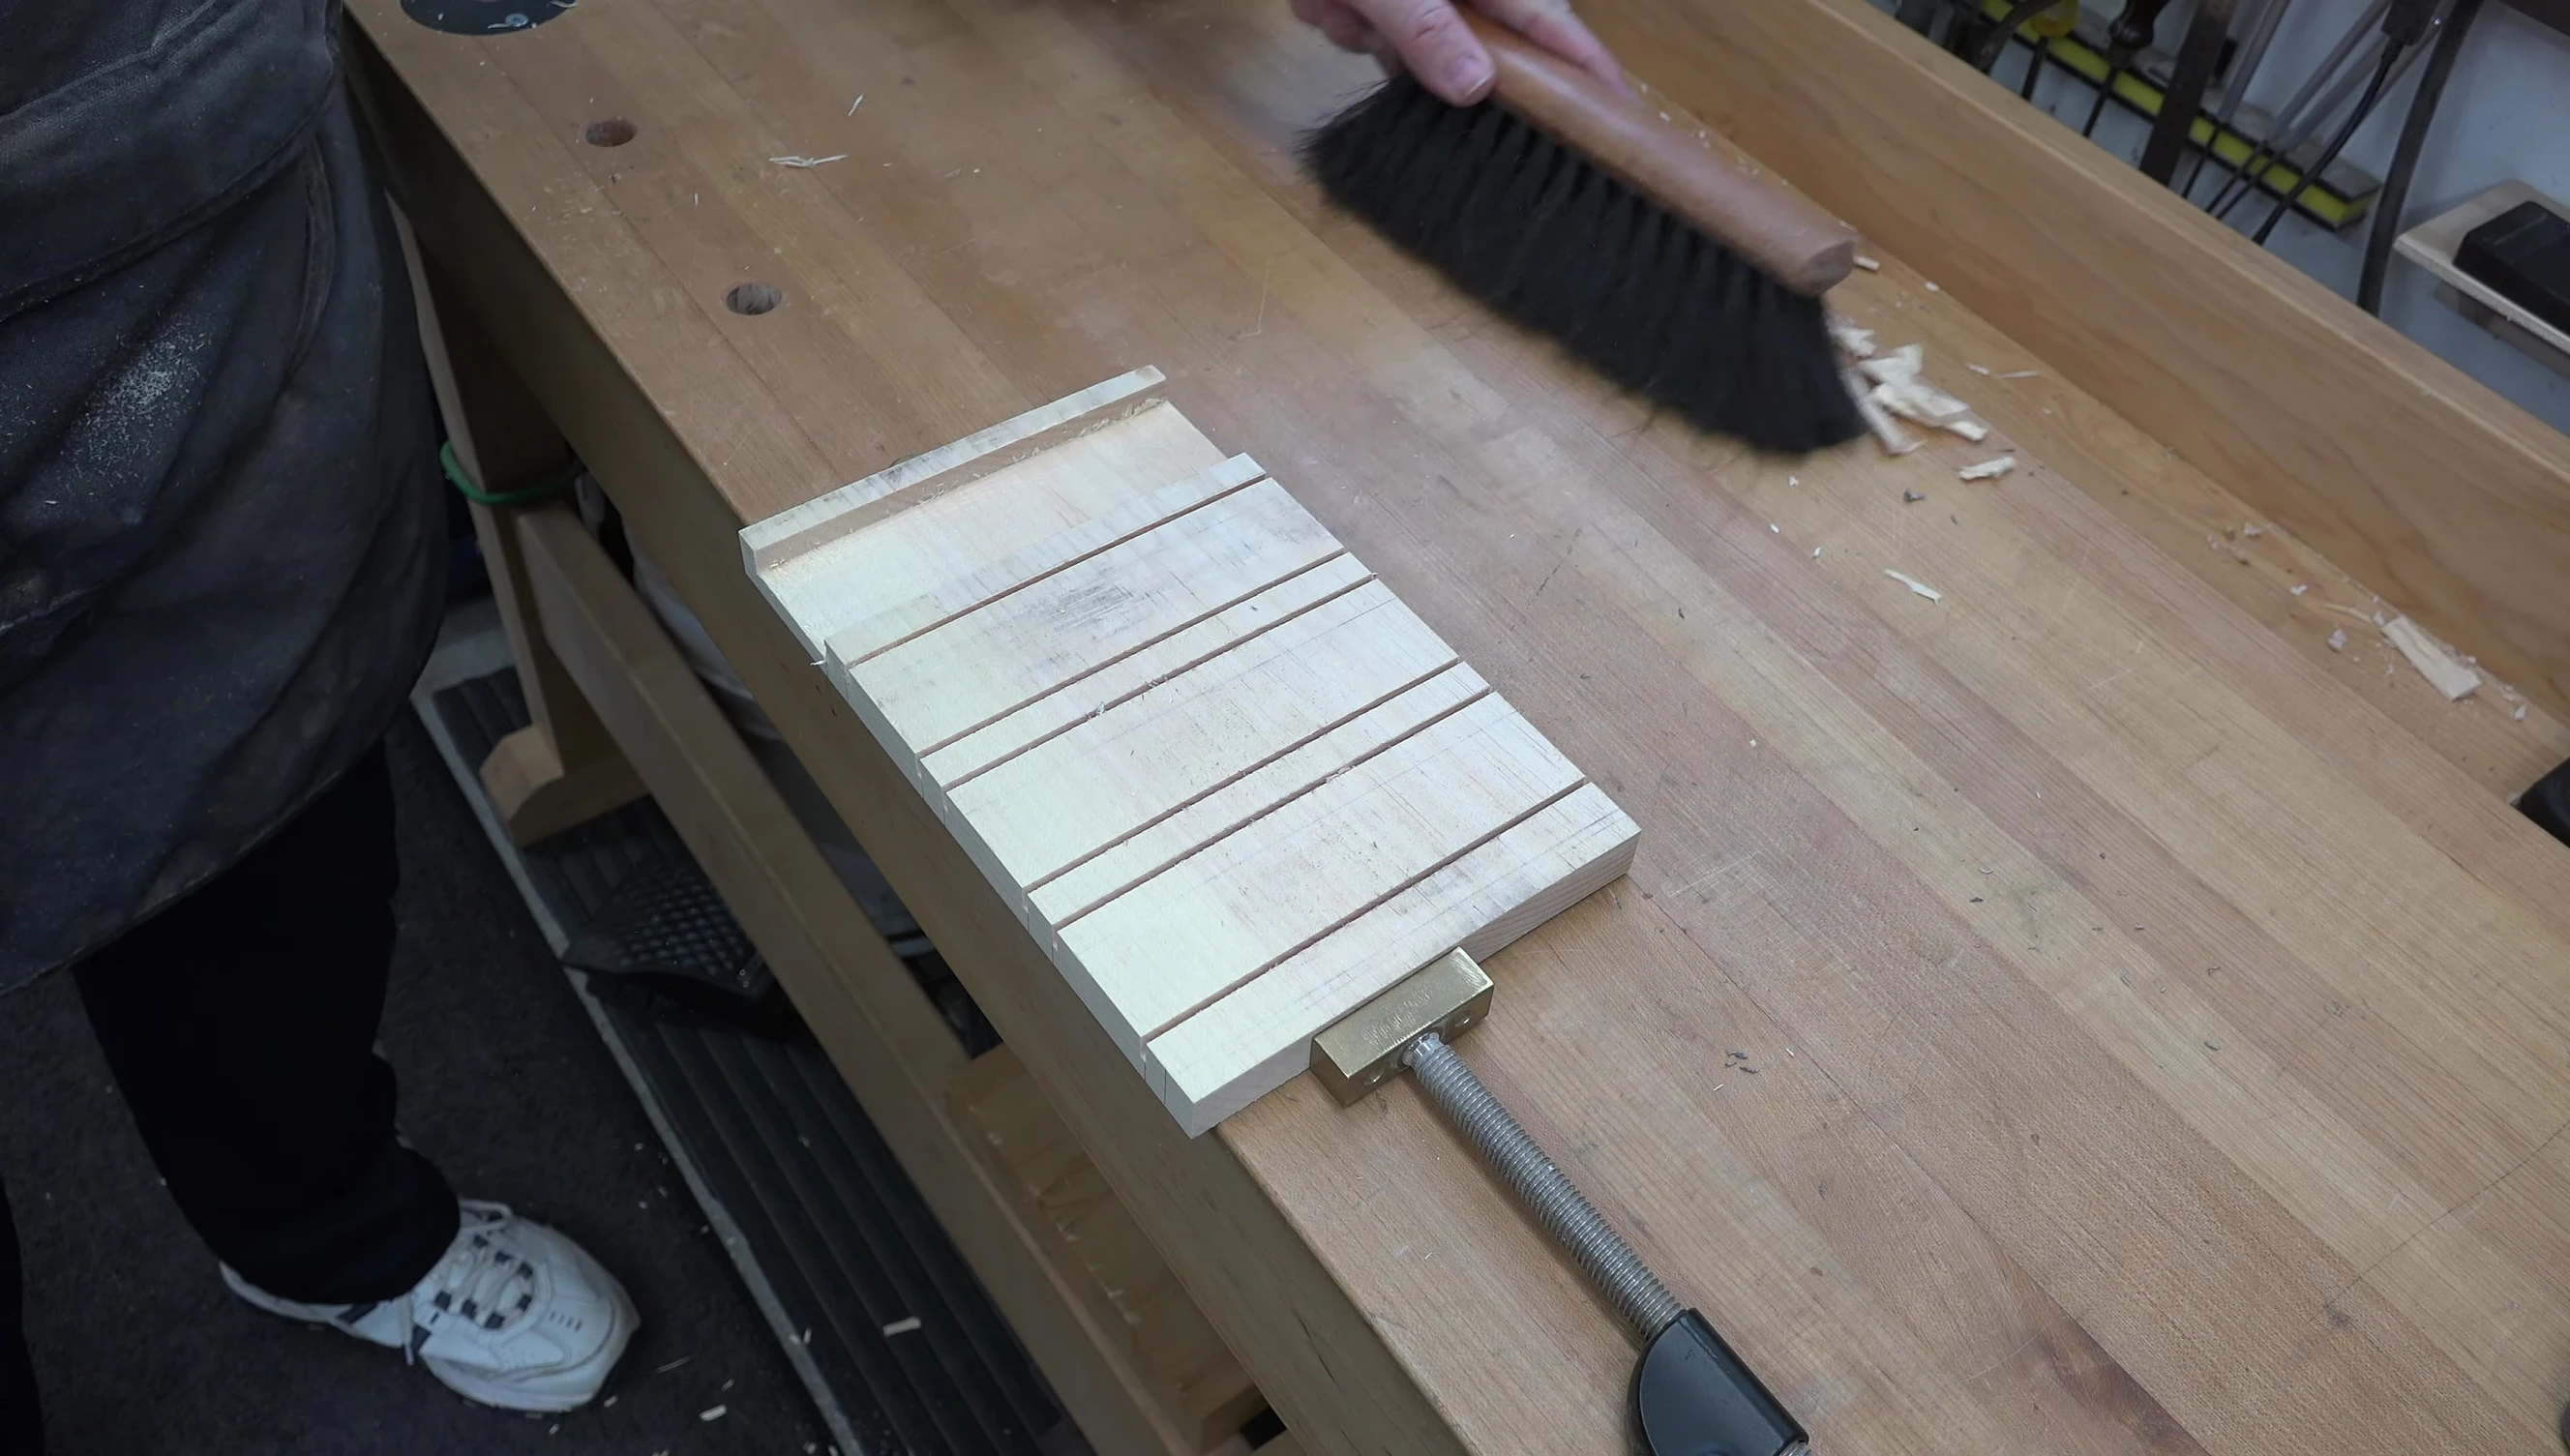
The compartments are carefully carved to a depth of 3/8 of an inch, ensuring a secure and snug fit for the pods.
Adding Mounting Slots and Finishing Touches
A slot router bit is used to create mounting slots along the edges of the holder. This ensures secure attachment to a cupboard.

Multiple passes may be necessary to achieve the desired depth (approximately 1/8 inch). Precise measurements and careful adjustments are crucial.
The excess length of the wood is trimmed, and mounting holes are drilled and countersunk for secure attachment.
Final Assembly and Conclusion
The finished pod holder is sanded smooth for a clean and professional look. This step ensures a comfortable and safe handling experience.
The holder is designed to be mounted on the underside of a cupboard, maximizing space utilization.
The project offers a simple, space-saving solution for storing Keurig coffee pods, demonstrating the potential for creating personalized organizational tools for any kitchen.