This guide provides a step-by-step process for assembling and leak-testing the faucet and spout on your Cambro Ultra Camtainer dispenser. Proper installation ensures optimal functionality and prevents leaks, maintaining the integrity of your food storage and dispensing system. We'll walk you through the removal of existing components, the secure installation of the new faucet and spout, and, critically, a thorough leak test to guarantee a watertight seal. Following these instructions will ensure a smooth and efficient assembly process.This guide is designed to be clear, concise, and easy to follow, even for users with limited experience. Clear photographic instructions or diagrams would accompany a published version of this guide to further enhance understanding. The detailed steps, including specific instructions for tightening nuts and securing washers, minimize the risk of errors and ensure a successful installation. The emphasis on leak testing, using hot water for the most rigorous test, is crucial to preventing future issues and ensuring the longevity of your Cambro Ultra Camtainer.
Read more: Smart Food Dispenser with Level Indicator: Top 5 Picks
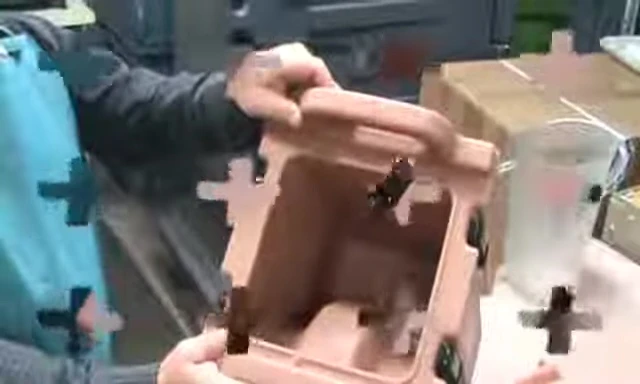
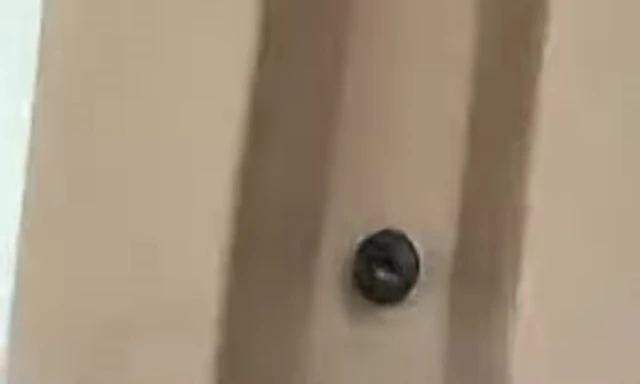
Disassembling the Old Faucet and Spout
Before starting the installation of your new Cambro Ultra Camtainer faucet and spout, carefully remove the existing components. This process involves removing the wing nut in a clockwise direction to detach the faucet.
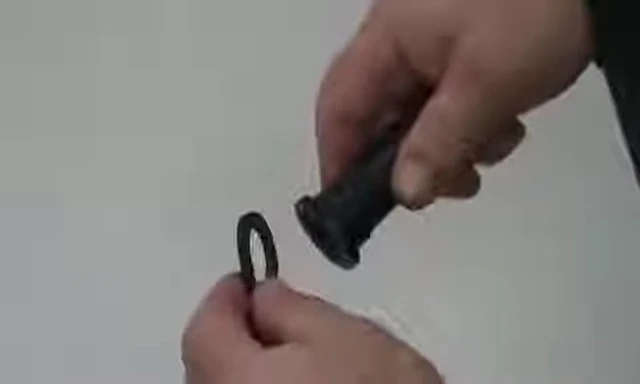
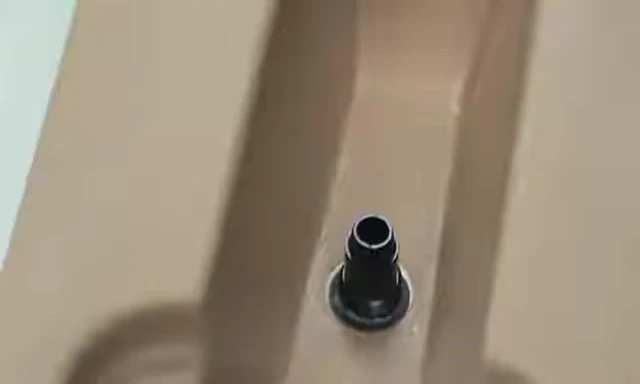
Next, remove the C-ring by sliding it off the spout. Then, press the wing nut downward until it sits flush with the hex nut's ribs.

Finally, turn the wing nut counter-clockwise to loosen the hex nut and remove it completely. This allows you to fully remove the old spout from the dispenser.
Installing the New Faucet and Spout
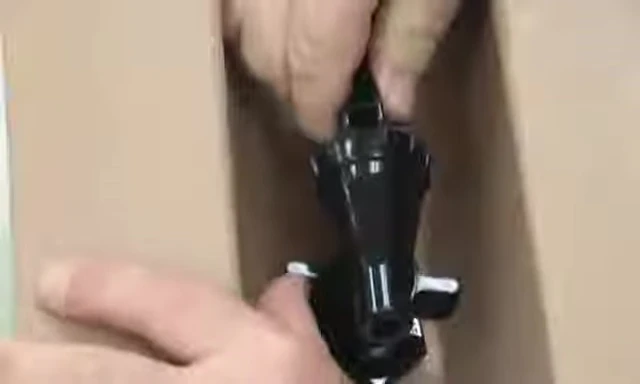
Begin by placing the rubber washer against the spout's lip. Insert the spout, with the rubber washer attached, through the hole in the dispenser.
Position the fiber washer around the spout. Secure the hex nut (rib side up) onto the spout and tighten it clockwise.
Next, tighten the hex nut further using the wing nut. Push the wing nut downward and turn it clockwise until it’s firmly secured.
Final Assembly and C-Ring Placement
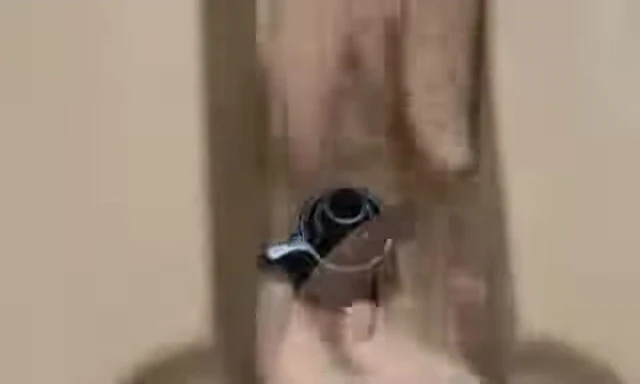
After securing the hex nut, place the C-ring into the slotted area on the spout. Take the new faucet and position its threaded opening over the spout.
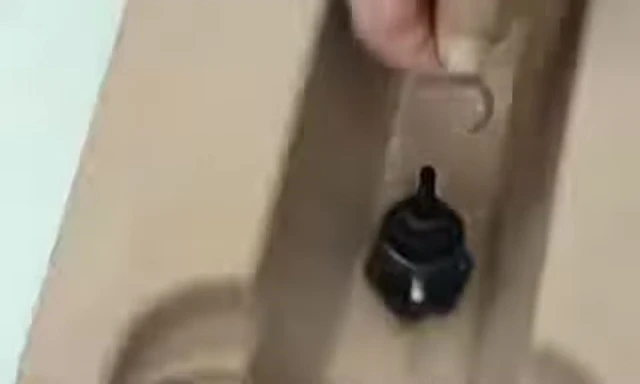
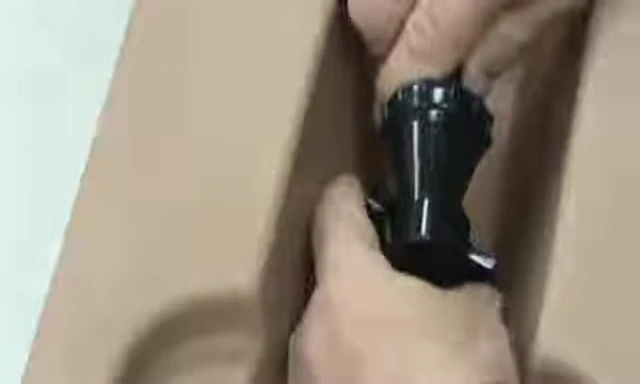
Hold the faucet in place and tighten the wing nut counter-clockwise. Tighten by hand until it's firmly secured.

The final step is to ensure the wing nut is firmly in place. Congratulations, your Cambro Ultra Camtainer faucet and spout assembly is complete!
Leak Testing the Assembly
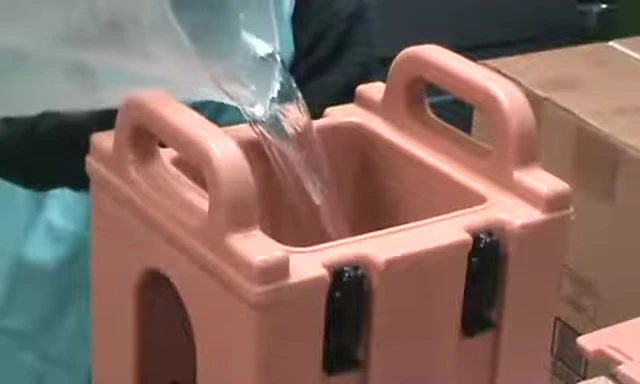
Testing for leaks is crucial. Use hot water for the test and always wear appropriate safety equipment to protect your skin from hot water.

Fill the container, allow it to sit for five minutes, and then check for any water droplets from the faucet-to-spout connection.
If leaks are found, simply empty the container and tighten the wing nut counter-clockwise until leaks cease. Retest with hot water until no leaks are visible.