A pristine, sparkling sink is the hallmark of a well-maintained kitchen. But even the most meticulous cleaning can't hide the grime that collects beneath a poorly installed sink basket. A leaky or improperly fitted basket not only detracts from the overall aesthetic but also creates a breeding ground for bacteria and unpleasant odors. Investing a little time in proper installation can save you from headaches down the line, ensuring years of trouble-free use. A wobbly, stained basket is a thing of the past!
This article will guide you through a foolproof method for installing your sink basket, guaranteeing a leak-free and stain-resistant finish. From preparing the sink to the final tightening, we'll cover each step in detail, equipping you with the knowledge to achieve a professional-looking installation. Follow along as we unveil the secrets to a perfectly fitted sink basket.
Preparation and Safety Guidelines
- Sink basket
- Plumber's putty (non-staining)
- Sink basket tool or adjustable pliers
- Helper (optional)
- Always turn off the water supply to the sink before beginning installation. Failure to do so could result in flooding and water damage.
- Use plumber's putty or silicone sealant to create a watertight seal between the sink basket and the sink drain opening. A poor seal will lead to leaks.
- If unsure about any step of the installation process, consult a qualified plumber. Improper installation can cause damage and void warranties.
Step-by-Step Instructions
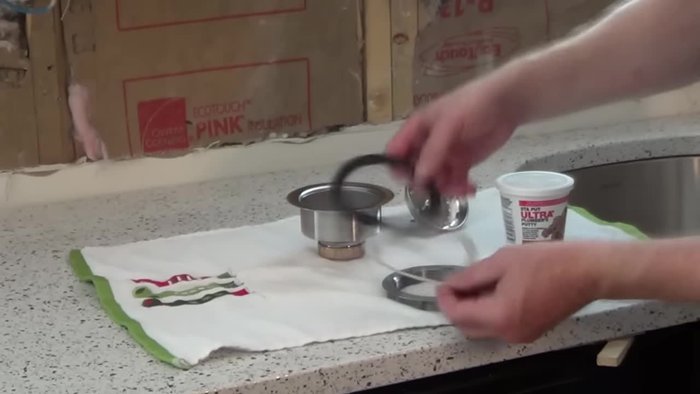
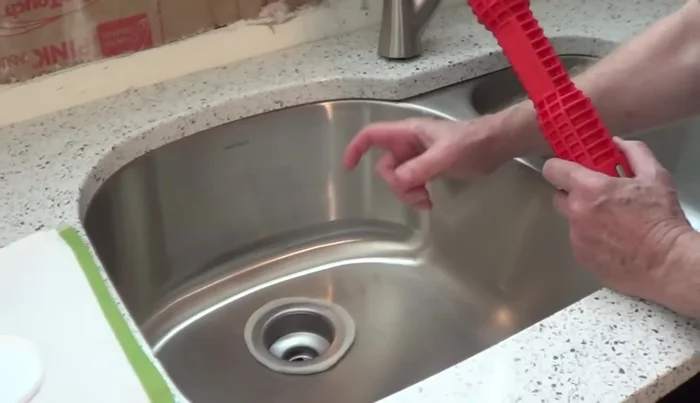
Prepare the Sink Basket
- Remove the large nut from the sink basket.

Prepare the Sink Basket Apply Plumber's Putty
- Apply a rope of non-staining plumber's putty (about the thickness of your finger) around the underside of the sink basket flange.
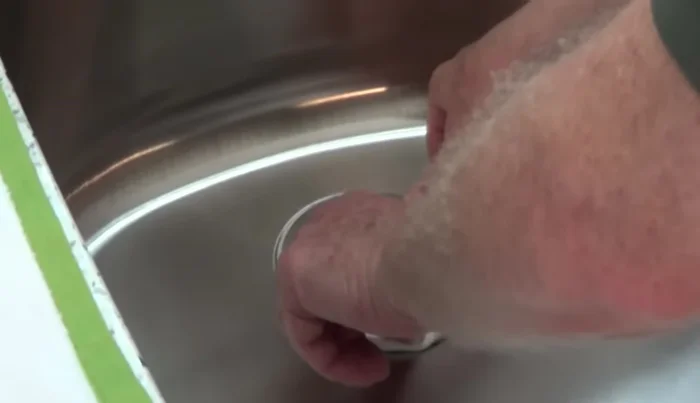
Apply Plumber's Putty Install the Basket
- Center the sink basket in the sink opening and press firmly to seat it, ensuring the putty is evenly distributed.
- Wipe off excess putty from the top.
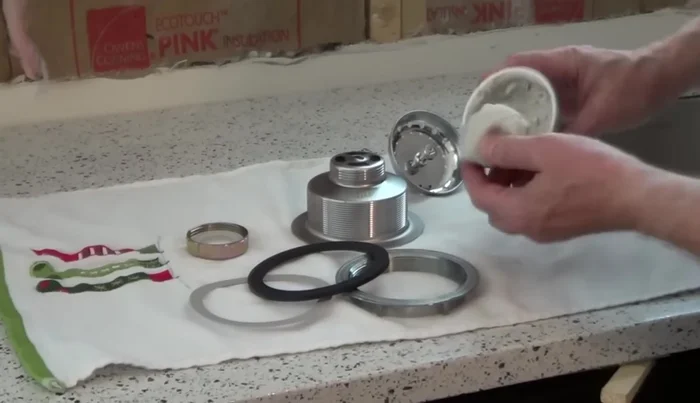
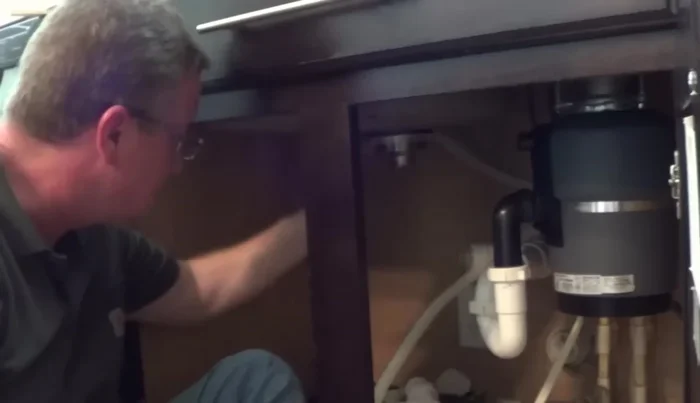
Install the Basket Prepare for Tightening
- Place the rubber washer, then the cardboard gasket (friction ring) onto the nut. The gasket prevents the nut from distorting the rubber washer.
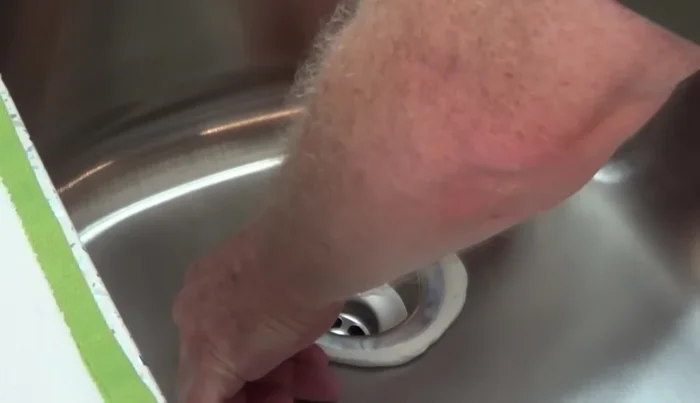
Prepare for Tightening Tighten and Finish
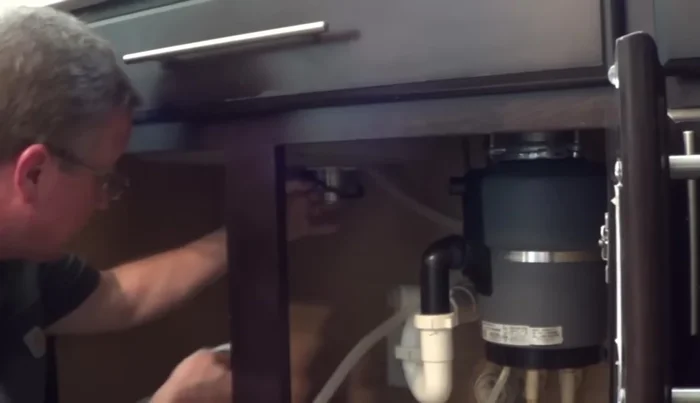
- With a helper holding the basket to prevent spinning, use a sink basket tool or adjustable pliers to hold the basket steady while tightening the nut from underneath.
- Tighten the nut securely, forcing out any remaining excess putty. Wipe off excess putty.
Tighten and Finish
Read more: DIY Rustic Hanging Fruit Basket from Dollar Tree
Tips
- Use non-staining plumber's putty for easier cleanup and compatibility with various sink materials.
- A sink basket tool makes tightening the nut much easier, but adjustable pliers can work as a substitute.
- Having a helper hold the basket while you tighten the nut is highly recommended to prevent the basket from spinning.
- The cardboard gasket is crucial; it protects the rubber washer from being squeezed and deformed during tightening.