Rice and beans: the cornerstone of countless cuisines and a surprisingly affordable pathway to long-term food security. For those seeking to build a resilient pantry or simply stretch their grocery budget further, mastering the art of storing these staples is essential. This isn't about simply buying a bulk bag and hoping for the best; it's about understanding the crucial factors influencing preservation, from choosing the right varieties to employing optimal storage techniques that maximize freshness and minimize waste. Proper storage ensures you're not just saving money, but also minimizing food spoilage and its associated environmental impact.
This ultimate guide will walk you through every step of the process, from initial purchase and preparation to long-term storage solutions that will keep your rice and beans at their peak quality for months, even years. We'll delve into the best container choices, ideal storage environments, and effective pest control methods, equipping you with the knowledge to confidently build your own budget-friendly and sustainable food reserve. Let's begin with the first critical step: selecting the perfect rice and beans for long-term storage.
Preparation and Safety Guidelines
- Vacuum sealer (around $20)
- Vacuum seal bags
- Oxygen absorbers or silica packets
- Scissors
- Gloves
- 5-gallon opaque paint buckets
- Store rice and beans in airtight containers in a cool, dark, and dry place to prevent pest infestation and spoilage. Avoid areas with high humidity or fluctuating temperatures.
- Regularly inspect your stored rice and beans for any signs of pests (weevils, etc.) or spoilage (mold, discoloration, unusual smell). Discard any contaminated portions immediately.
- Properly clean and dry containers before storing. Consider using oxygen absorbers in larger storage containers to extend shelf life and prevent insect infestations.
Step-by-Step Instructions
Gather Supplies
- vacuum sealer, bags, oxygen absorbers, scissors, gloves, and opaque buckets.
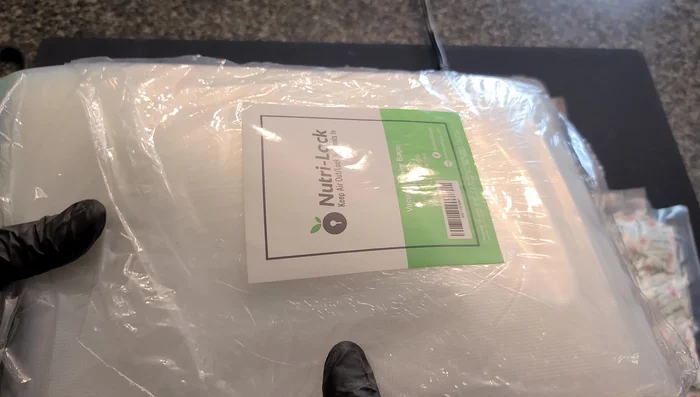
Prepare Vacuum Seal Bags
- Use pre-cut vacuum seal bags for ease of use, especially with a budget sealer. The factory seal on one end provides better strength than what your sealer alone can achieve.

Prepare Vacuum Seal Bags Add Oxygen Absorbers
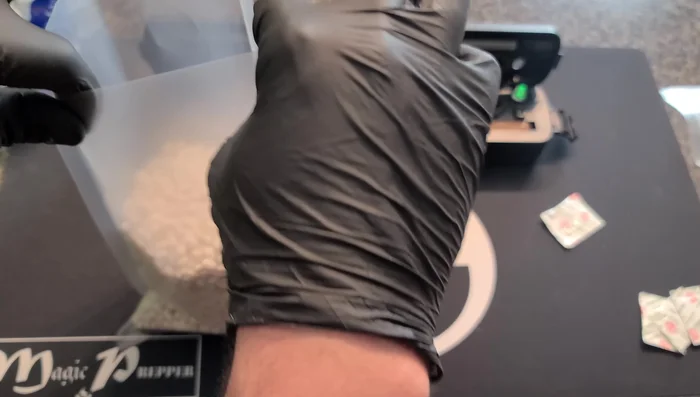
- Place one or more oxygen absorbers (or silica packets) into each bag. Work quickly after opening the absorber packet as they rapidly absorb oxygen and generate heat.
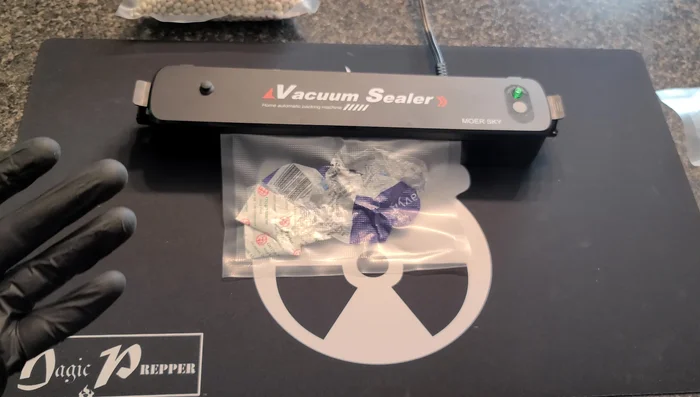
Add Oxygen Absorbers Fill and Seal Bags
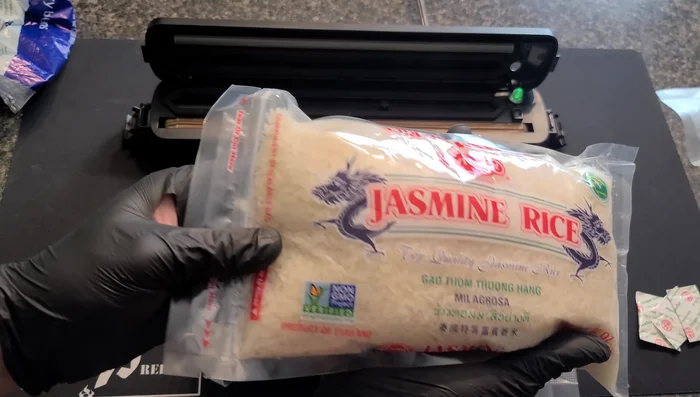
- Carefully pour rice or beans into the bags, burying the oxygen absorber within the food to maximize effectiveness and prevent puncturing the bag.
- Place the bag's textured side up into the vacuum sealer, ensuring the edge is properly positioned within the gasketed area. Close and activate the sealer, allowing it to fully remove air until the bag is rock-hard.
Fill and Seal Bags Store in Buckets
- Place the sealed bags into the 5-gallon opaque buckets for added protection against pests, light, and moisture.
Store in Buckets Inspect Storage
- Periodically check the sealed bags for any punctures or air leakage, especially with rice which might pierce the bag.
Inspect Storage


Read more: Camping Food Repackaging for Efficient and Safe Trips
Tips
- Don't overspend on equipment. A budget-friendly vacuum sealer works effectively for long-term storage.
- Use opaque buckets to protect food from light exposure.
- Wear gloves to avoid contaminating your food.
- Consider portioning food into smaller bags for easier rationing.