Nuts and seeds: nature's tiny powerhouses of nutrition and flavor. But their bounty is fleeting; unless properly stored, these delicious and healthy staples quickly lose their freshness, becoming rancid and unpalatable. This is a significant concern for those interested in food preservation, emergency preparedness, or simply extending the enjoyment of their favorite snacks. Proper storage ensures not only a longer shelf life but also maintains the nutritional value and delightful taste we crave. From choosing the right nuts and seeds to employing various preservation techniques, the lifespan of your stash can be dramatically extended.
This ultimate guide will walk you through every step of the process, empowering you to safeguard your supply of nutritious nuts and seeds for months, even years to come. We'll cover everything from selecting high-quality ingredients and optimizing storage conditions to tackling common storage challenges and troubleshooting potential problems. Ready to embark on this journey towards long-term food preservation? Let’s dive into the step-by-step guide below.
Safety Guidelines
- Always inspect nuts and seeds before storing. Discard any that are moldy, damaged, or show signs of insect infestation. Infested nuts can contaminate the entire batch.
- Properly dry nuts and seeds before storage to reduce moisture content and prevent mold growth. Aim for a moisture content below 7%.
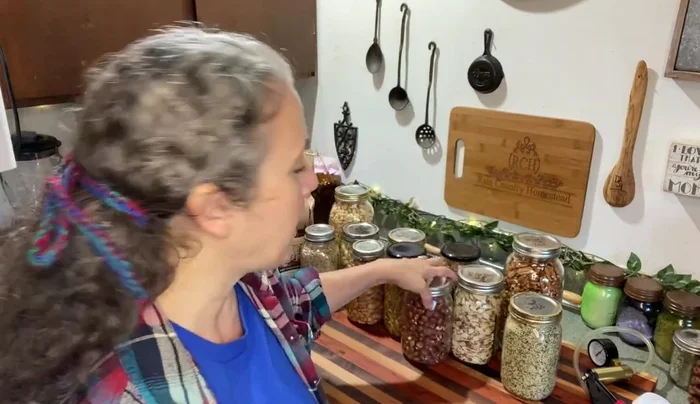
- Store nuts and seeds in airtight containers in a cool, dark, and dry place. Fluctuations in temperature and humidity can impact their shelf life.
Methods: Vacuum Sealing Nuts and Seeds using a Manual Pump
Tools Needed
- Vacuum sealing lids (various sizes)
- Manual vacuum pump
- Jar with silicone seal
Step-by-Step Instructions
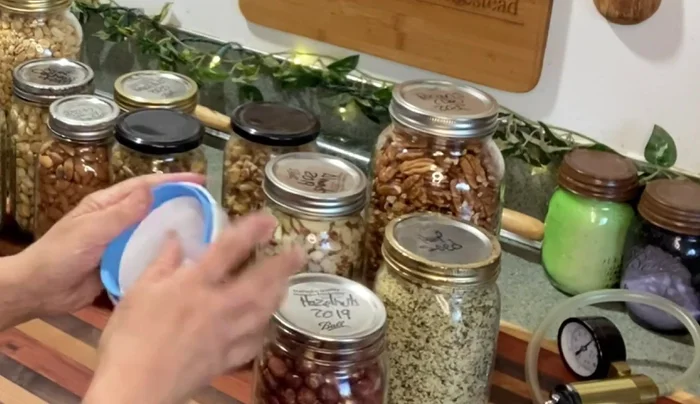
Prepare the Jar
- Place the vacuum sealing lid firmly onto the jar containing nuts or seeds. Do not press down too hard.
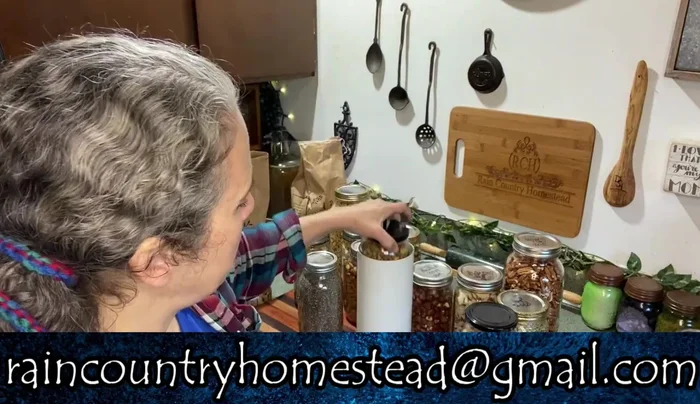
Create Vacuum Seal
- Attach the pump hose to the lid and pump by pulling upwards until you cannot pull any more air out.
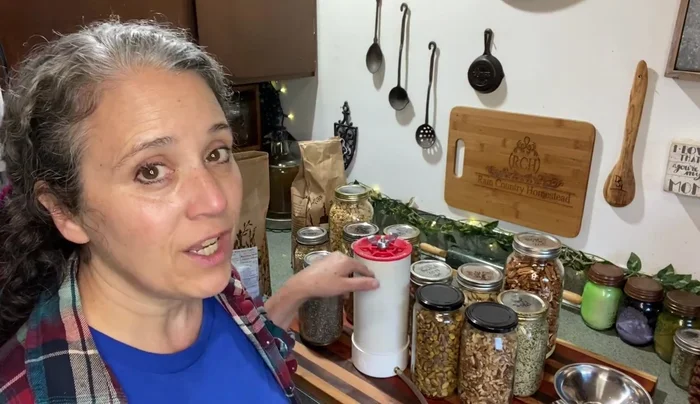
Check the Seal
- Remove the pump and check the seal by holding the jar upside down.

Check the Seal Secure the Lid (Optional)
- Secure the lid with a jar sealing band.
Secure the Lid (Optional)
Tips
- Don't overfill the jar, leaving some headspace for sealing.
- Shake ingredients down to reduce air space.
- Using a jar sealing band helps keep the lid secure.
Methods: Vacuum Sealing with a Vacuum Chamber
Tools Needed
- Vacuum chamber
- Vacuum chamber pump
Step-by-Step Instructions
Prepare the Jar
- Place the jar in the vacuum chamber.
- Tighten the lid on the jar.
Prepare the Jar Create Vacuum Seal
- Use the vacuum pump to remove air from the chamber and seal the jar.
Create Vacuum Seal
Tips
- This method works for various jar sizes.
Read more: 2 Genius Hacks to Vacuum Seal Food in Regular Bags!