Hosting a party or celebrating a special occasion often involves a beautifully presented cake, and what better way to showcase your culinary masterpiece than with a charming cake stand? Forget expensive store-bought options; creating your own DIY cake stand is easier and more affordable than you might think. This opens up a world of creative possibilities, allowing you to personalize your stand to perfectly match your party theme or home décor, from rustic chic to elegant modern. You'll be amazed at the transformation a handcrafted cake stand can bring to your dessert display.
This article provides four easy and affordable tutorials, guiding you through the process of crafting your very own unique cake stand using readily available materials. Whether you're a seasoned crafter or a complete beginner, these step-by-step instructions will empower you to create a stunning centerpiece for your next gathering, without breaking the bank. Ready to get started? Let's dive into the tutorials!
Safety Guidelines
- Always ensure the stand is sturdy and stable enough to hold the weight of your cake before placing it on top. A wobbly stand can lead to a cake disaster!
- If using repurposed materials, thoroughly clean and sanitize them before use to prevent food contamination. Pay close attention to removing any residue from paints, glues, or previous uses.
- Be mindful of sharp edges or potentially hazardous materials when constructing your cake stand. Take necessary safety precautions, such as wearing gloves or using protective eyewear, as needed.
Methods: Glass Cake Stand
Tools Needed
- Glass candlestick holder
- Glass plate
- Hot glue
Step-by-Step Instructions
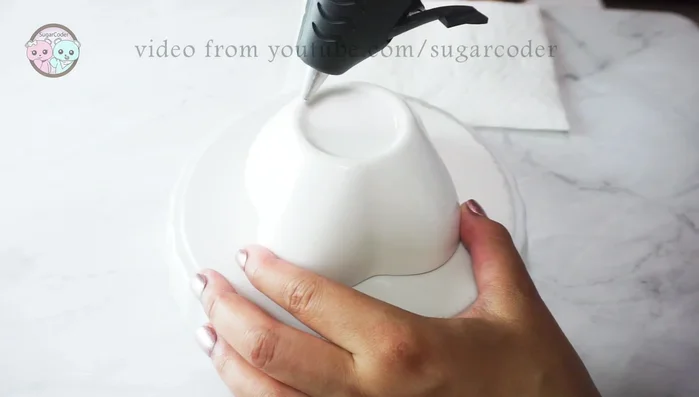
Assemble the Glass Cake Stand
- Glue the glass plate to the top of the candlestick holder using hot glue.
- Hold the candlestick holder in place for about a minute to allow the glue to set.
- Let it sit to fully set.

Assemble the Glass Cake Stand

Methods: Wooden Cake Stand
Tools Needed
- Round wooden cutting board
- Strawberry pot (from Daiso)
- Hot glue
Step-by-Step Instructions
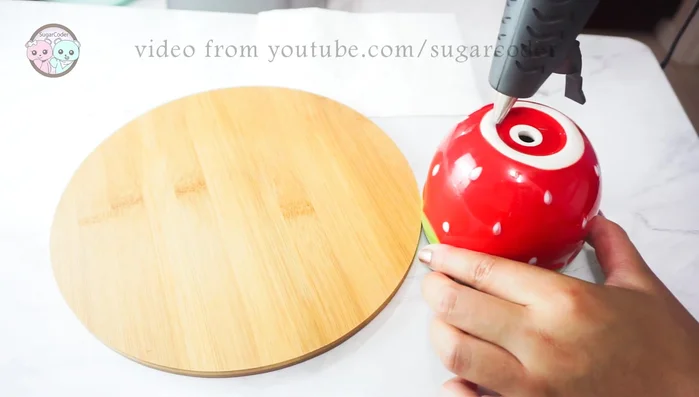
Prepare the Strawberry Pot
- Flip the strawberry pot upside down.
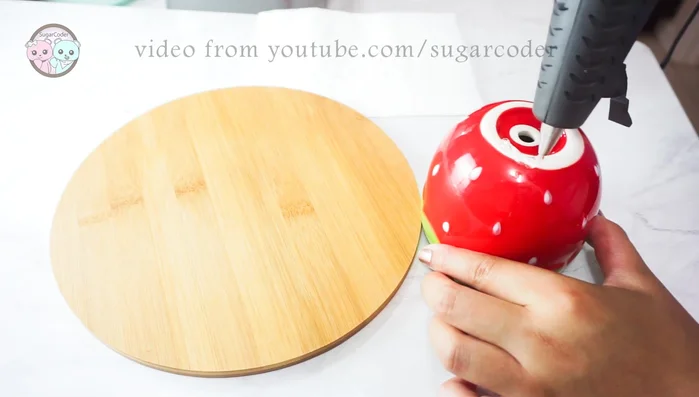
Prepare the Strawberry Pot Apply Adhesive
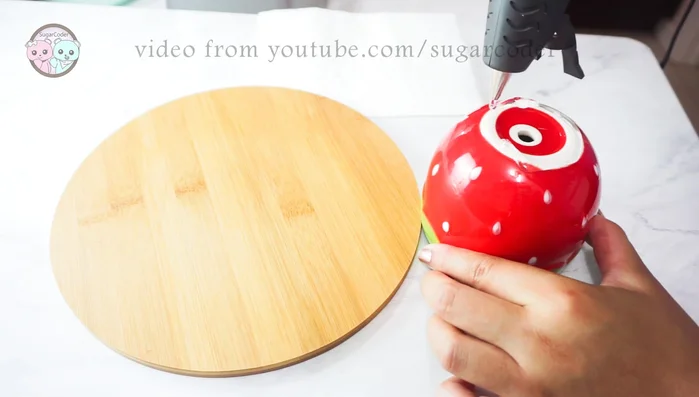
- Apply hot glue to the top of the inverted strawberry pot.
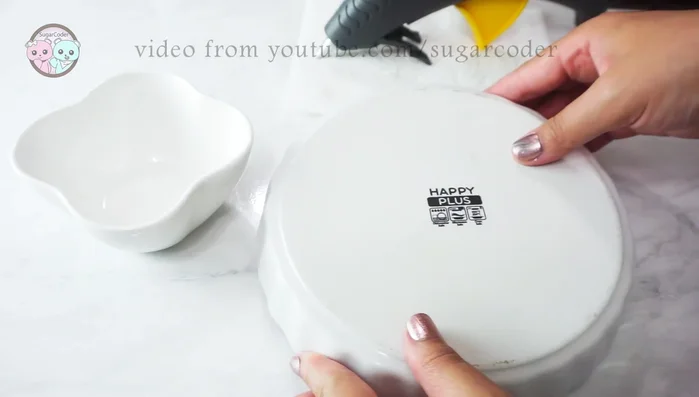
Apply Adhesive Assemble the Cake Stand
- Quickly place the glued pot onto the center of the round cutting board.
Assemble the Cake Stand